J171 NJO Cortez / 2+2 rebuild and modifications

If you're taking on the task of rebuilding the whole Midas, please put the project in here.

Moderator: The Midas Forum Staff

Re: J171 NJO Cortez / 2+2 rebuild and modifications

Postby Jin » Mon Jul 06, 2015 12:12 am

More carpeting
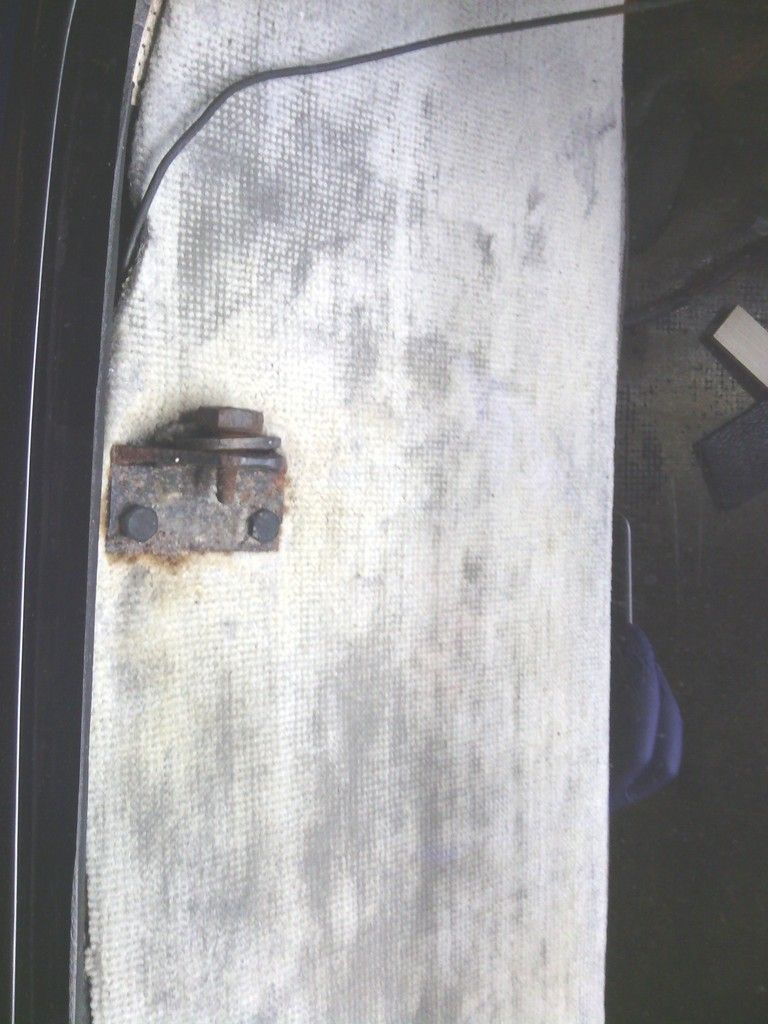
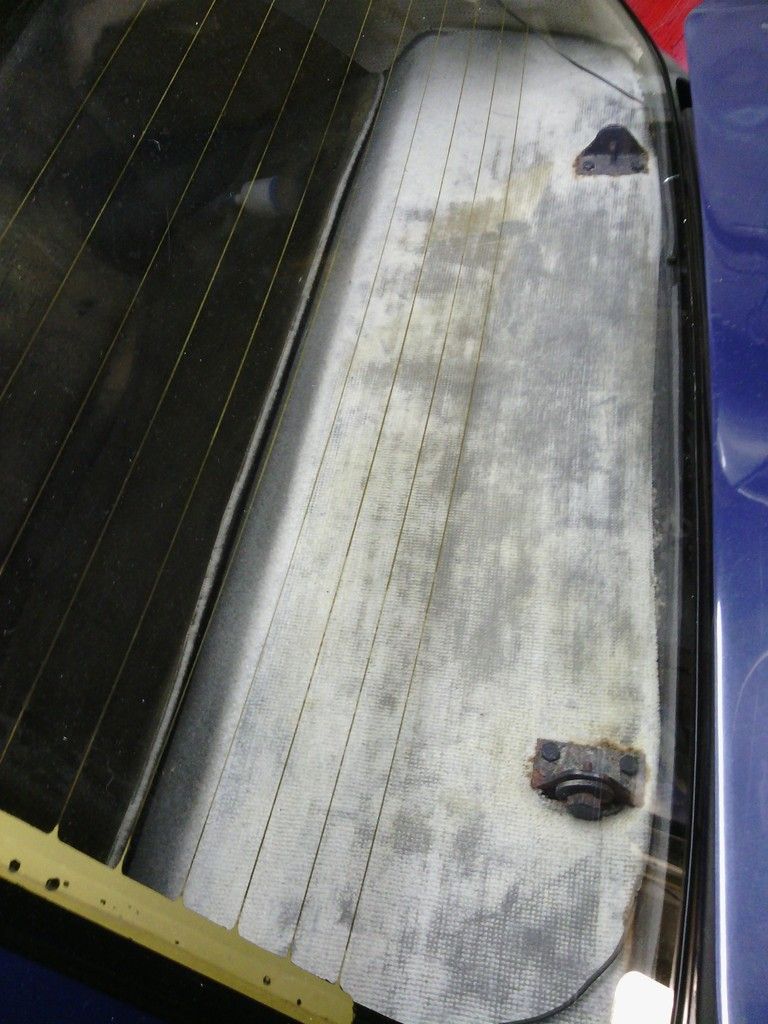
While taking my time to do the front foot wells I jumped on the chance to sort the parcel shelf, its current state was terrible
Image
Image

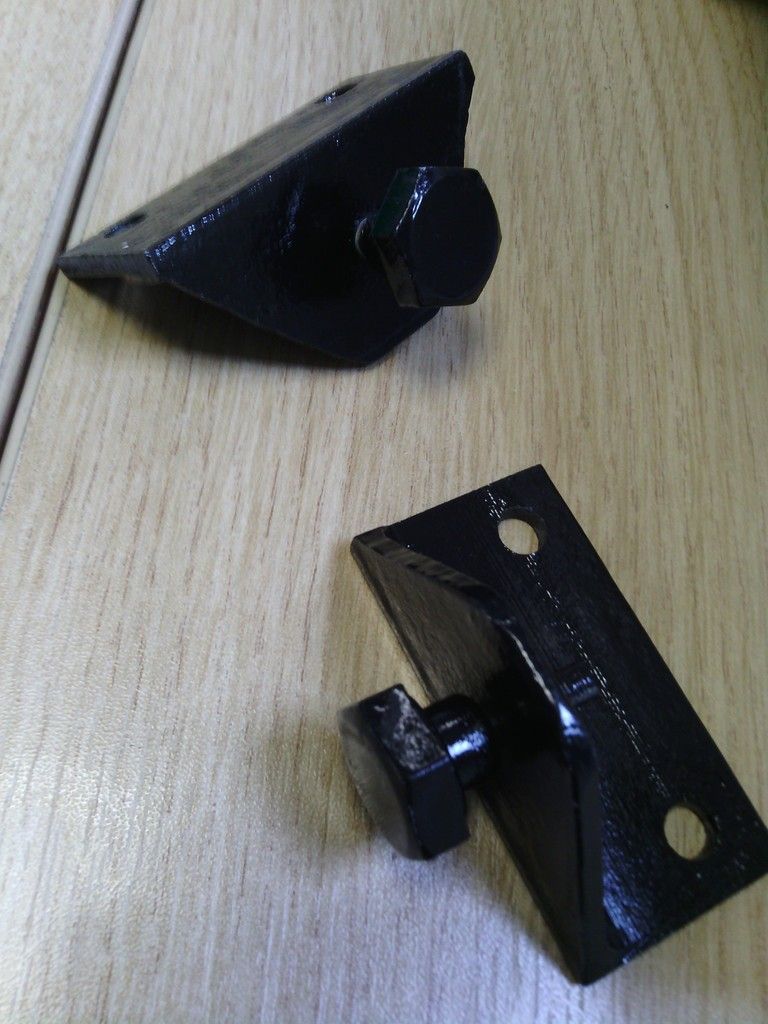
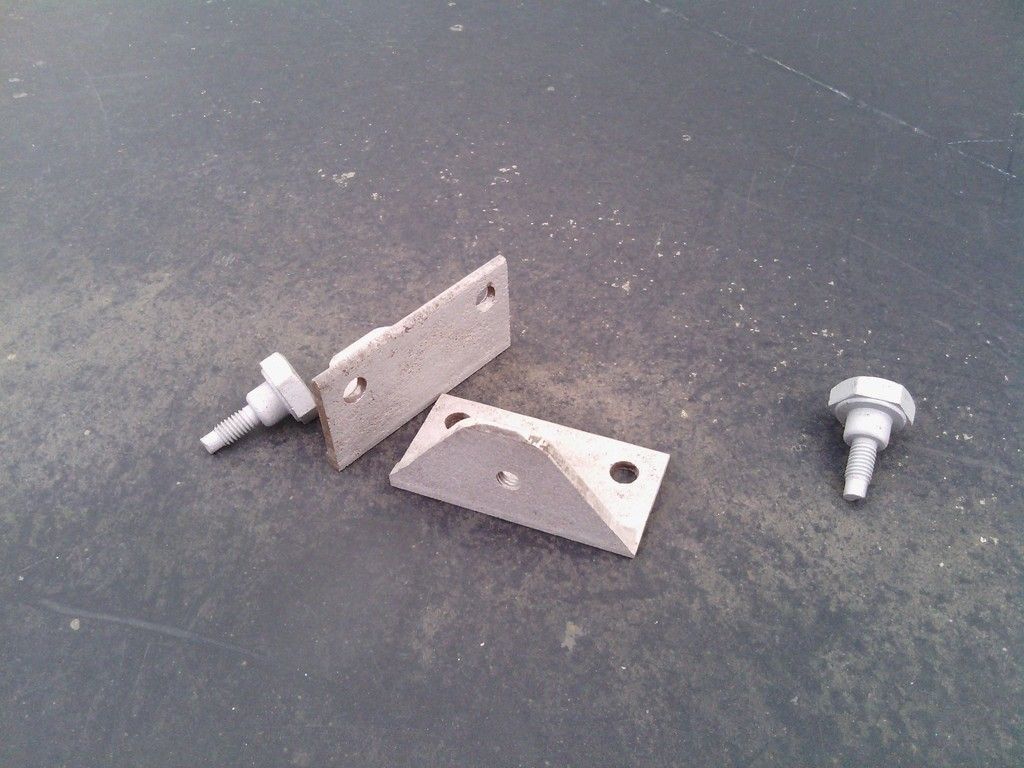
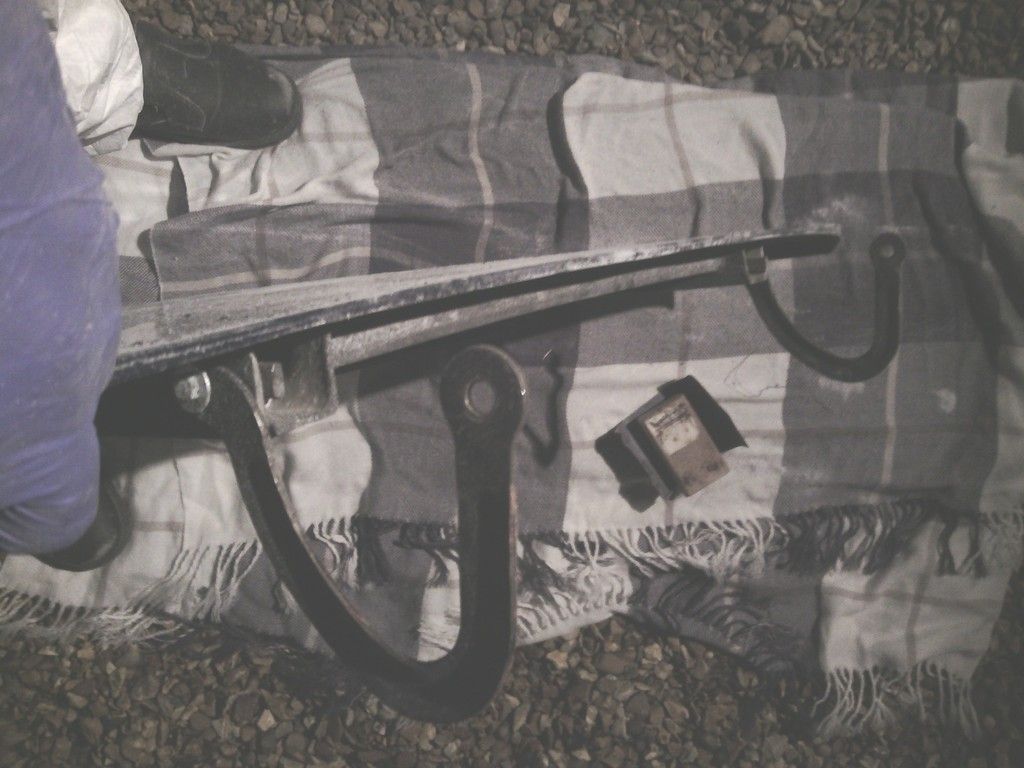
So without a moment to loose I whipped off the rusty boot hinges and blasted them
Image

Quick coat of paint

Image

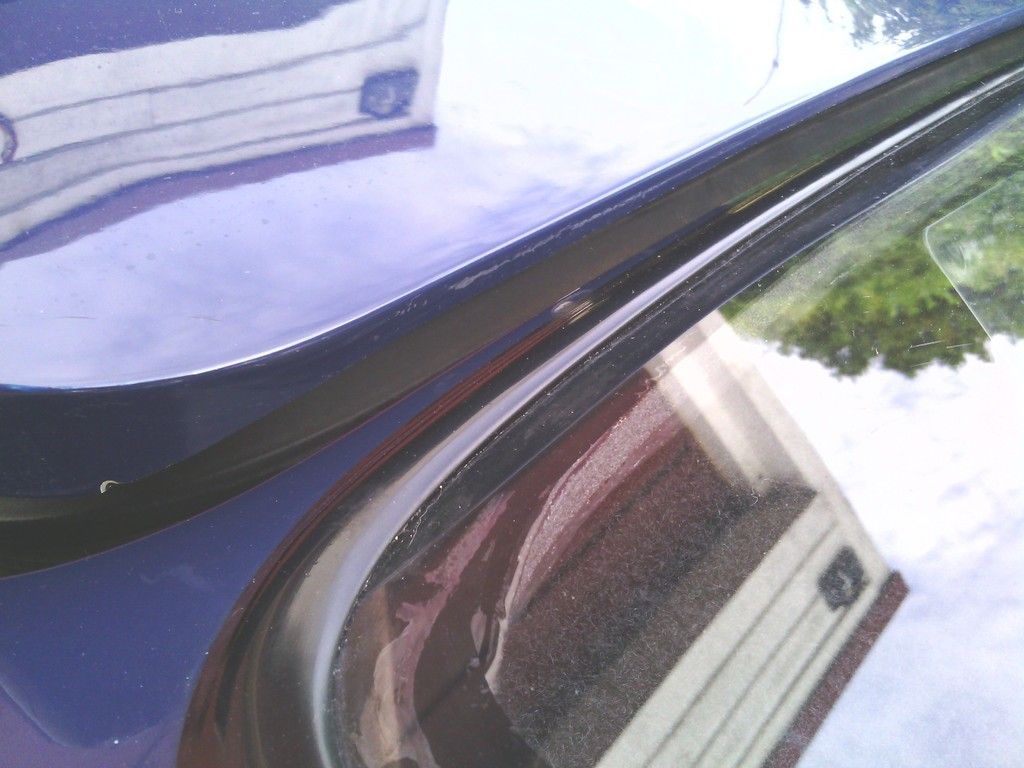
With the boot lid removed now seemed like a good time to trim down the rear return edge of the boot lid since it caught the rear bulkhead below the screen each time it was opened and that’s with the boot lid set out of line in an attempt by the builder presumably to avoid the issue, in total around 10mm was trimmed off
Image
Image

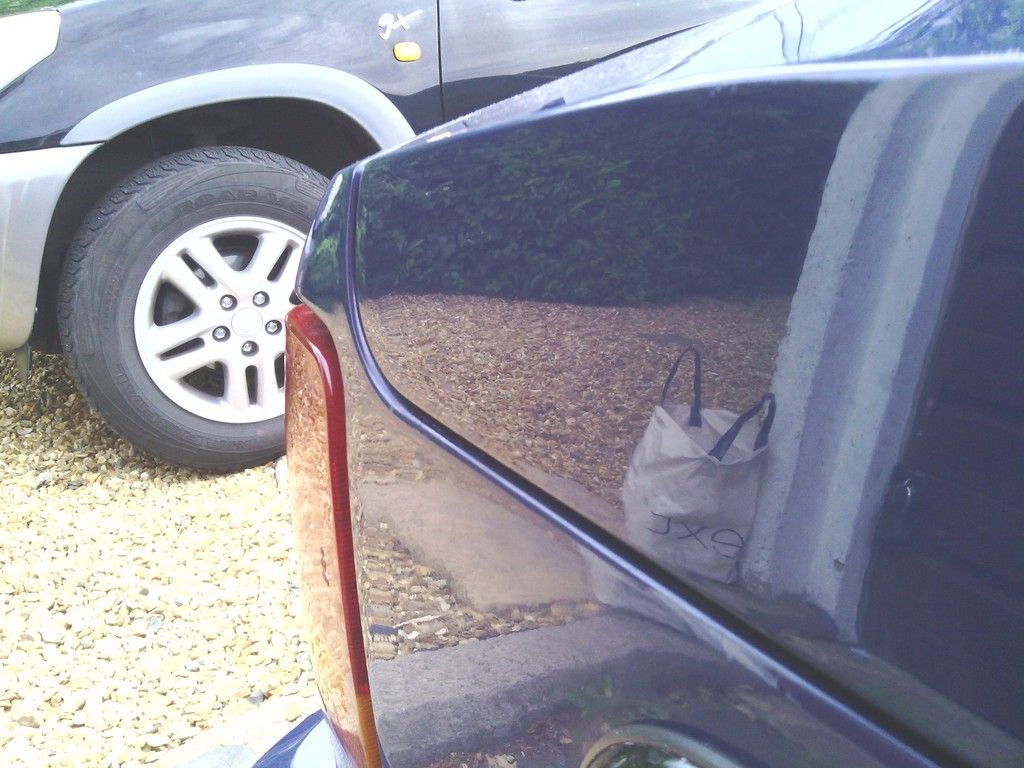
Worth it though, now the boot lid could be realigned to perfection
Image

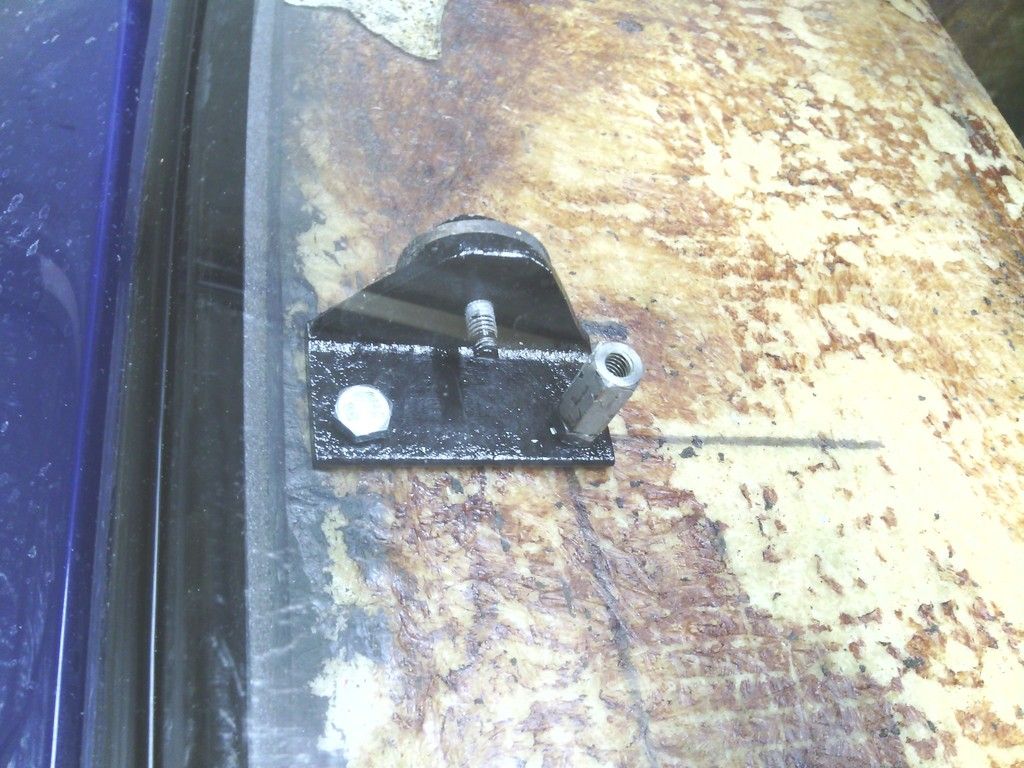
Hinges reinstalled and a mod standoff made to cover them up after
Image
Image

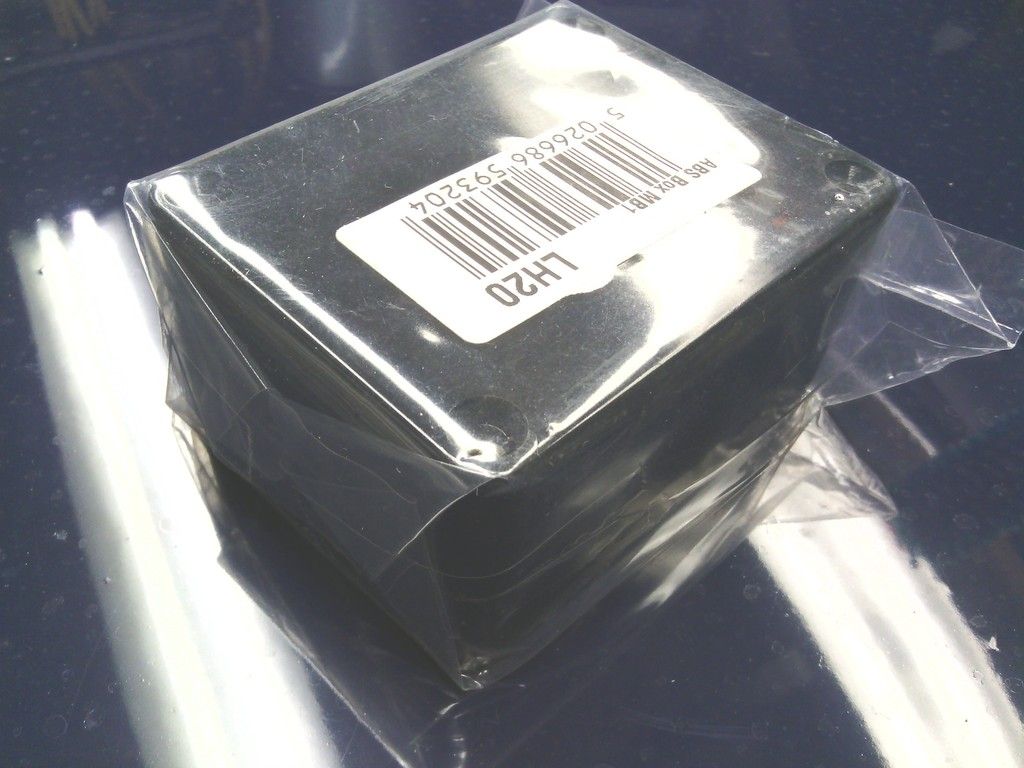
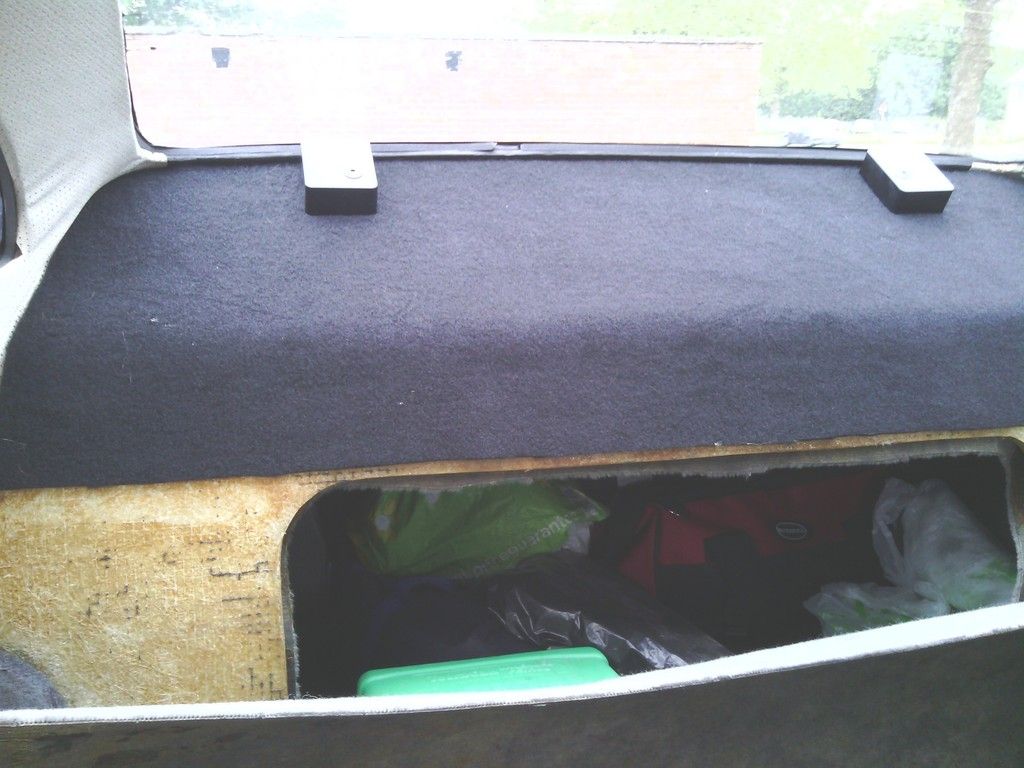
Bought some black plastic project boxes from Maplin, quick trim down and hole drilled and all is good
Image

Much nicer though I may carpet the hinge covers too

Onto the foot wells
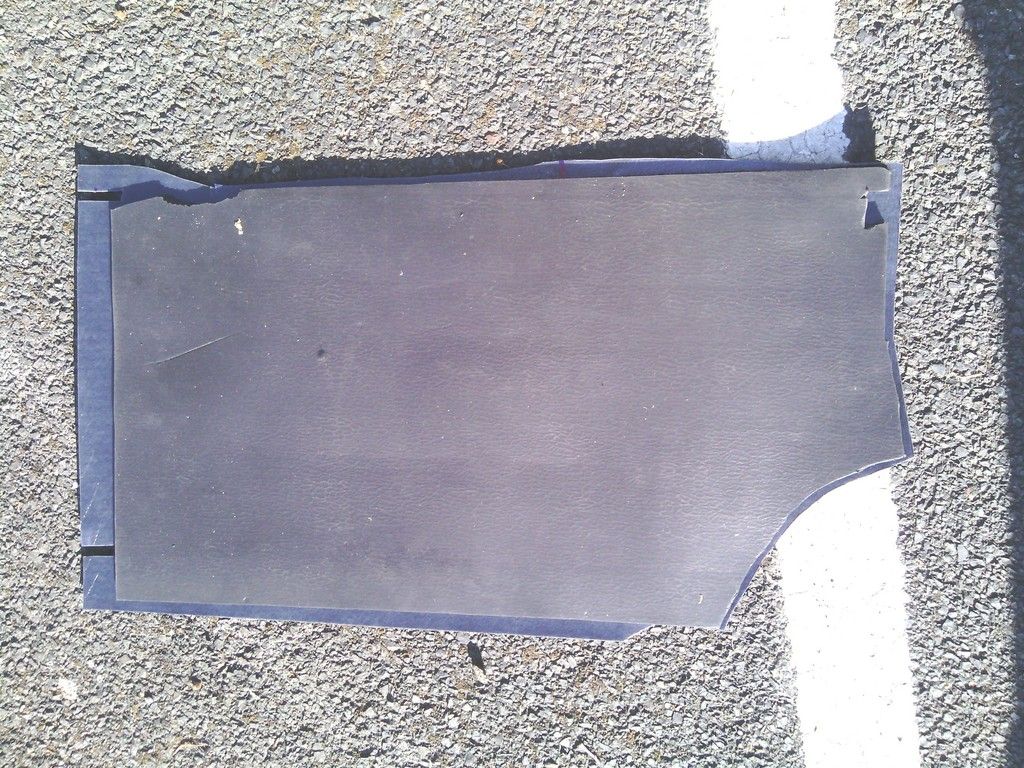
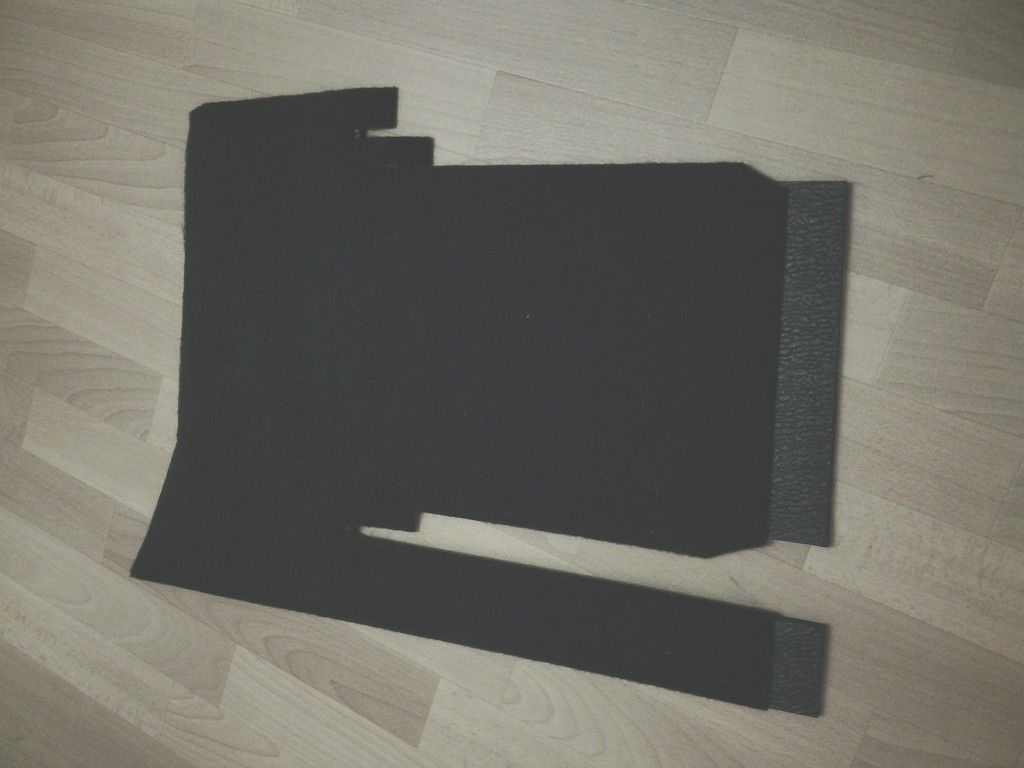
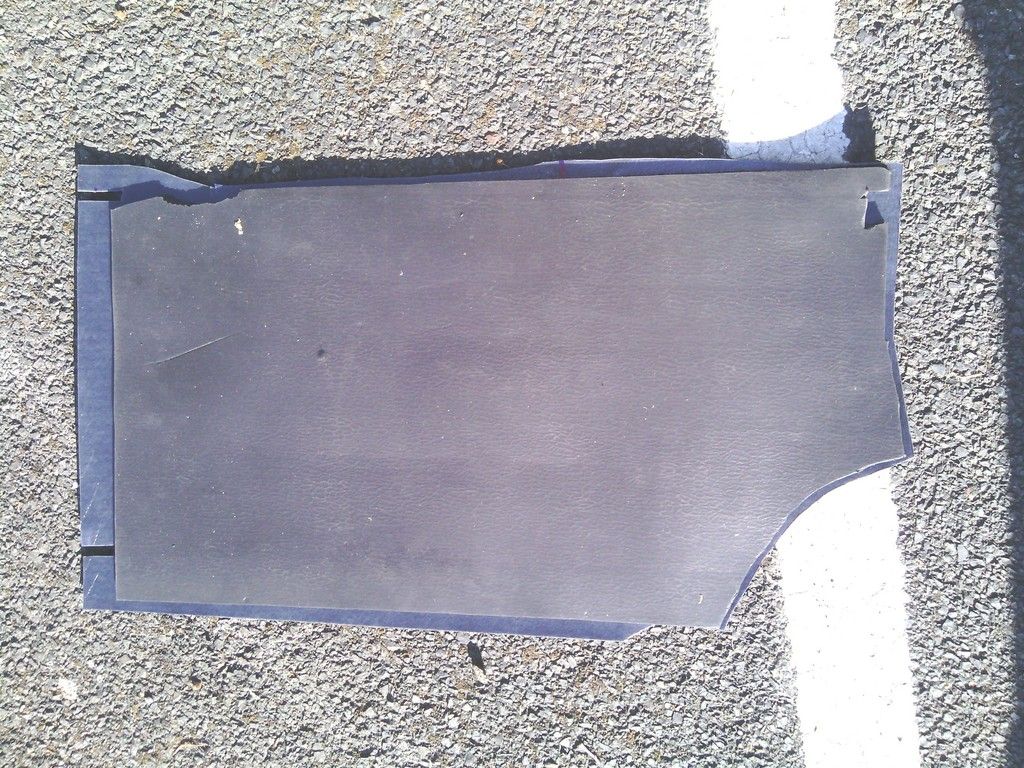
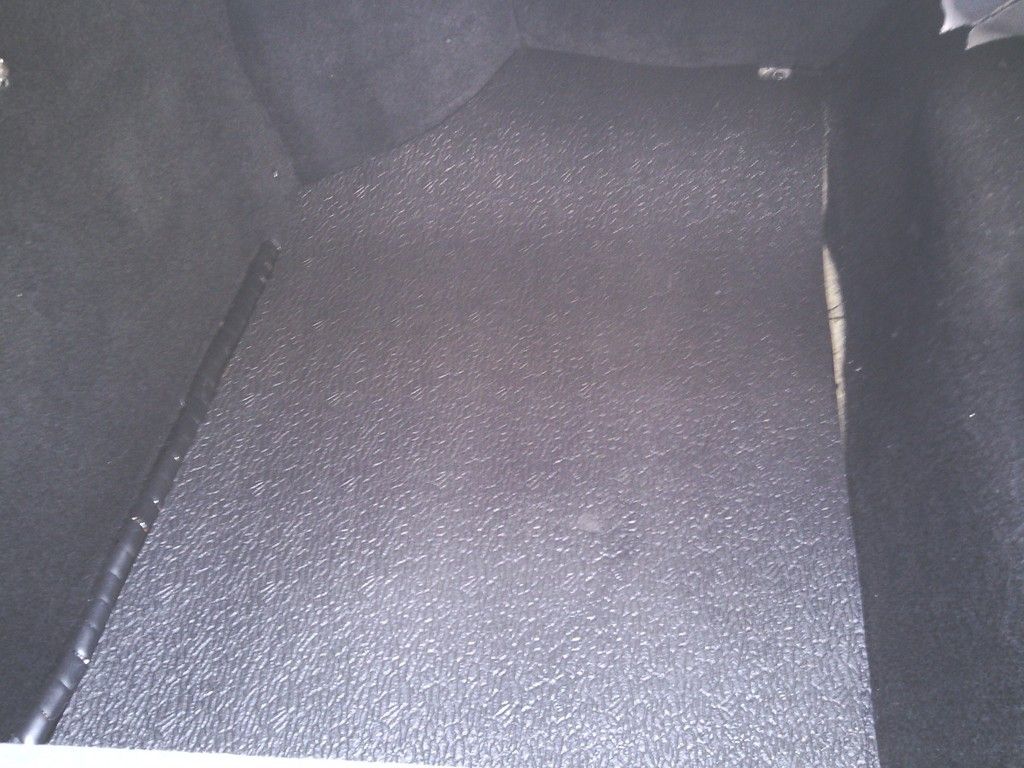
The sound deadening was trimmed to fit snug
Image

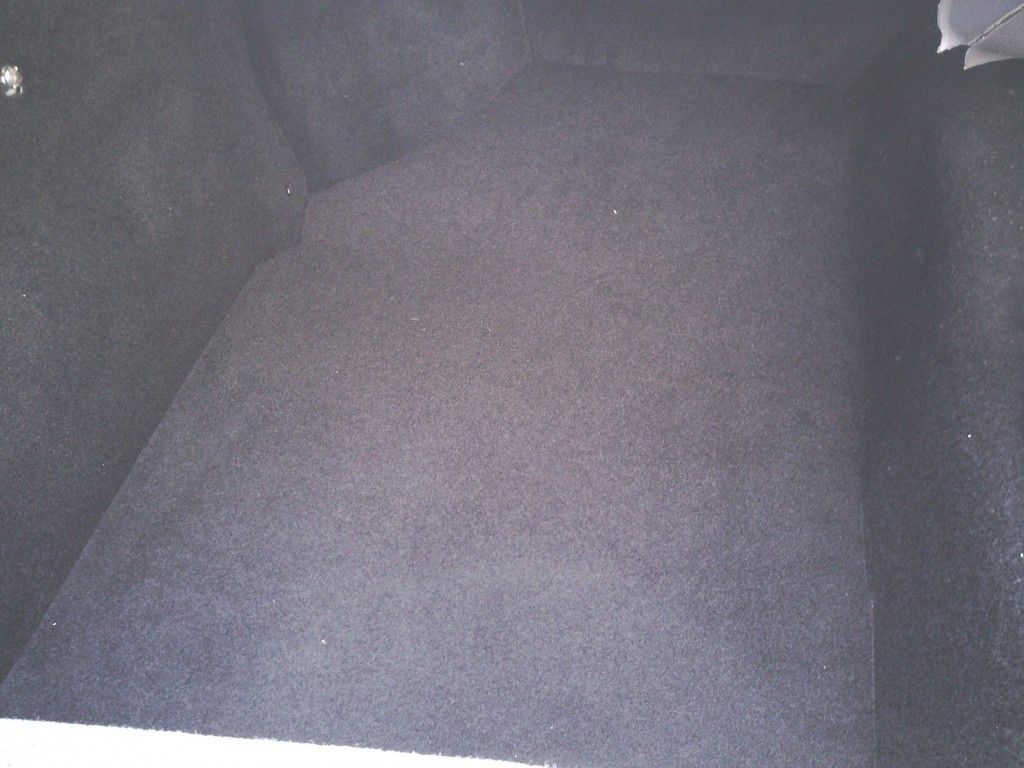
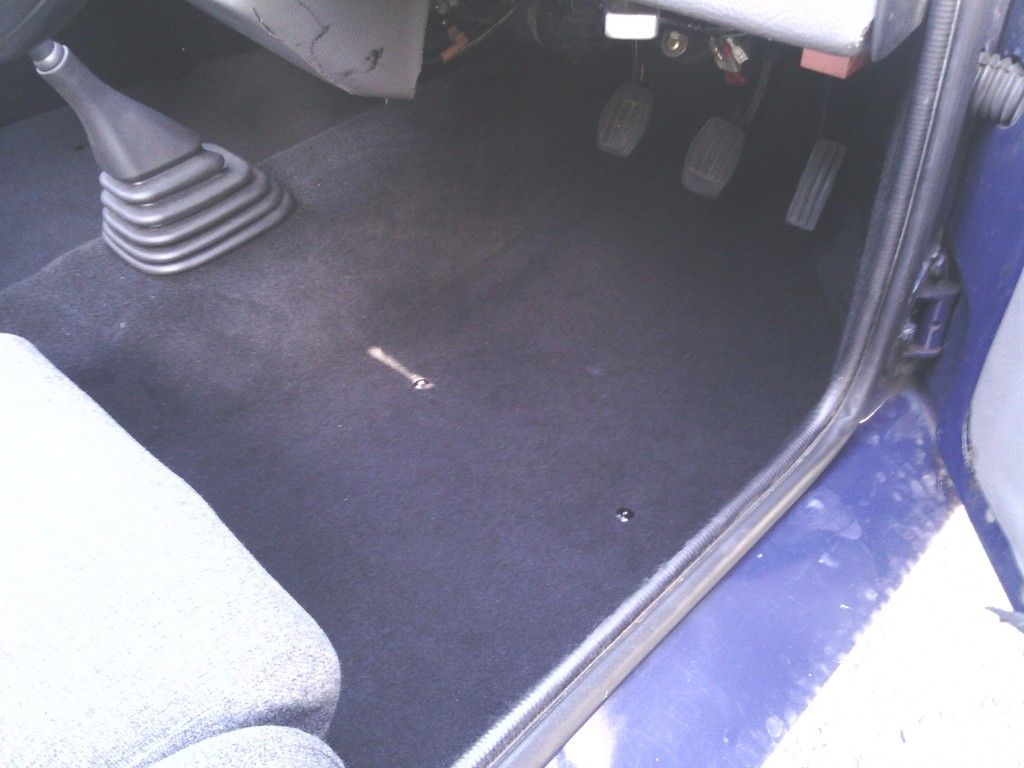
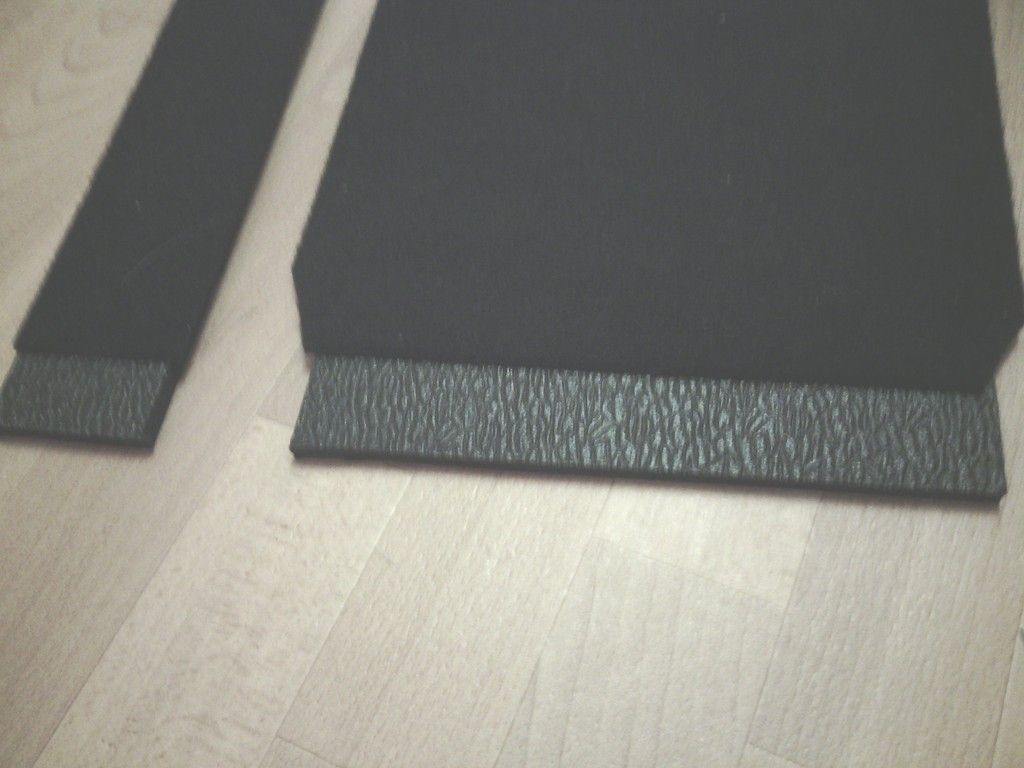
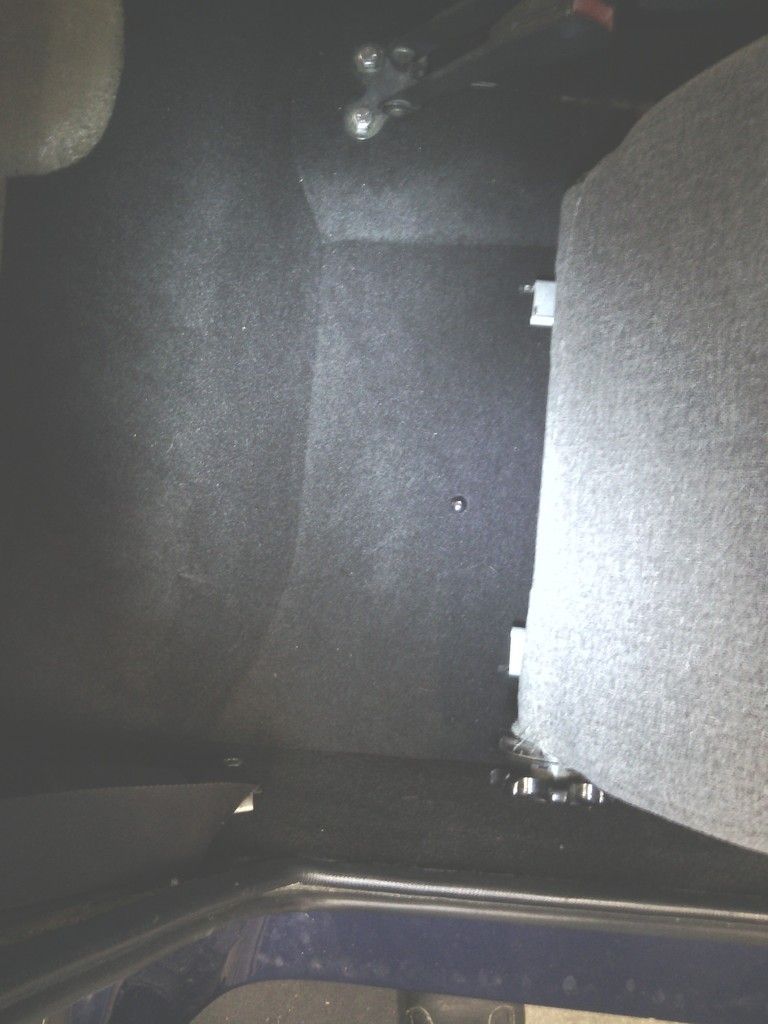
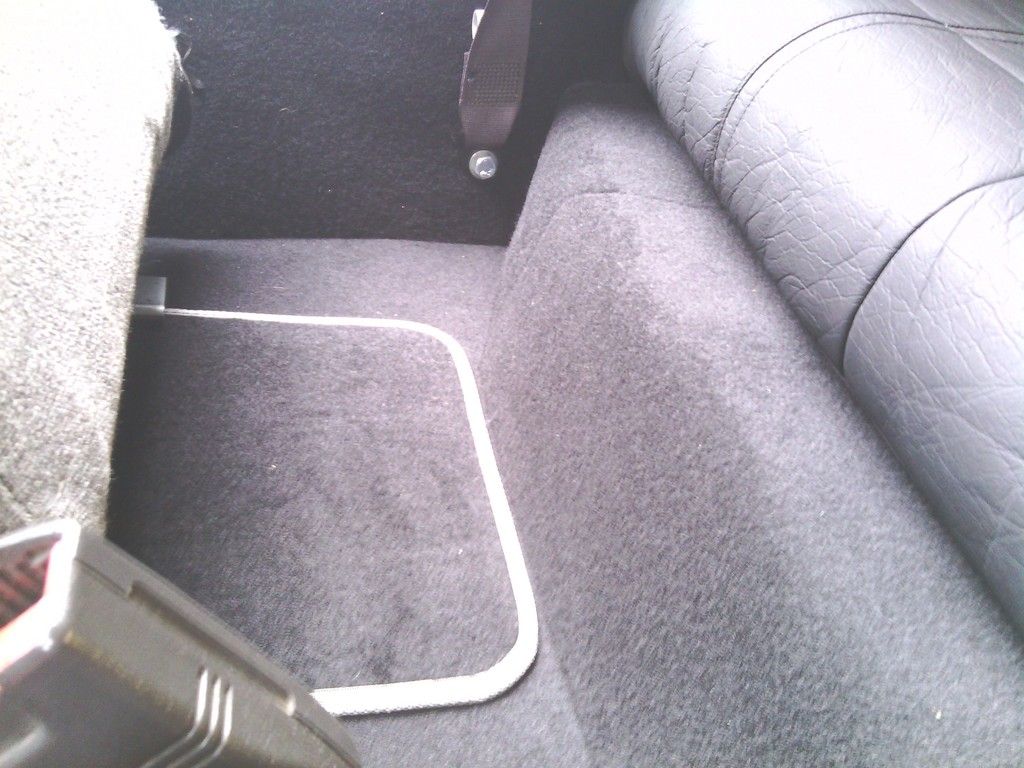
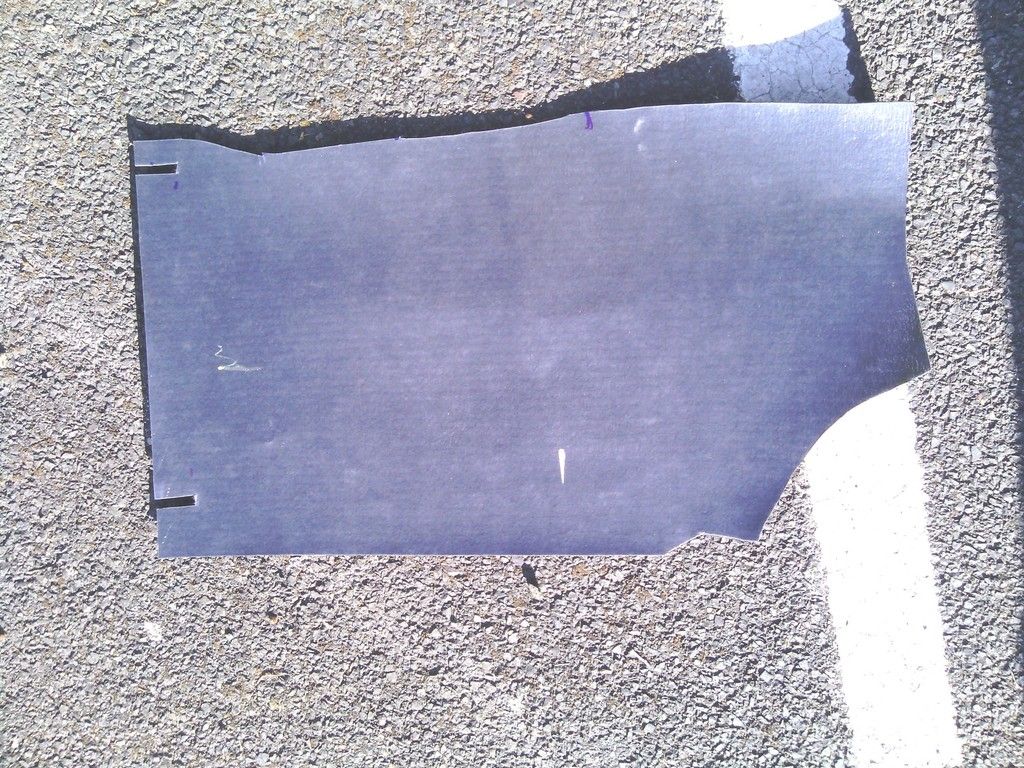
Carpet trimmed to fit in exactly butting up tight to the surrounding carpet, this way the joins are virtually invisible but the cutting has to be mm accurate, fortunately I managed it
Image

Sound deadening shown for comparison

Image

Dropped in and the fit is snug

Image

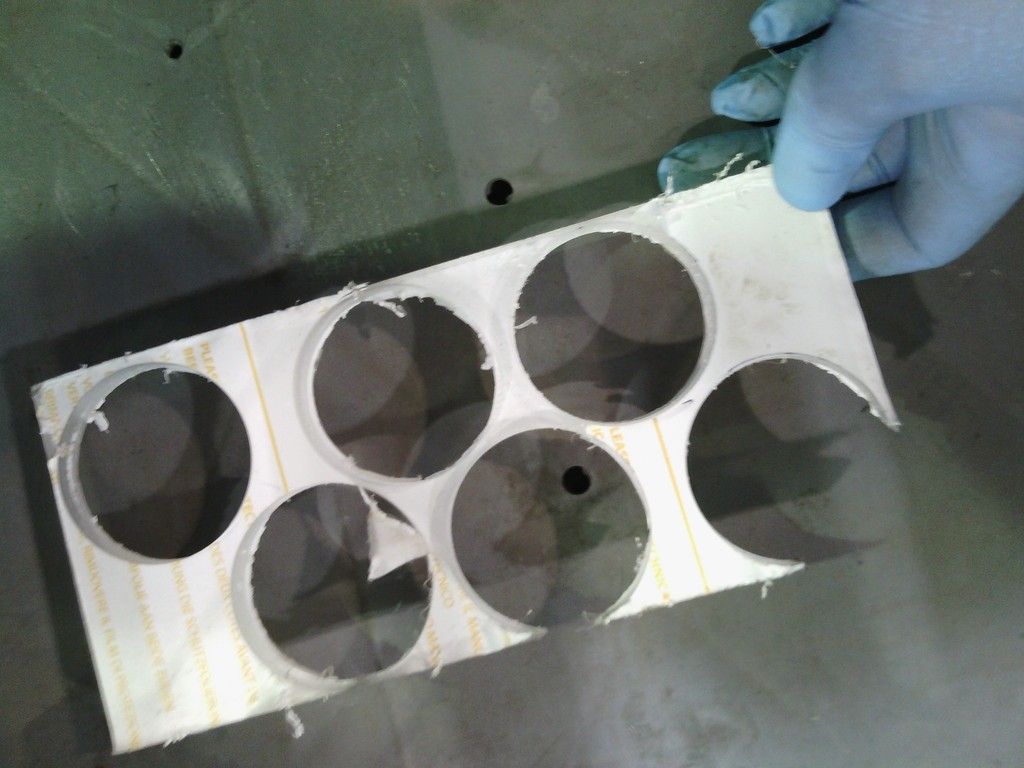
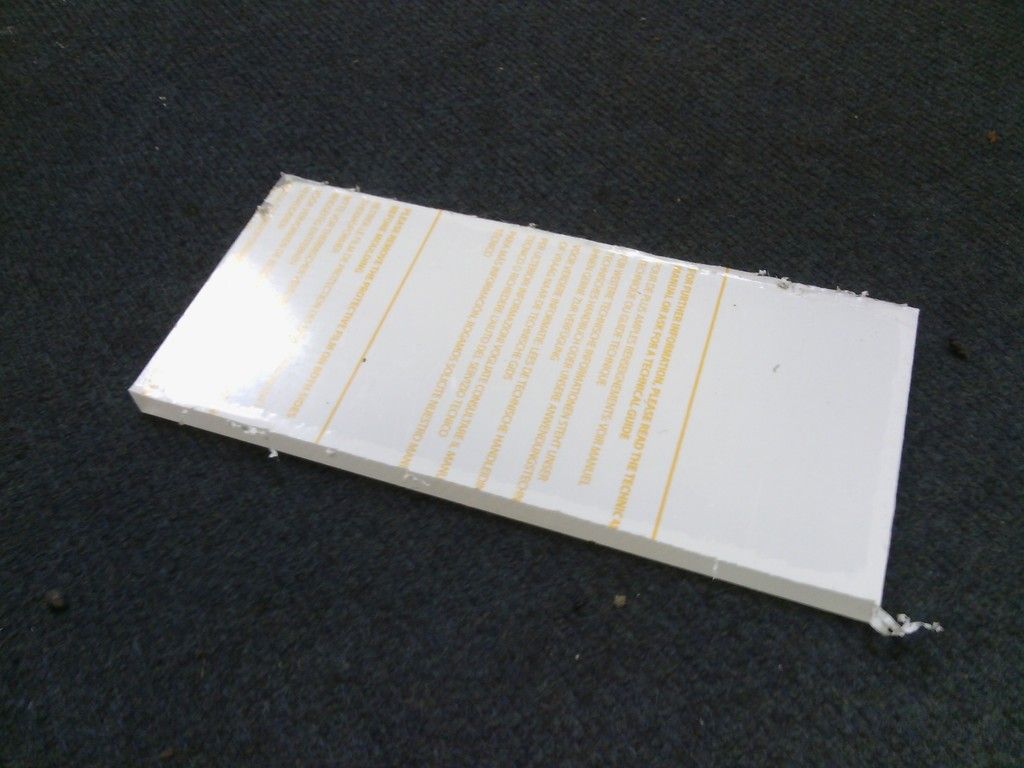
Trouble is this is just going to slide around all over the place and I don’t intend to bond them to the floor since ill need to access the sub frame nuts etc. and need to mop up any leaks should they occur, so I bought some 10mm polycarbonate sheet which happened to be the exact thickness of the sound deadening
Image

Cut it up to 2” circles

Image

Got my money’s worth out of that

Image

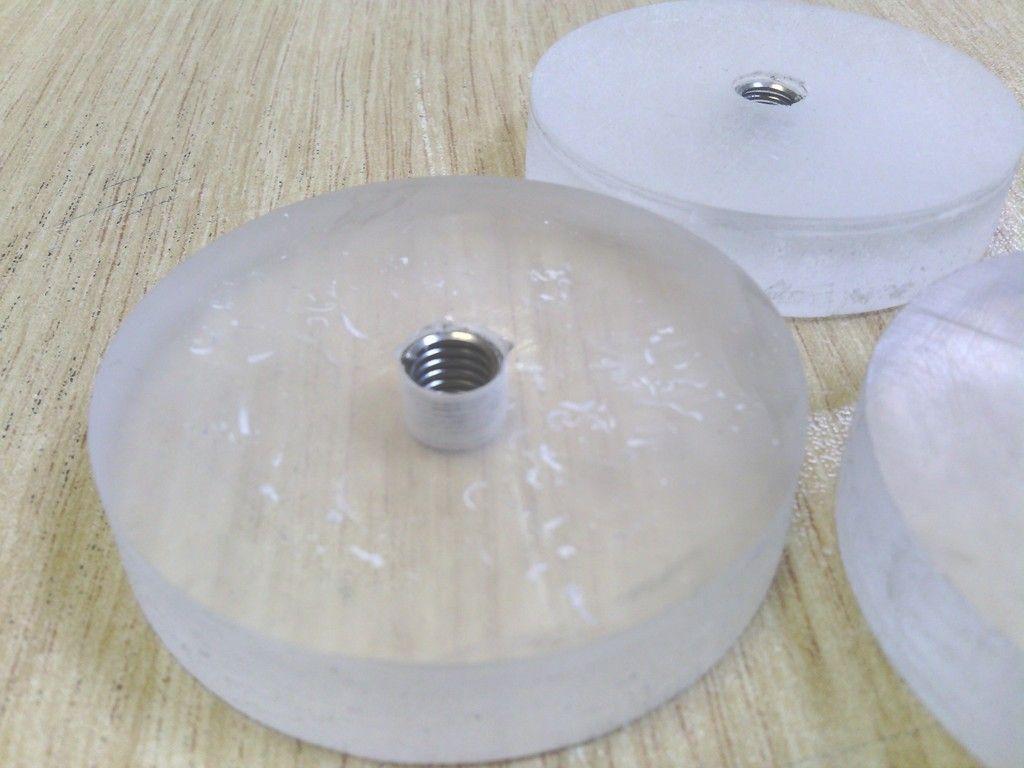
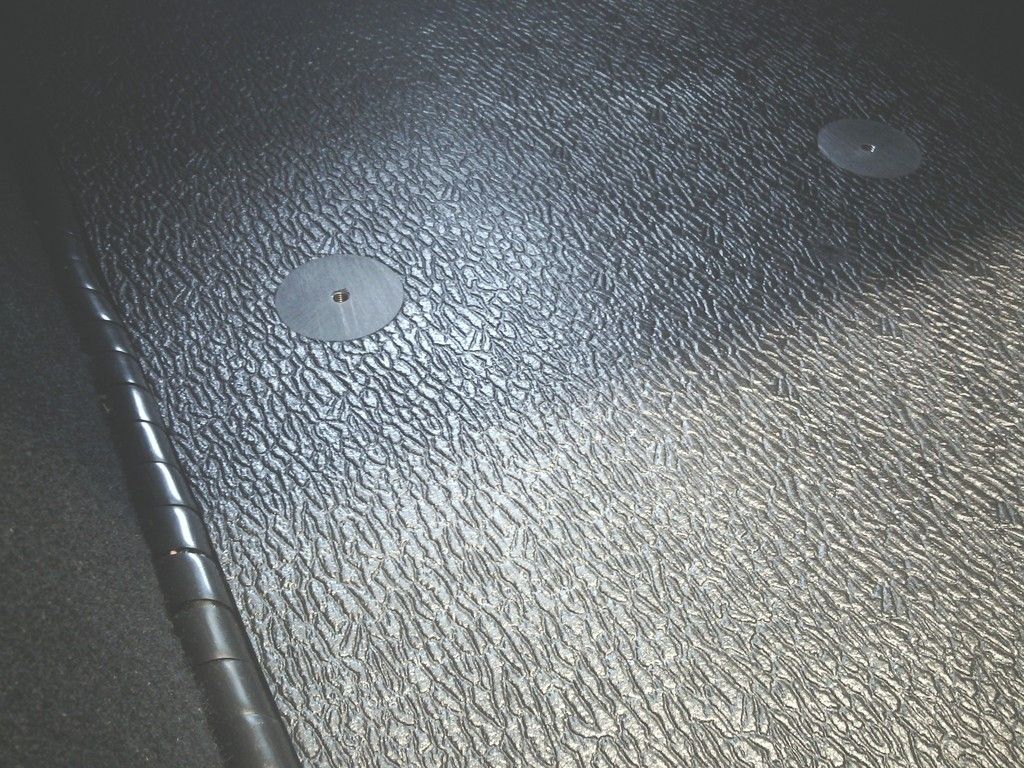
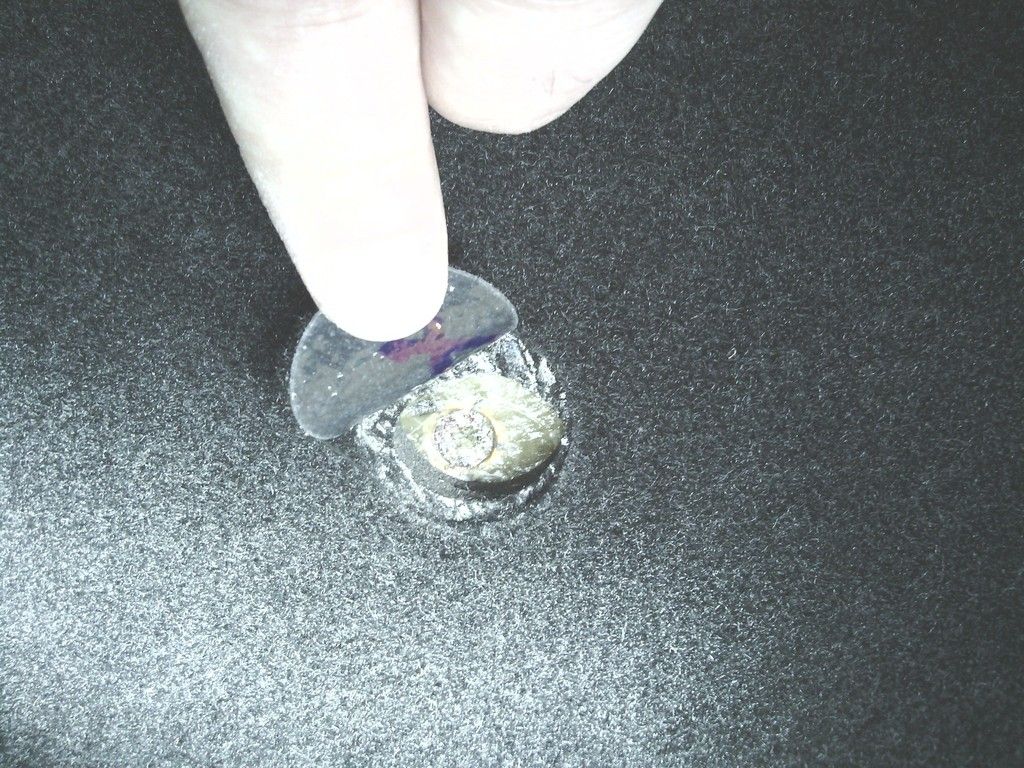
M6 stainless inserts

Image

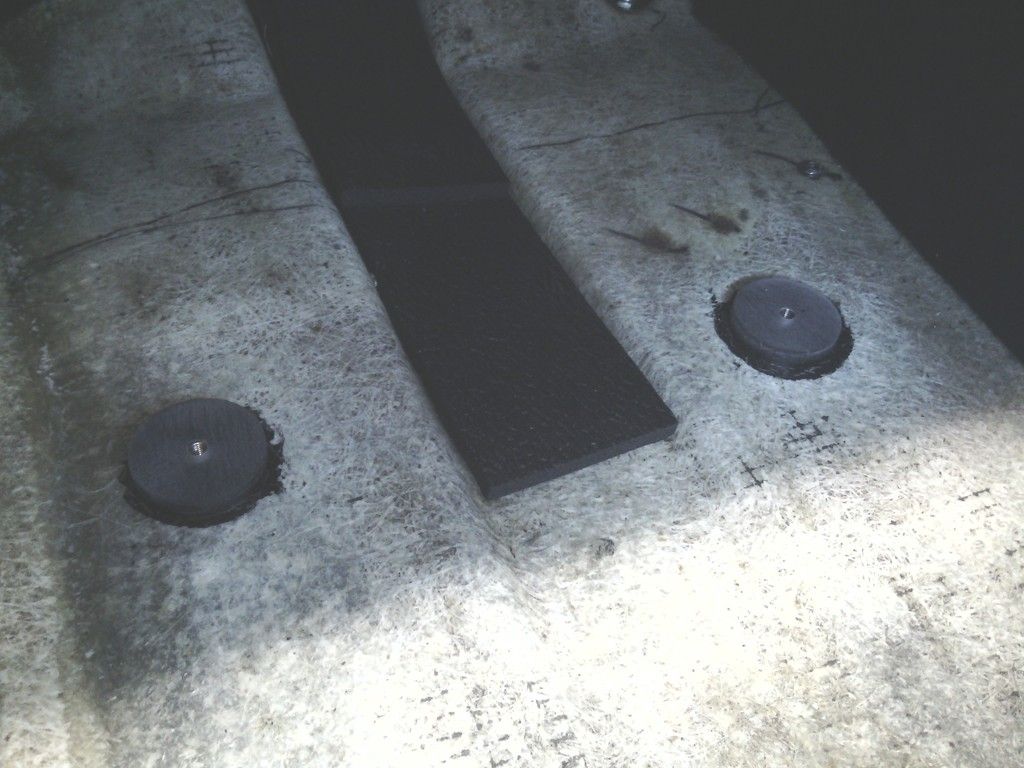
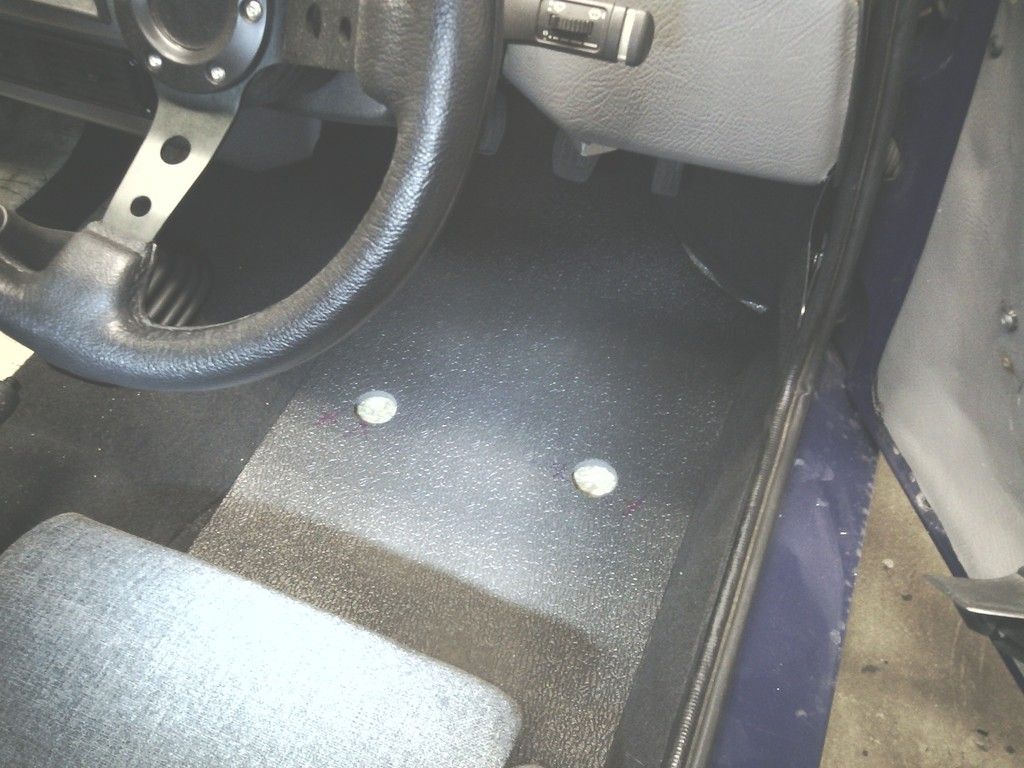
Bonded to the floor
With corresponding holes punched into the sound deadening
Image
Image

Perfect fit

Image

Then step 2 was to bond the carpet to this
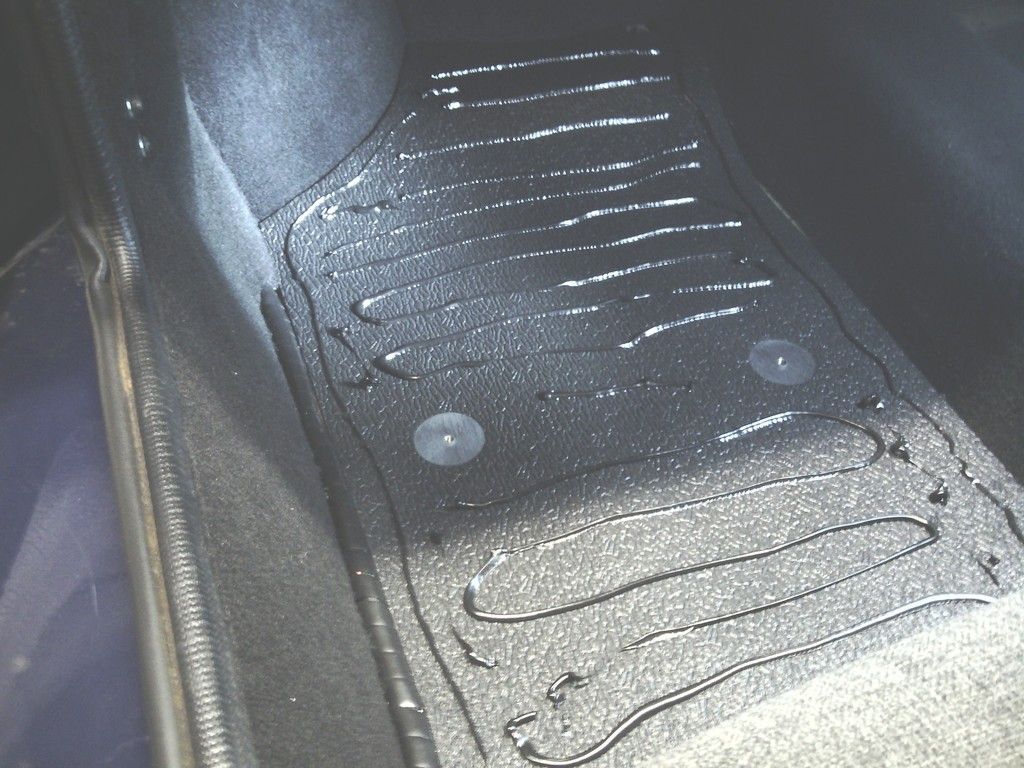
Image

Then once set I whipped them out and sealed all-round the edges with polyurethane to make them one semi ridged removable waterproof floor section,
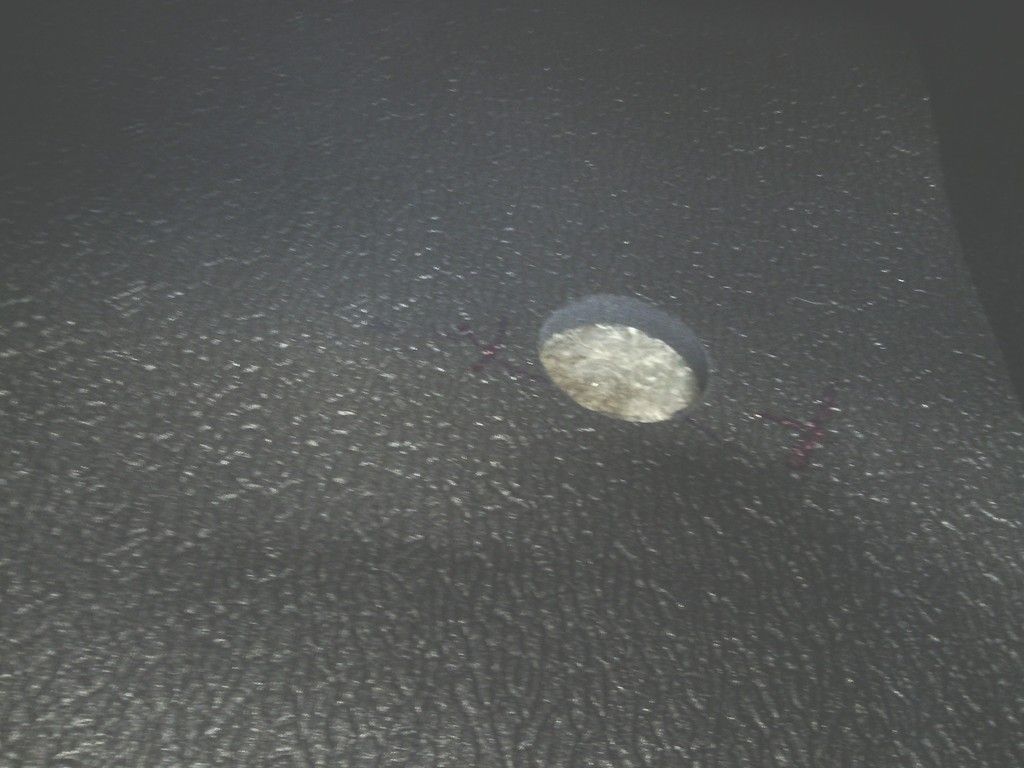
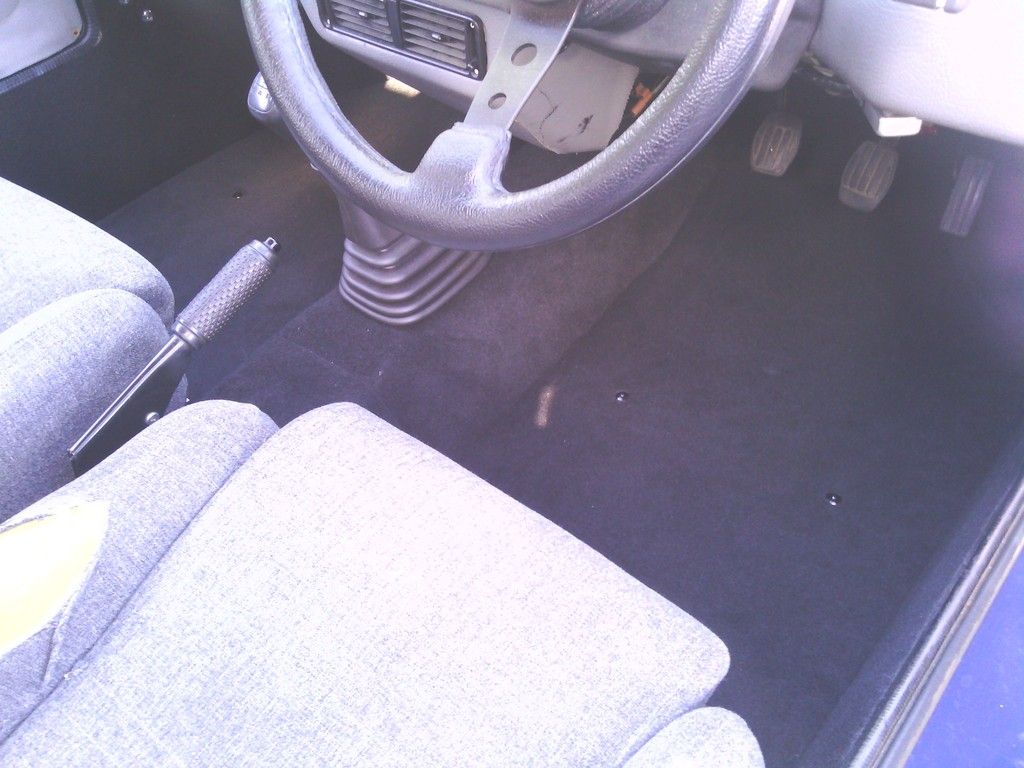
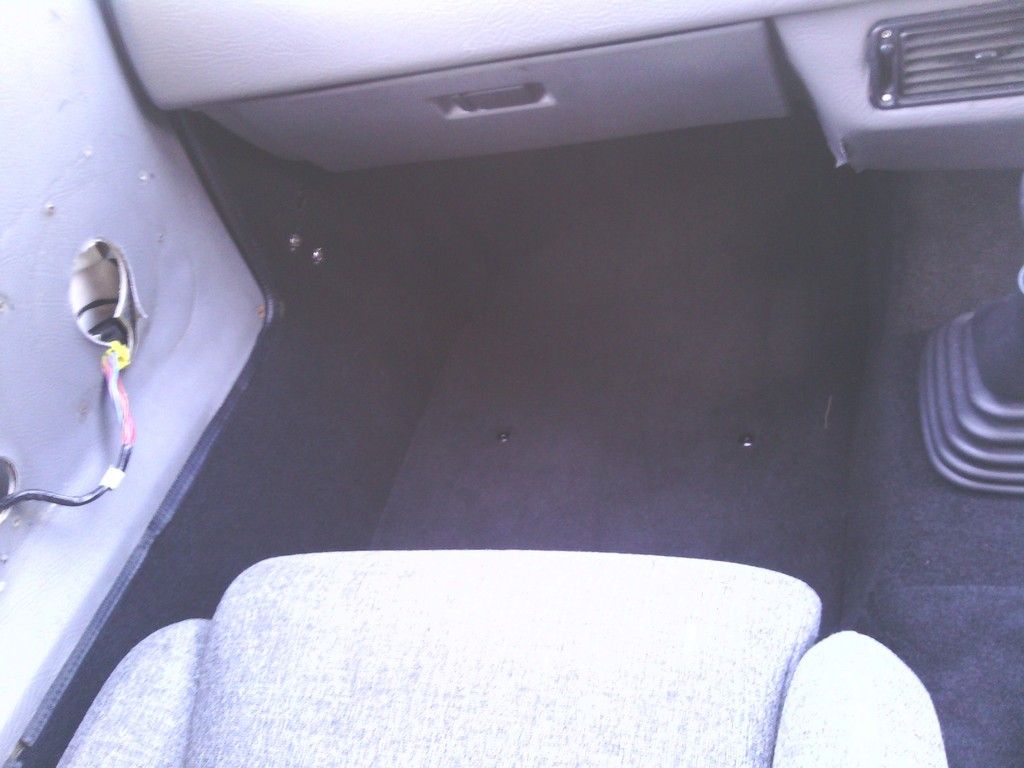
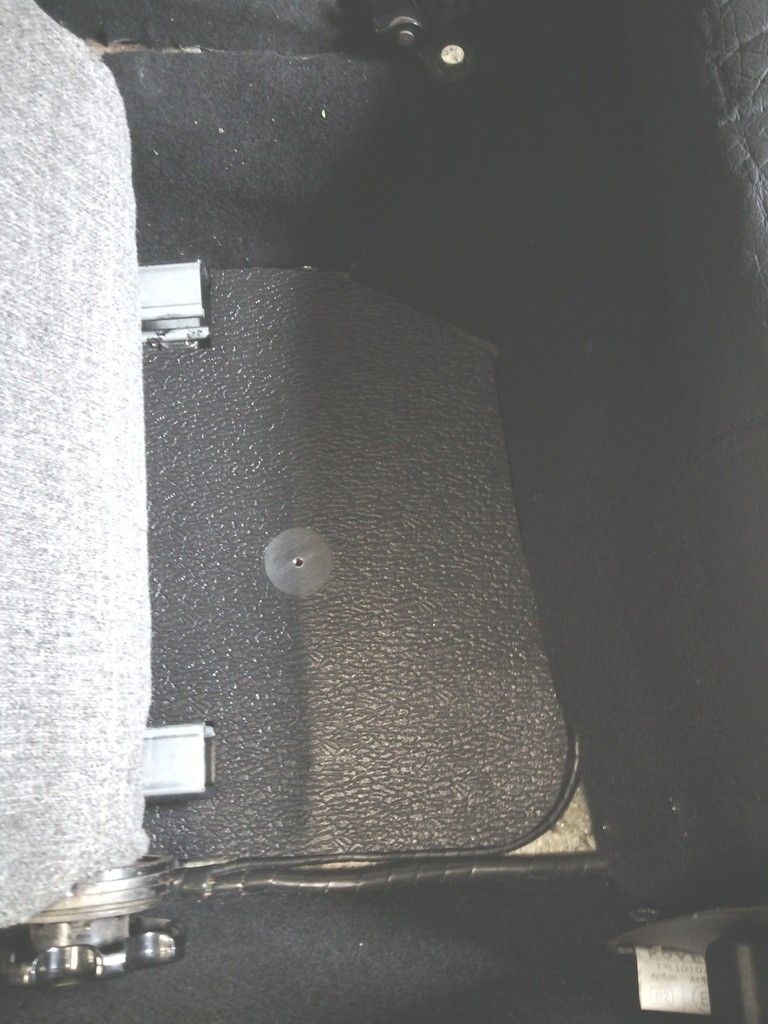
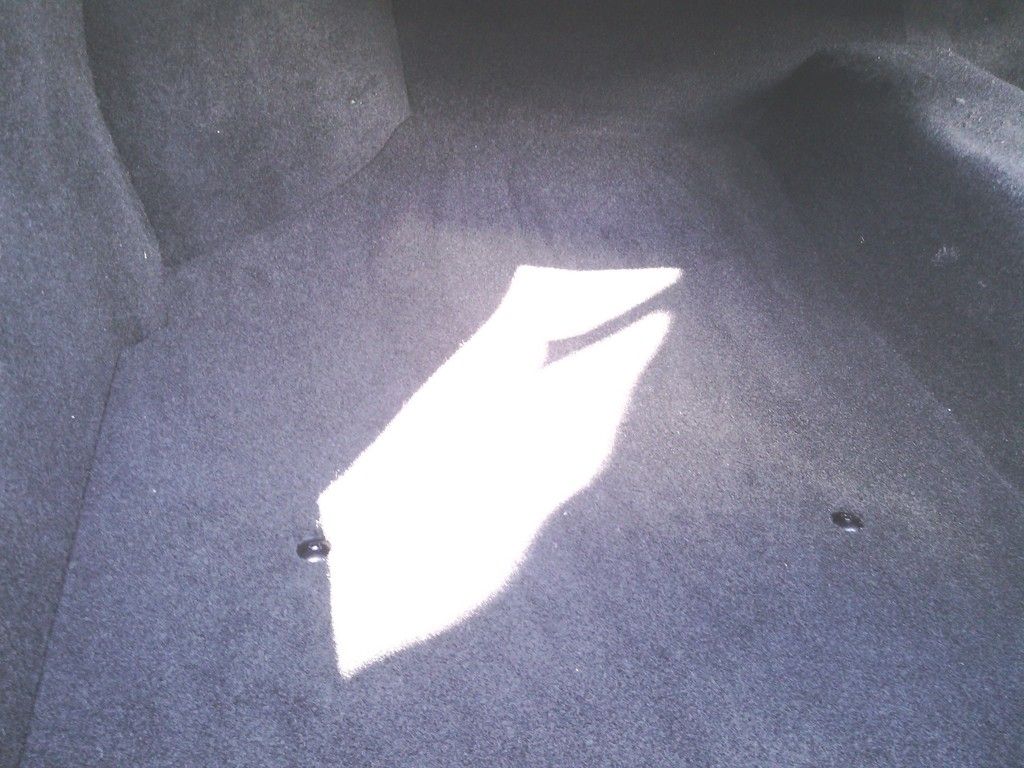
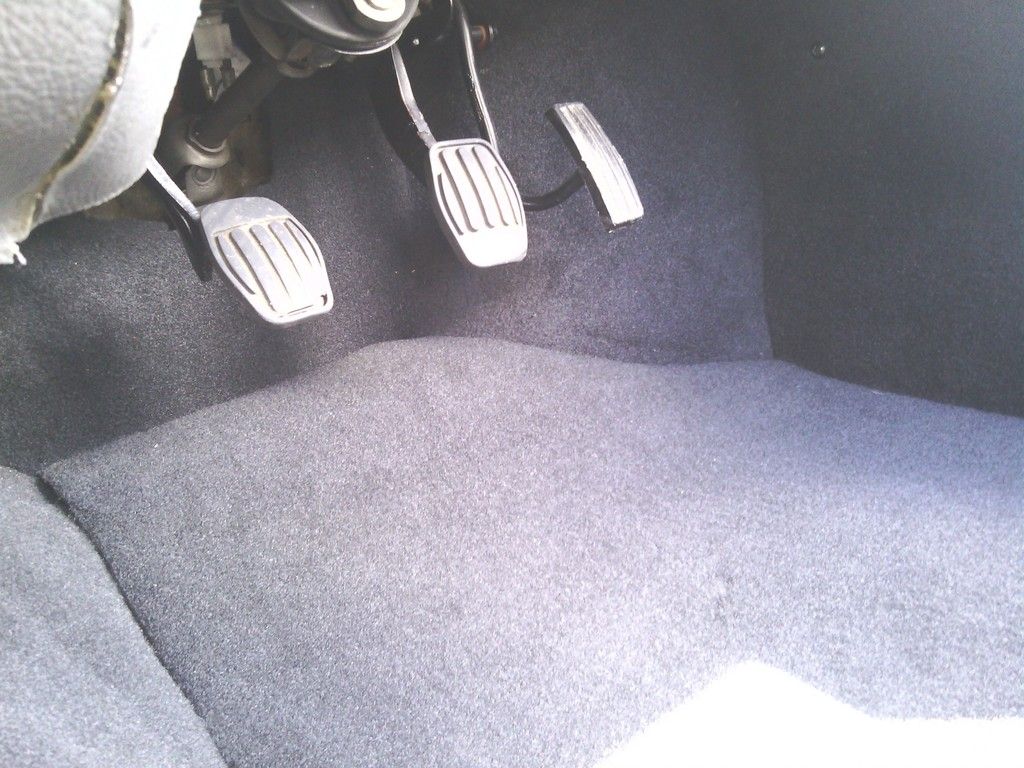
Then the last job was to punch out a 6mm hole that lined up with the threaded inserts in the floor locaters and some black flat alloy screws used to nip them down, no unwanted movement whatsoever and the screws will be hidden by some over mats
Image
Image
Image
Image
Image
Image

Work continues at the rear foot wells, the passenger side gave me a bit of a headache due to the fuel pump and main loom wiring running through this area, so I bonded some wood blokes to make a frame to support the carpet to the desired shape, I chose wood since ill need to access the wires from time to time so this section of the carpet can be secured with subtle black self-tappers
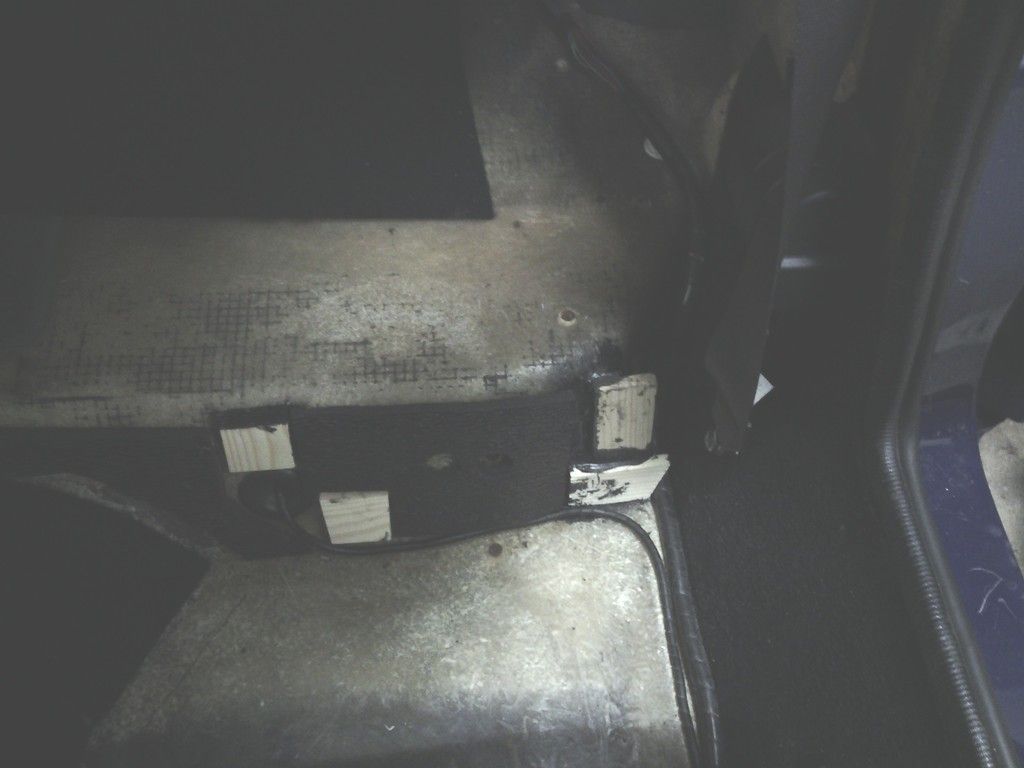
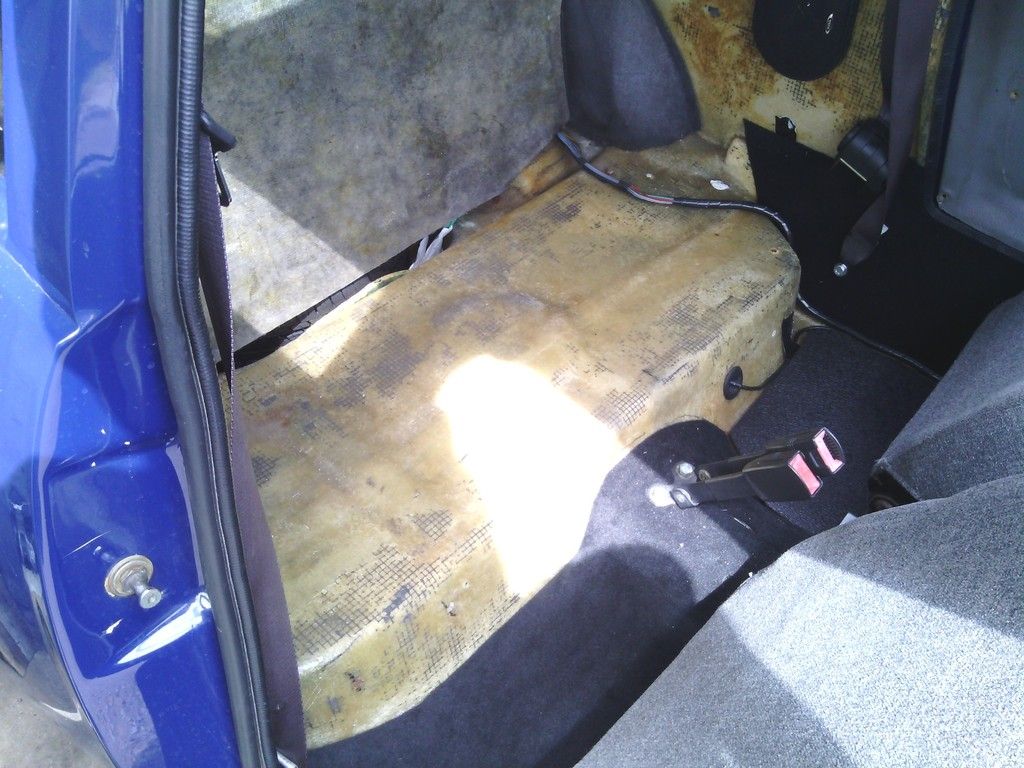
Image
Image
Image

Also there needed to be access to the rear brake pipe clip screws from inside the rear foot wells, it seemed overkill to make the whole carpet removable and this carpet doesn’t sit flat too well either so it was bonded on with a lift up flap
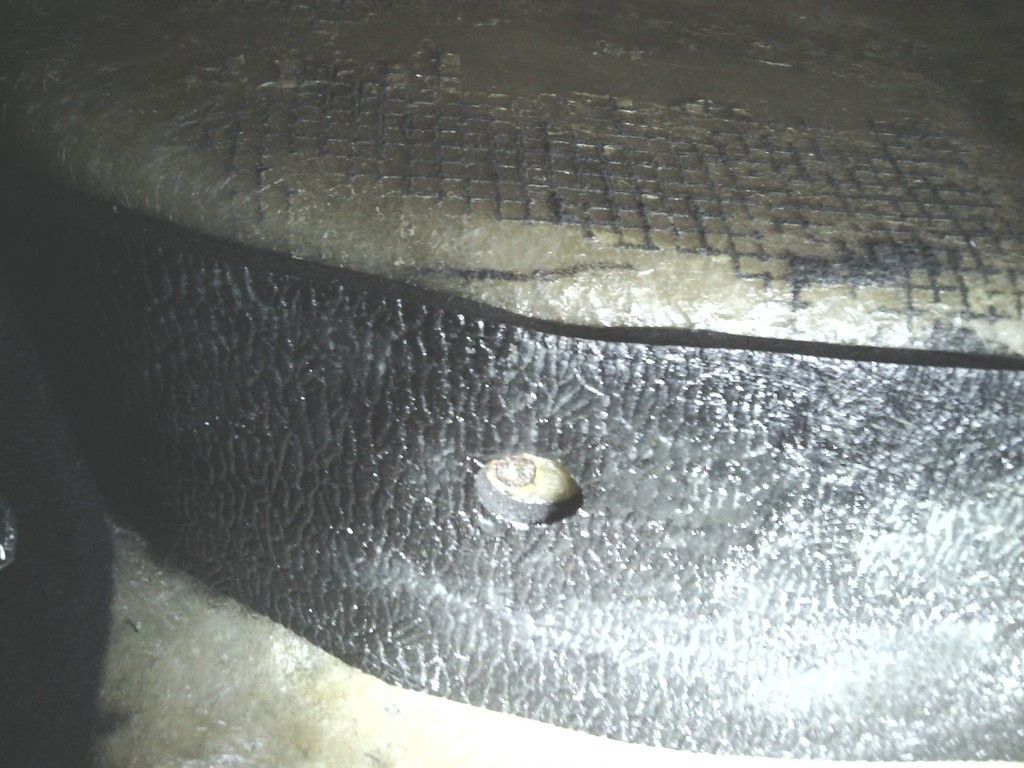
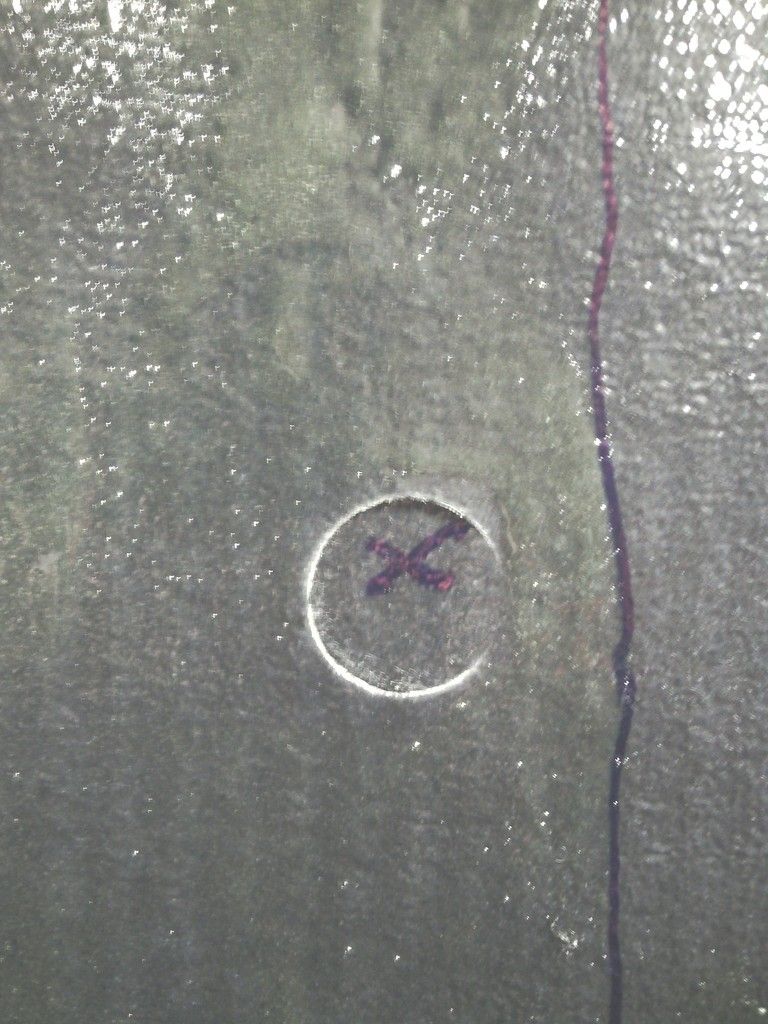
Image
Image
Image
Image

Rear floor sections being made in the same way as the fronts, new bucket seats on order so things are progressing nicely…
https://easywider.co.uk/ universal flexible wheel arch extensions
Jin
 
Posts: 454
Joined: Fri Aug 01, 2014 10:33 pm

Re: J171 NJO Cortez / 2+2 rebuild and modifications

Postby kelvink » Mon Jul 06, 2015 8:00 am

Superb attention to detail as ever. This car really is going to be a credit to you and I'm sure will inspire many a Midas owner to have a go at their cars too. The carpet is excellent and I'll be looking out for some of the same materials to re do each of mine now.

Thanks for posting
User avatar
kelvink
 
Posts: 636
Joined: Wed Jun 20, 2012 8:12 am
Location: Dorset

Re: J171 NJO Cortez / 2+2 rebuild and modifications

Postby Hans Efde » Mon Jul 06, 2015 8:30 am

I love what you did with the hinges of the boot lid. I have the same problem with the boot of my convertible (front edge hits the soft top fasteners) and was planning to find some other after market hinges. But this looks awesome and easy to do.
User avatar
Hans Efde
 
Posts: 1731
Joined: Sat Dec 06, 2008 10:11 pm
Location: IJlst, Netherlands

Re: J171 NJO Cortez / 2+2 rebuild and modifications

Postby Jin » Mon Jul 06, 2015 11:56 am

Cheers guys, I'm quite happy with how it's come out so far,
I'll be ordering the material to re trim the dash and door cards soon too, I'm thinking white or cream since the seats and carpet are black I'll need to lighten it up a bit, :D
https://easywider.co.uk/ universal flexible wheel arch extensions
Jin
 
Posts: 454
Joined: Fri Aug 01, 2014 10:33 pm

Re: J171 NJO Cortez / 2+2 rebuild and modifications

Postby kelvink » Mon Jul 06, 2015 1:58 pm

I'd strongly advise not to go for a light coloured dash (or at least not the top of it)

I had a Lotus Excel 20 years ago and it had a cream leather interior. In those days it looked great it had gorgeous metallic burgundy paintwork. Very similar to this car..


The big problem was the cream interior reflected in the windscreen and it was blinding when you drove from sunlight into wooded roads or under bridges where there was a change from sunny road to shaded. All you could see just as you entered the wooded roads was the inside of the car.

I really would not do it or if you do just do the lower portion of the dash and do all the upper surfaces dark or black.
User avatar
kelvink
 
Posts: 636
Joined: Wed Jun 20, 2012 8:12 am
Location: Dorset

Re: J171 NJO Cortez / 2+2 rebuild and modifications

Postby Jin » Mon Jul 06, 2015 5:28 pm

Yes good point, I had considered this too, ill have to experiment first though because the dash is very light grey at the mo and I get no problems, trouble is grey is a bit boring, maybe I could settle on a biscuit shade?
https://easywider.co.uk/ universal flexible wheel arch extensions
Jin
 
Posts: 454
Joined: Fri Aug 01, 2014 10:33 pm

Re: J171 NJO Cortez / 2+2 rebuild and modifications

Postby Hans Efde » Mon Jul 06, 2015 7:14 pm

You could go 2-tone, top black maybe matt suede style) and the rest in a light color. Best of both worlds.
User avatar
Hans Efde
 
Posts: 1731
Joined: Sat Dec 06, 2008 10:11 pm
Location: IJlst, Netherlands

Re: J171 NJO Cortez / 2+2 rebuild and modifications

Postby Jin » Mon Jul 06, 2015 8:06 pm

Your right, I could.
Trouble is with the top section of the dash out the equation there isn't allot of dash left and I wanted an integrated look,
I'll work something out ;)
https://easywider.co.uk/ universal flexible wheel arch extensions
Jin
 
Posts: 454
Joined: Fri Aug 01, 2014 10:33 pm

Re: J171 NJO Cortez / 2+2 rebuild and modifications

Postby Jin » Tue Jul 14, 2015 12:07 am

More carpeting

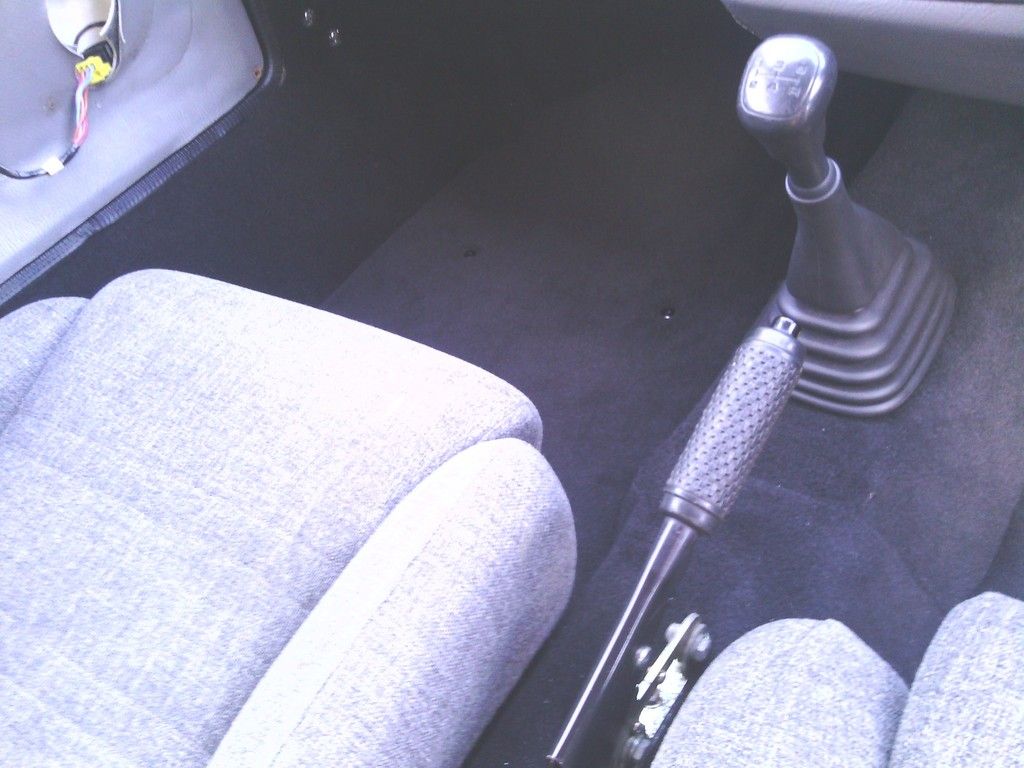
Since I can’t do much on the car at the mo I thought I may as well write up what I have done to date.
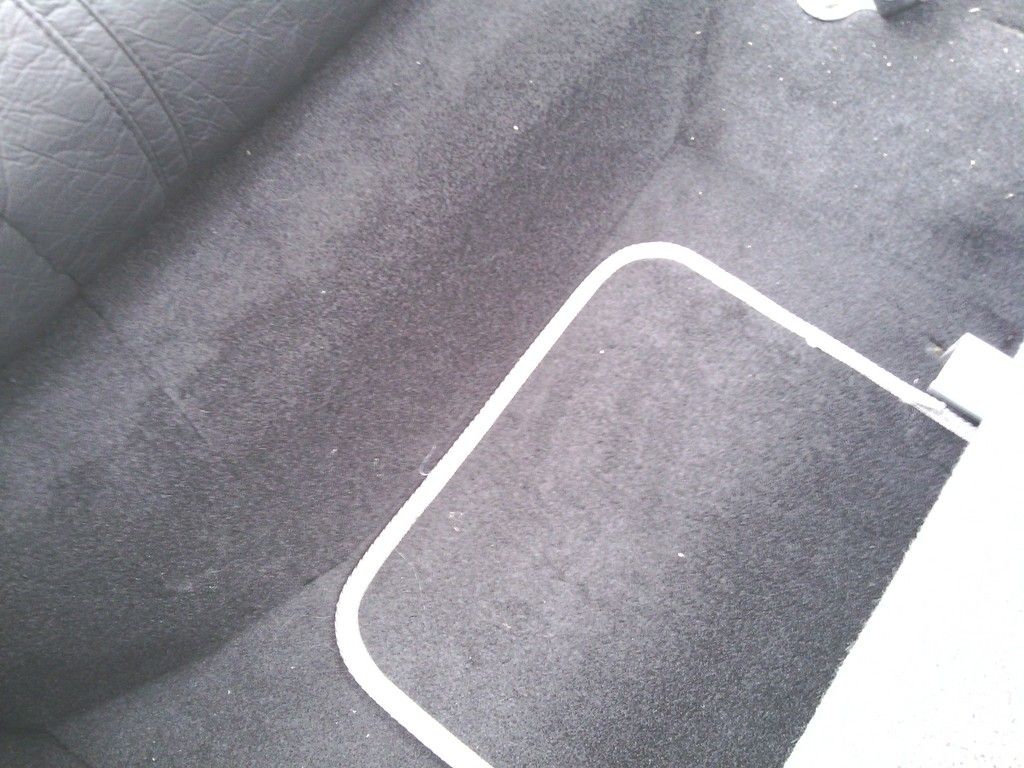
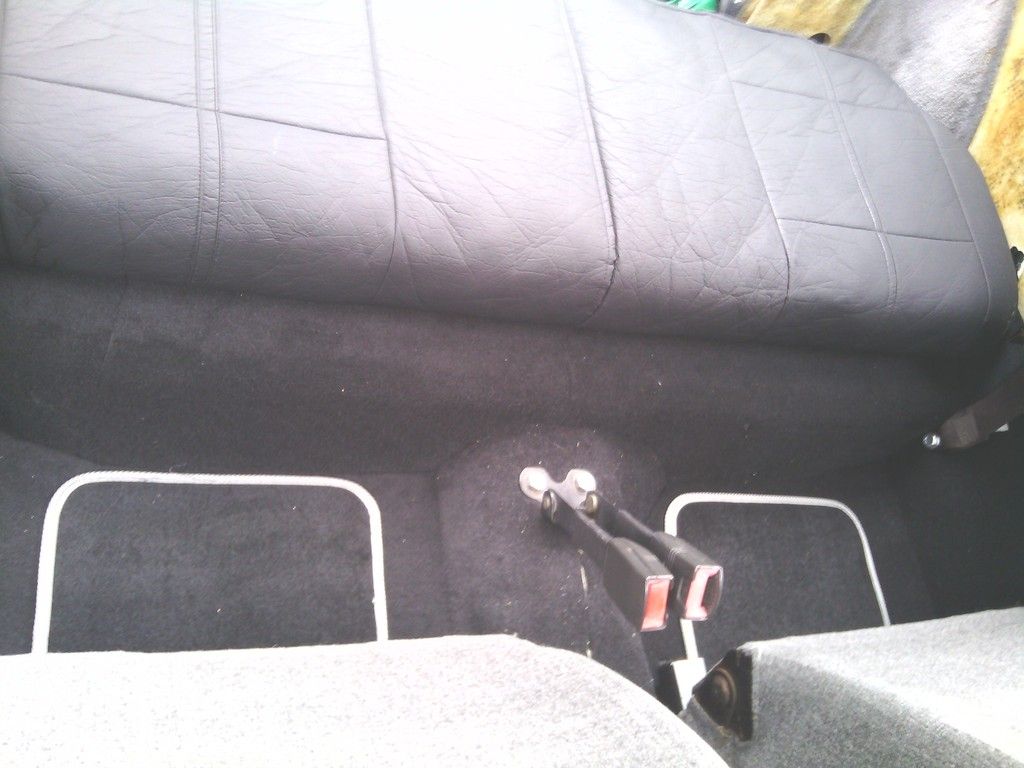
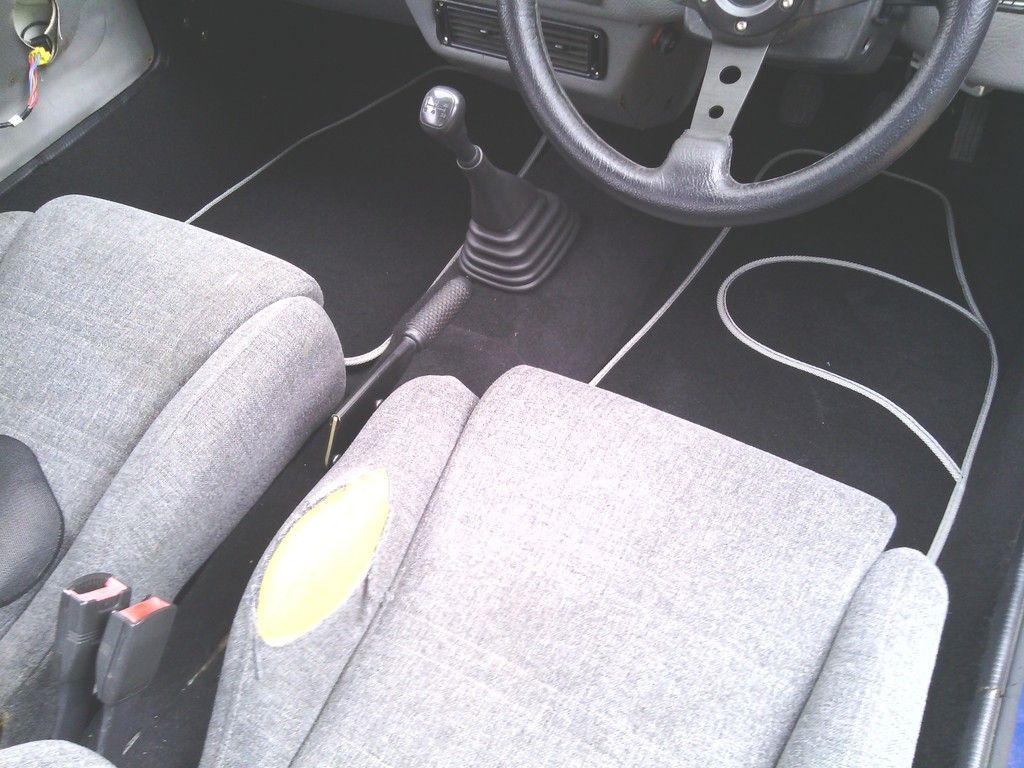
The rear floor mats have been made the same as the fronts by bonding to the sound deadening to form one single mat

Image
Image
Image

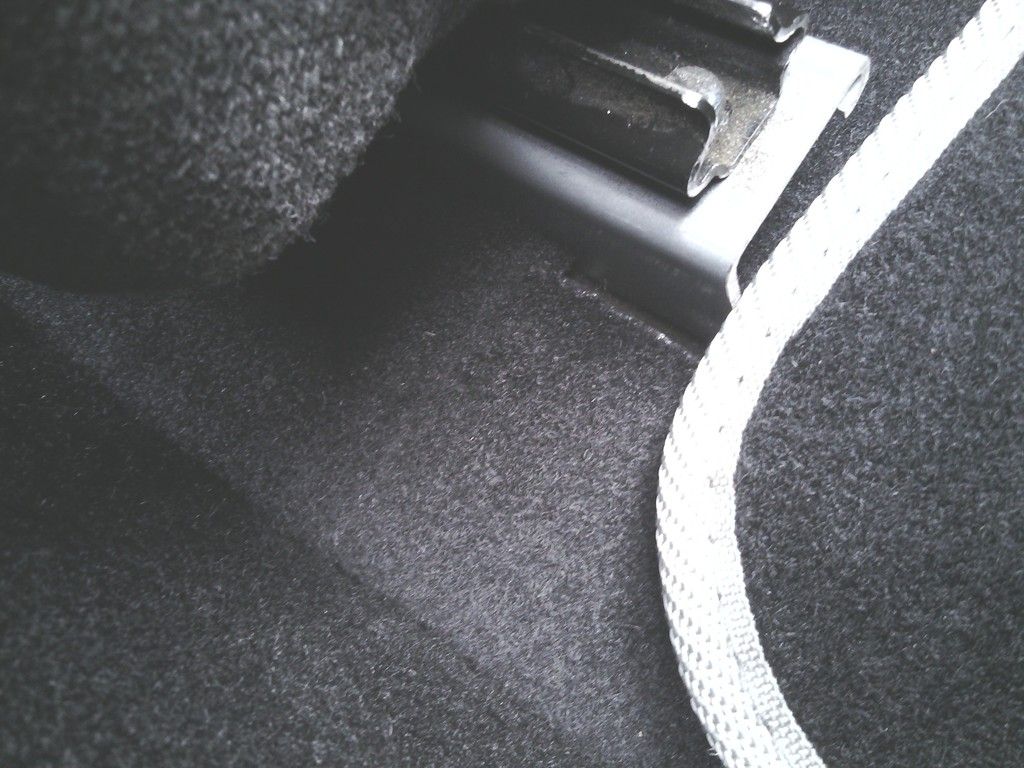
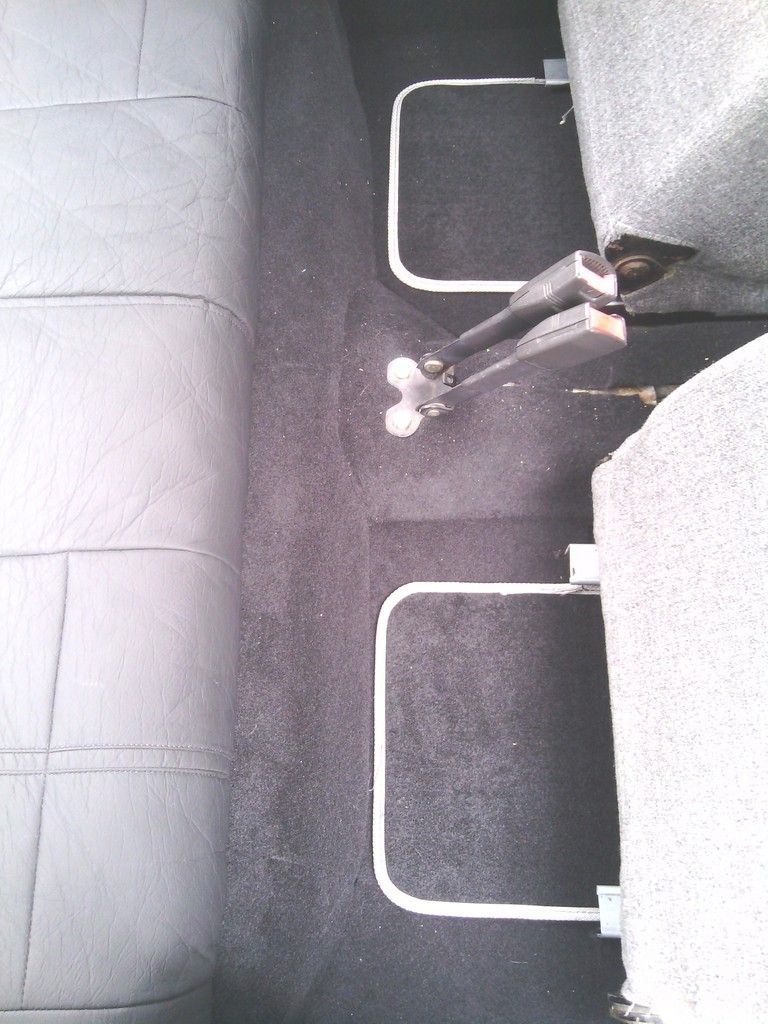
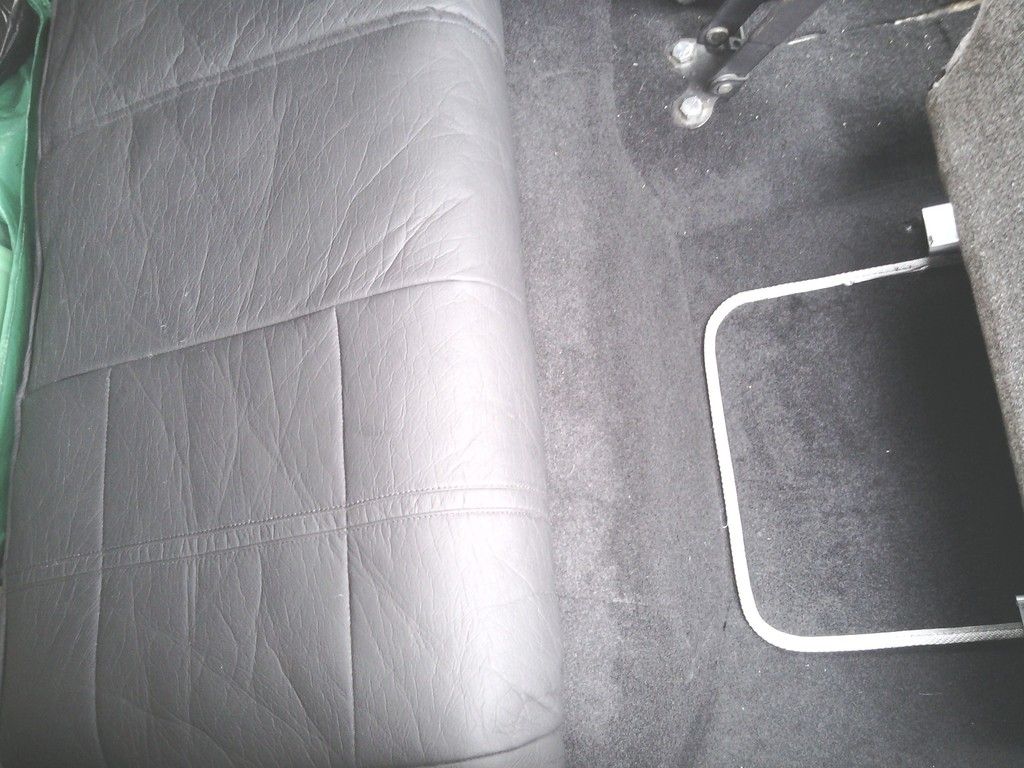
The step at the front of the rear mat (bottom of pic) locates exactly into the corresponding step at the rear of the front mats

Image

Left of pic

So when the 2 are secured into the car they interlock so there is no visible join, and even if there was a slight movement of the mats the floor of the car would still be hidden due to the overlap,
part of the join is shown here below perpendicular to the seat runner but as intended can barely be seen due to the tight dimensions

Image

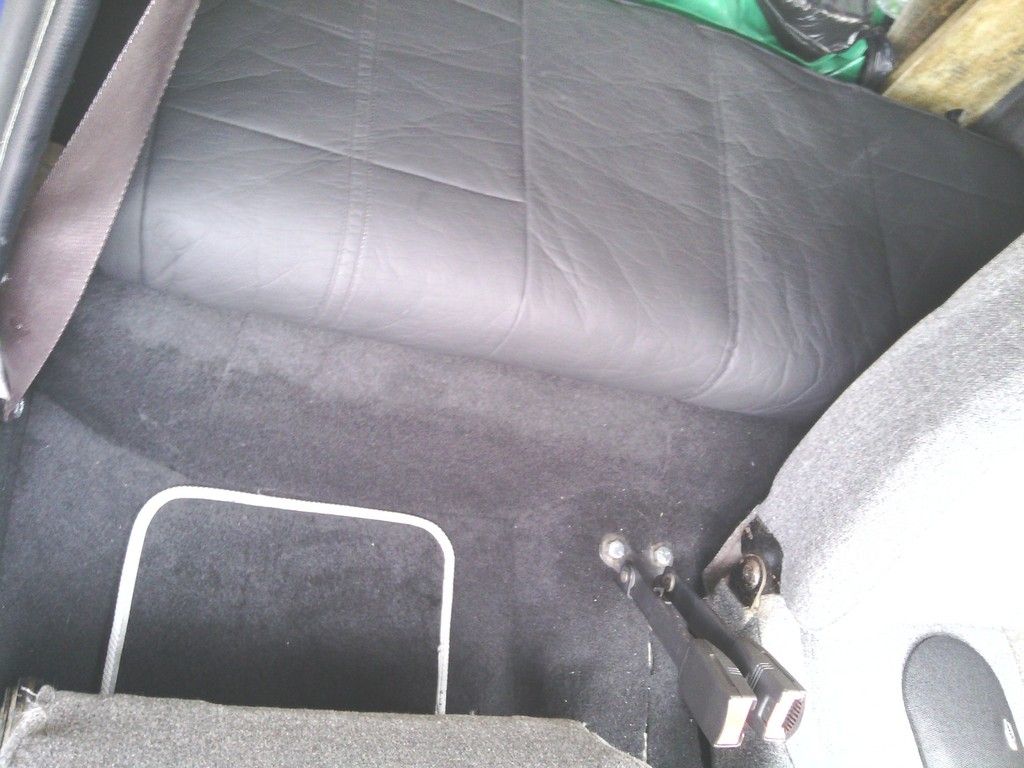
A single securing screw is used at the rear to keep the mats from moving

Image

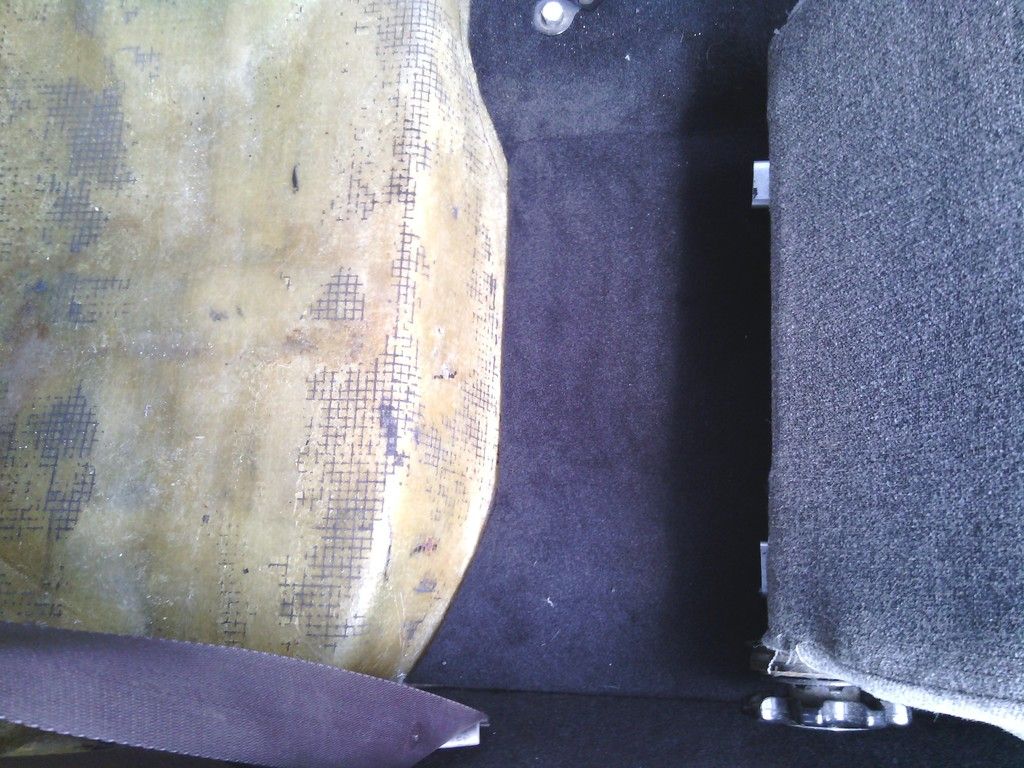
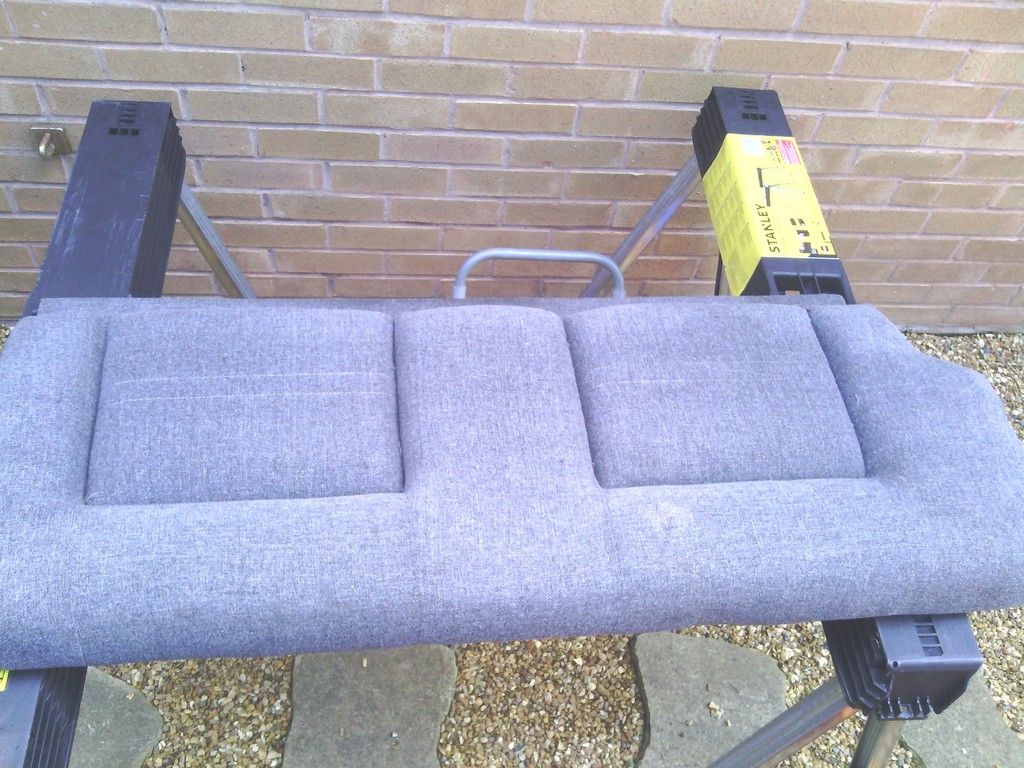
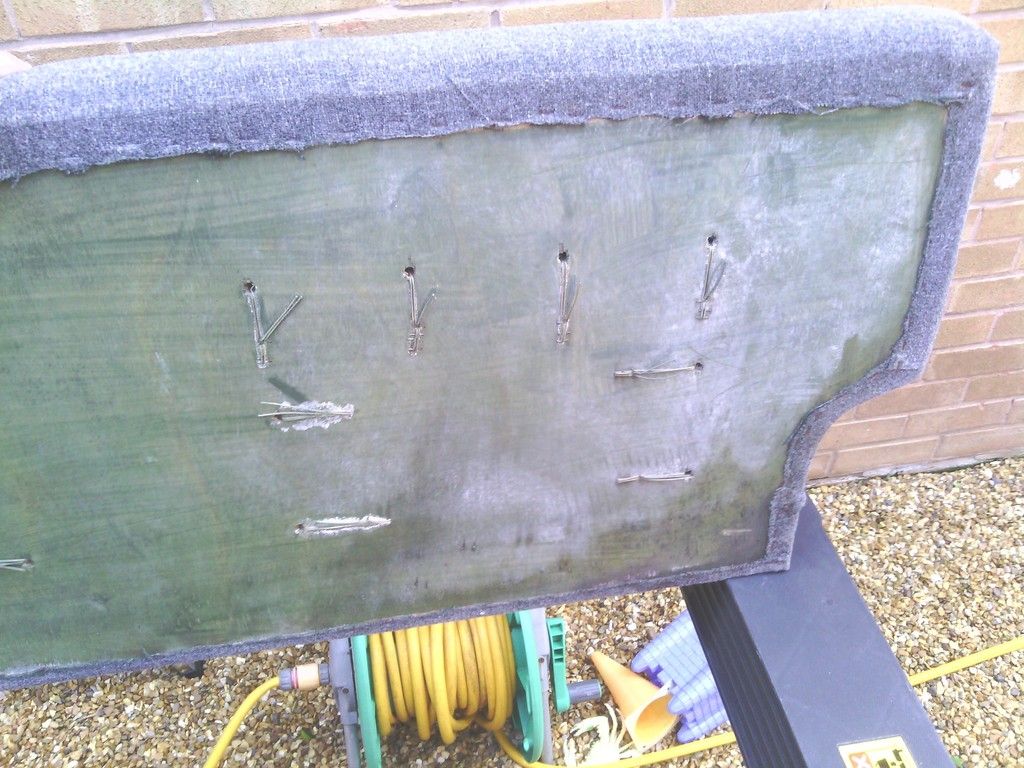
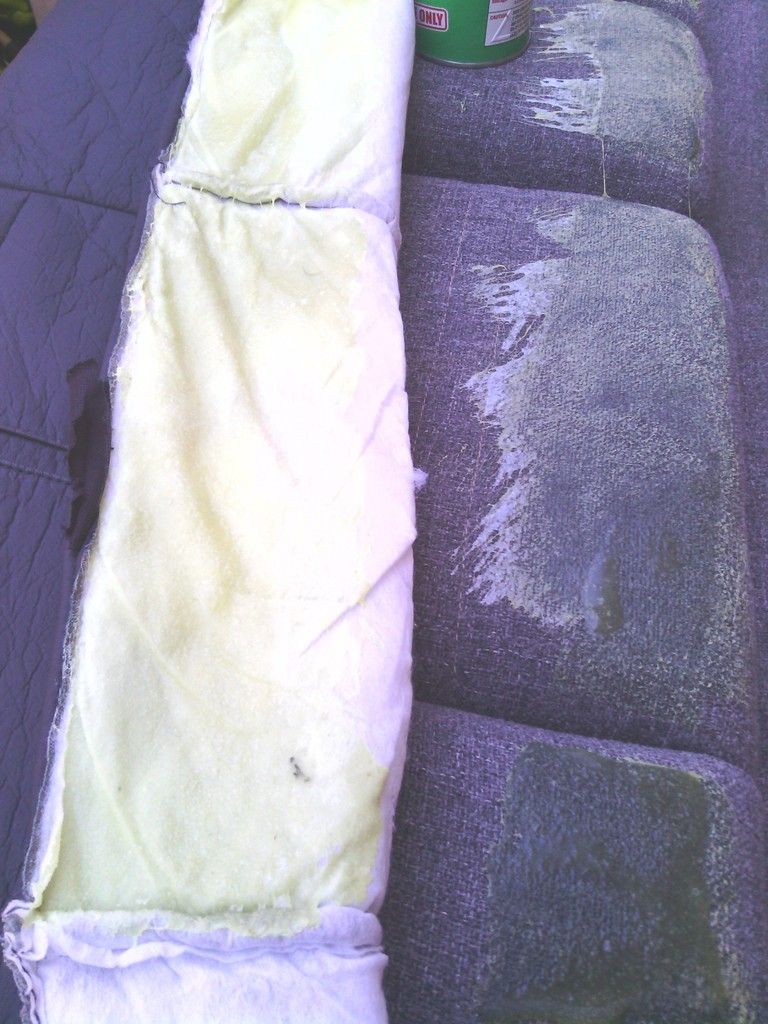
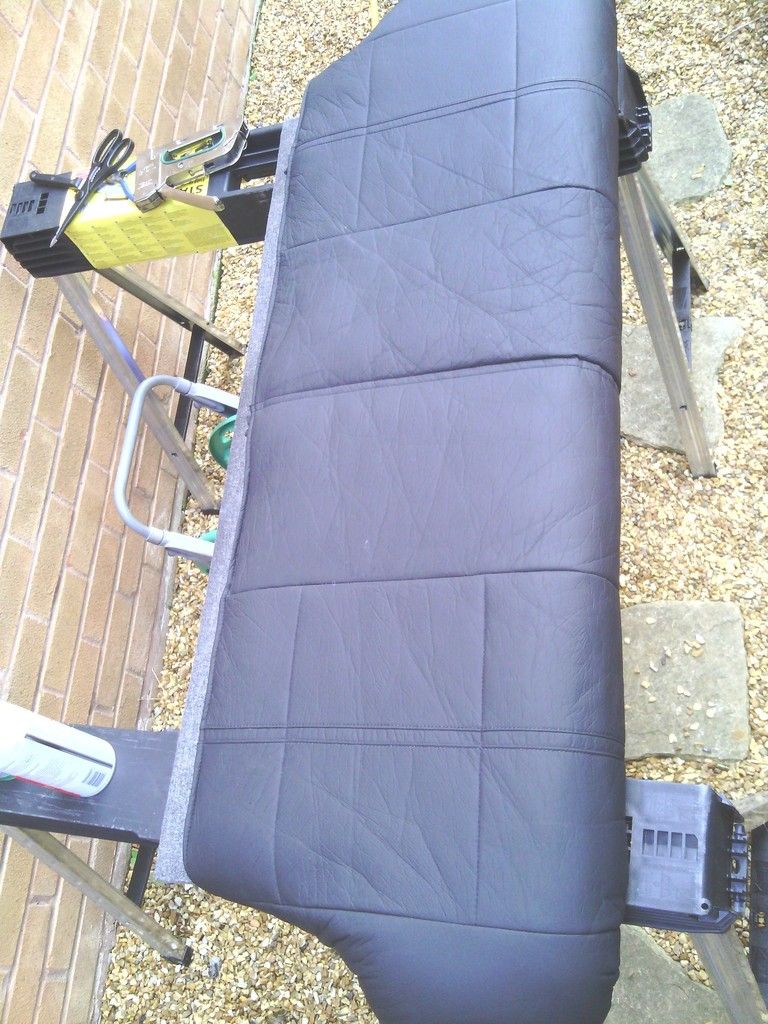
Pretty much done now so I thoought i would make a start on the rear seat, the plan is to buy new black leather / vinyl / faux leather front bucket seats but I didn’t fancy spending a fortune re-trimming the rears to match especially since the originals look like a foam seat base glued to some plywood with nothing more than a simple cover stapled over the top

Image
Image

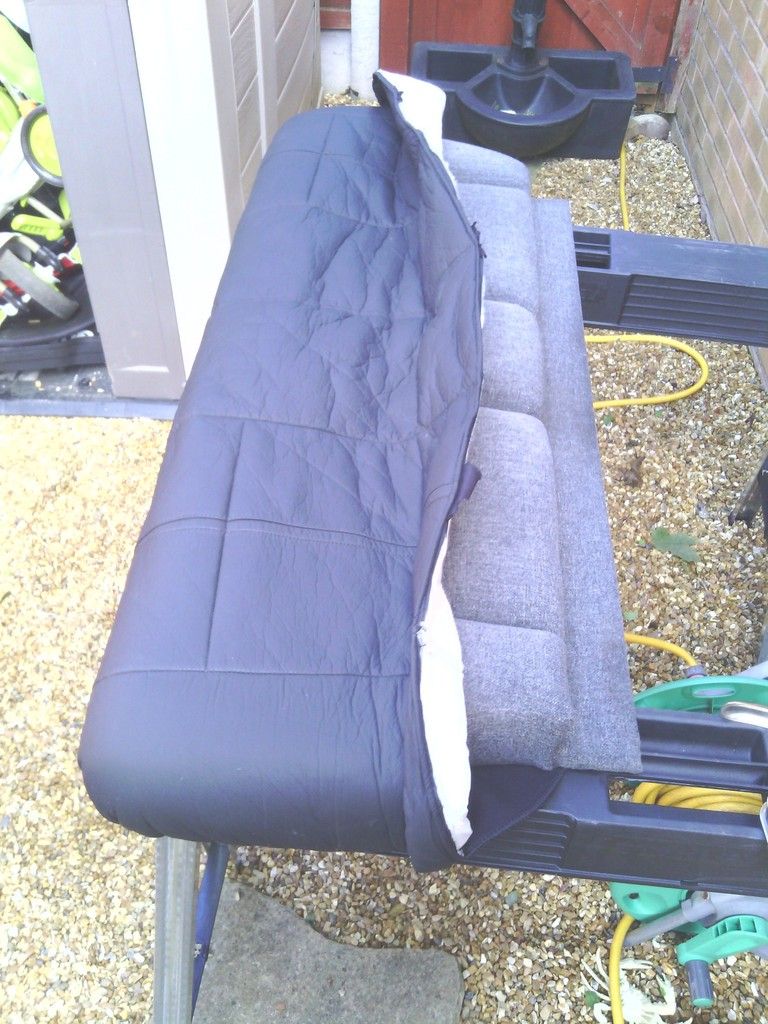
so – whats good enough for GTM back in the day for magazine features and press test drives should be ok for me to store my CDs and bags of bacon frazzles on so off I set to it, I’ve got to admit I don’t really know what I’m doing when it comes to fabrics and textiles however total incompetance has never stopped me diving in feet first before so I dug out some old but barely used seat covers we have had in the loft for the last 16 years, the last time i sat on these i was 19 and they coverd up a hideously floral migrane inducing interior in a renault clio i once owned but sold the wife that then subsuquently exploded in head gasket faliure (clio not the wife) and these were all that was worth salvaging....
on the upside these cost over a hundred quid from Halfords and are a very high quality in a realistic leather effect fabric that’s even foam backed so it seemed rude not to have a go at making them permanent covers by trimming them over the top and stapling them into place as per the originals – I steam cleaned the years of crud off the outer fabric and chemically cleaned it after, then plenty of staples and contact adhesive later…..

Image
Image

………To a partially sighted man on a pogo stick that almost looks like a proper seat base.

Image

Wedged back in for now along with some generic over mats the inside is making very good progress.

Image
Image
Image
Image
Image
Image
Image


I’ve still got to finish the centre console area by making a centre console but I’ve collected most of the bits for it, the rear seat back rest will also be tackled just as soon as I’ve bought more staples and I need to cover the area where the front door hinge threads protrude into the car a bit but its all work in progress
https://easywider.co.uk/ universal flexible wheel arch extensions
Jin
 
Posts: 454
Joined: Fri Aug 01, 2014 10:33 pm

Re: J171 NJO Cortez / 2+2 rebuild and modifications

Postby moon127 » Sat Jul 18, 2015 8:29 am

Looking great Jin,

Your thread is real inspiration for me to get on with David's old car.

Thursday afternoon was mostly spent on my back in the drivers footwell unbolting and replacing the servo/master cylinder stack.

David had warned me the master cylinder was leaking, but it was only when I removed it from the top of the servo I discovered the servo unit nearly brimmed with fluid. As it happened I had a spare servo from my pile of metro/GTM spares so I swapped that in with a new master cylinder.

This morning I will refit and adjust the brake switch and then having taxed and insured it yesterday I can at least drive it for the first time since collecting it.
moon127
 
Posts: 15
Joined: Sat Aug 30, 2014 10:00 am

PreviousNext

Return to Complete Midas rebuild

Who is online

Users browsing this forum: No registered users and 7 guests