J171 NJO Cortez / 2+2 rebuild and modifications

If you're taking on the task of rebuilding the whole Midas, please put the project in here.

Moderator: The Midas Forum Staff

Re: J171 NJO Cortez / 2+2 rebuild and modifications

Postby Jin » Wed Jan 06, 2016 10:26 pm

First post of 2016, happy new ear to you all.
there have been many jobs started but not so many finished as is always the case
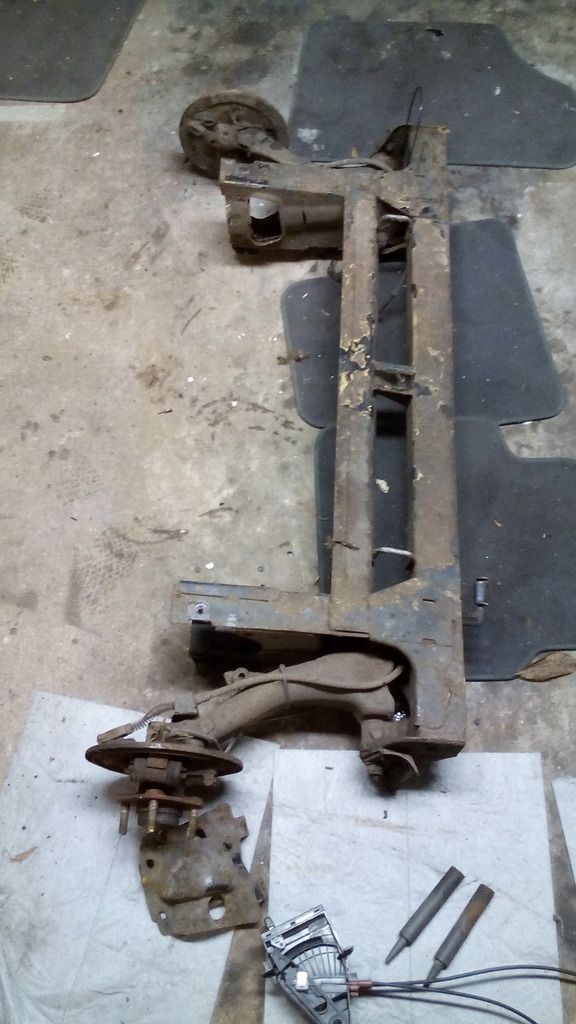
over the festive period I purchased some MGF hydragas units to measure up to make coil spring adapters to fit in their place, not long after finishing that a complete subframe assembly (rear) came up on ebay and since my presents from Santa weren’t up to much I thought I’d treat myself to that, he wouldn’t want all the grease and hydralastic fluid dripping on his sleigh anyway so things are progressing nicely there.
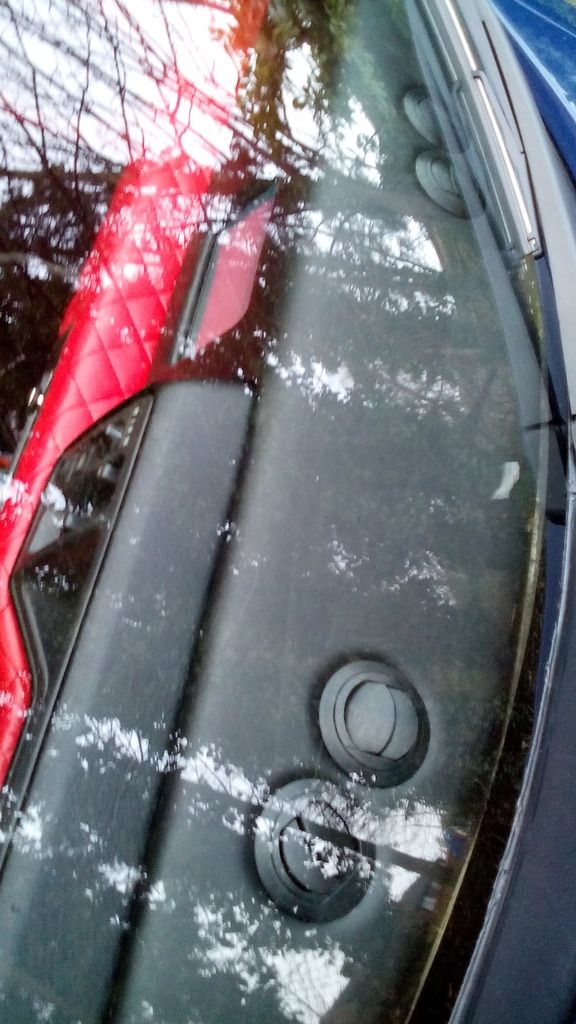
the other job tackled was the dashboard centre vents, since the old shonky fiesta vents were blanked anyway and my modified air box now provided hot and cold air to all outlets, the time had come to rework the centre outlet to provide heat around the car.
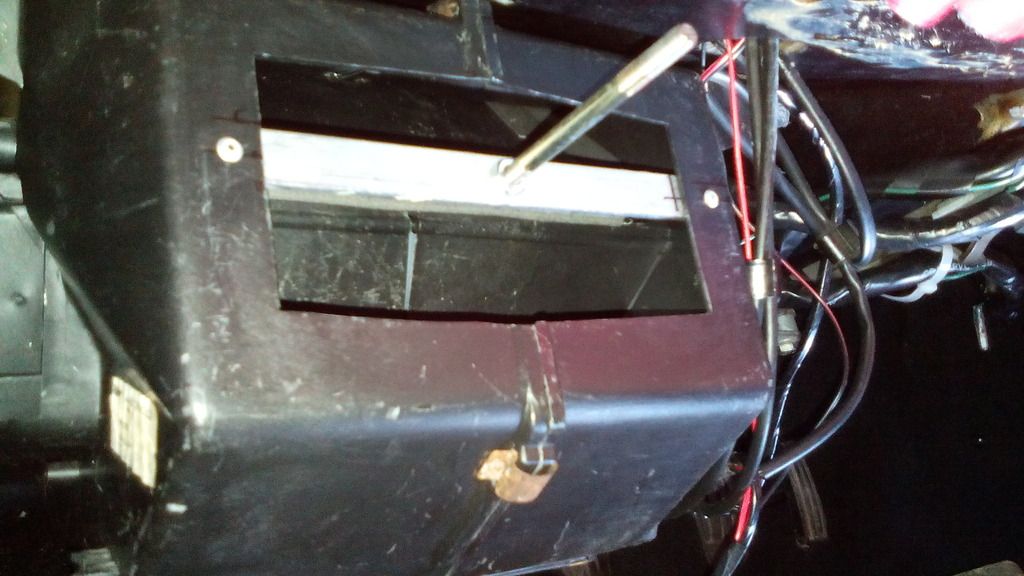
step 1 was to remove the original demist outlets from the heater box, you can see the marks on it where my foot keeps catching it,
Image

I had to hold my foot in such a way to precisely locate it between the steering column and duct and quite often I would get it tangled up in one or the other, so both demist ducts were removed both sides, the plan being to make a plenum bolted to the main centre outlet from the heater box and duct all air from there, its big enough and I just wanted demist and face vents anyway, floor air flow is taken care on by a flap on the dash.
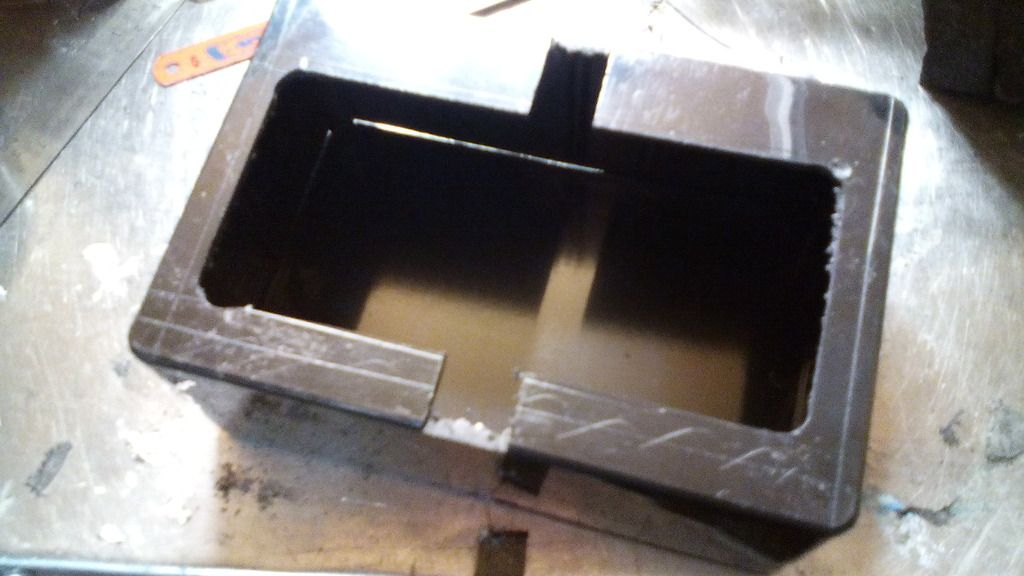
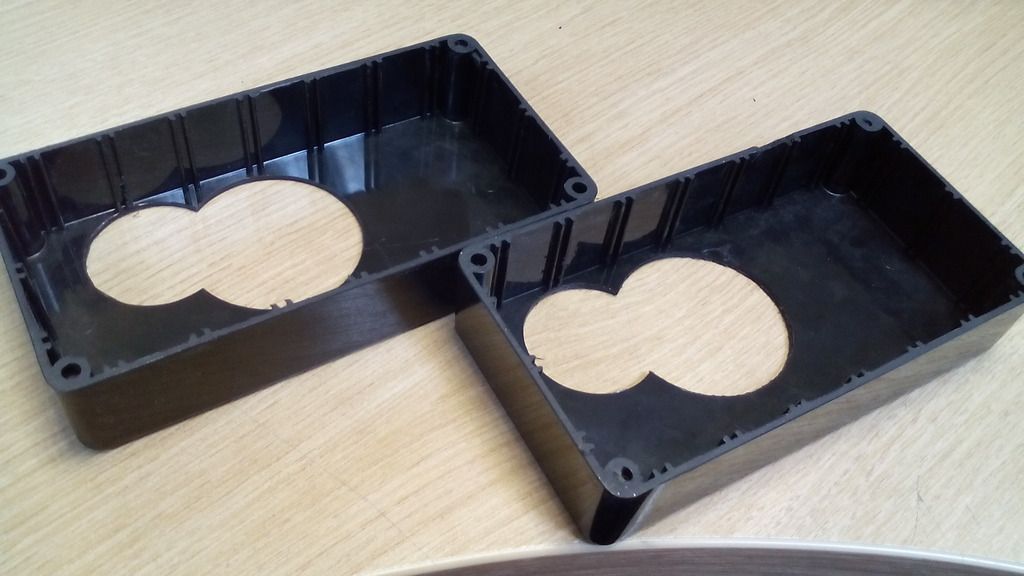
my first attempt was to make the plenum from a plastic project box but it was proving tricky and cumbersome due to the restricted size availability,

Image
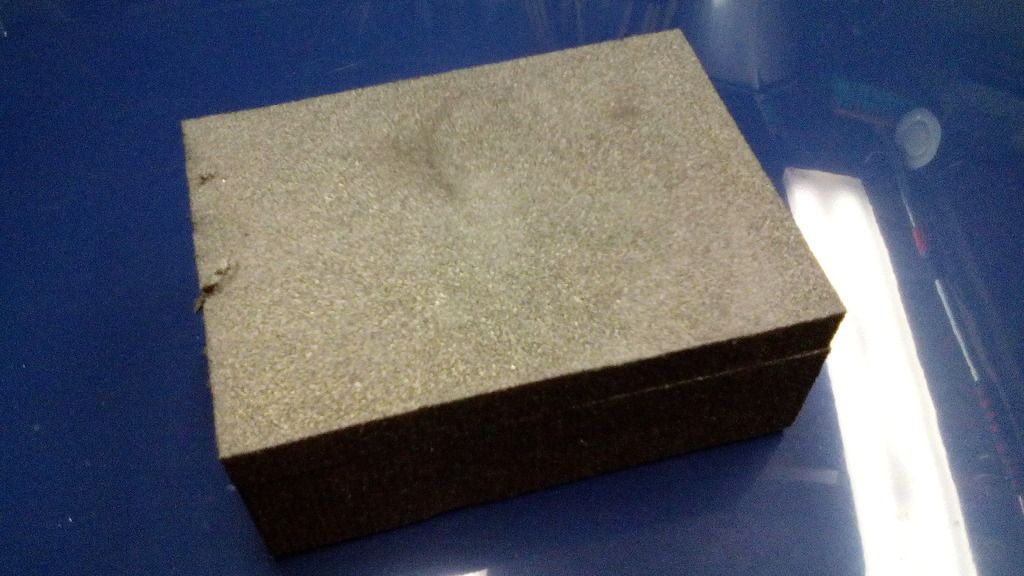
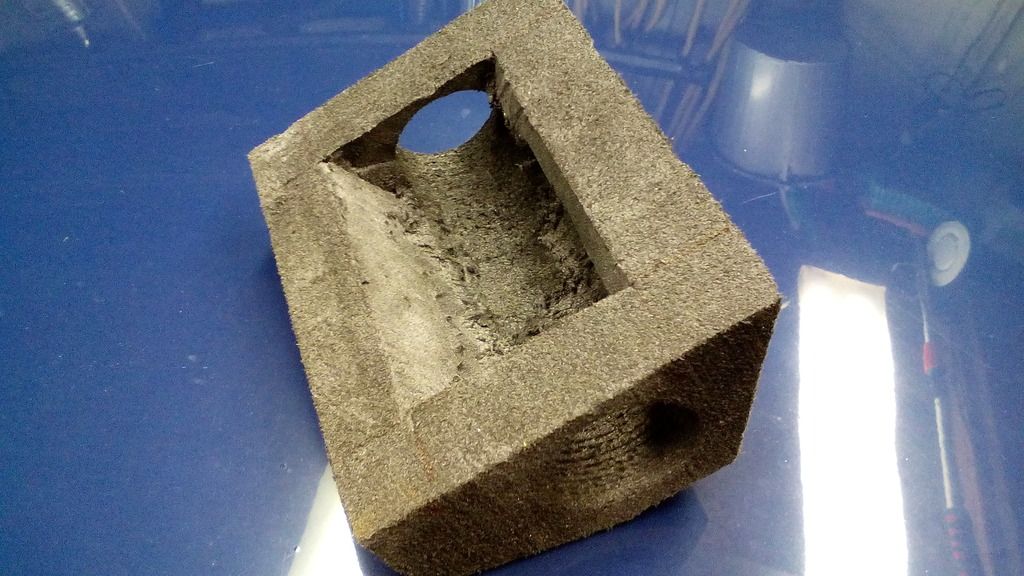
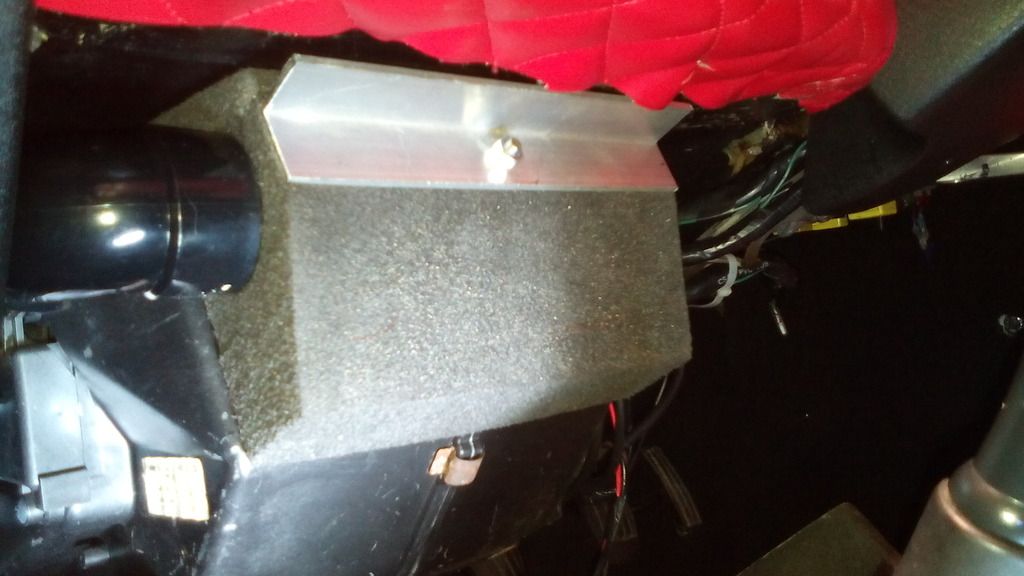
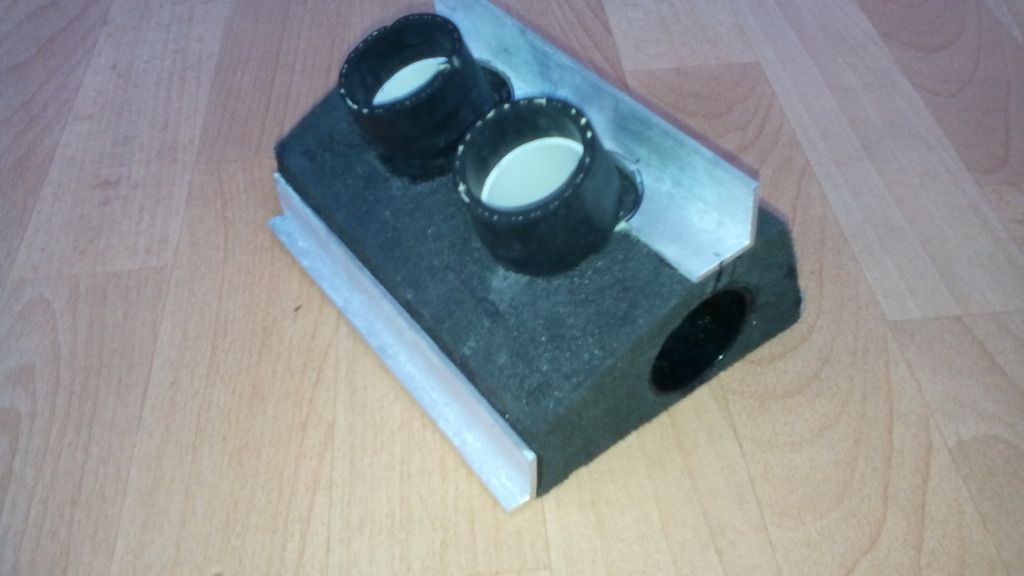
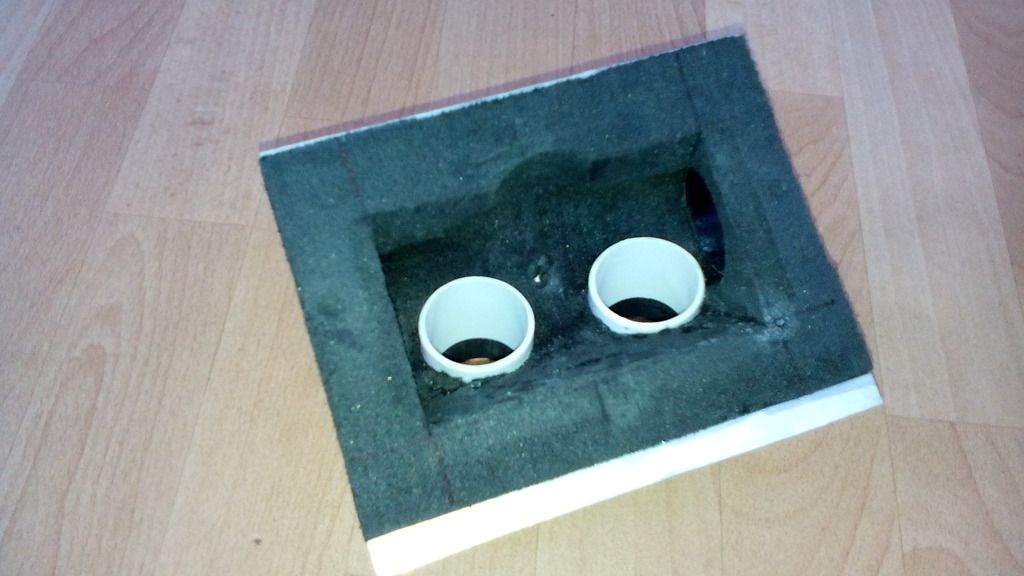
I needed something custom, so I got my hands on some very rigid closed cell foam blocks and began sculpting one from that,
Image
Image


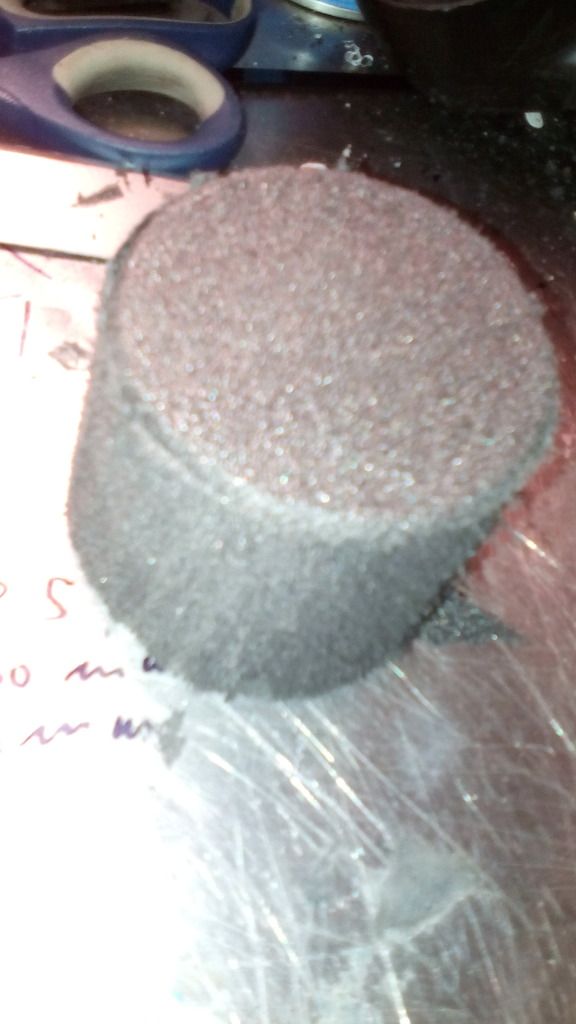
it took a few attempts but the result works very well. I made the blanks for the old demist duct from the same high density foam I made the plenum from

Image

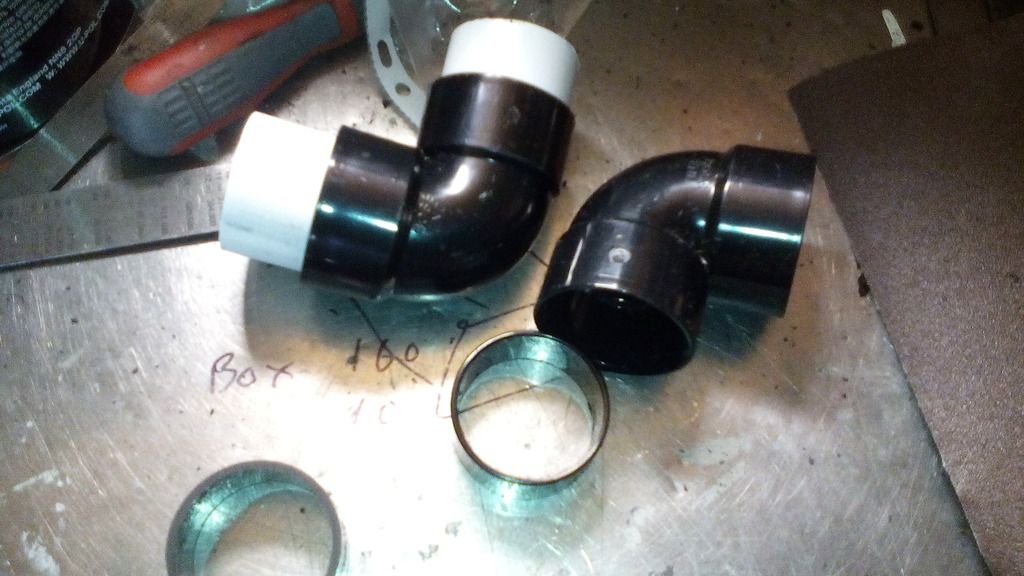
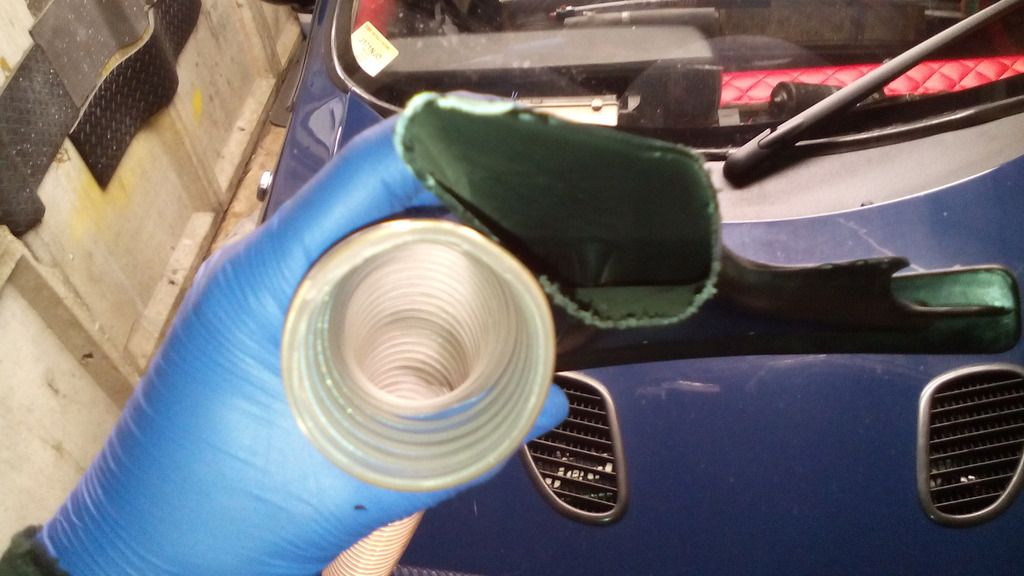
the side outlets were cut out and made from 40mm PVC plumbing pipe, these would duct to the demist vents through some flexible spiral ducting up under the dash, the plan being to put vents in the outer lower dash cowl and duct air straight to them.
there is no reduction in duct cross section either

Image
Image

with a bracket made to pull the foam plenum up tight to the heater box and an angle bracket bonded to the foam to spread the load it pulls up air tight

Image

Image

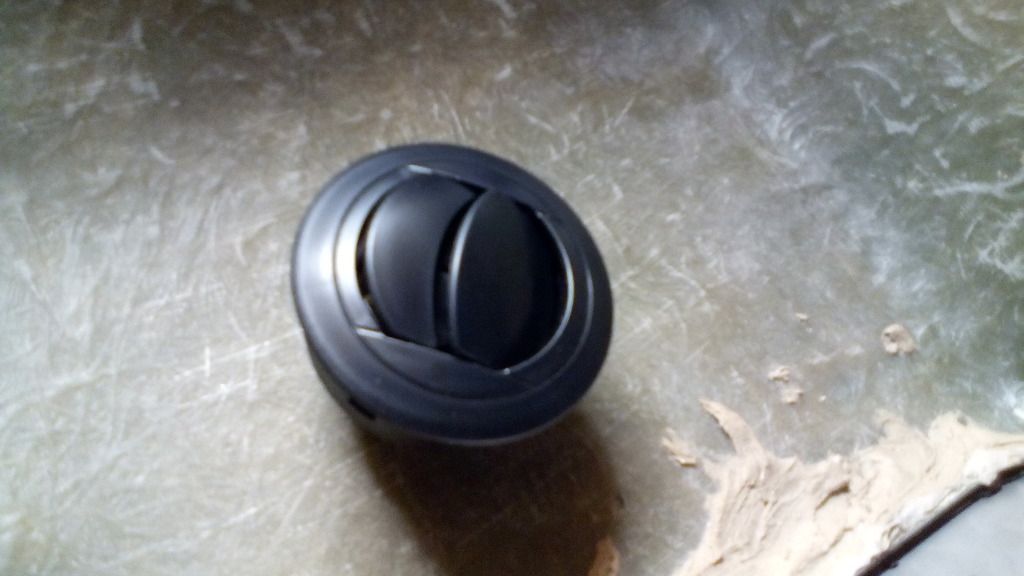
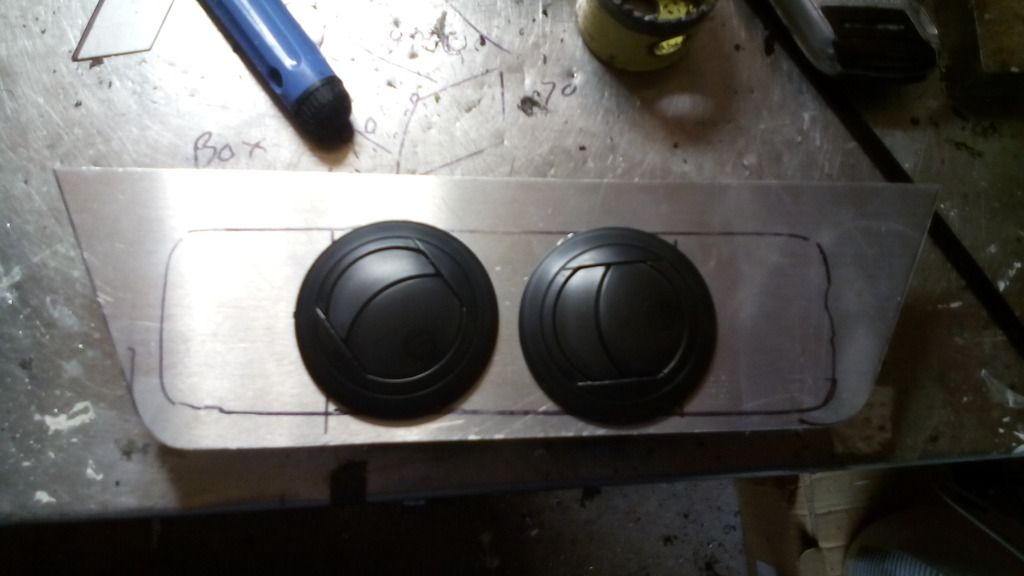
then with the nifty round vents I bought from CBs I set about adapting the front of the lower dash cowl

Image

Image

Image


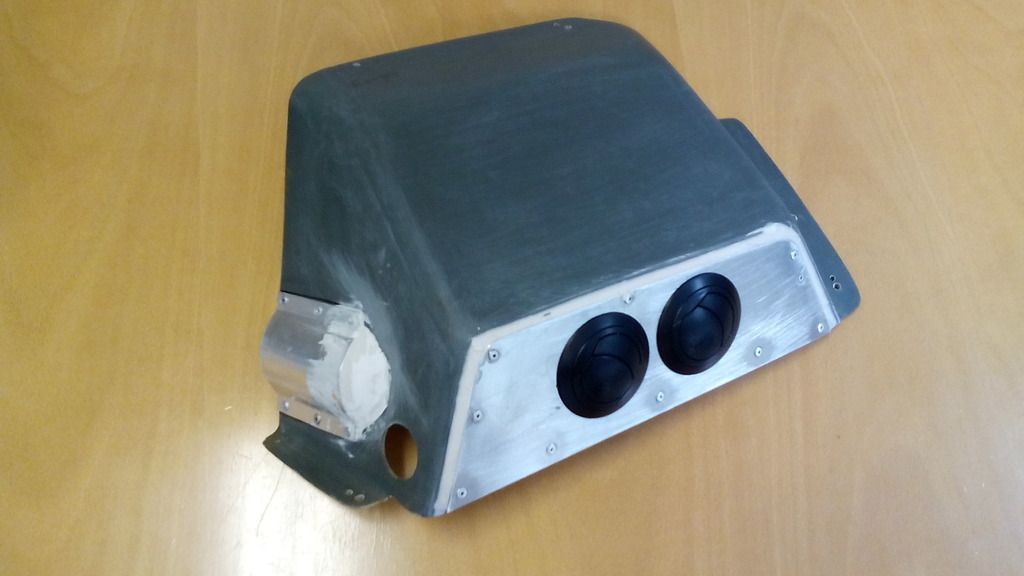
then marked out and cut the foam plenum to take the outlets for the new round vents, the 40mm PVC pipe was bonded in as with the side outlets to prevent crushing and some more strategically placed aluminium strips to prevent ant deformation and the whole thing works a treat

Image

Image
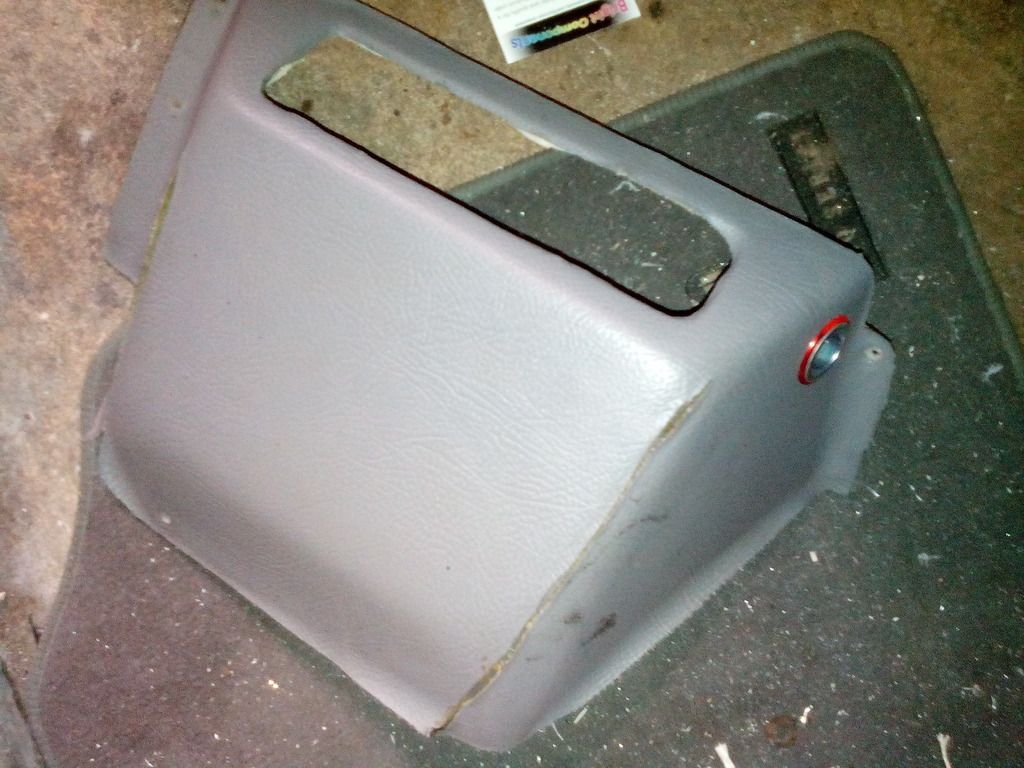
I had to modify the lower dash cowl to clear the new demist duct but that was taken care of neatly with some thin ally and filler

Image

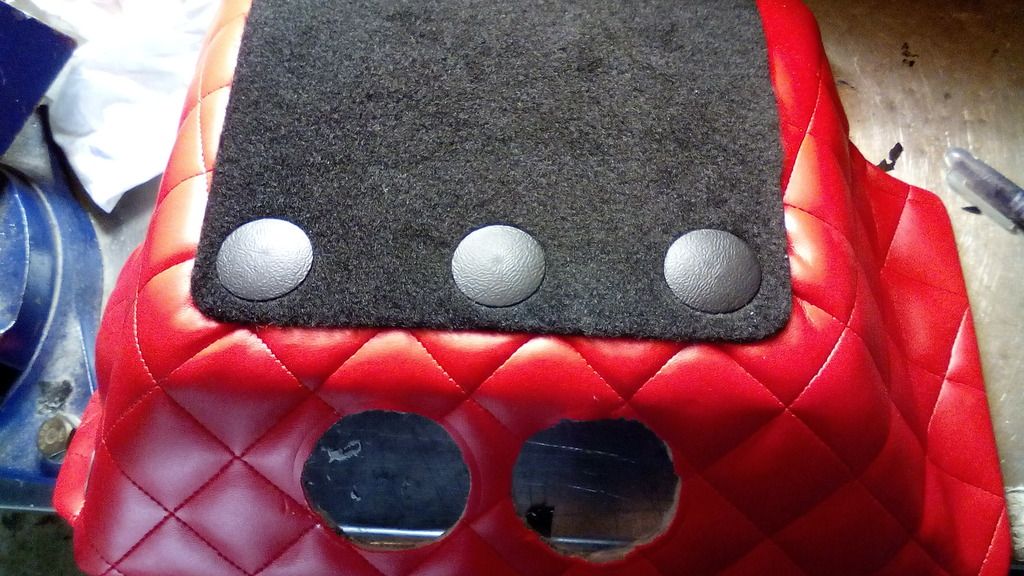
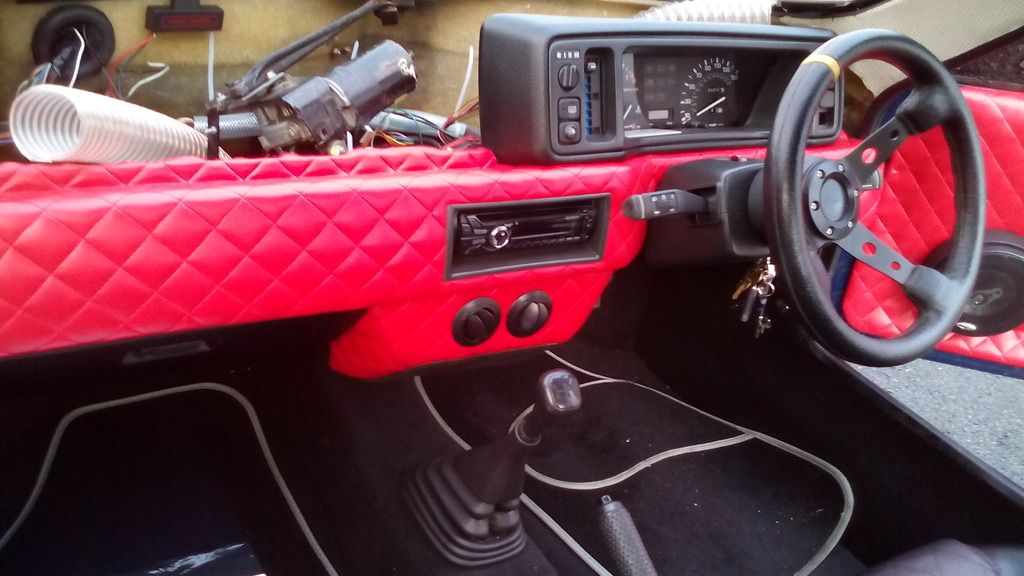
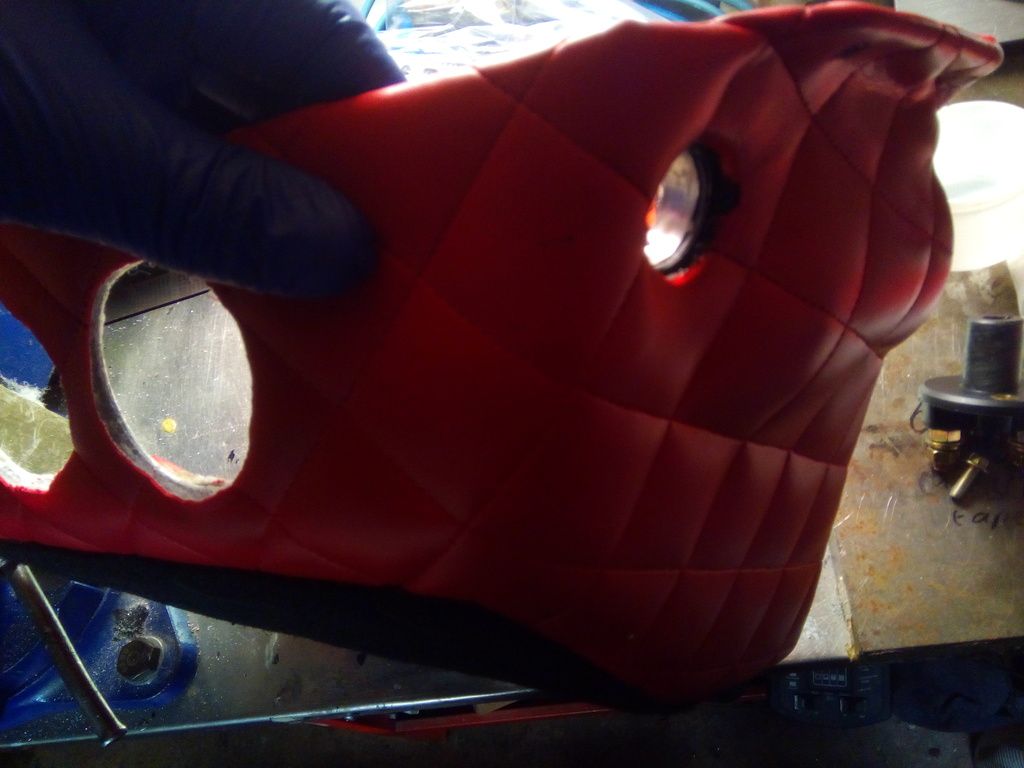
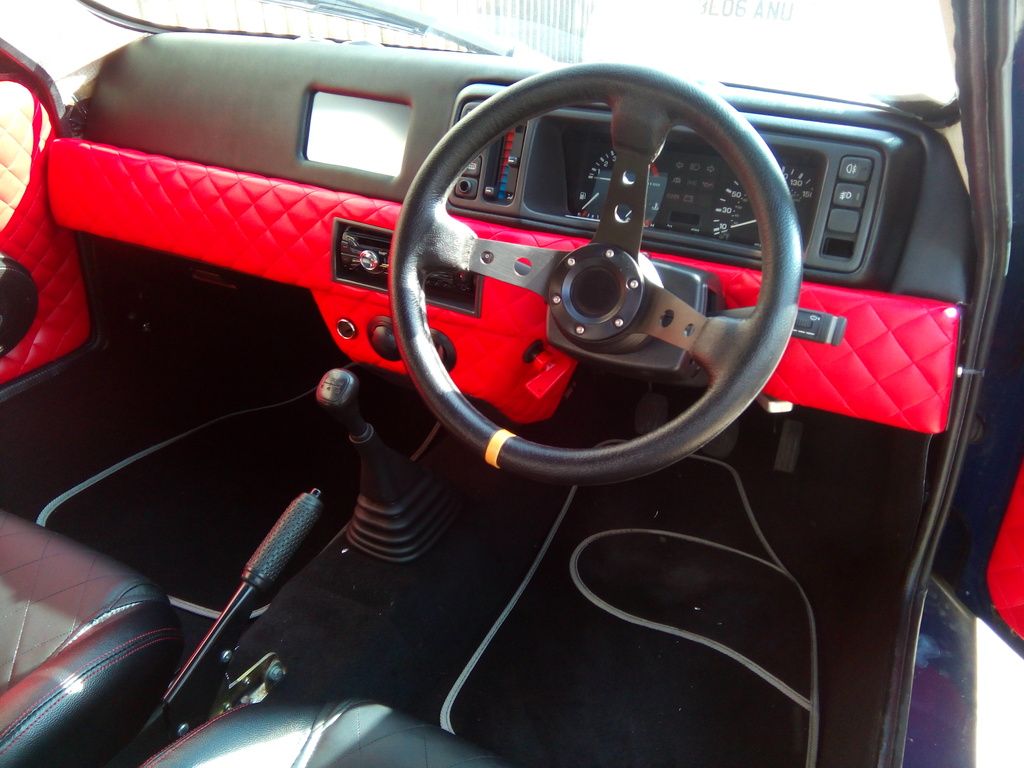
all trimmed in matching red vinyl, I chose to carpet the base to account for the compound curves since this bit isn’t seen anyway,

Image

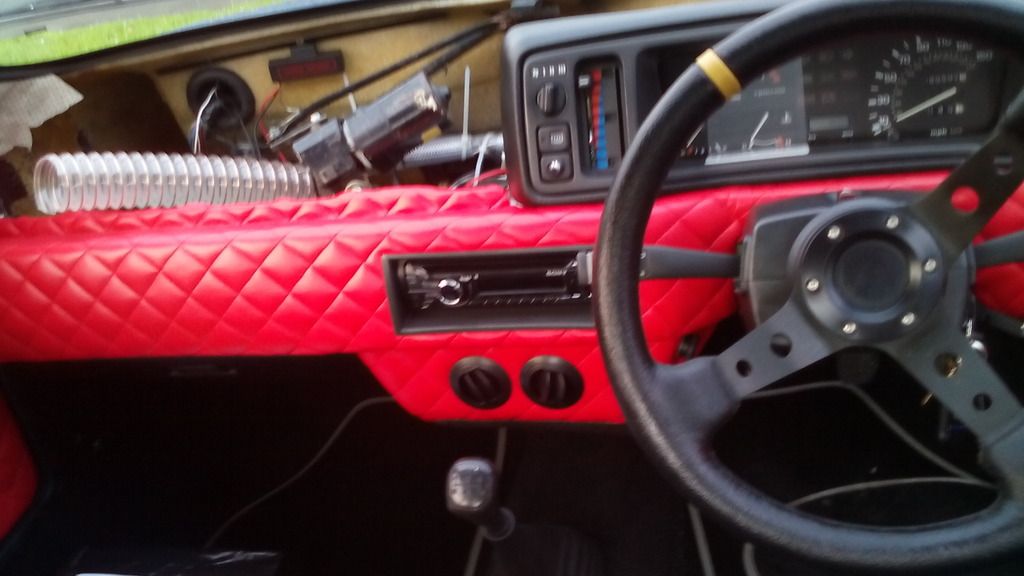
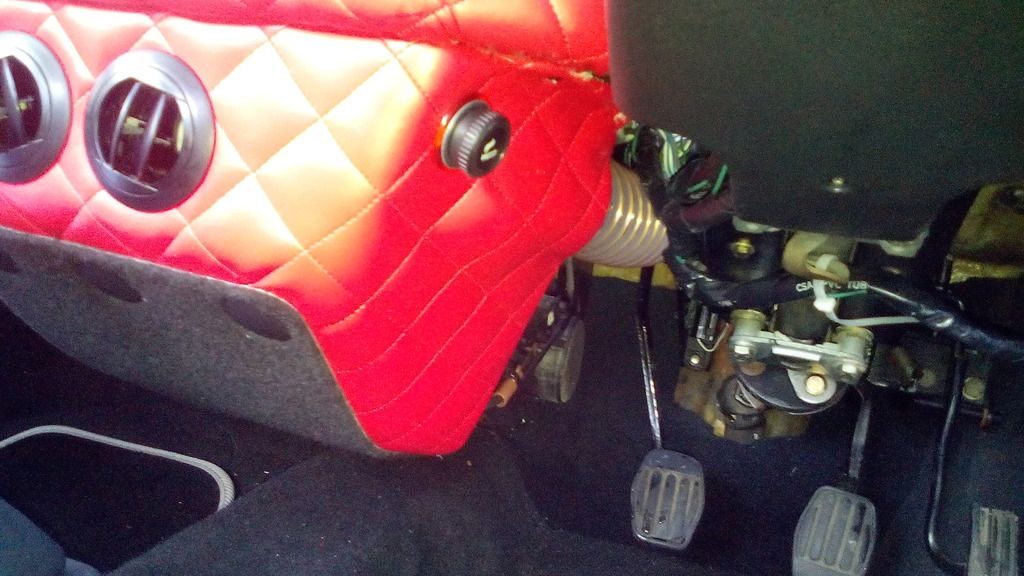
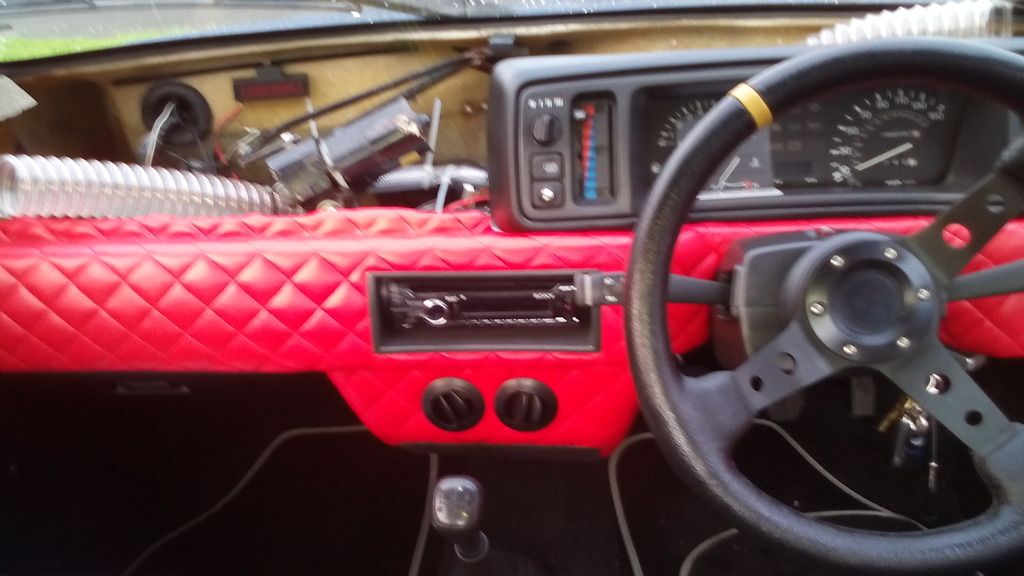
all screwed back in place and it works fantastically, despite their small size the vents belt out heat very well and the whole thing looks very neat and tidy if I do say so myself.

Image

Image

Image
Image

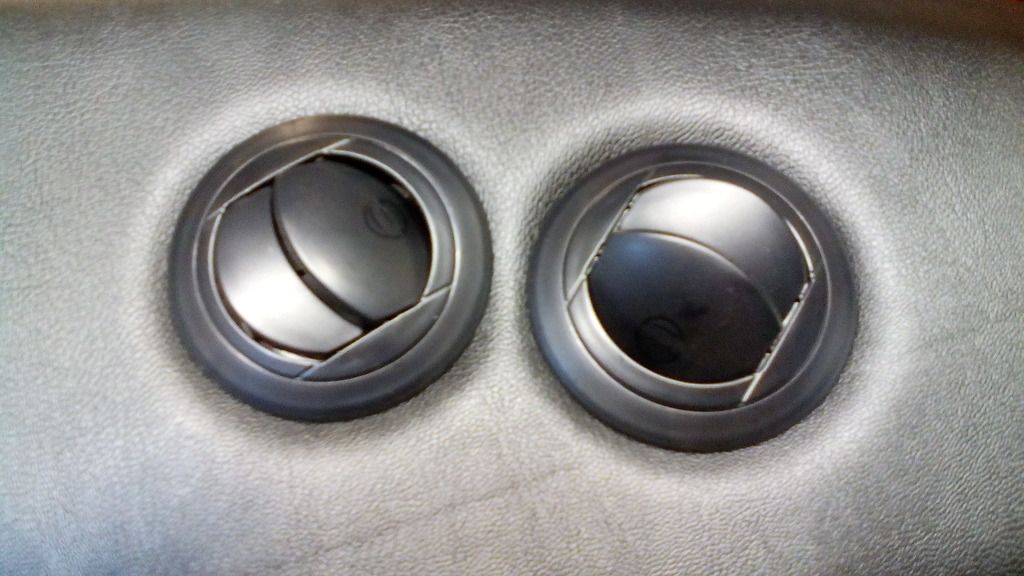
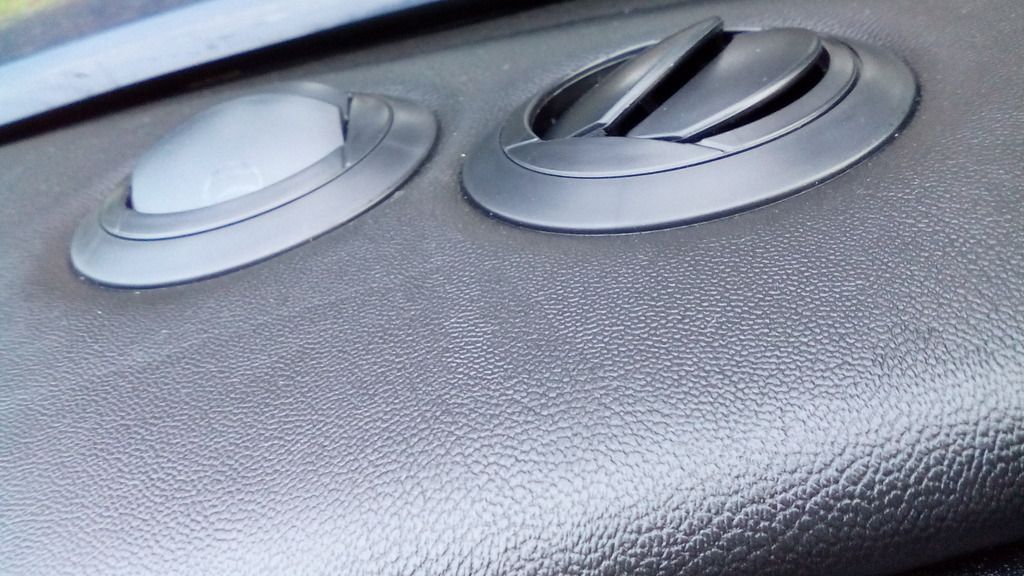
I’ll be using the same vents on the dash top just as soon as I’ve made a pair of plenums to duct the air to them and re-trimed the dash to in padded black.
much more to come soon.
https://easywider.co.uk/ universal flexible wheel arch extensions
Jin
 
Posts: 454
Joined: Fri Aug 01, 2014 10:33 pm

Re: J171 NJO Cortez / 2+2 rebuild and modifications

Postby MrBounce » Sat Jan 09, 2016 12:30 am

That is very impressive - nice work! :)
MrBounce
 
Posts: 646
Joined: Mon May 16, 2011 9:16 pm
Location: Suffolk

Re: J171 NJO Cortez / 2+2 rebuild and modifications

Postby moss » Sat Jan 09, 2016 6:55 pm

Thats very good,
makes me think about mine heating poor when i had taken it apart full of tank tape holding pipes as i have only one garage and the mk3 convertable lives in there it is outside until another garage comes up for rent so working on it is fine weather only
had the wheels refurb as a Xmas Present now silver and the cream has gone fitted gator strips around the the rim to protect the edge,next comes the rear end
replacement subframe acid dipped and galvinised will not rot now building up rear suspension now will fit when the rest arrrives as i need this back on the road to go to the classic le mans
in the first week in july
tony moss hon sec midas owners club
moss
 
Posts: 184
Joined: Wed Dec 03, 2008 12:03 am

Re: J171 NJO Cortez / 2+2 rebuild and modifications

Postby fozzza » Mon Jan 11, 2016 10:21 pm

looks very smart, How do you fancy doing a commission on a MK 2.
Roy
User avatar
fozzza
 
Posts: 229
Joined: Sun Nov 22, 2015 5:25 pm
Location: Wolverhampton, West Midlands

Re: J171 NJO Cortez / 2+2 rebuild and modifications

Postby Jin » Tue Jan 12, 2016 12:08 pm

cheers guys, i do my best, i really like the interior now, people either love it or hate it but for me it works,
hopefully should make more progress on the dash top soon
https://easywider.co.uk/ universal flexible wheel arch extensions
Jin
 
Posts: 454
Joined: Fri Aug 01, 2014 10:33 pm

Re: J171 NJO Cortez / 2+2 rebuild and modifications

Postby Jin » Tue Jan 12, 2016 9:18 pm

My new toy :)

Image
https://easywider.co.uk/ universal flexible wheel arch extensions
Jin
 
Posts: 454
Joined: Fri Aug 01, 2014 10:33 pm

Re: J171 NJO Cortez / 2+2 rebuild and modifications

Postby Jin » Thu Mar 03, 2016 1:12 am

Done a bit

I left off last time having finished the lower dash and needing to sort the upper dash and screen ducting,

first up was the screen ducting, originally the standard metro ducts bolted to the bulkhead had very little say on where the air blowed out of the dash top, but owing to the duct and demist vents being misaligned and an inch gap between the 2 they more just pressurised the inside of the dash structure than actually blow air at the screen, so a solution was sought.

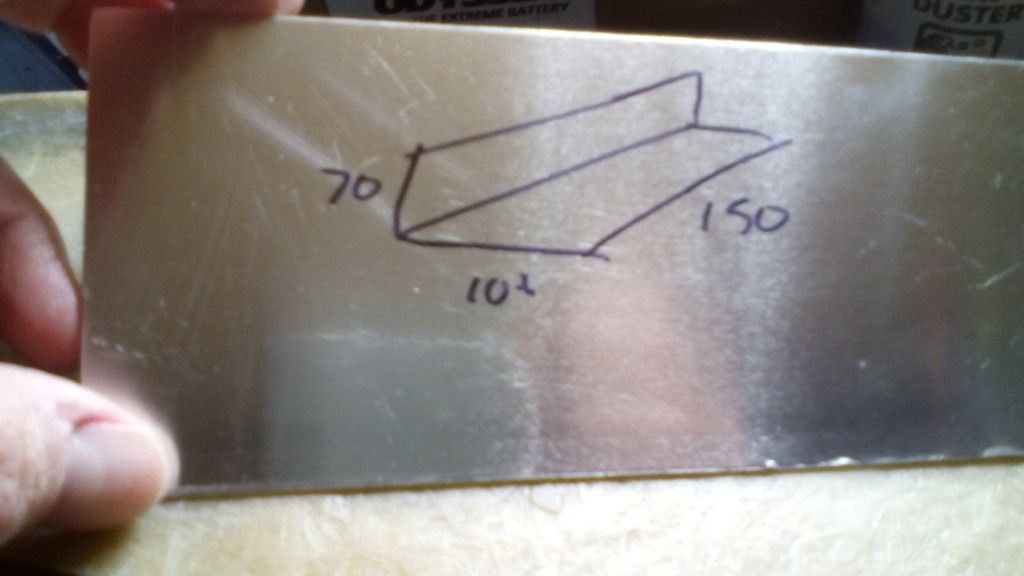
I had already routed 2 ducting hoses to the upper dash area, now I just needed a way to collect that air and focus it to where it was required, I decided to start from scratch, I had to make something that enabled the dash top to be removed on a semi regular basis (for one reason or another I’ve always got my head wedged in there) so I set to it, after producing a highly technical engineering drawing
Image

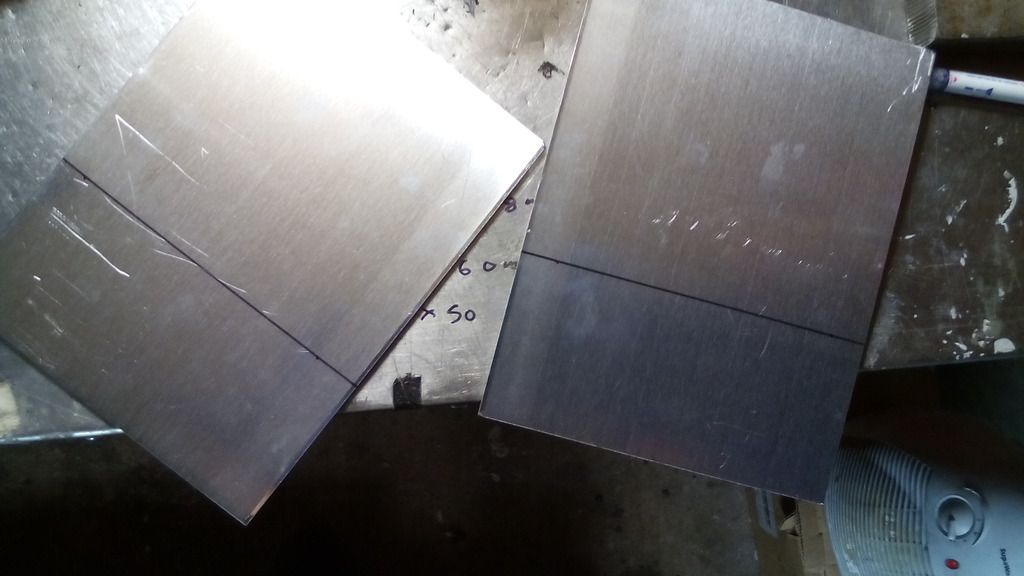
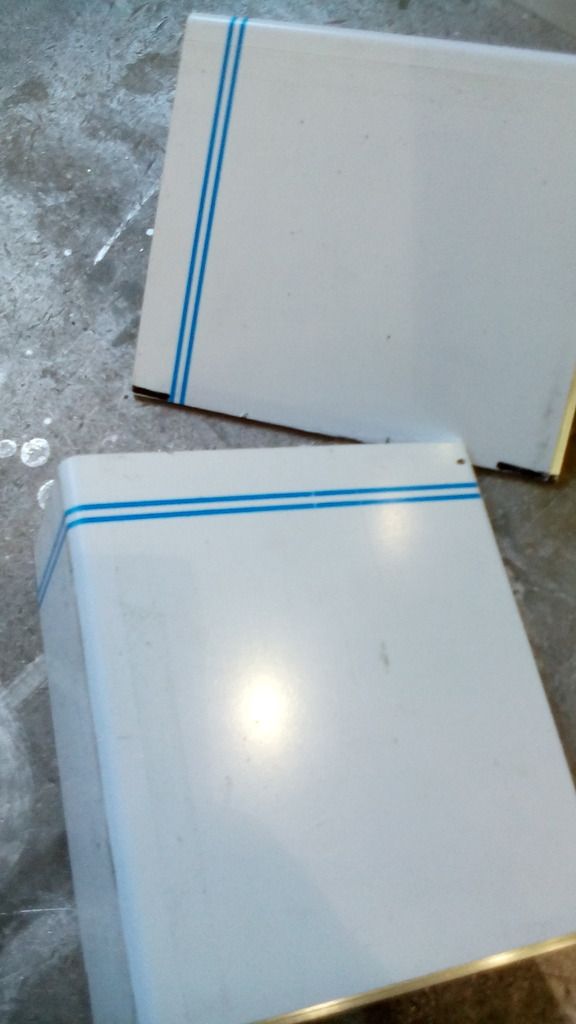
Got myself 2 bits of 3mm thick ally

Image

bent

Image

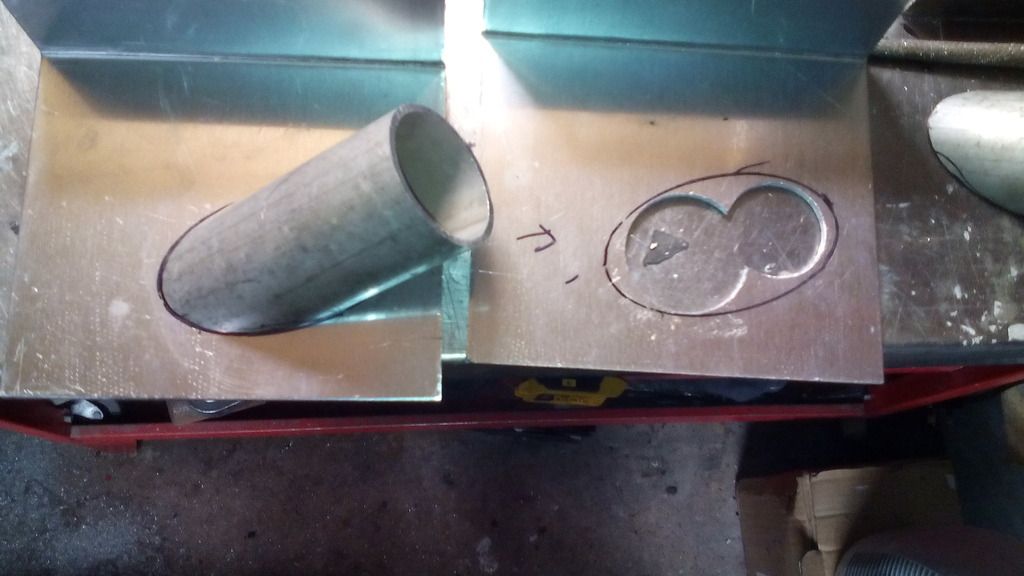
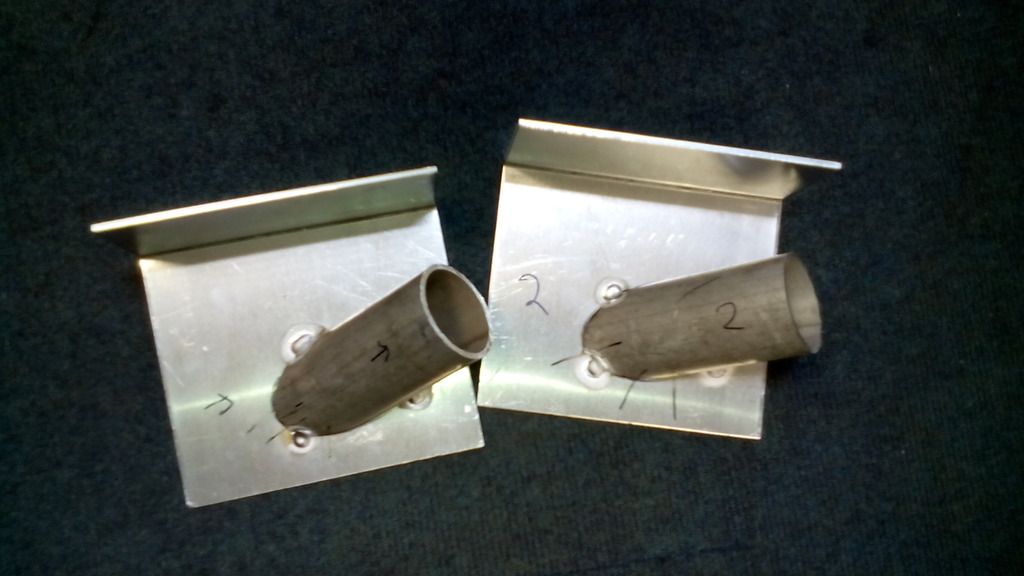
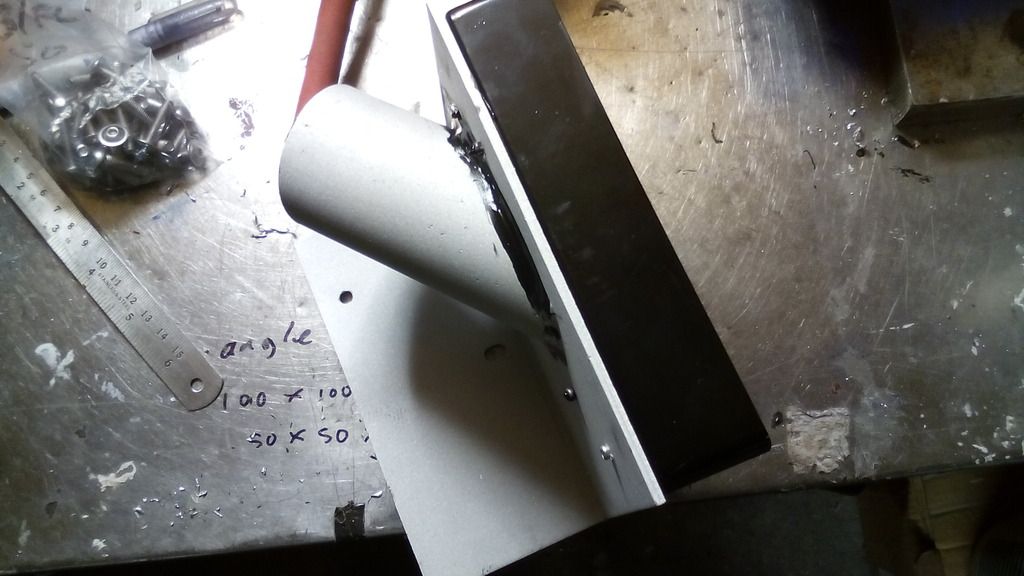
cut and 50mm tube welded on

Image

Image

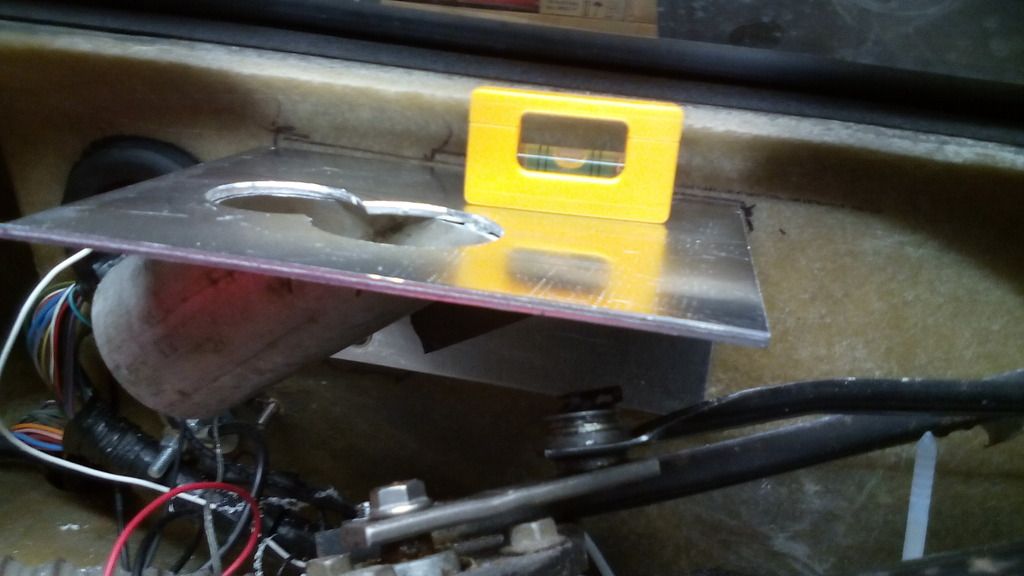
trued up on the bulkhead

Image

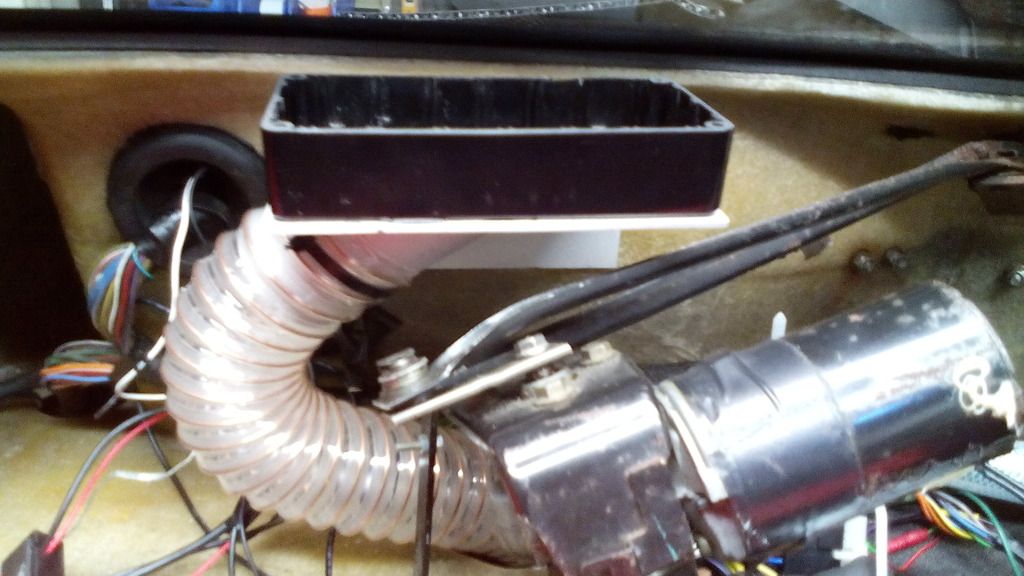
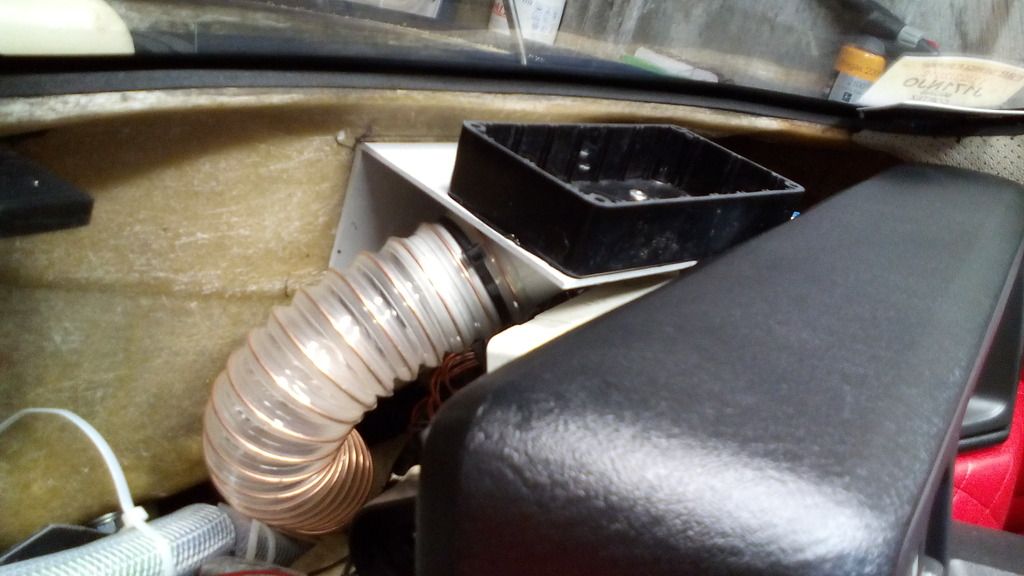
2 project boxes butchered up to form plenums
Image

riveted and bonded into place

Image

Connected up both sides, space was tight but do-able, both units are held with stainless bolts to the bulkhead so can be removed if required.
Image

Image

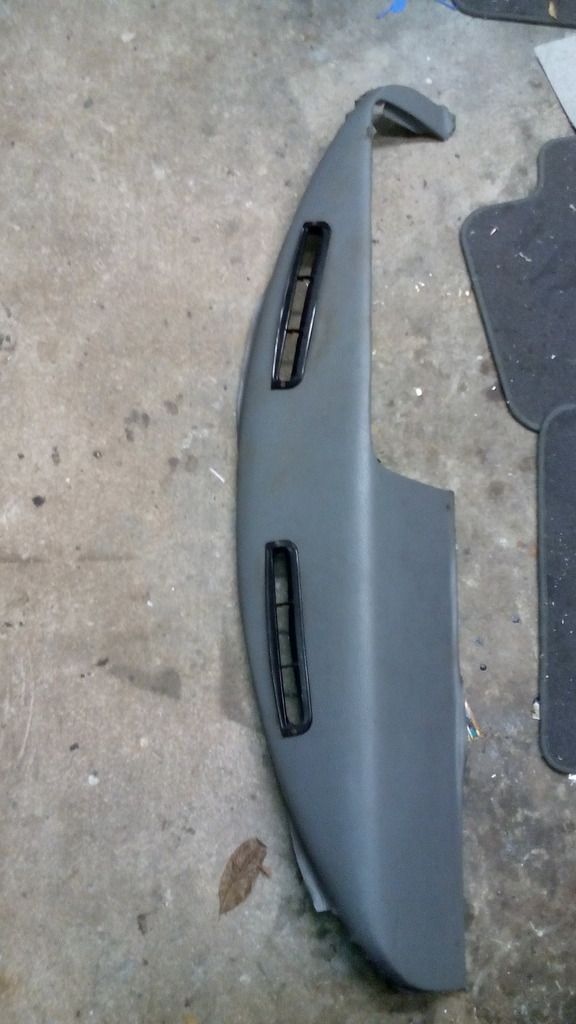
Onto the dash top itself, manky was the only word for it; it had to be changed,
Image

there was nothing classic looking about the classic mini demist vents either, and the vinyl was peeling all over and looked like it was bonded on with dried ox blood or something equally as weird...

The gaps around the cowl and sides were so big you could read through them so this was to be addressed too,

Once the vinyl was removed I identified the centreline of the dash
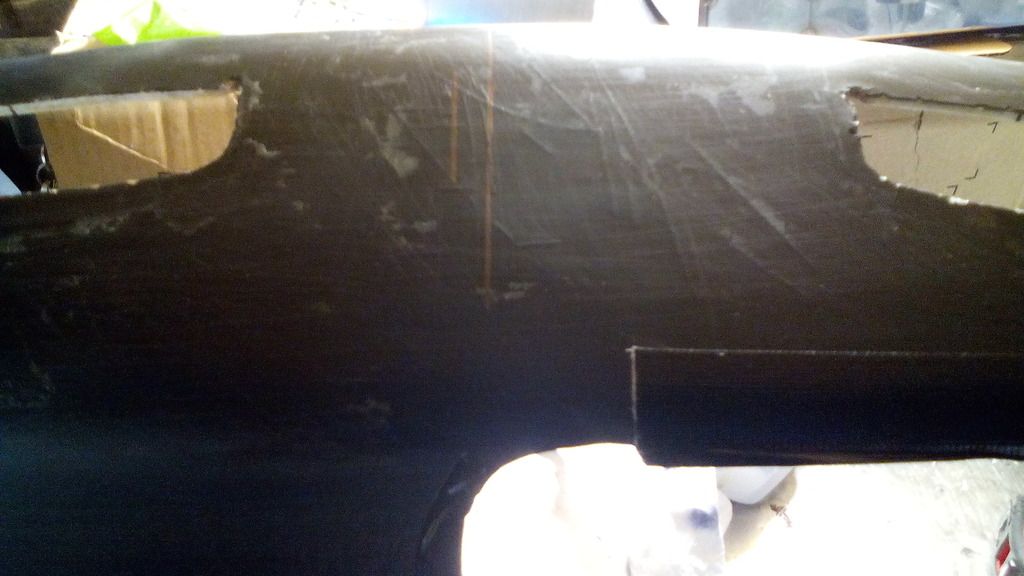
Image

Which almost unsurprisingly was nowhere near equidistant between the 2 vent cut-outs already there.

This too was to be addressed, is symmetry too much to ask for?

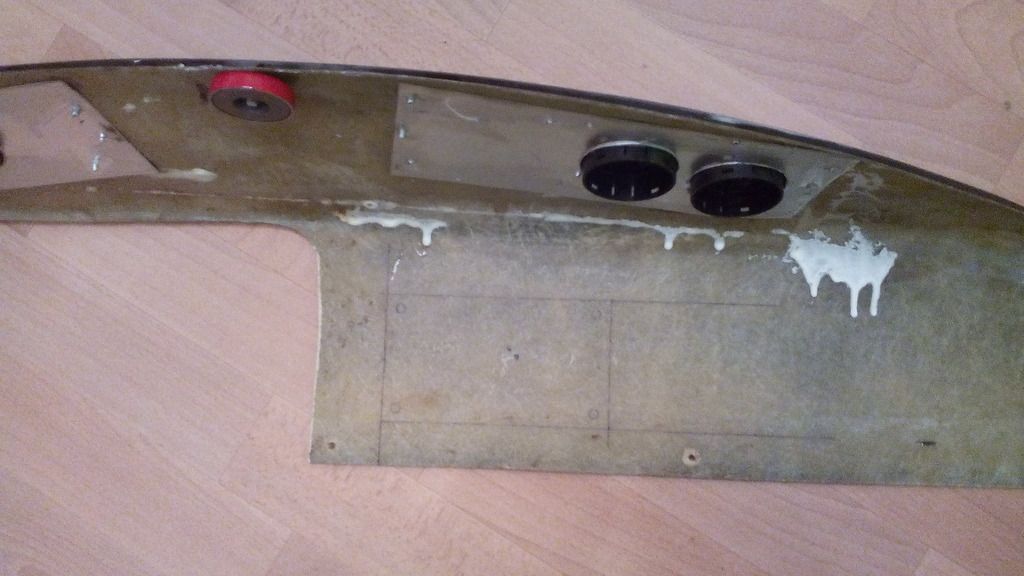
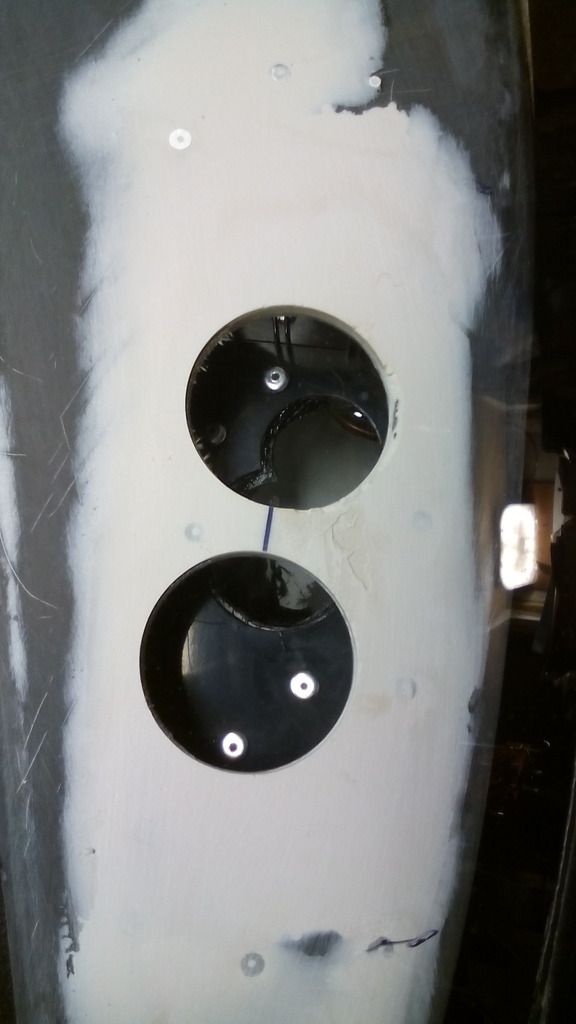
I wanted the same small round directional vents on the dash top that I used on the lower cowl, so with a template in hand and the true centre line of the dash located it was just a case of taping the template in place and flipping it over to mirror side to side, simple but effective.
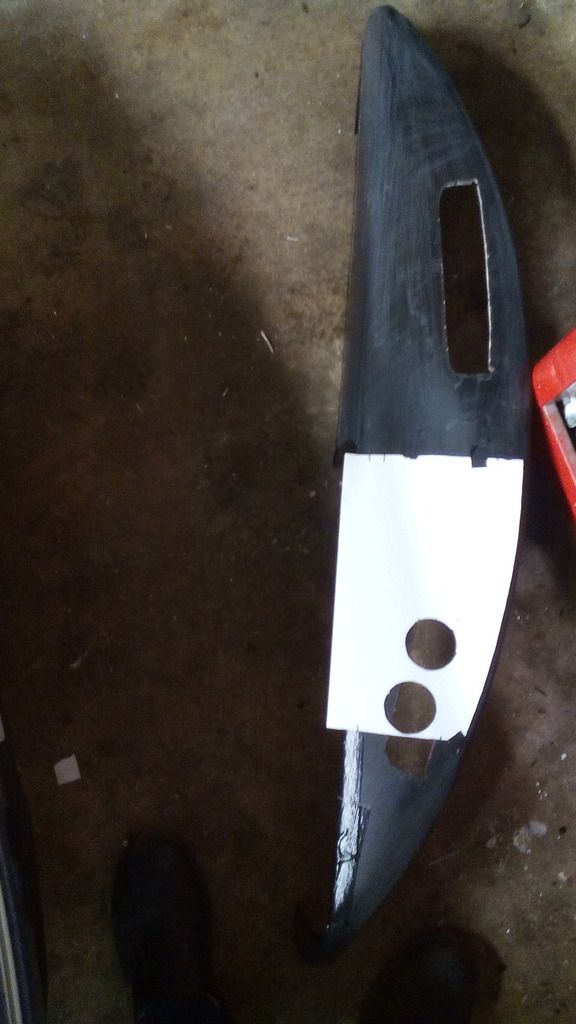
Image

The old cut outs were plated over with some very thin ally sheet
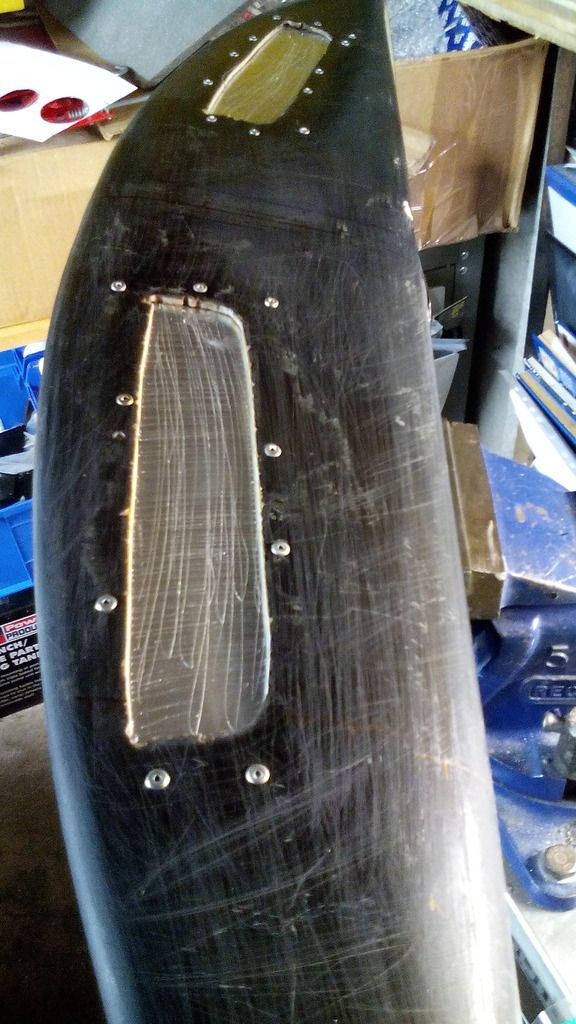
Image

And filled in with lots of pudding, then sanded down with the new locations marked out after
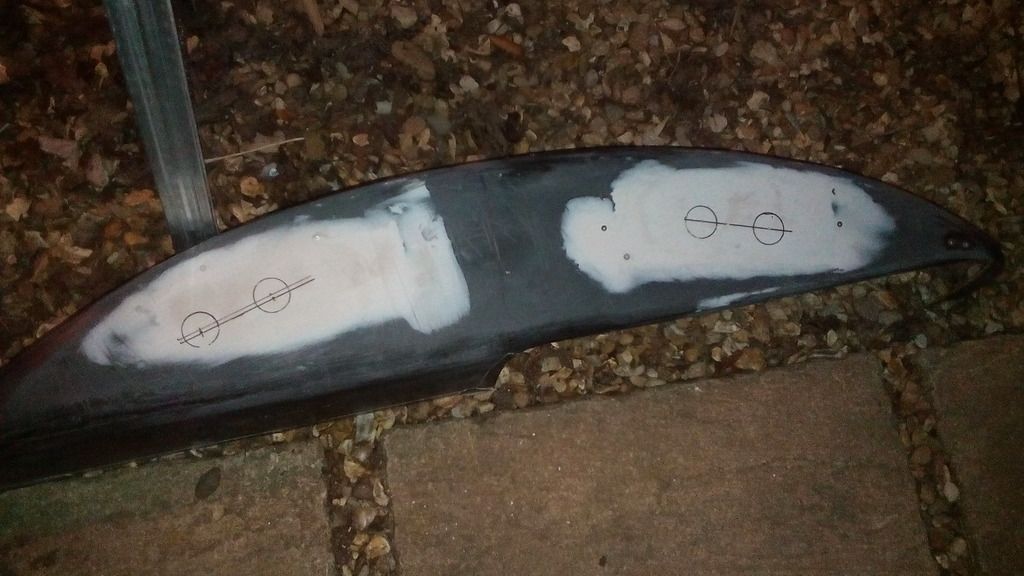
Image

Cut and trial fitted

Image

….and you can see they they line up perfectly with the project box plenums I made underneath – almost like I know what I’m doing.
Image

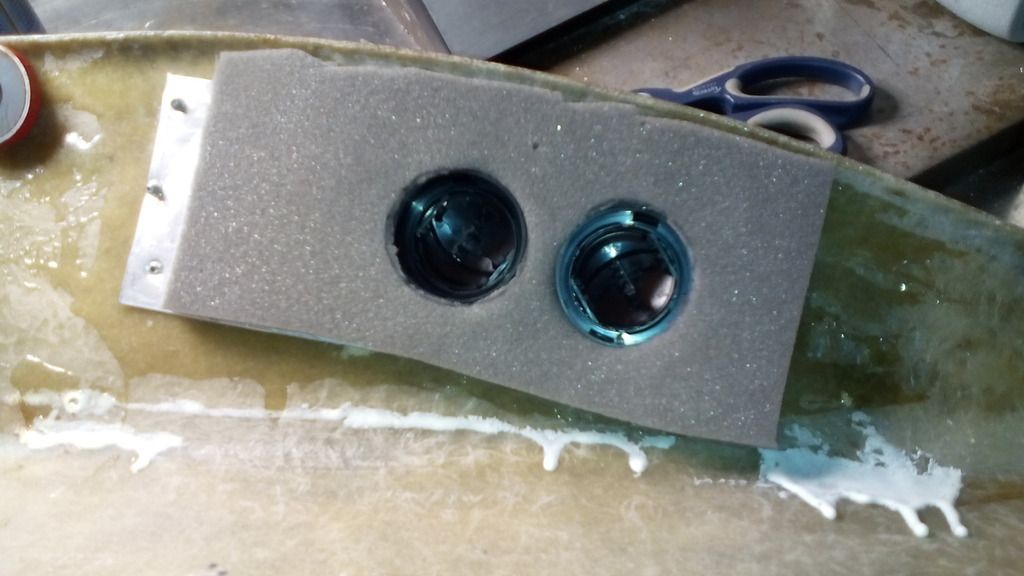
since I wanted no visible fixings I decided some time ago I would use high power magnets to hold the dash in place, easy to remove if needed, here is the upper centre one that latches onto a steel tab that was there originally from build to support the dash top – except now it holds the dash tight in place with no movement –

handy because there is a 5mm gap between the dash top underside and the top edge of the project box plenums, so with some 12mm thick closed cell foam in place this makes the gasket for the demist vents and creates an air tight seal.
Image

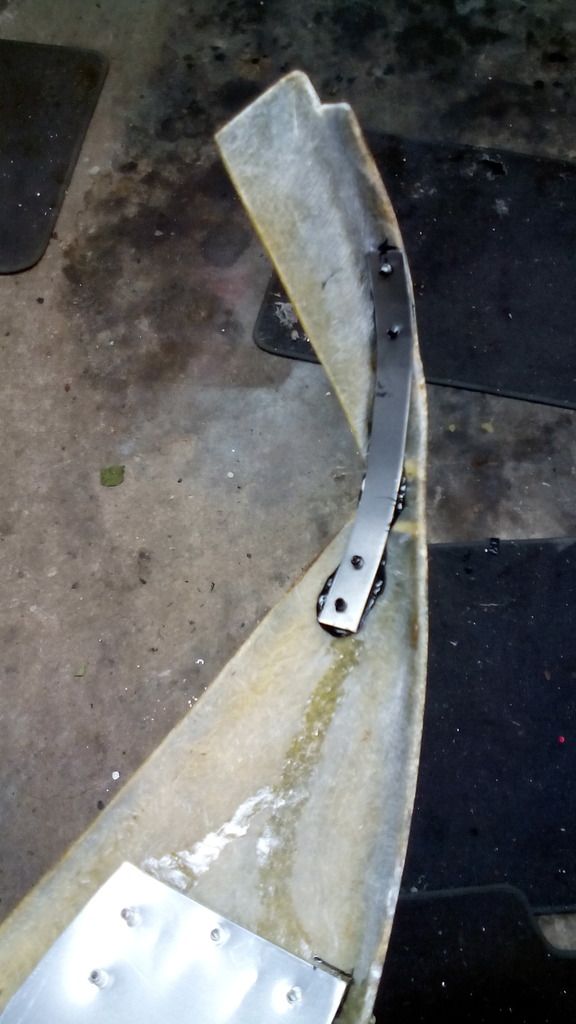
The driver side edge of the dash top had suffered a few knocks (not helped by my juggling antics) so a reinforcing strip was bonded and riveted into place here to keep shape.
Image


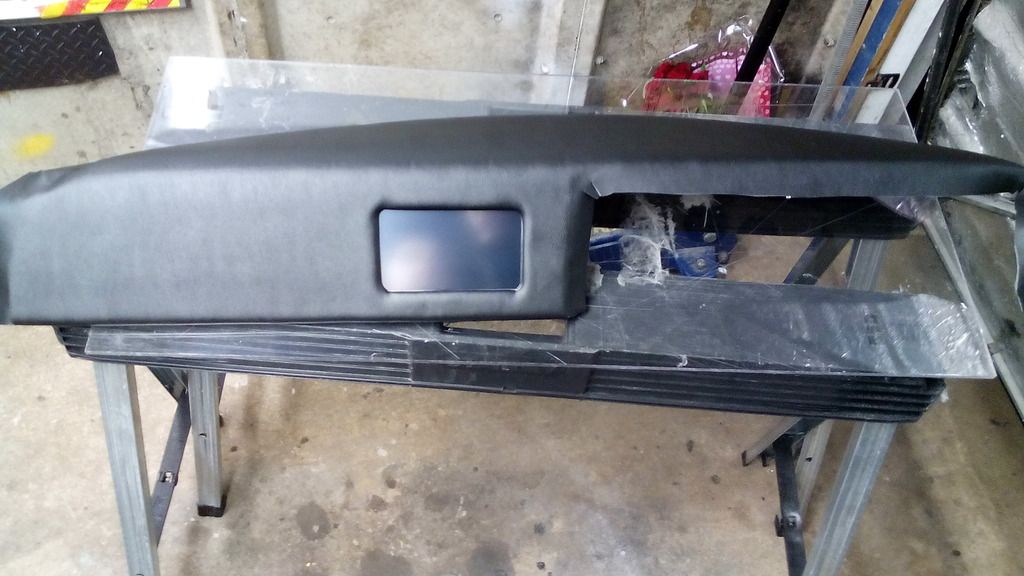
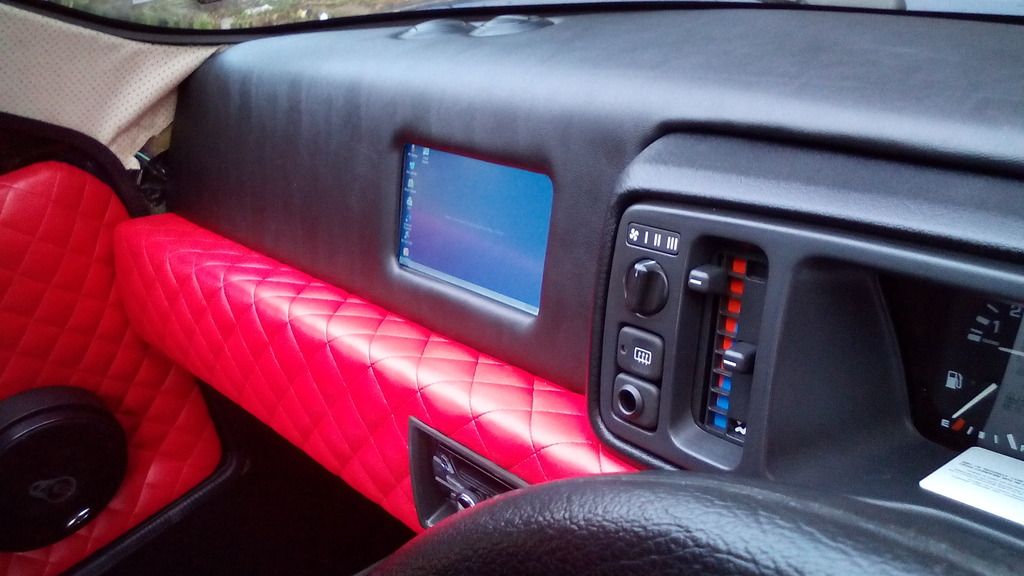
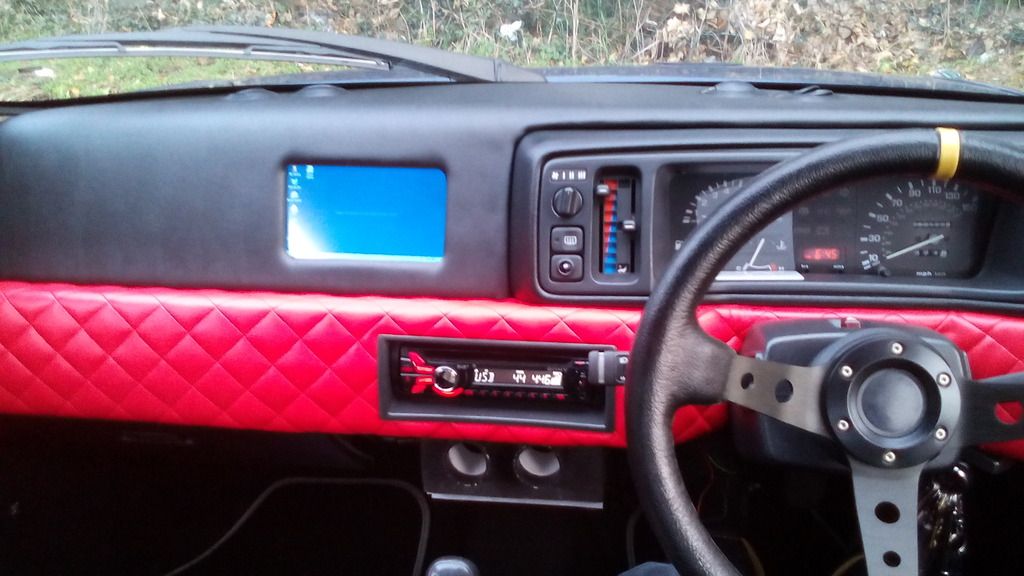
it was roughly now, with new vinyl in hand and a tin of evo stik in my grubby (and sticky) mits that I decided that a simple re-trim wouldn’t suffice, that the flat slab like facia in front of the passenger looked a bit – well flat and slab like, so I thought what could be done to break it up a bit and came to the only logical conclusion – fit a sat nav in it.

this whimsical flight of fancy turned into a full on master plan and technical search when I found after a cursory peep on ebay that they were cheap as chips if buying a non-branded version and more features than I could ever imagine.

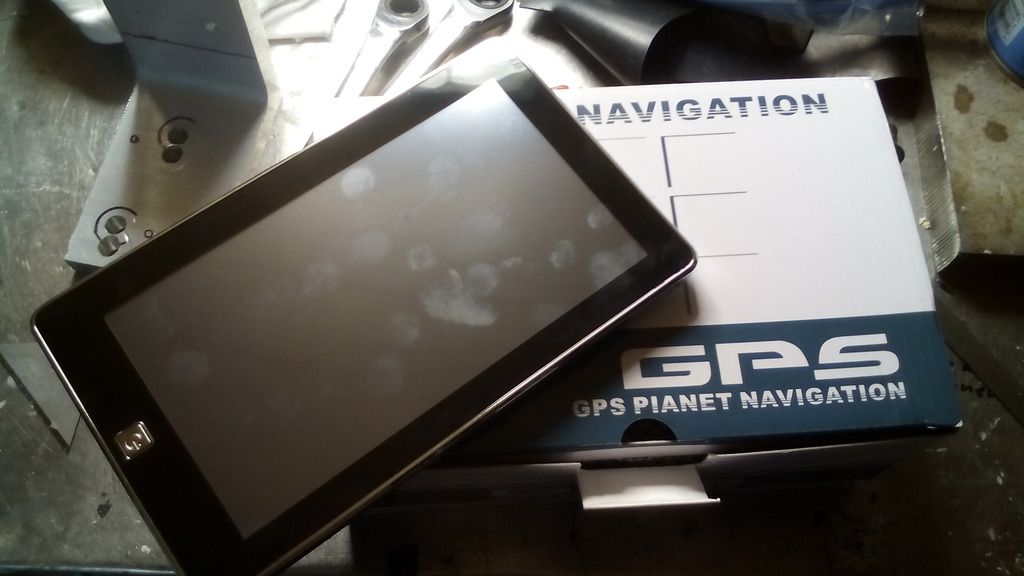
The one I settled on was this one
Image

7” touch screen but more importantly the power / function button was on the front face bit like an iPad, most have it around the periphery which would pose issues if the device was mounted flush to or behind the dash surface.

the plan was to cut out a shape in the dash top that would enable the unit to sit flush and use it as is, unfortunately upon opening the package it became apparent just what the grand sum of £30 got you, the outer most front screen wasn’t glass but a bit of plastic film stuck on – and not very straight either, the black surround edges weren’t flat and smooth (like an iPad) but all wobbly as if it was the result of an object nder 2s arts and crafts session (trust me I know), if you look at the photo at the reflection you can see the wavy nature of the outer surface.
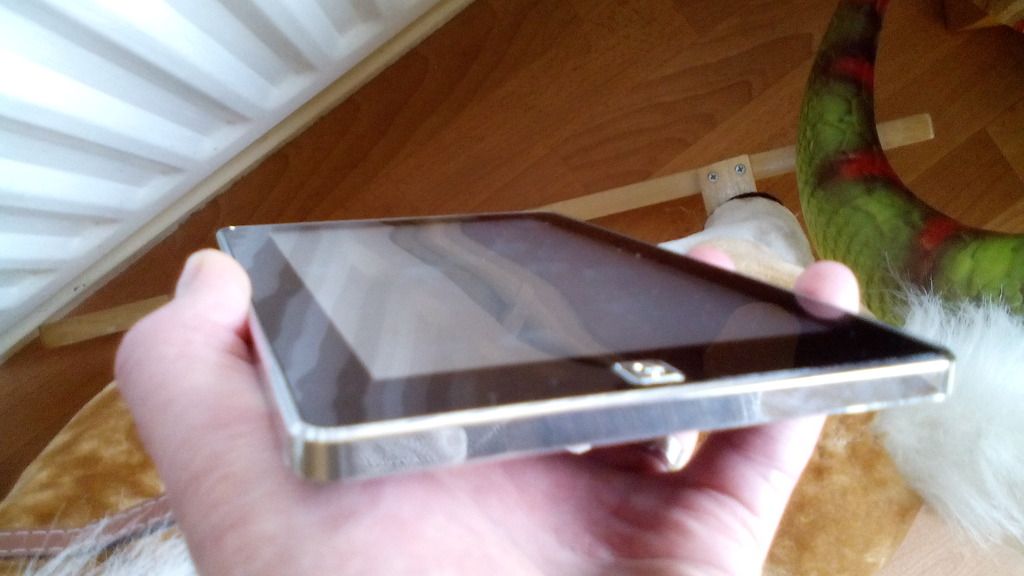
Image

feeling somewhat dismayed I considered my options, I didn’t see the point in spending hours and hours making the dash top perfect in every detail – accurate and symmetrical down to the last 1mm only to mess it up sticking a shoddy looking screen slap bang in the middle of it,

so as you do when confronted with the concept of having to return an item in perfect unused condition for a refund, just like the "wet paint" sign where you need to poke it just to see I started to peel off the plastiky outer film - just to see, and much to my pleasant surprise what I found underneath was the main guts of a generic sat nav within the casing of another generic a sat nav (stick with me on this, its not as complicated as I'm making it sound)
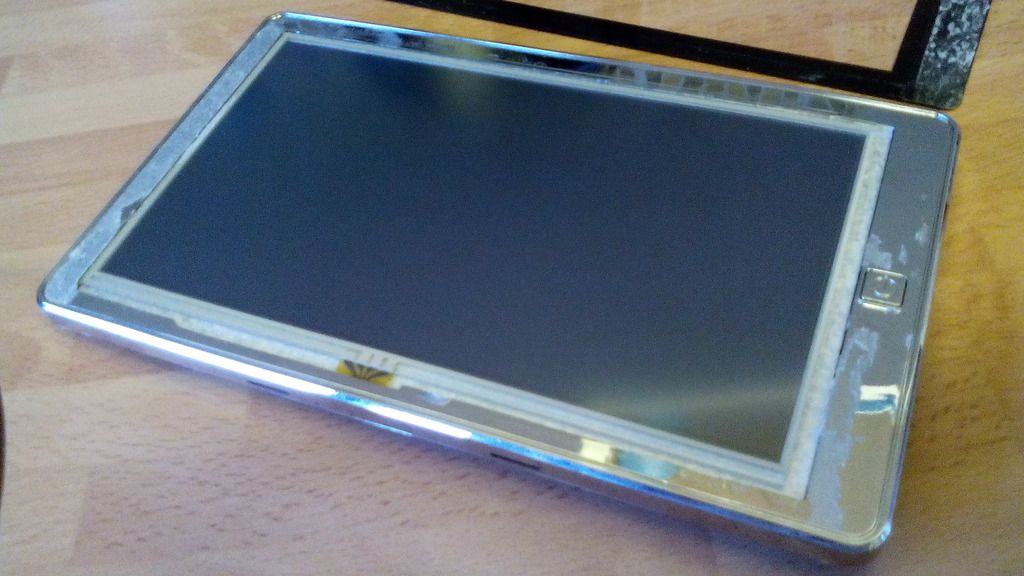
Image

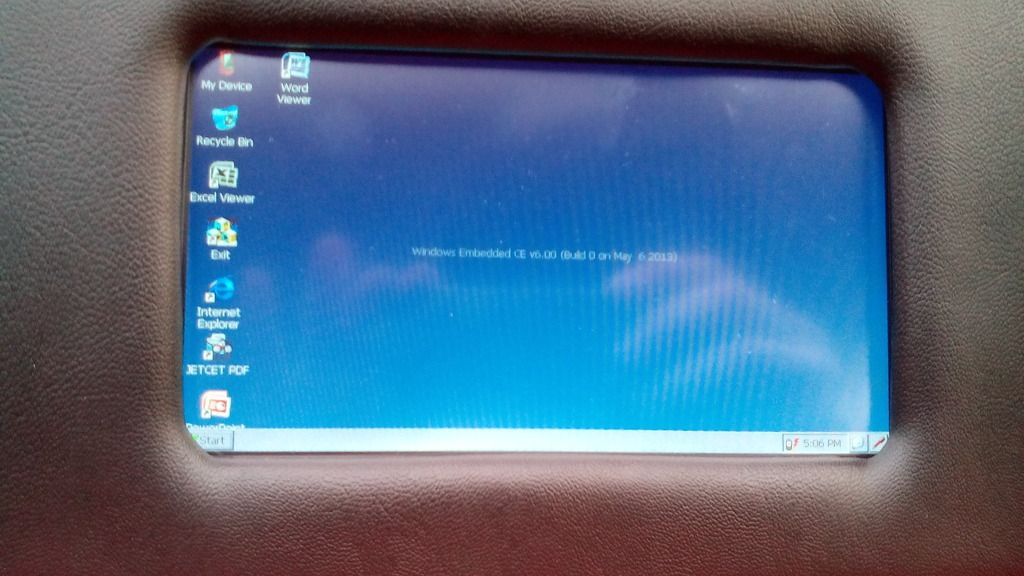
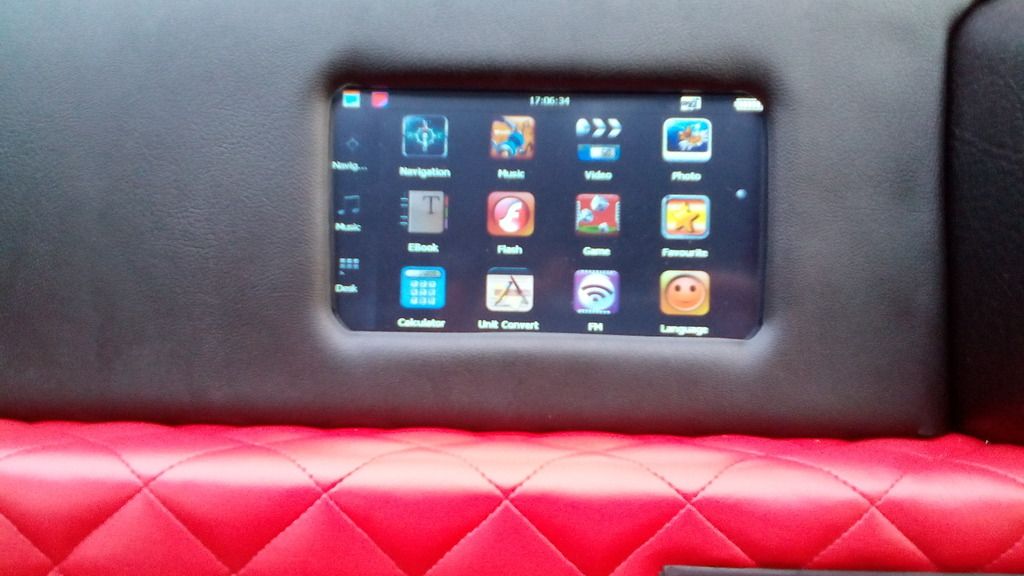
the screen revealed on this inner version was as you would expect – satin glass every bit as good as my Tom Tom, this does explain why the picture on the user manual looks nothing like that of the device in the box and putting that part number into google brings up several different designs in different cases but all exactly the same inside, what’s more is the operating hardware is media tek who are one of the biggest suppliers of chips for mobile devices inc Sony and Samsung along with TVs DVDs and pretty much anything, the navigation system is igo primo which is standard fit in some production cars and again mobile devices including branded sat navs, and in use it performs fantastically outperforming my tom tom by miles, the search function brings up details such as selecting a store by name as well as accommodation – campsites, garages, hospitals etc etc., it also works as a video player / reverse camera and even has windows installed operating as a PC, it has AV function for reverse camera (on order) and can search the internet with Google installed plus radio, radio transmitter, WiFi and loads more I’ve yet to discover – its truly remarkable.

Back to the project, since id ripped off the outer cover I now settled on making a cut-out just big enough for the visible screen and mount this behind the dash top fascia.

I trial fitted it to check it wouldn’t foul the wiper mech
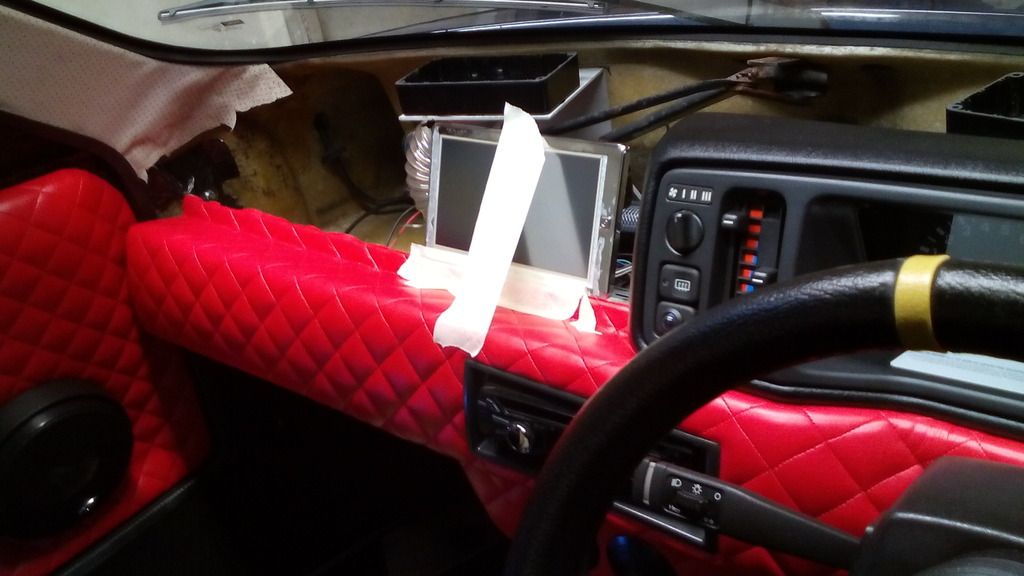
Image

Then marked out the position

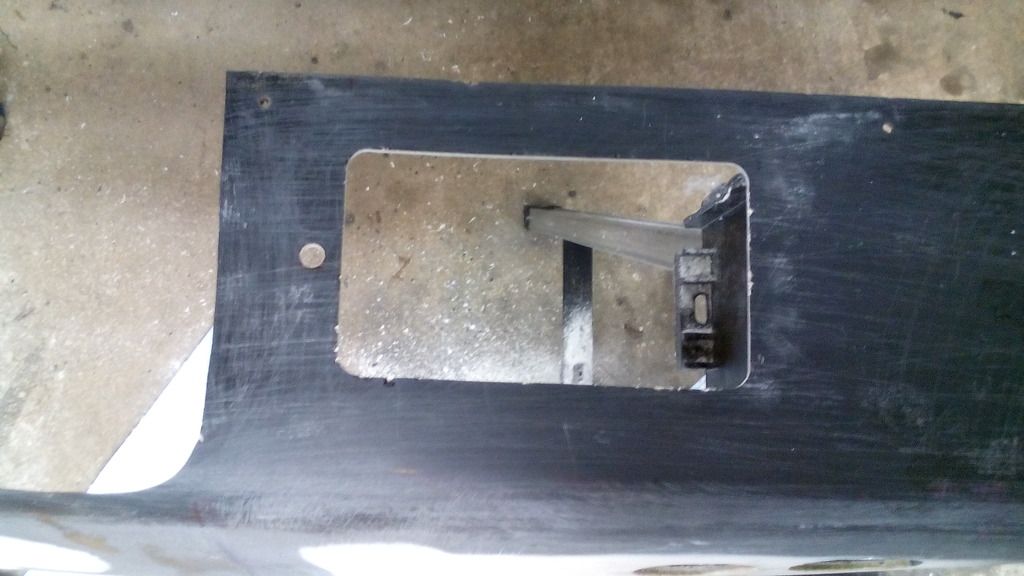
Image

Choppy choppy

Image

Gaffer taped it in a drove for a week like this to check functionality and reliability
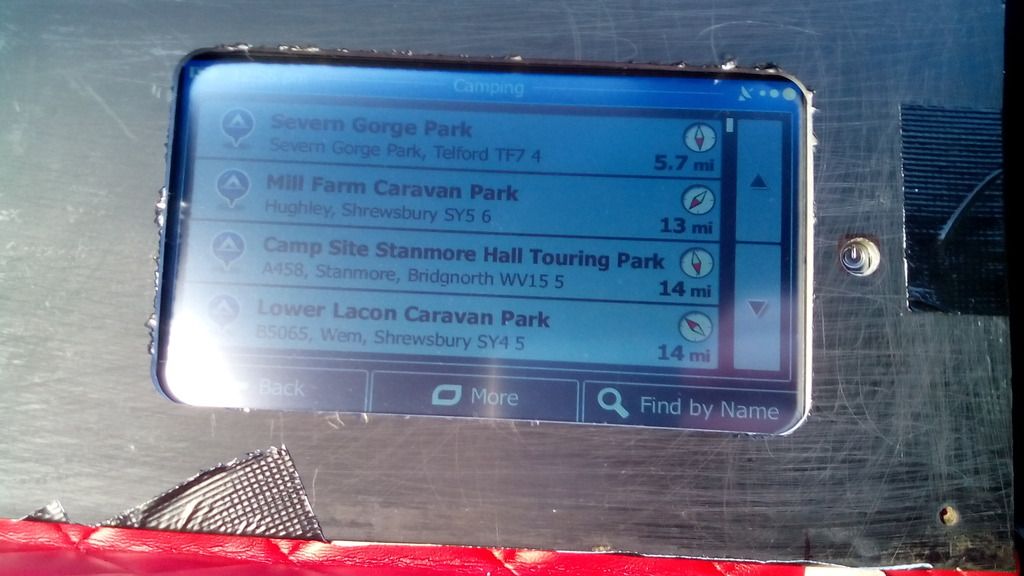
Image

Once happy I set about making permanent bracketery
Image

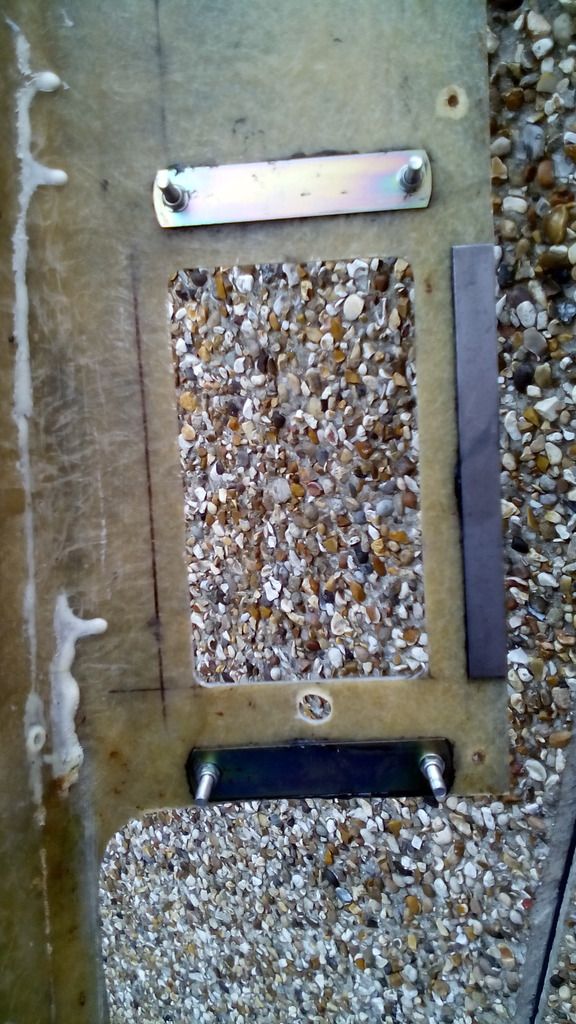
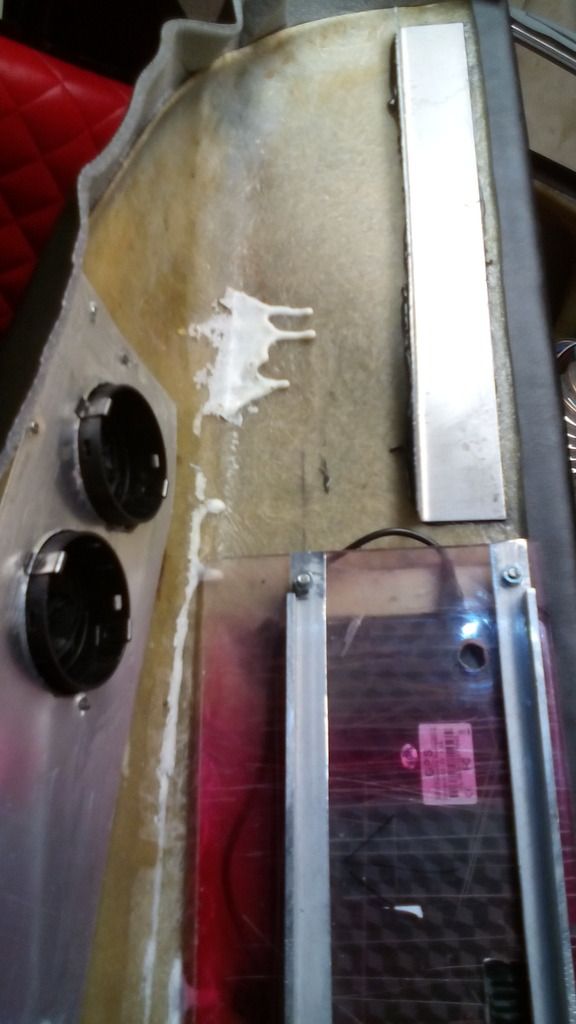
I had to reinforce the lower section of the dash top with a strip of sell to keep it flat, also whilst on the steel I made a right angle section to straighten out the left hand side since it had become slightly warped through age or something, this would also give me my second location point for a magnet to secure it with.
Image

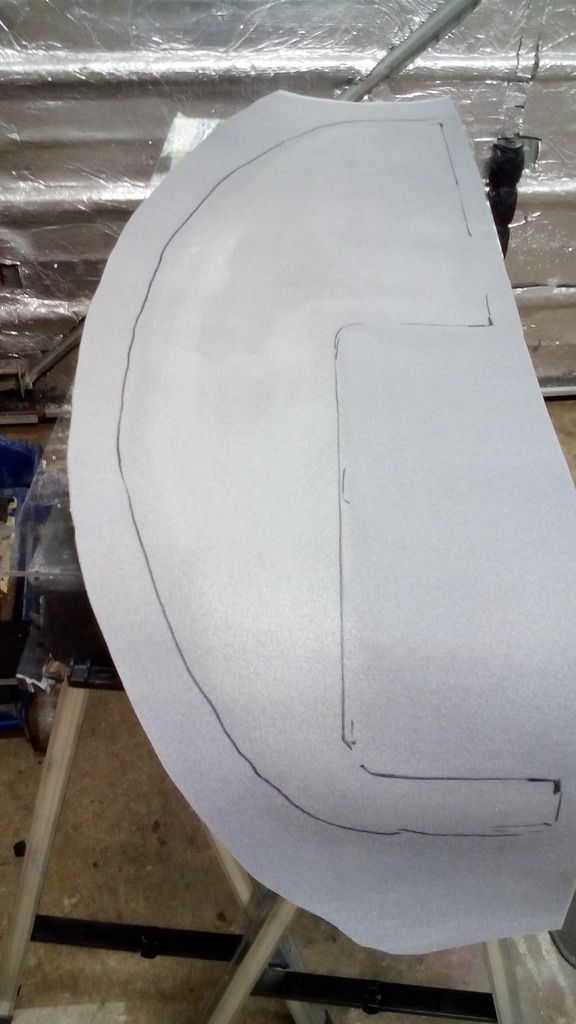
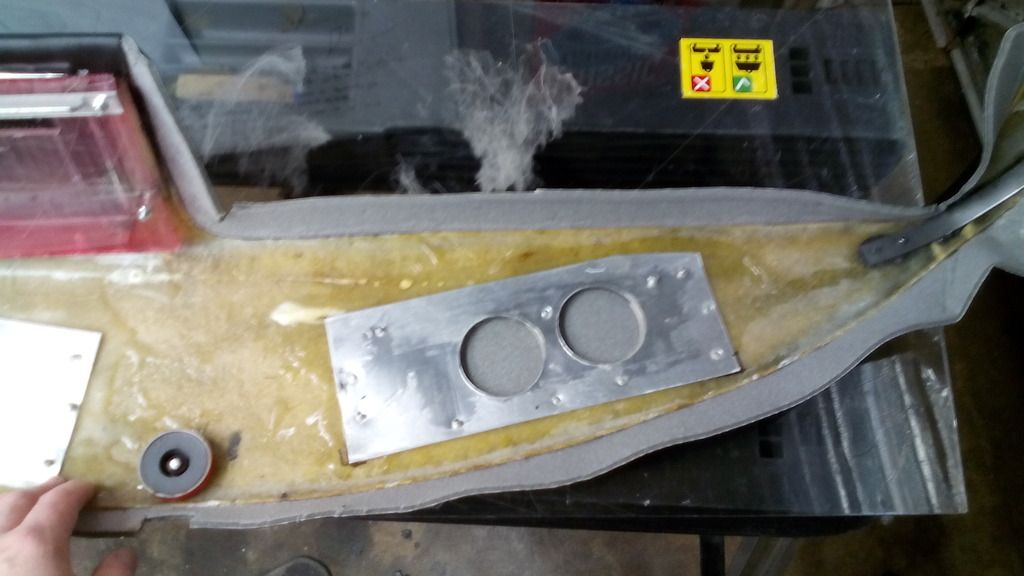
the whole dash was then covered in 4mm foam backed black vinyl – twice since I made a total monkeys breakfast of the first attempt.
Image

Image

Image

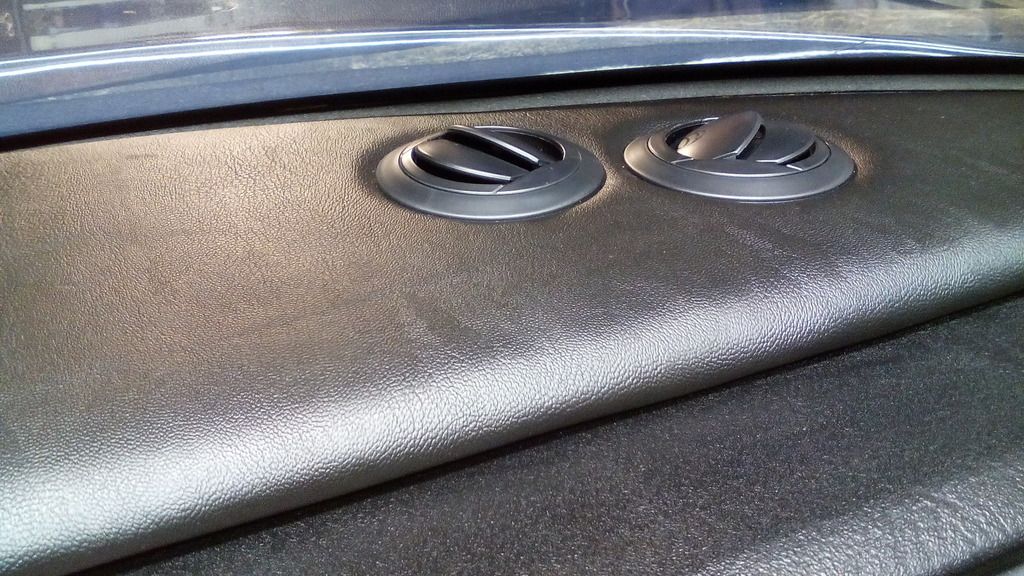
I purposely left an inch overhang all-round the edges, not to fold under and glue flat but to fold under loose and let curl back against the adjoining panels to seal all the big gaps mentioned previously – a bit like a lip seal, as It happens this was very effective since there are no gaps at all and the dash top looks like it was factory made to production car tolerances as a result.


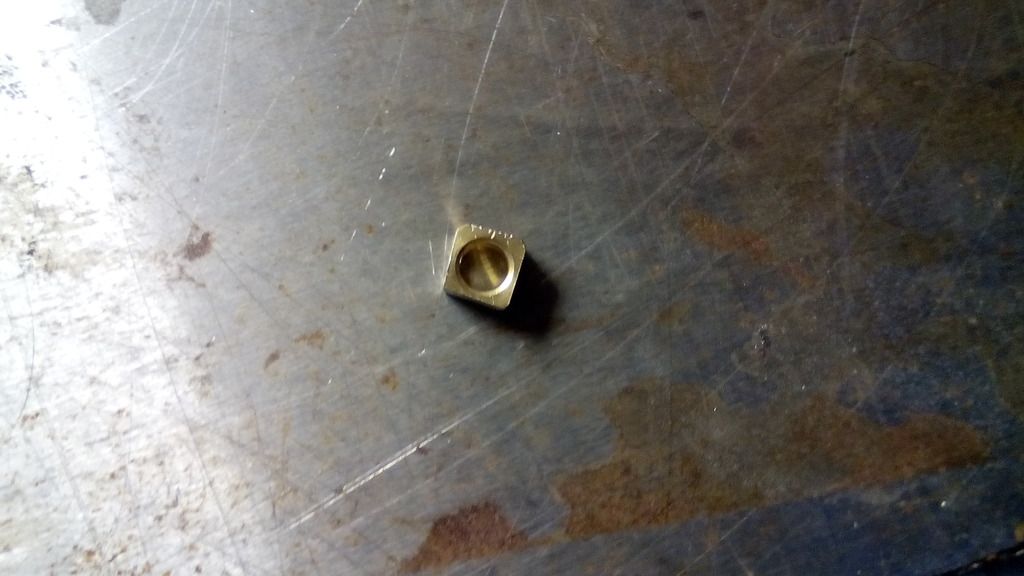
to enable operation of the main function button of the screen I made a cut out in the dash top for it then made an extension of the button by filing up a brass bush the same thickness as the fiberglass of the dash top thus enabling it to rest just behind the foam vinyl
Image


One touch of the vinyl in that area allows full function of all the features as required but no unsightly buttons

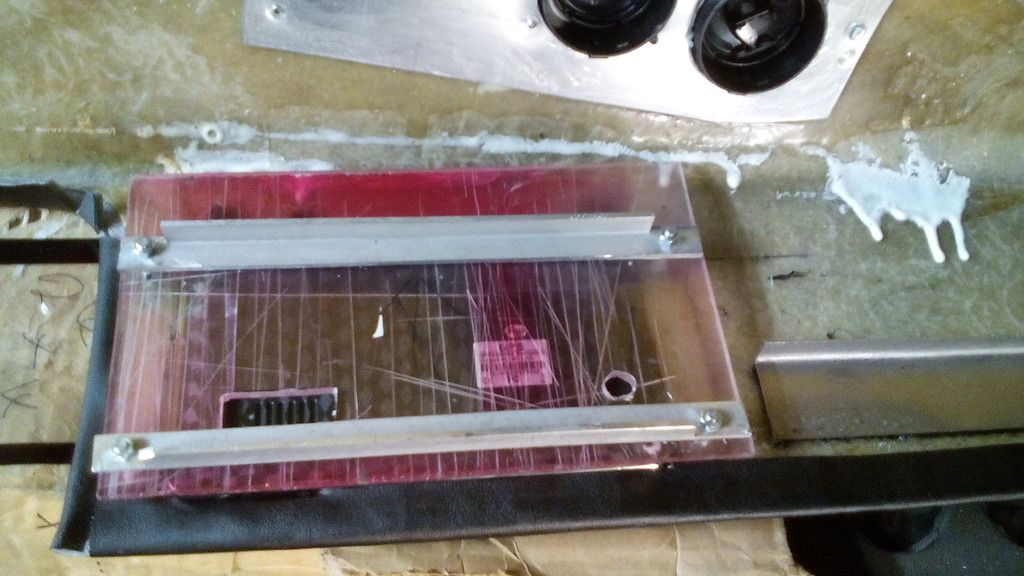
Quick trial fit of the screen, the rear bracket for the unit was made from an off cut of polycarbonate and 2 strips of ally angle to keep the shape
Image

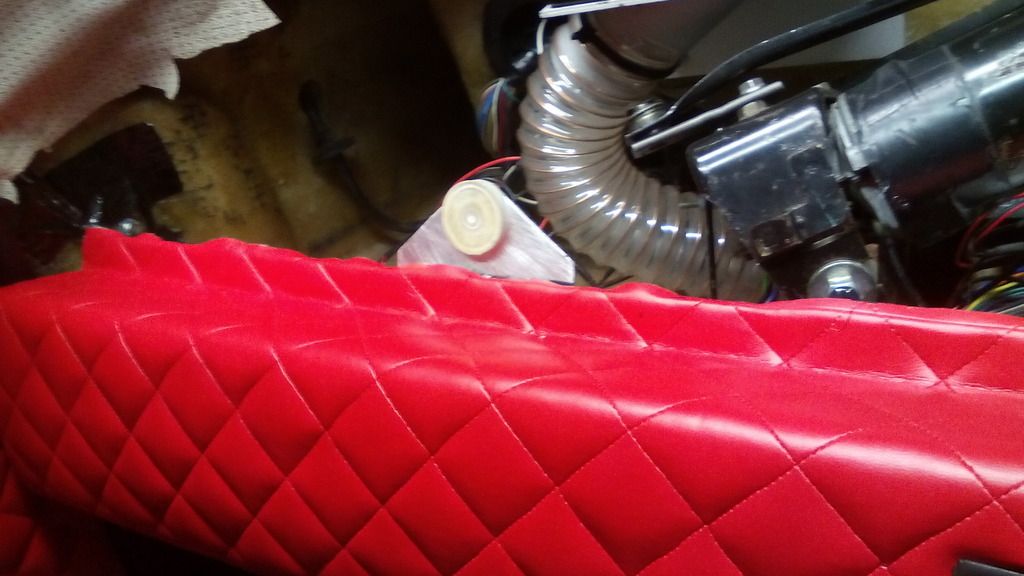
Second high power magnet on the lower dash in line with the steel angle strip on the upper dash, snaps tight and flush
Image

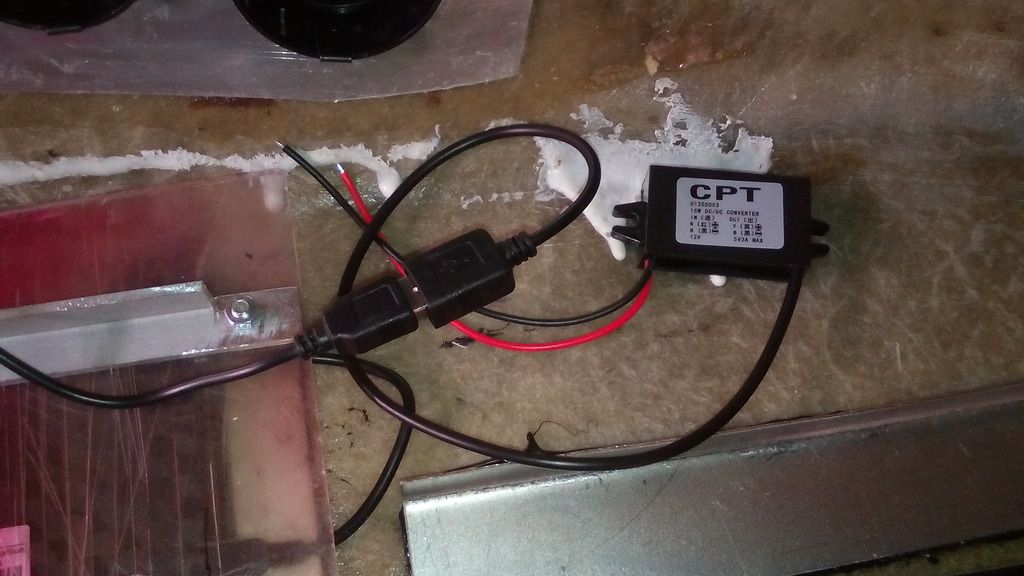
I also purchased a module to hardwire the sat nav in place to become a permanent fixture
Image

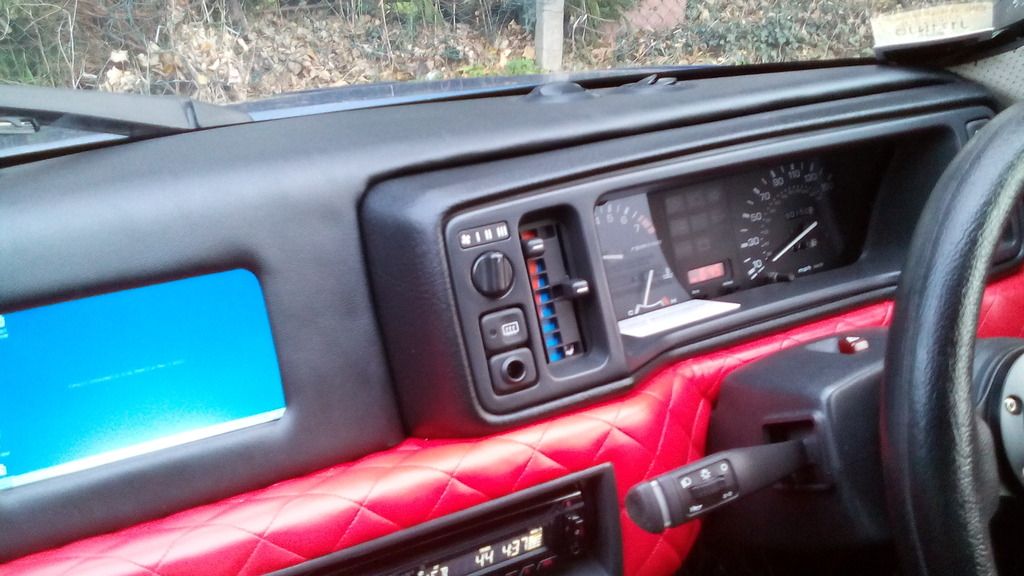
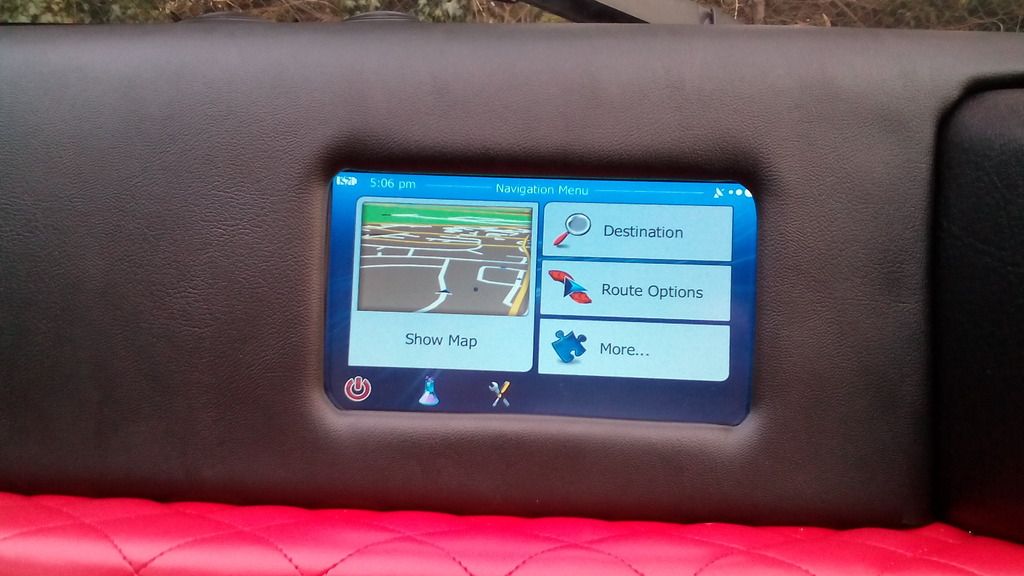
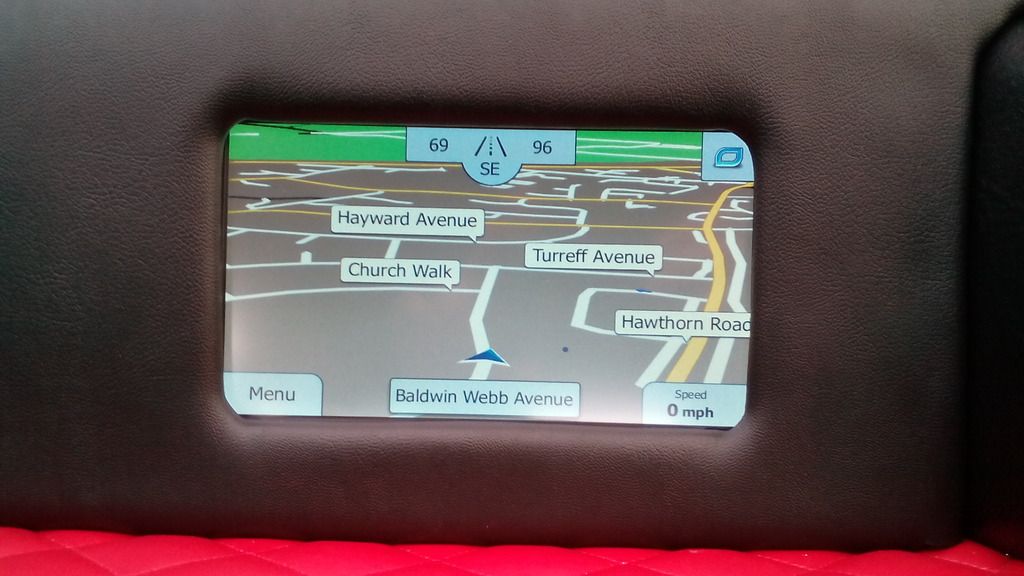
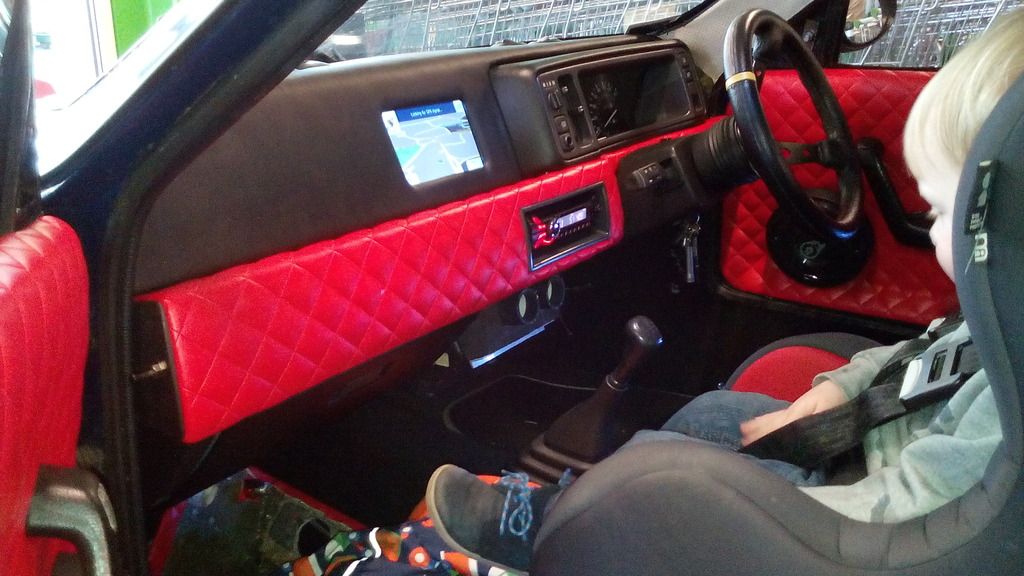
all done and working a treat, its set up so it springs into life as soon as you turn the key and switches straight to navigation mode, simply showing your location on a map as you drive which I quite like as you get to see upcoming bends – speed – traffic alerts etc. (I clearly watched far too much knight rider as a kid) and downloading videos into the memory card it keeps the little uns quiet at shows if they are a bit bored.
Image

Image

Image

Image

Image

Image

Image

Image

Image

Image

Image

Image

Excuse the lack of lower dash cowl in these photos but I’m currently wiring in a kill switch to this area.

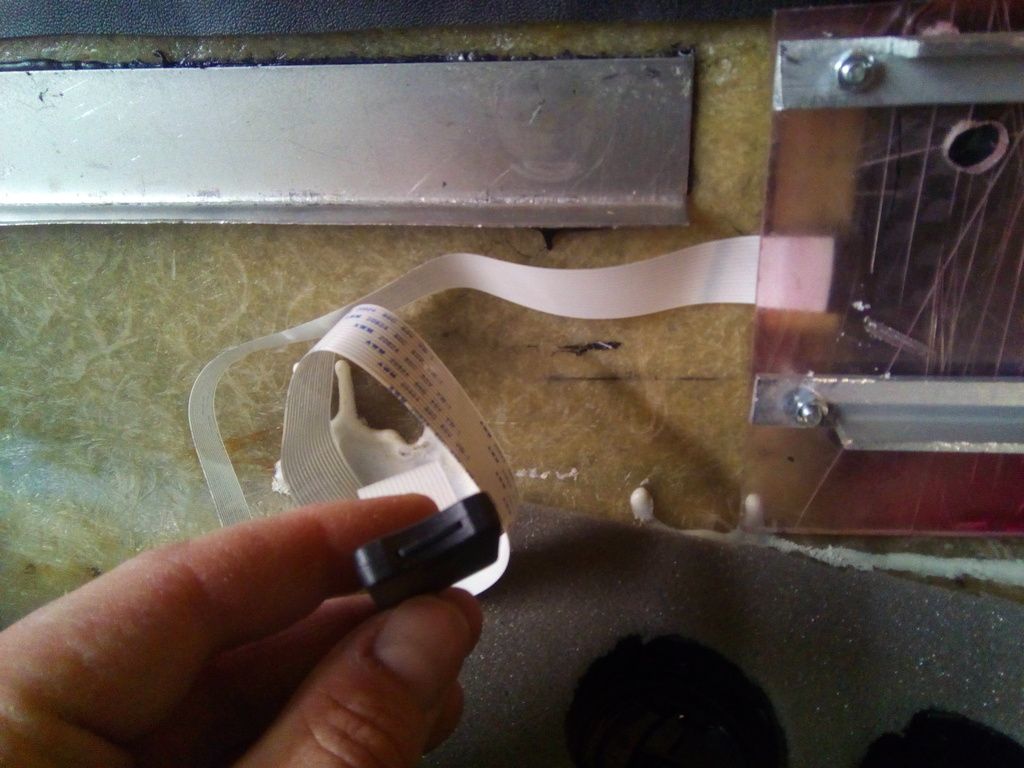
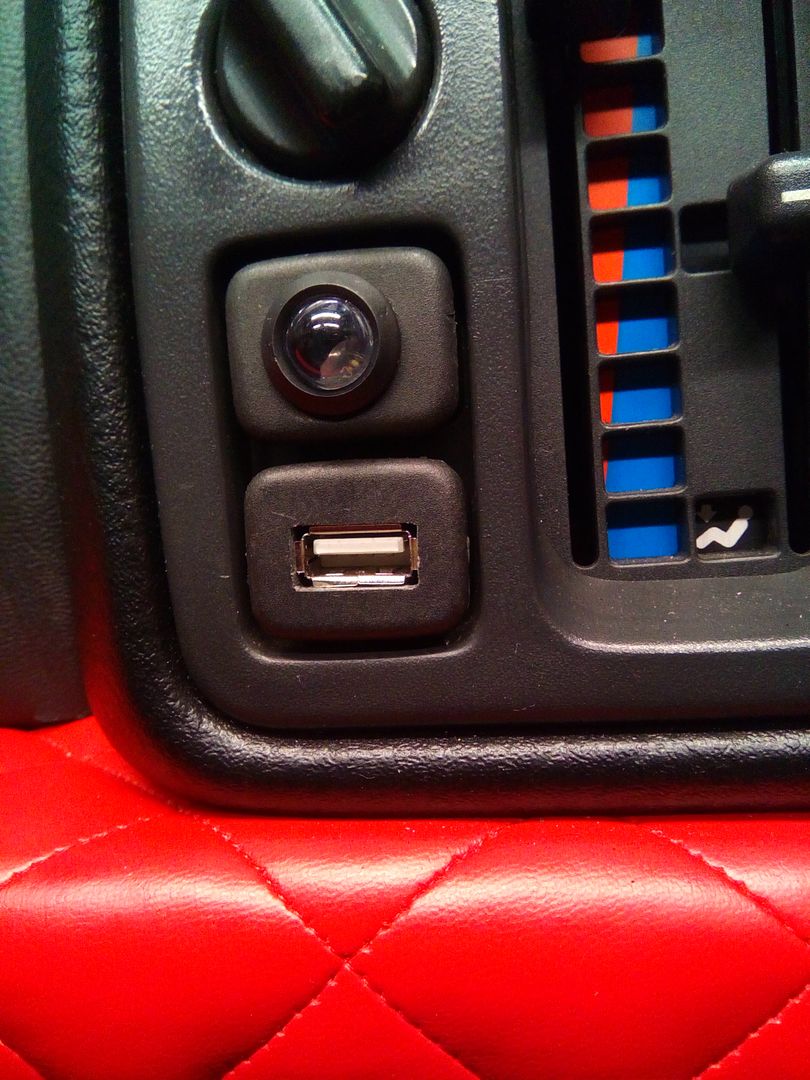
I also have, on a slow boat from china an SD card extender which is a ribbon with attached socket you use to extend the card reader slot so I can mount that (flush of course) into the dash facia somewhere along with a similar USB device splitter to enable a socket to be mounted on the dash to data transfer the sat nav via a laptop or phone but will also charge your phone when the ignition is on so not relying on a seperate charger, as soon as they arrive ill update you.


Not bad for a car that didn’t even have interior lights fitted when I bought it.

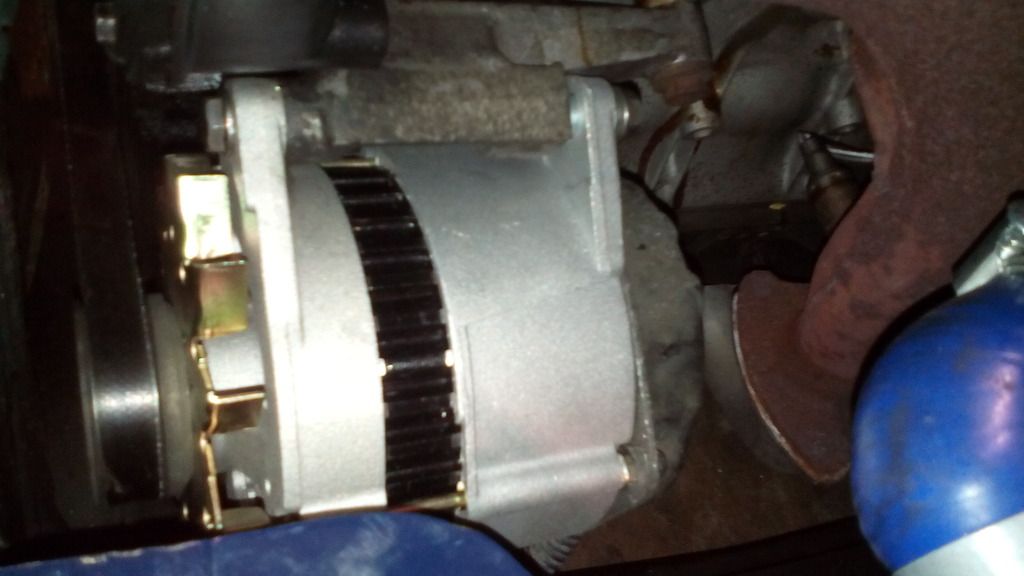
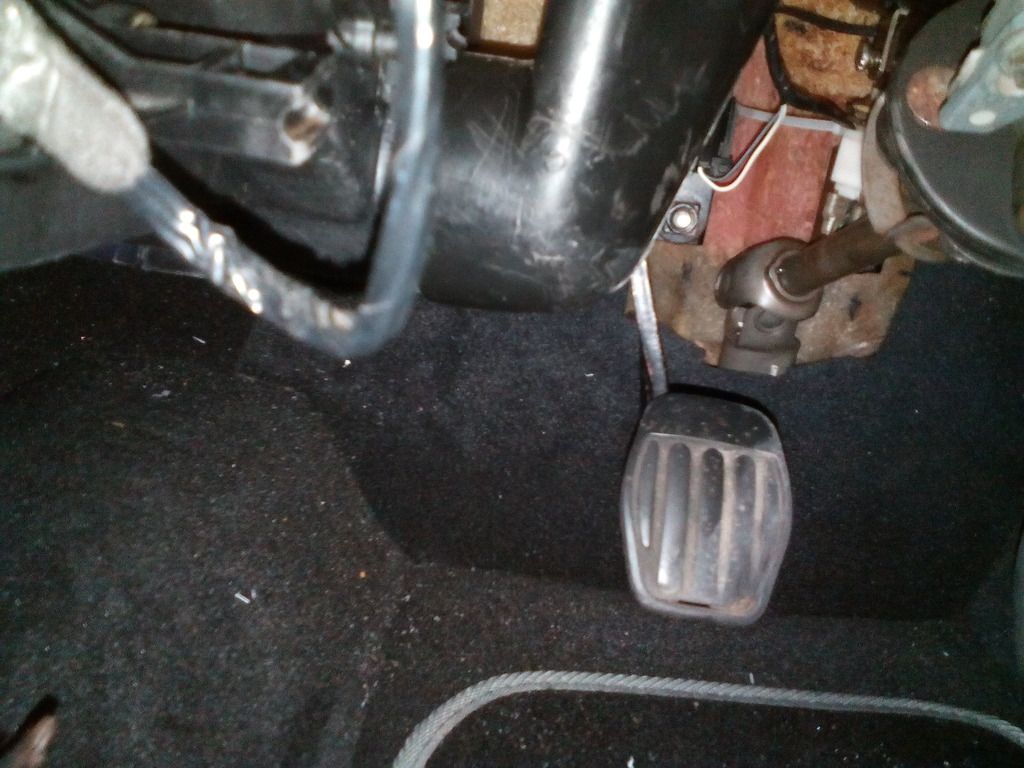
In other news I've had a brand spanking new alternator due to the old one shorting out and lunching the battery with it, all good now though
Image
https://easywider.co.uk/ universal flexible wheel arch extensions
Jin
 
Posts: 454
Joined: Fri Aug 01, 2014 10:33 pm

Re: J171 NJO Cortez / 2+2 rebuild and modifications

Postby Jin » Tue Mar 15, 2016 12:58 am

Done a bit more, well quite a bit more actually...


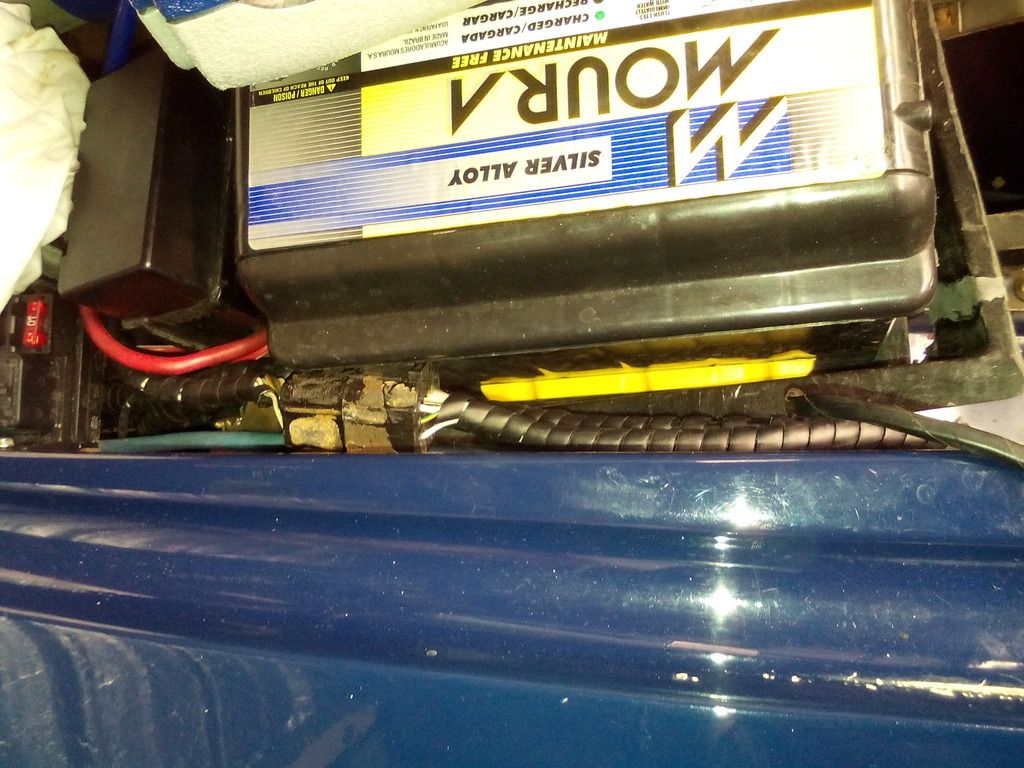
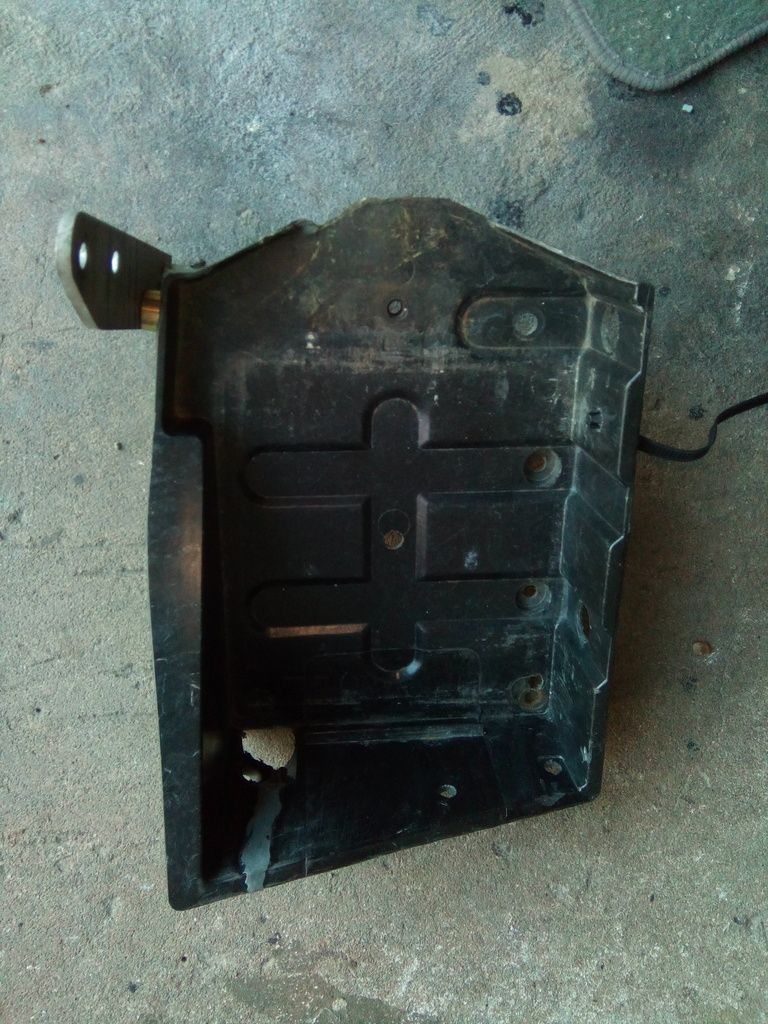
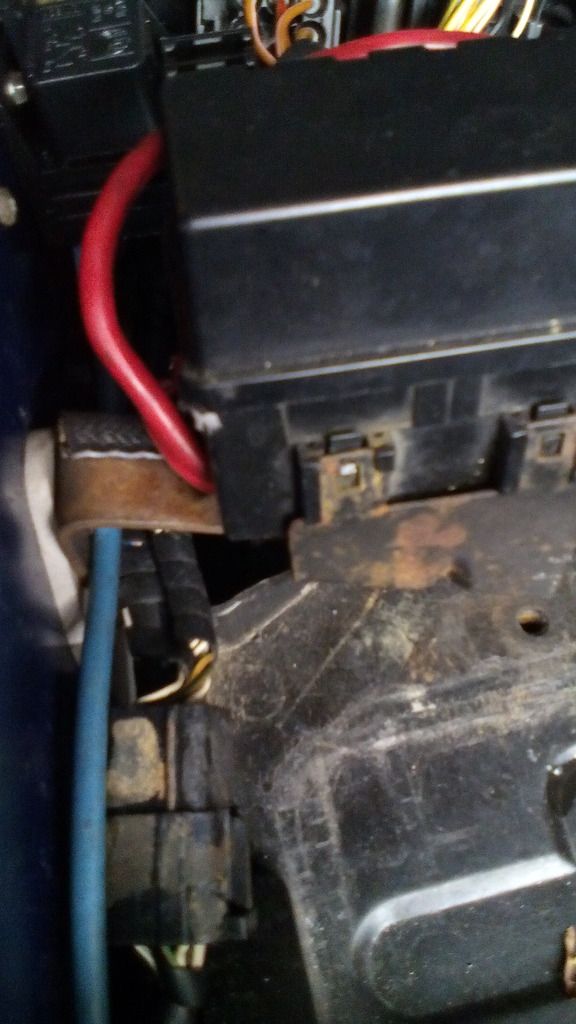
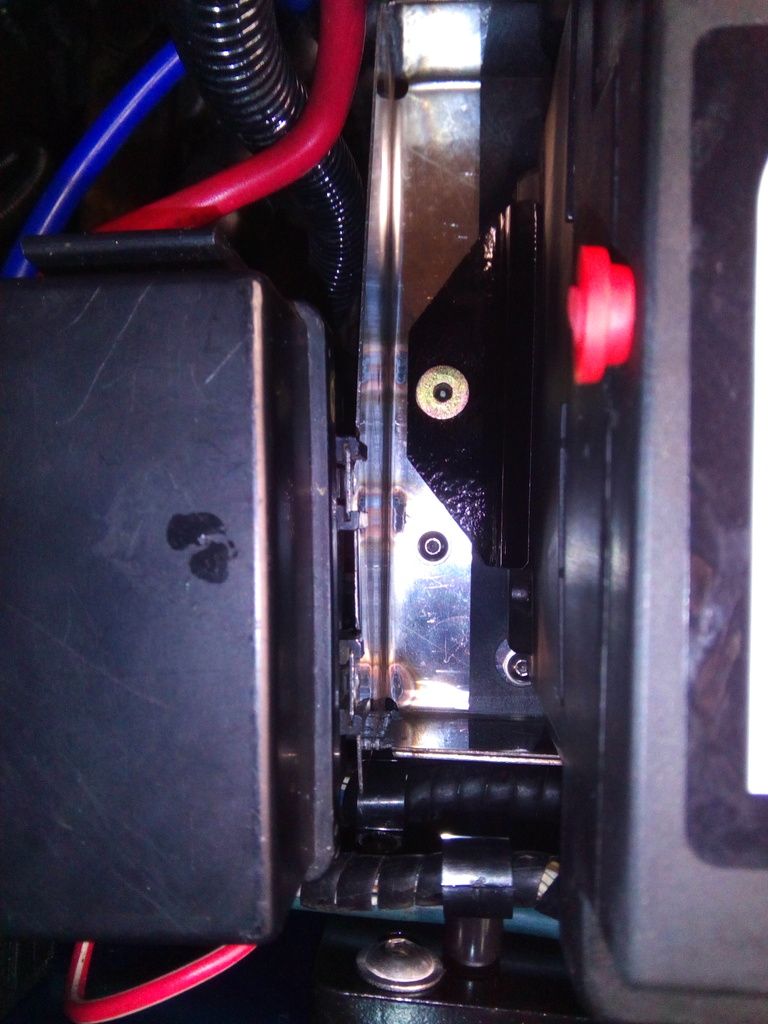
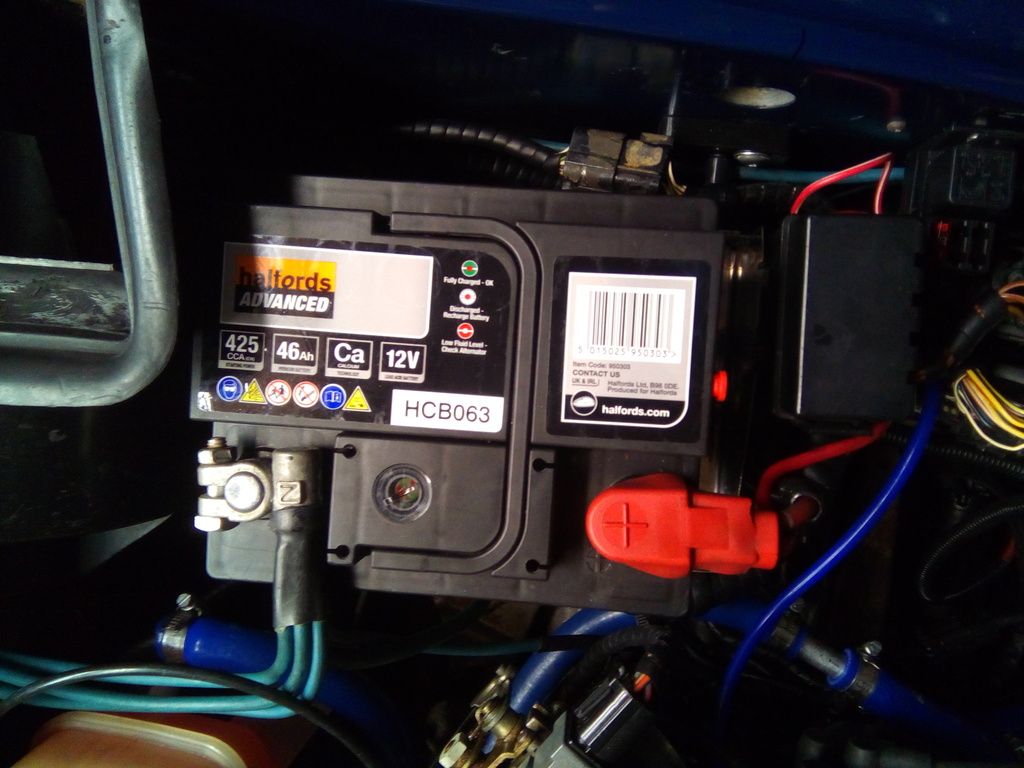
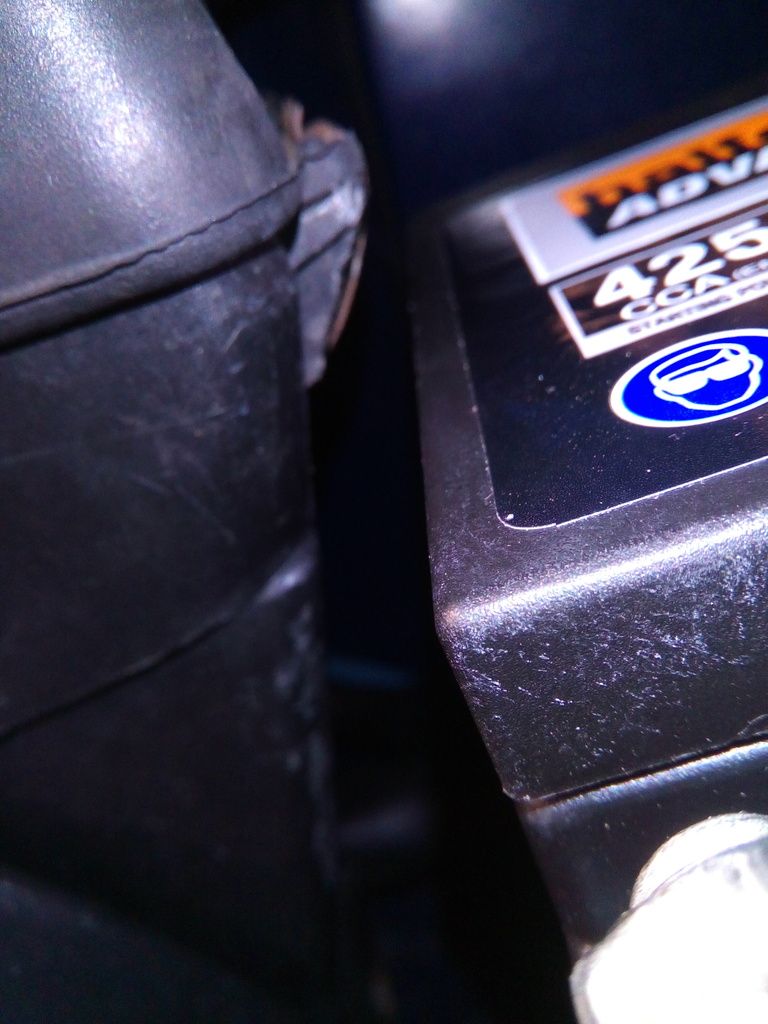
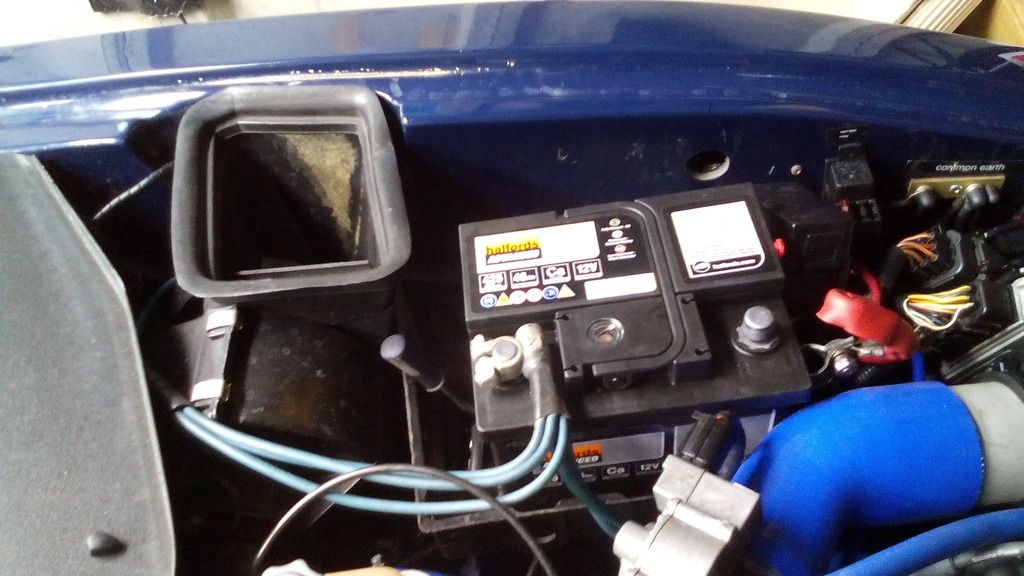
the standard battery tray was a bit pants, it was positioned in such a way that the battery squashed the (unsupported) engine loom plug against the inner wing and the battery itself bared against the heater inlet duct, so ideally it needed to be moved in and forwards a touch,

Image

Image

Additionally the engine bay fuse box was only supported on a crappy bracket that looked like it shouldn’t be there either so it would be nice to tidy it all up

Image

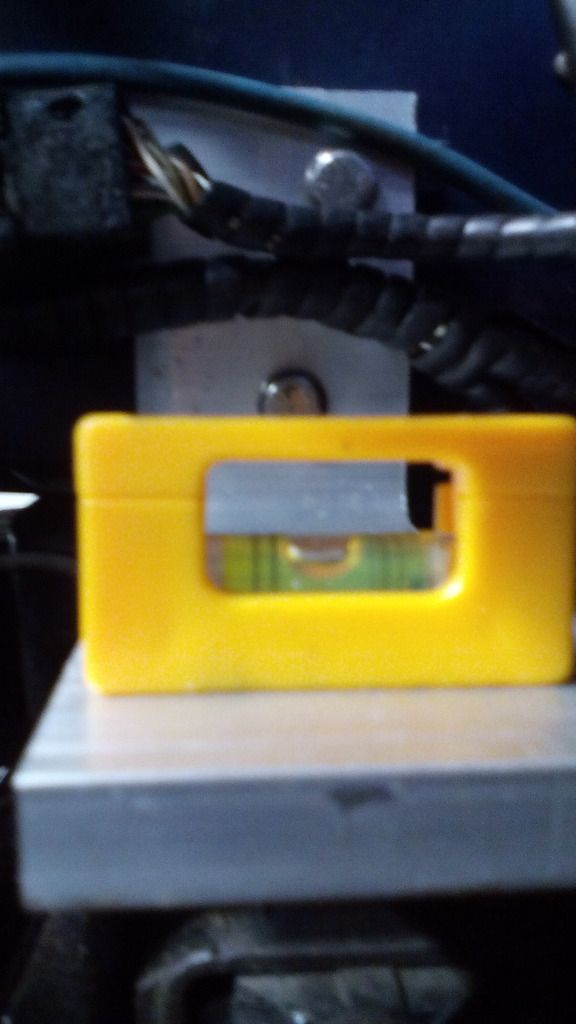
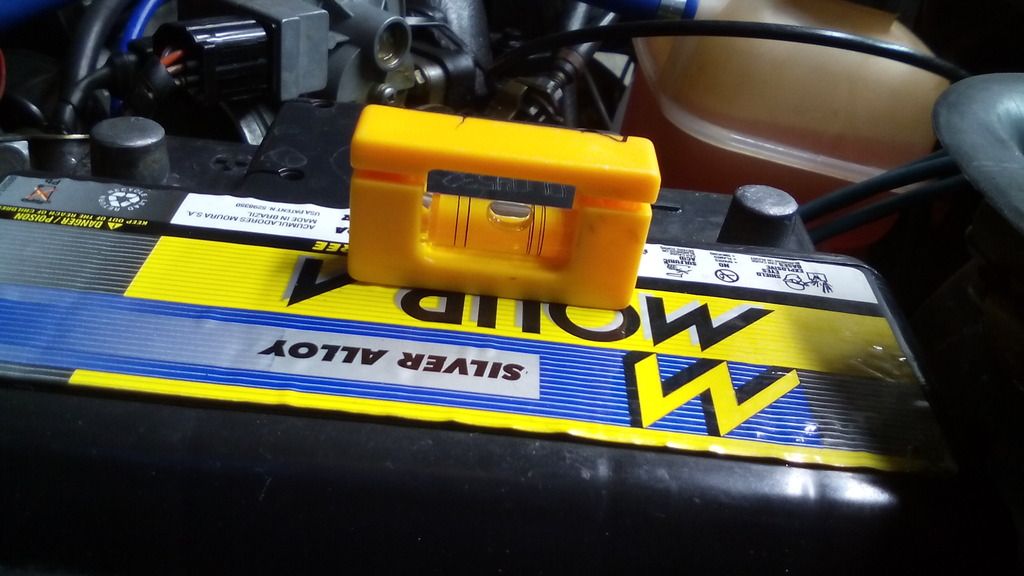
Lastly the battery tray was mounted at a downwards tilt – probably not a problem but I would like to have it sit level cos I'm a bit fussy like that.

Not only that but it just didn’t look like it was mean to be there

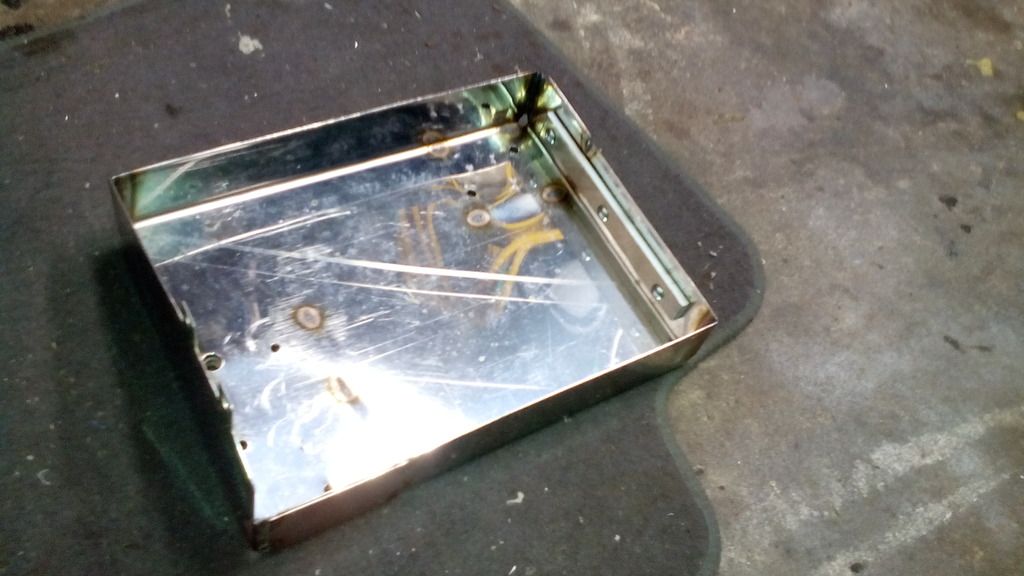
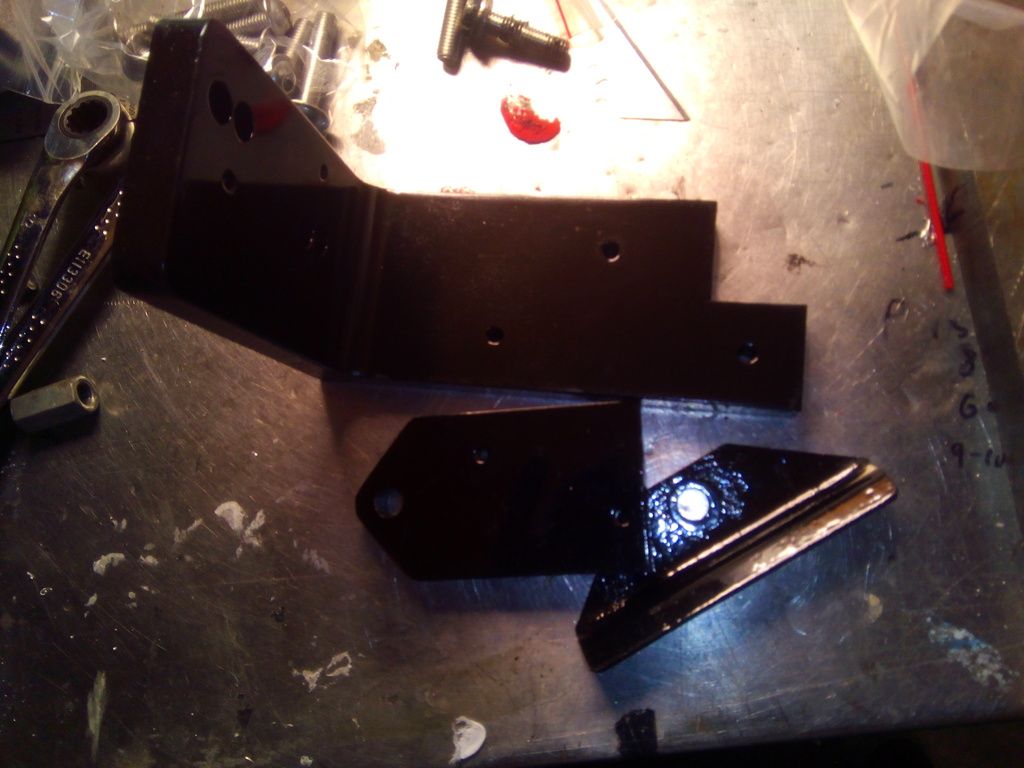
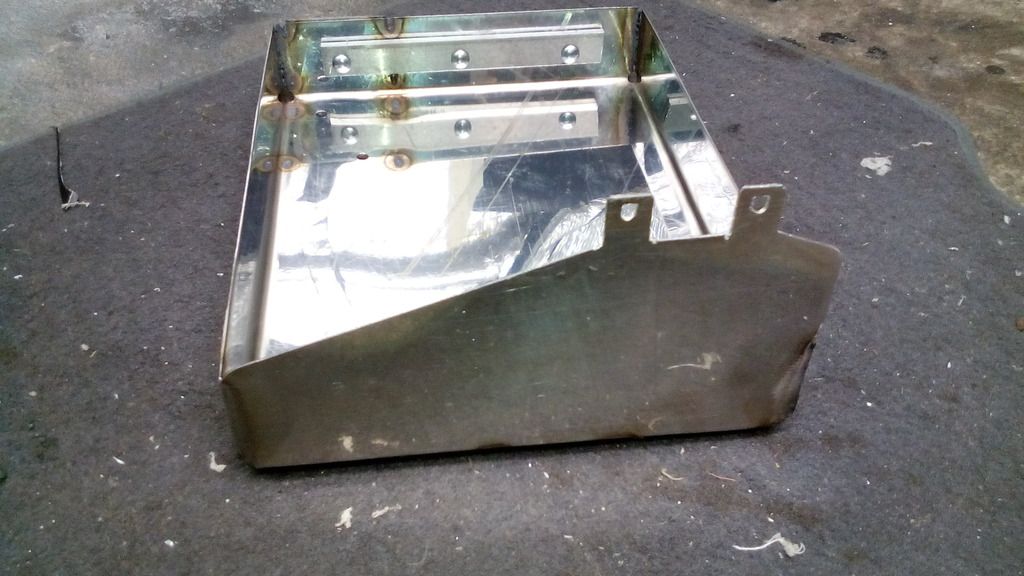
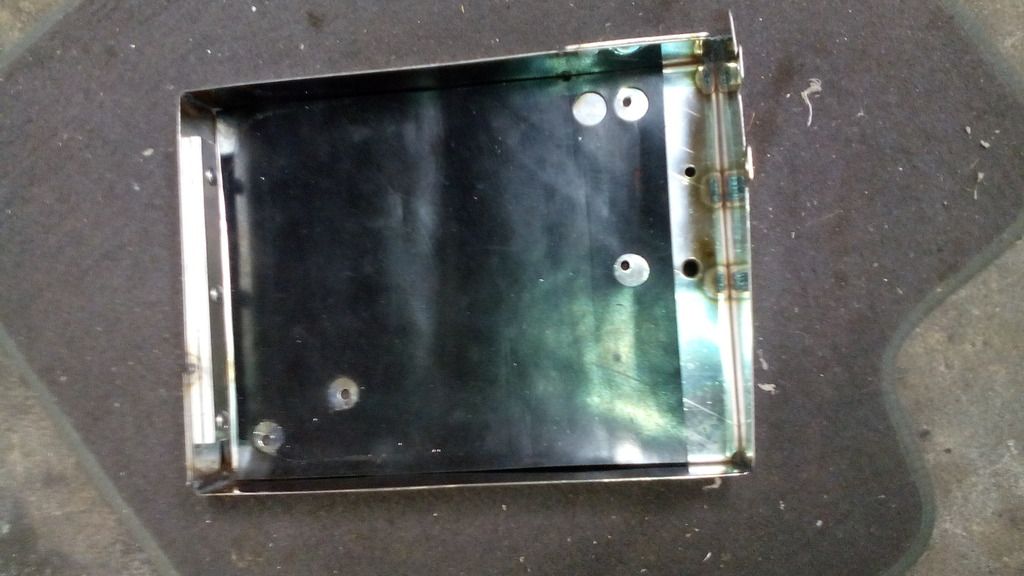
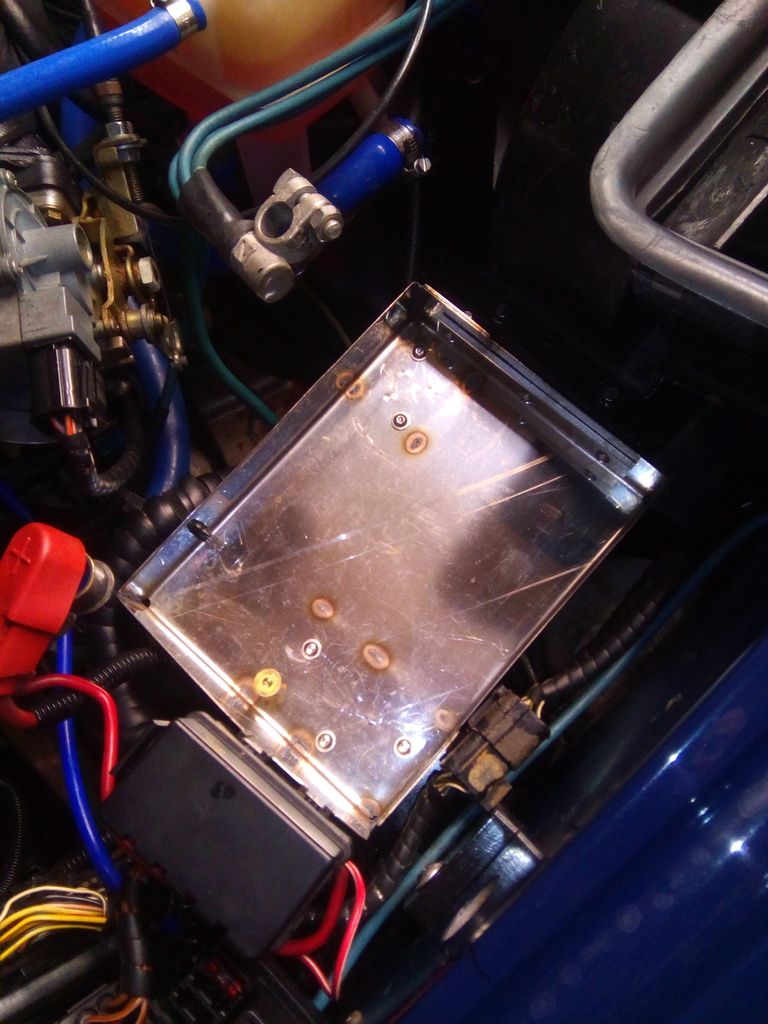
so I designed a new tray out of stainless, quite thin to save weight but with reinforcements in strategic places, and then made up some new brackets to support it out of aluminium, all trued up level on the car


Image

Image


Painted


Image


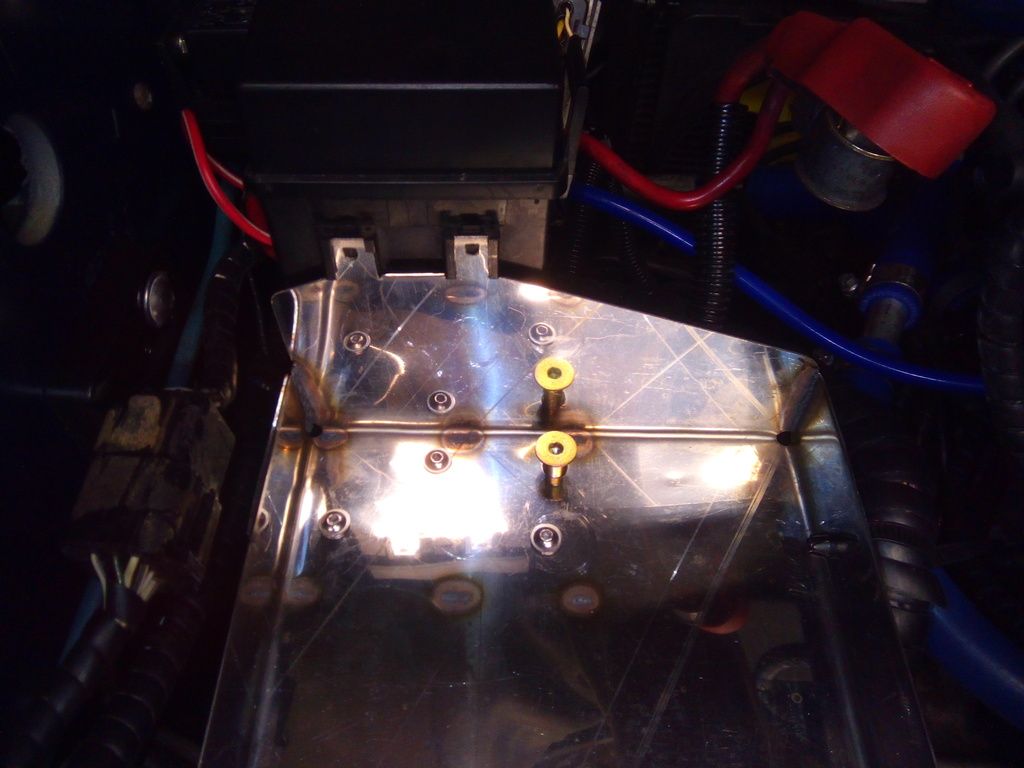
I then copied the profile of the locating tabs from the original bracket for the fuse box and copied it into the tray front edge

Image

Much neater

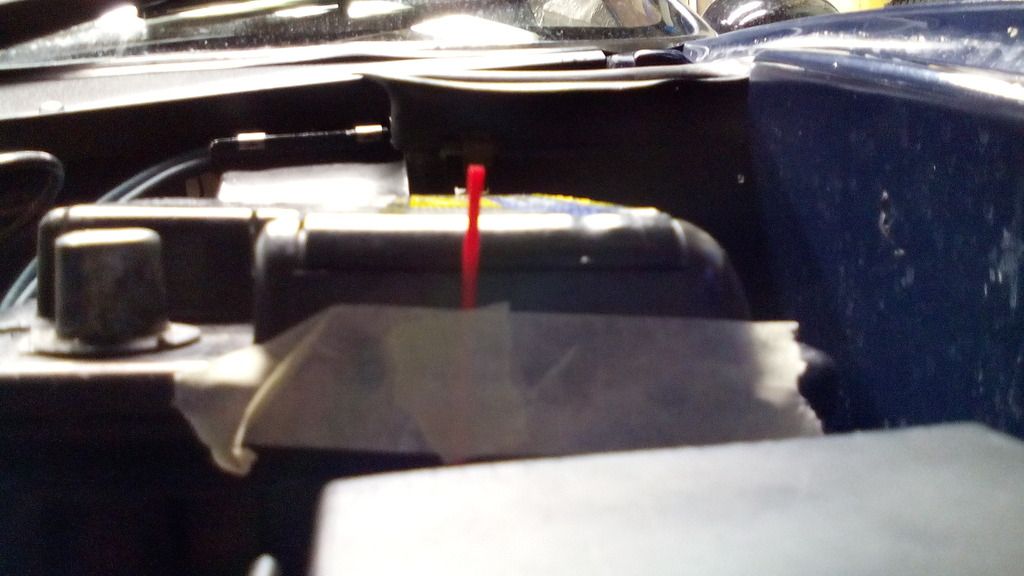
A bit of tweaking allowed me to raise the front of the tray and lower the rear, a quick check with a WD-40 straw taped to the front edge of the battery revealed a 10mm clearance with the bonnet closed.

Image

Image

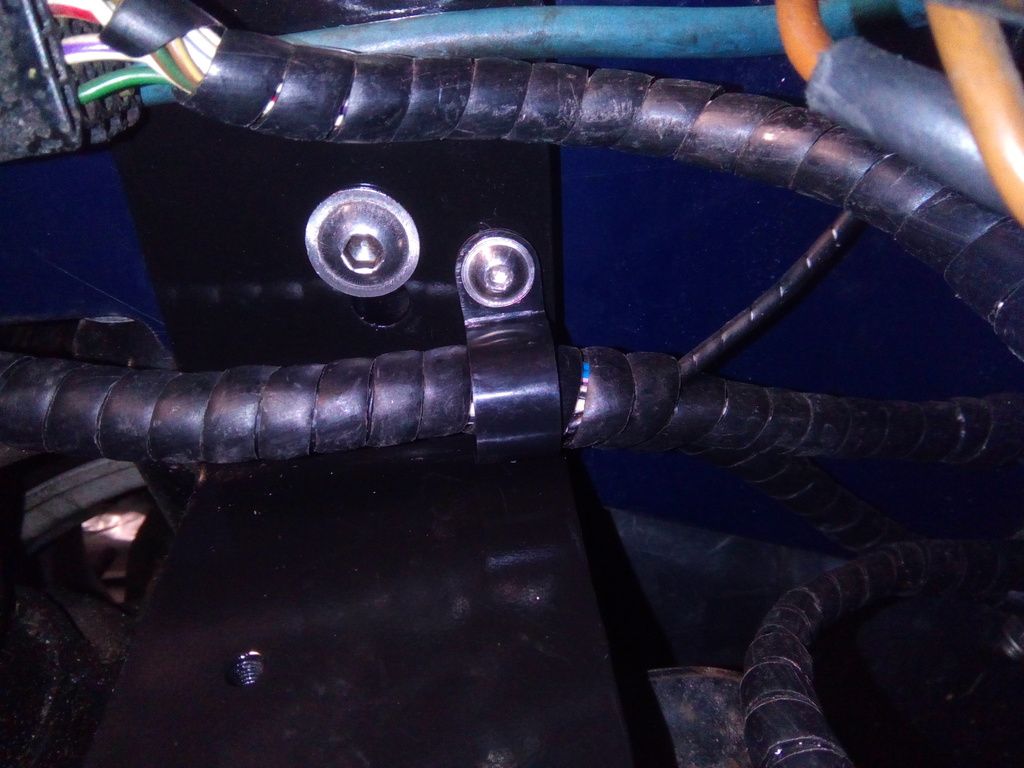
The supporting brackets I made have M5 tapped holes to take P clips for the cables


Image


Much better

All bolted on with stainless bolts


I made a neoprene mat to go underneath

Image

And since the stainless was relatively shiny despite being an off cut hanging around for a while it seemed rude to not give it a quick polish upup

Image

Finished and the result is something much more pleasing.


Image


Image

Image

I now had the clearance I so desired at the rear edge to the heater inlet

Image


Next up was new positive battery cable and kill switch, I had one in the quantum and I wanted one in here too, extra safety from all respects.

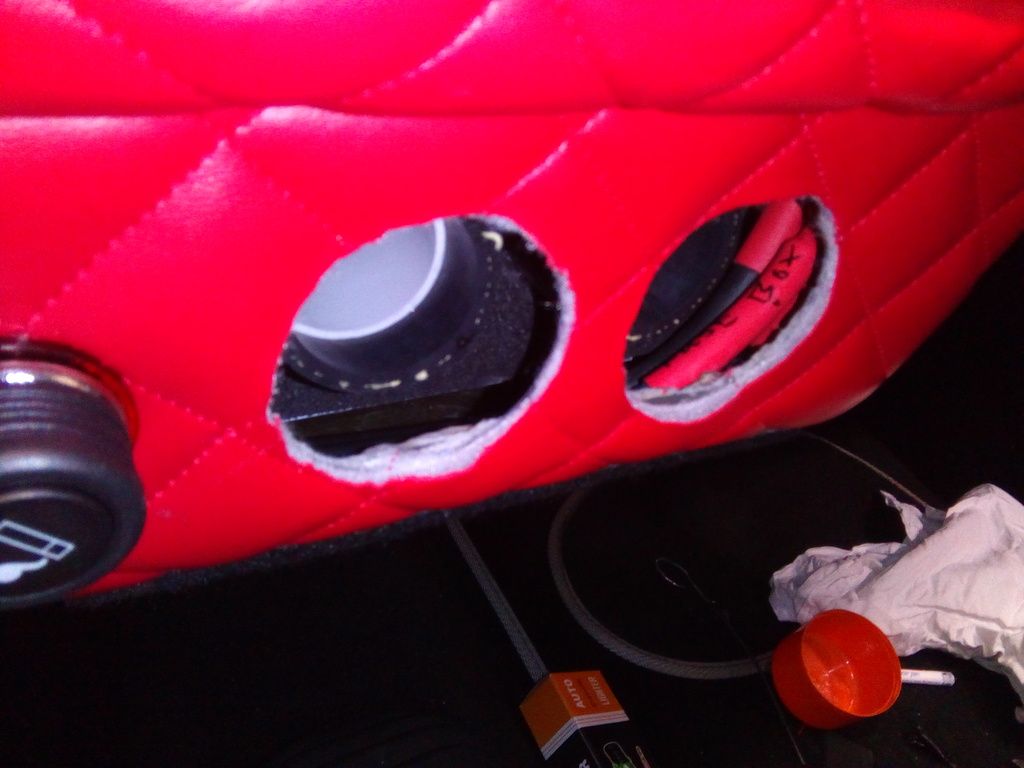
I struggled to find a location on the dash I was happy with and / or room for, but eventually I decided to relocate the fag lighter to a more suitable front location and use the redundant hole to mount the kill switch thinking it would be better suited close to the driver anyway whereas the lighter socket was in the way a bit –win – winwin

Image

Image


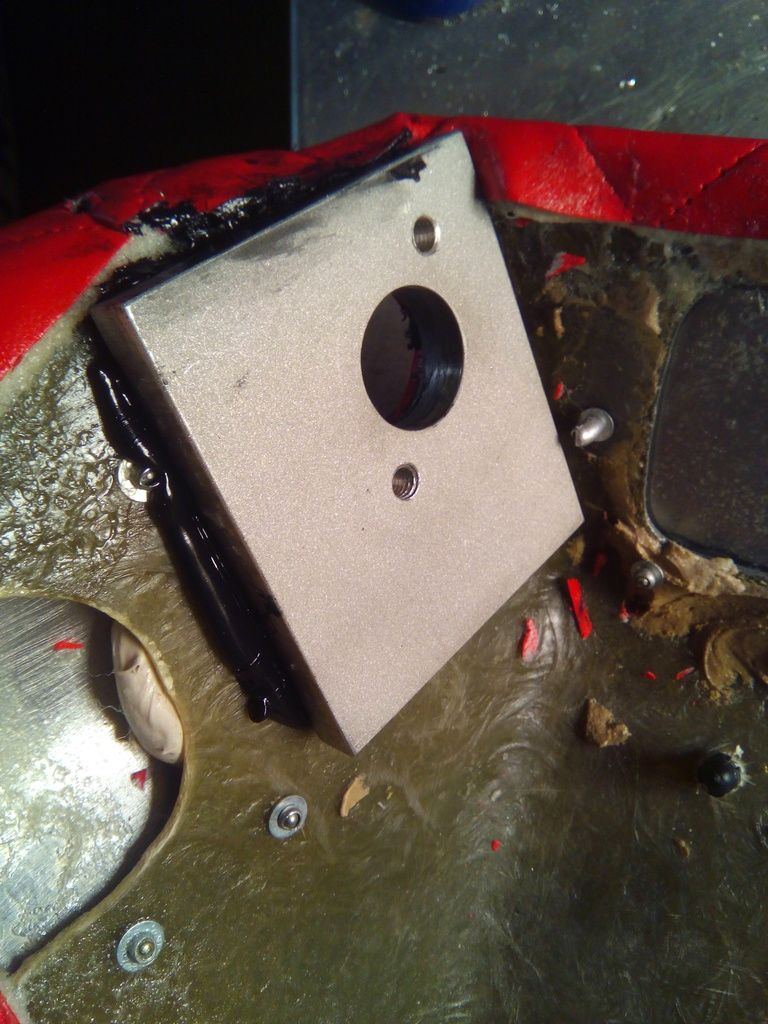
To secure it I made a 10mm thick ally plate drilled and tapped to suit, this was then bonded on to the reverse of the lower dash cowl to securely mount the kill switch.

Image

Once the switch was mounted I planned out the route for the cables, on the quantum I mounted 2 brass studs through the bulkhead and connected the to and return cables through these, but each connection is a possible failure point so I opted to keep as one continuous length if possible.

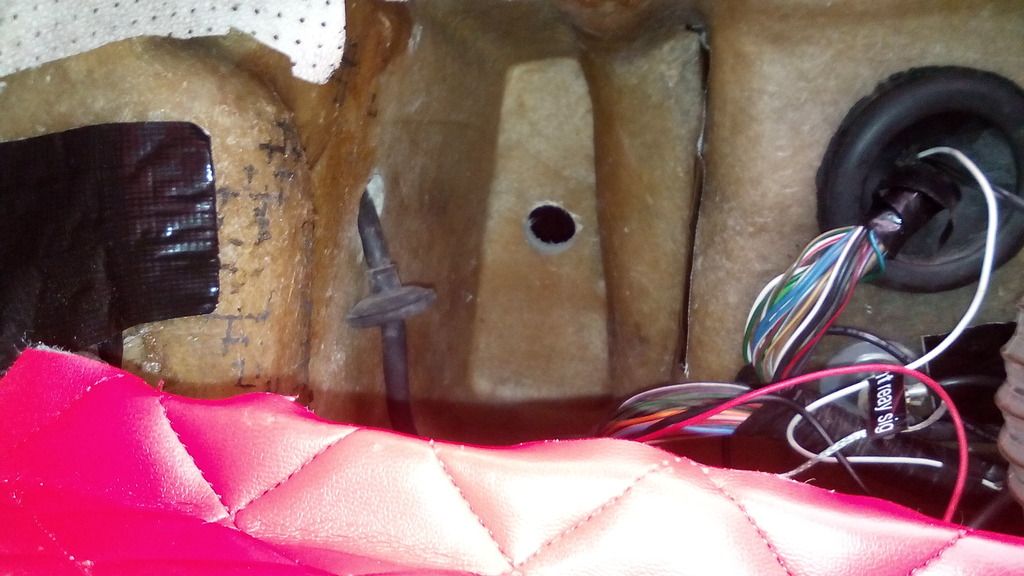
I decided to cut a hole in the inner wing and the back of the bulkhead and pass the cables through there since there will be no metal in this area and the distance from battery clamp to inside is as short as possible to keep the risk of shorting in a crash or similar to a minimum.
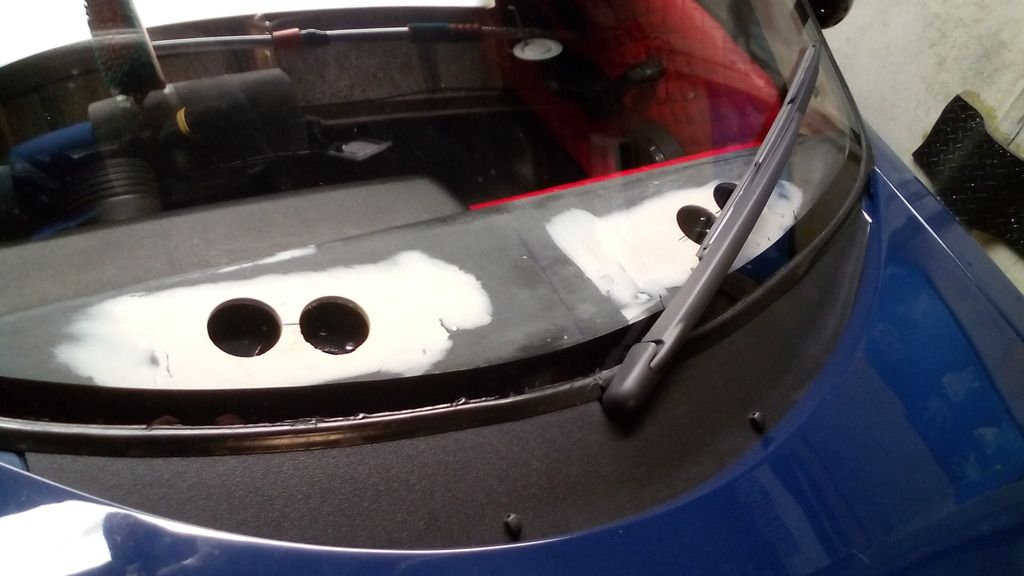
Image

Image

A second hole in the dashboard / bulkhead floor allowed the cables to pass through to the lower dash cowl where the switch is located.
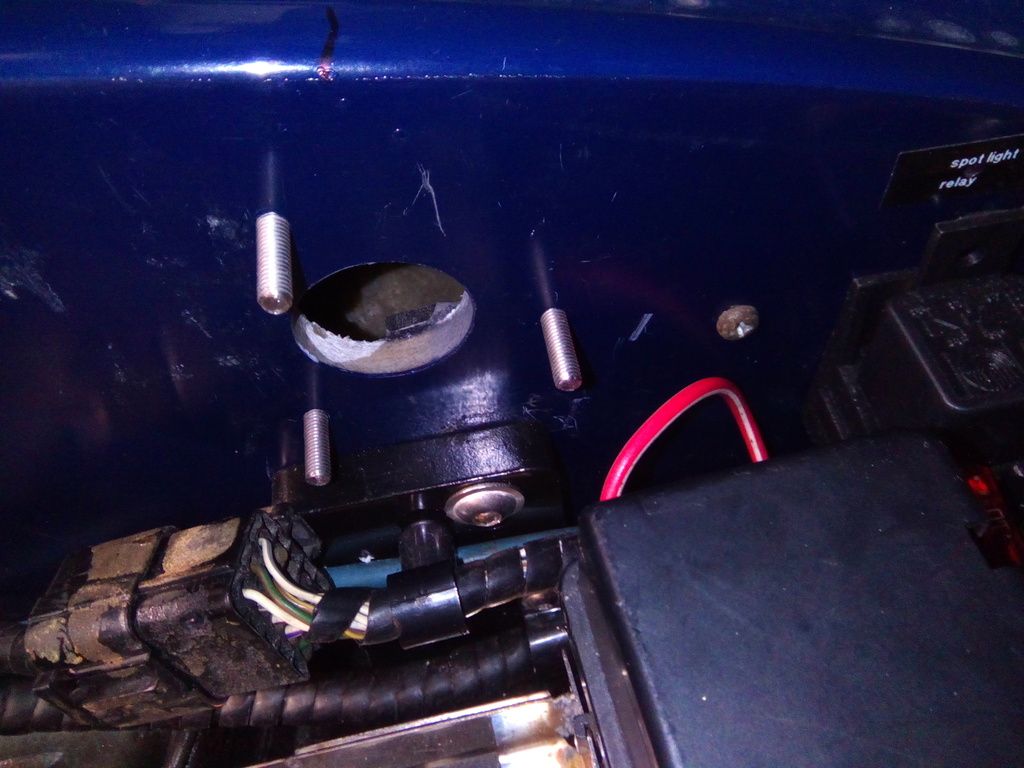
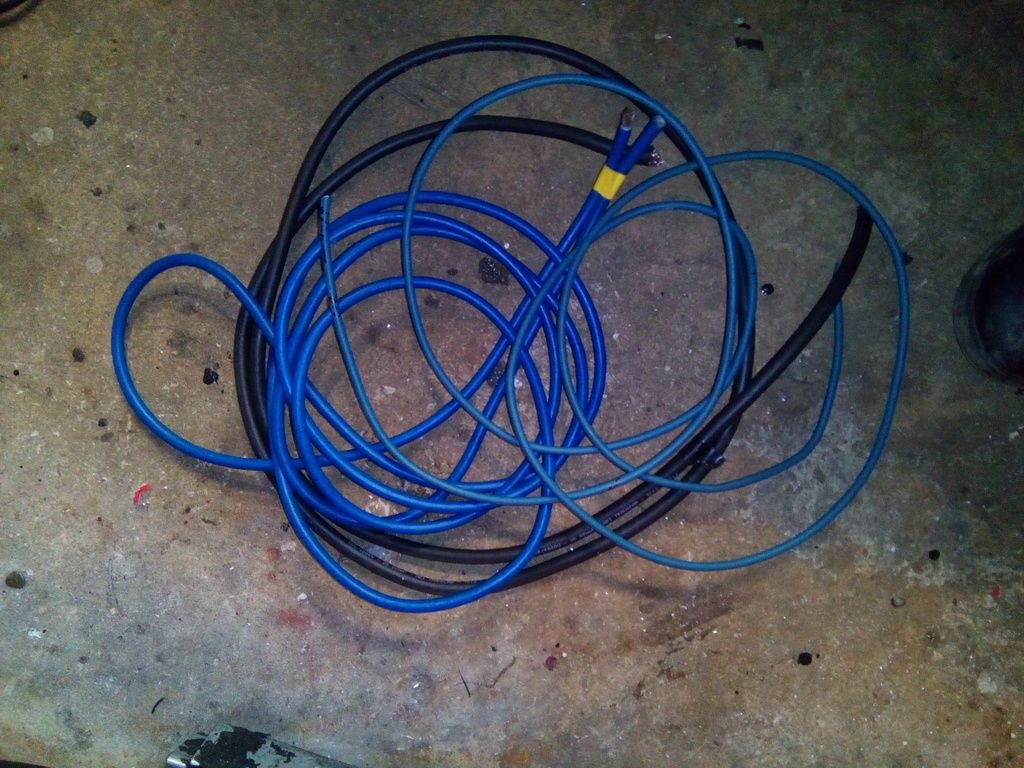
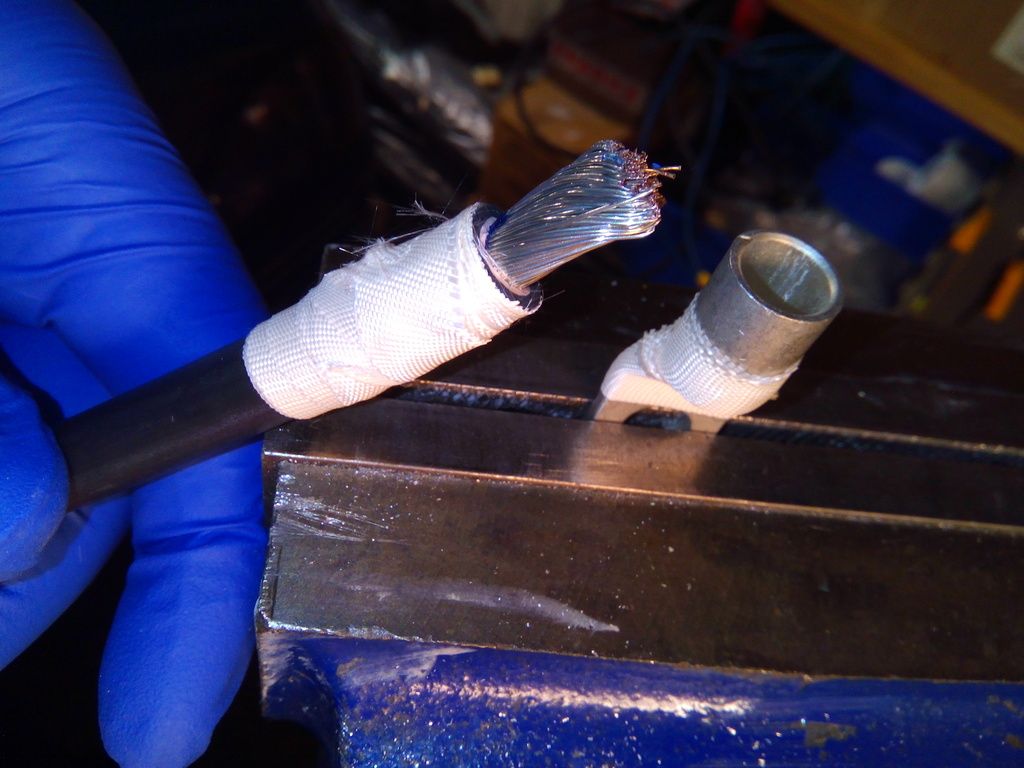
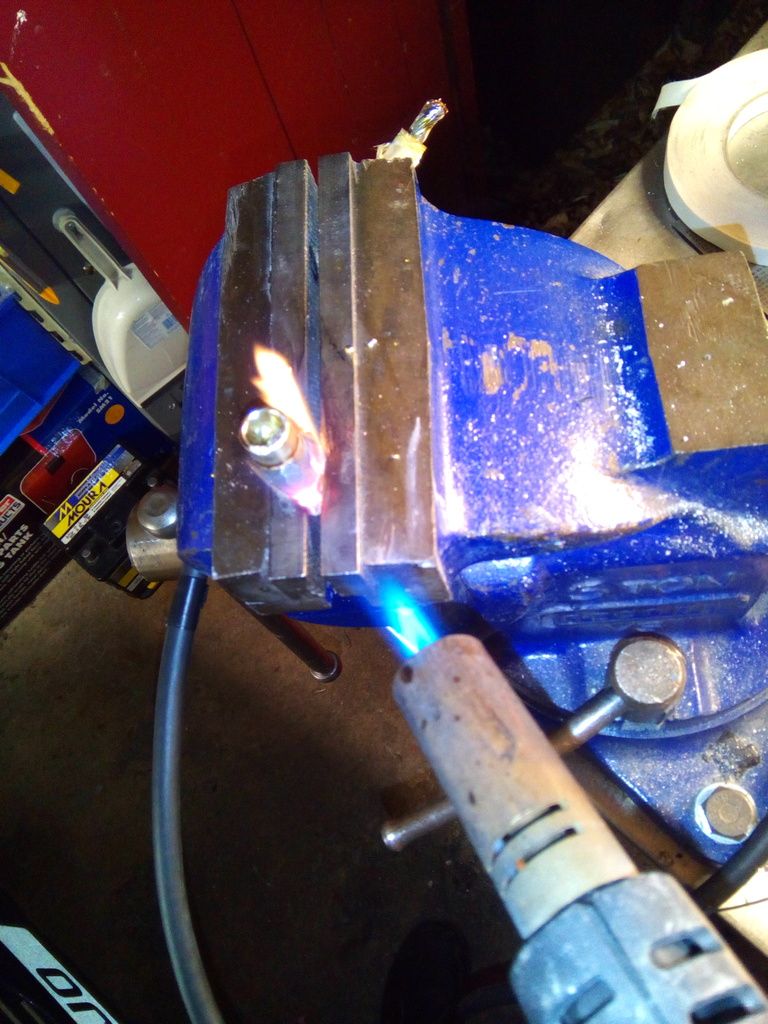
The cables were made up by myself as I did the negative cables; I’ve covered this before so just a couple of progress pics

Image

Image


Image


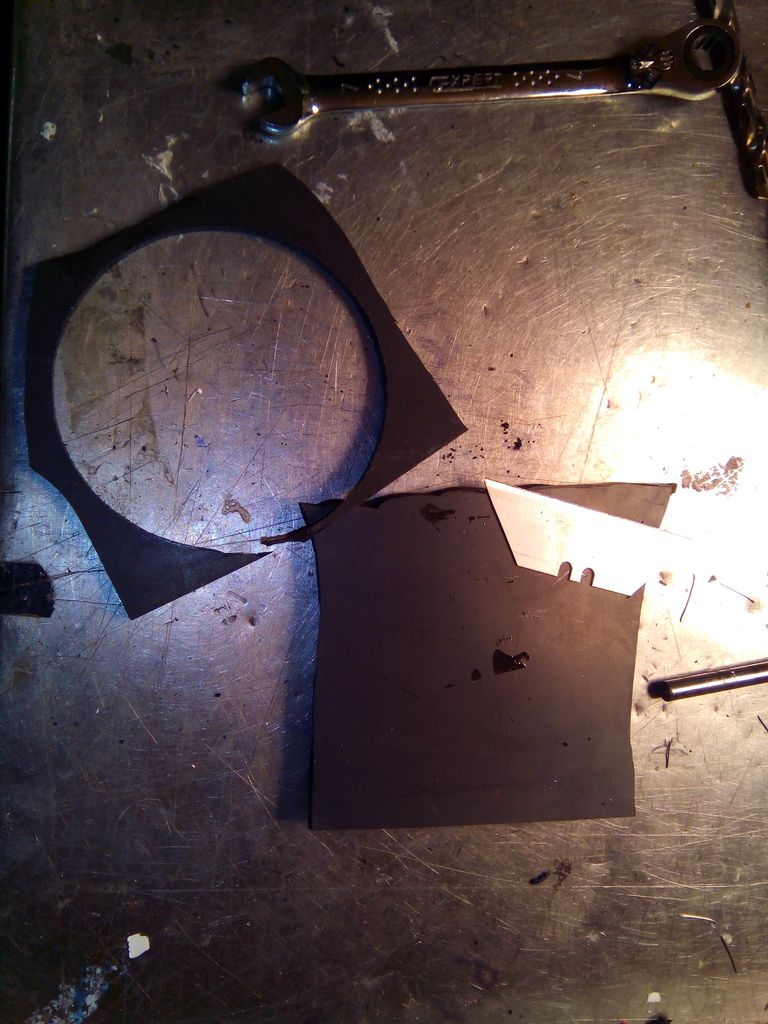
Once made up I had to make a grommet since I couldn’t find one big enough to take the cables off the shelf, this was made cutting an ally circle and some 3mm neoprene rubber sheet, this was held in by 3 M5 stainless studs bonded into tapped holes in the fiberglass
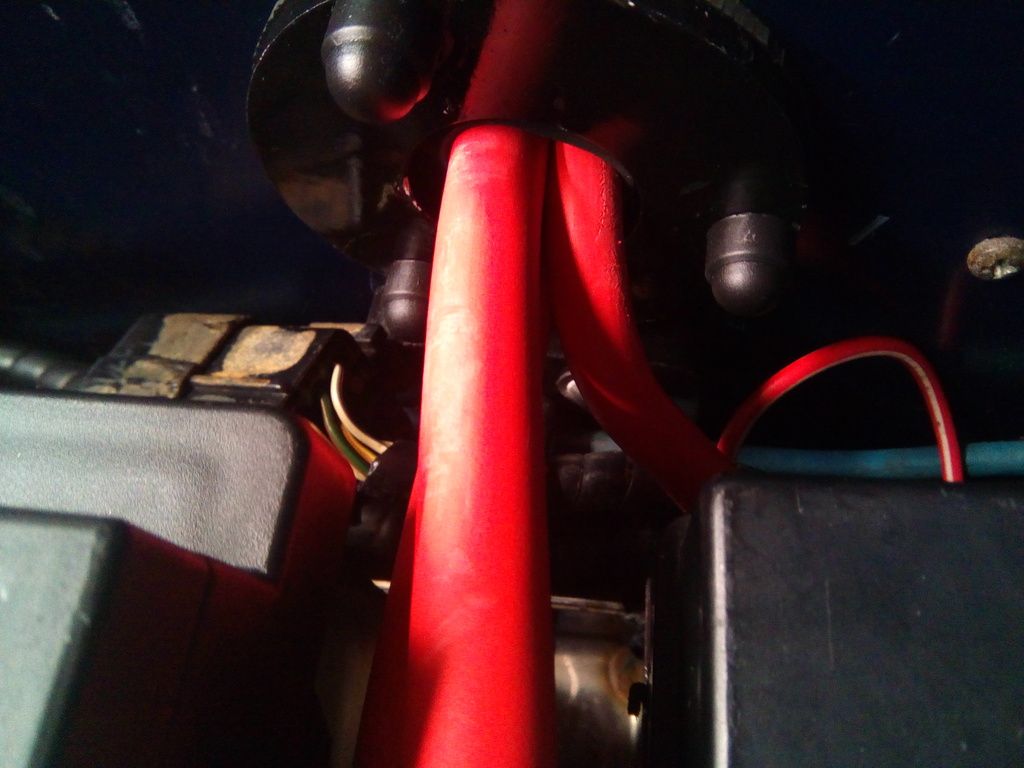
Image


Image

Image

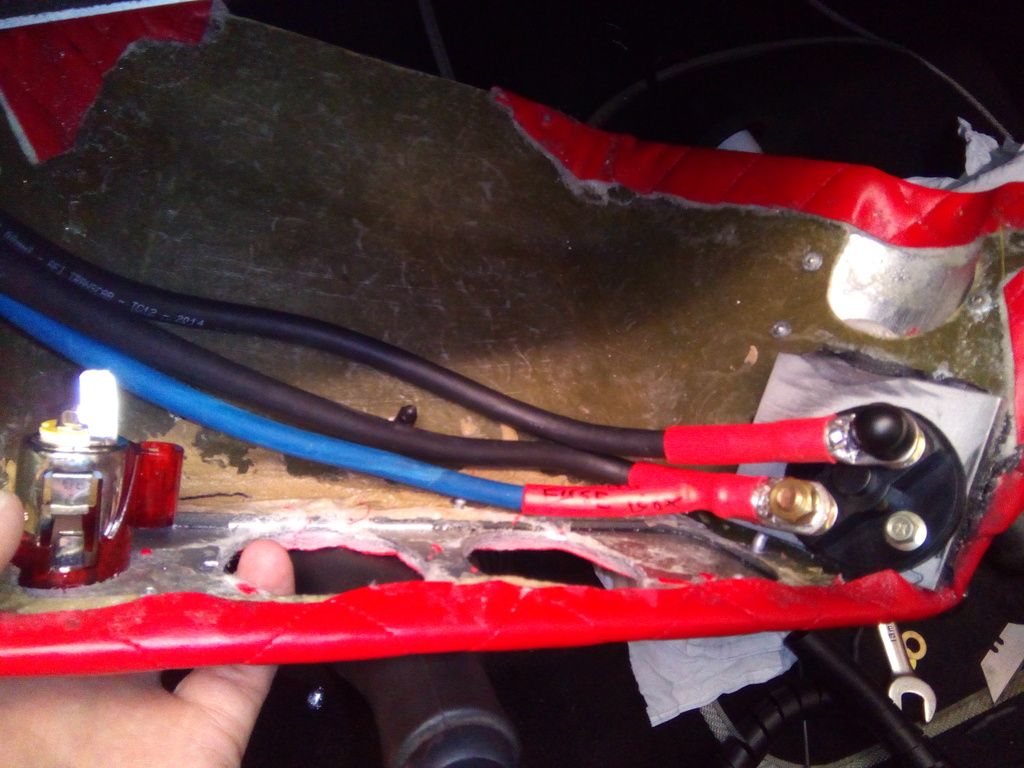
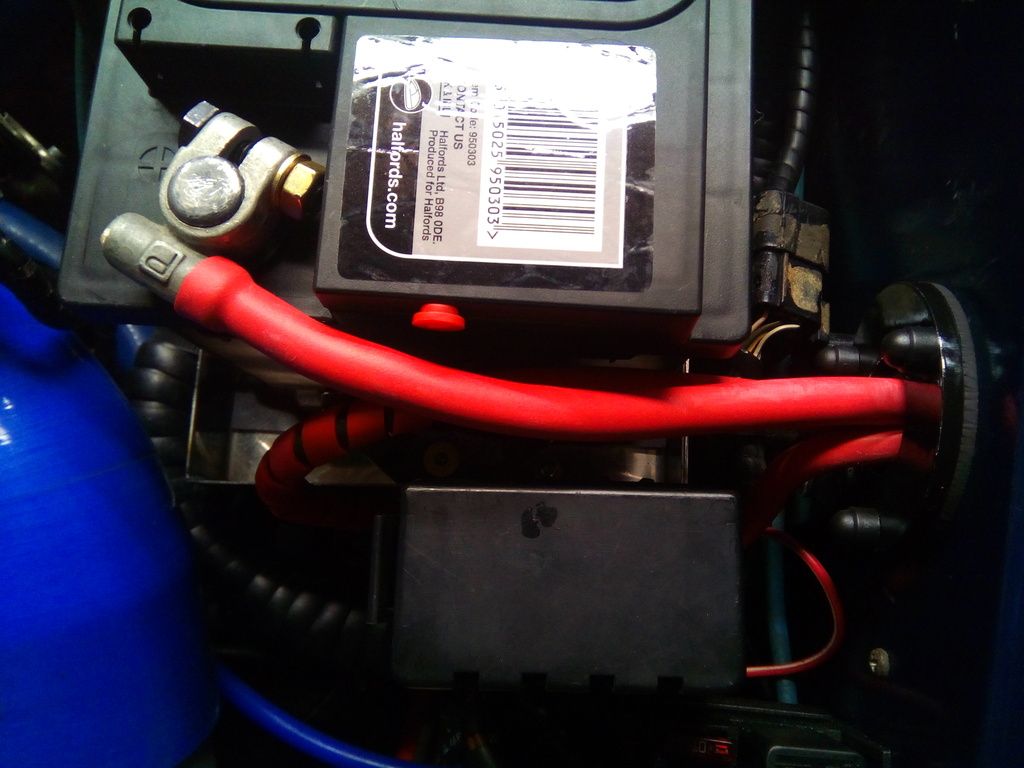
The cables all covered in adhesive lined red heatshrink and fed and routed through the car – this took forever and I hope I never have to change one in the future, but the result is much neater than anything that went before it, the cables have all been upgraded in size due to the additional length.
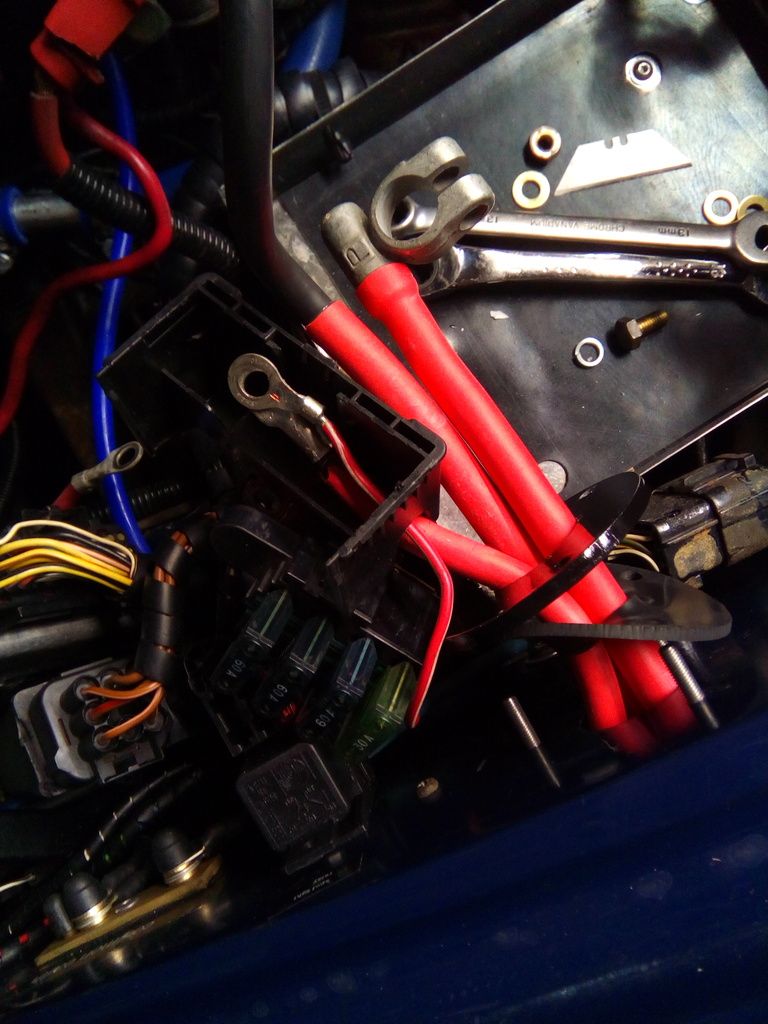
Image


Image

Its tight in the lower dash cowl but snug enough

Image

Image
All finished and I’m happy with h result, the kill switch is not obtrusive but handy enough to get at in an emergency.

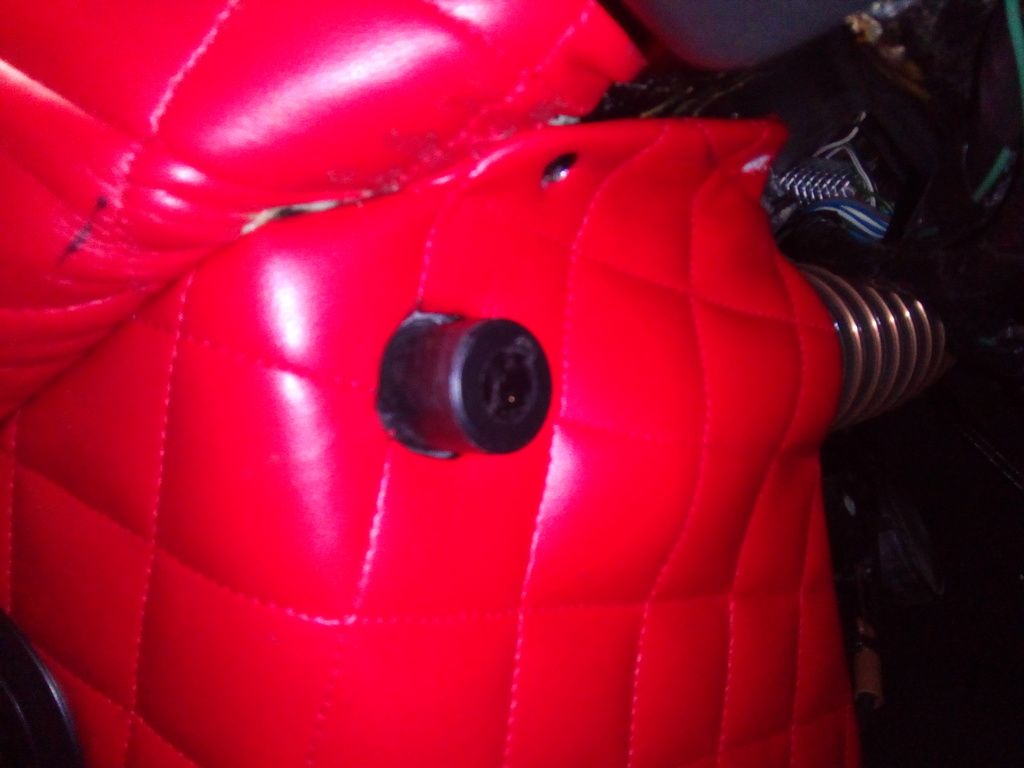
Only gripe with using the old fag lighter hole was it’s a bit bigger than the kill switch

Image

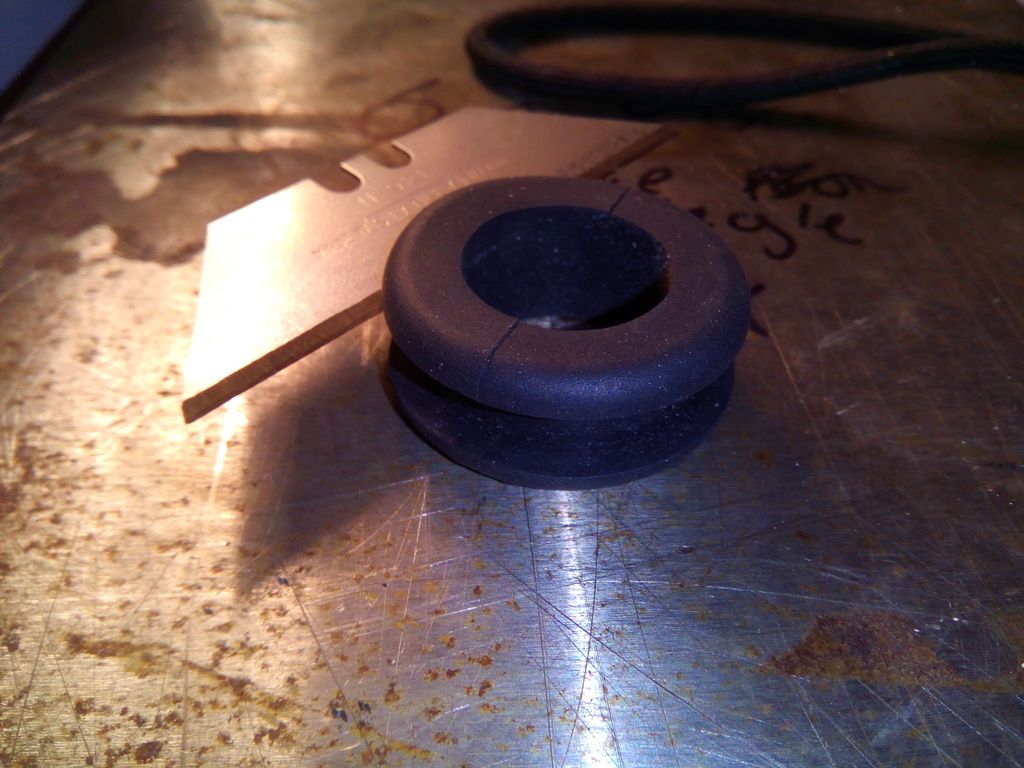
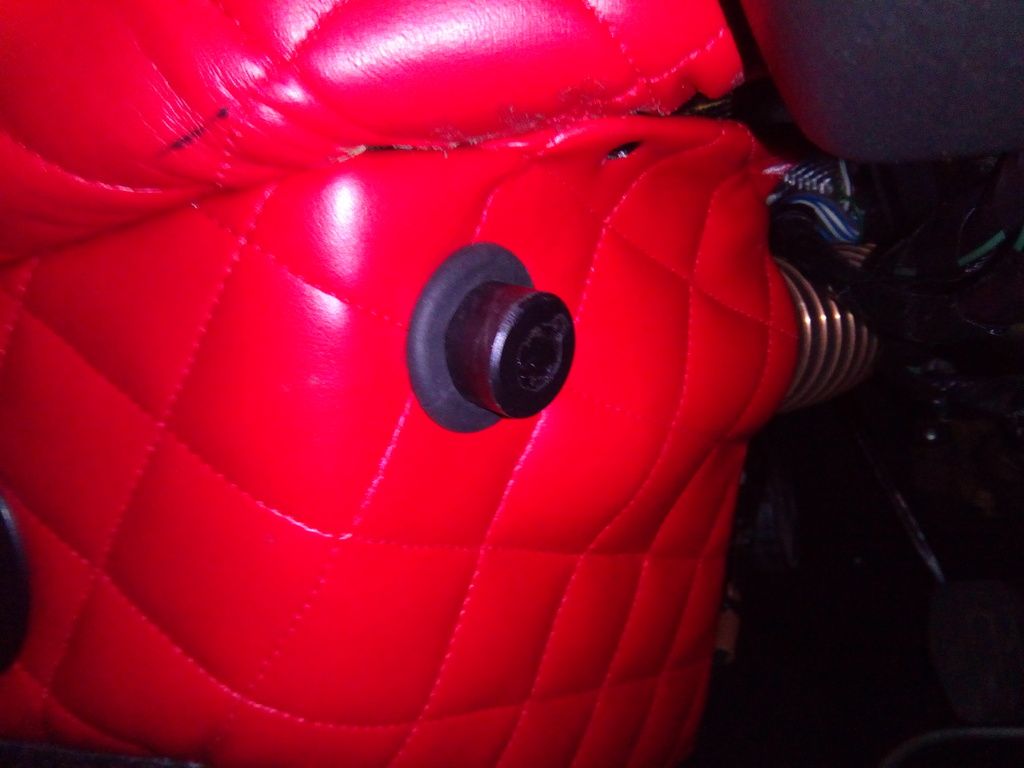
Rectified by chopping down a grommet I didn’t use

Image

Tidy

Image

The fag lighter was re-located to the front and all works well


Dash all finished now


Image

I’ve begun work on the SD card extender as that turned up last week; it appears to function well so just a case of slotting the holder into a switch blank.

Image


I’ll keep you posted on that bit
https://easywider.co.uk/ universal flexible wheel arch extensions
Jin
 
Posts: 454
Joined: Fri Aug 01, 2014 10:33 pm

Re: J171 NJO Cortez / 2+2 rebuild and modifications

Postby Jin » Wed Mar 30, 2016 12:03 am

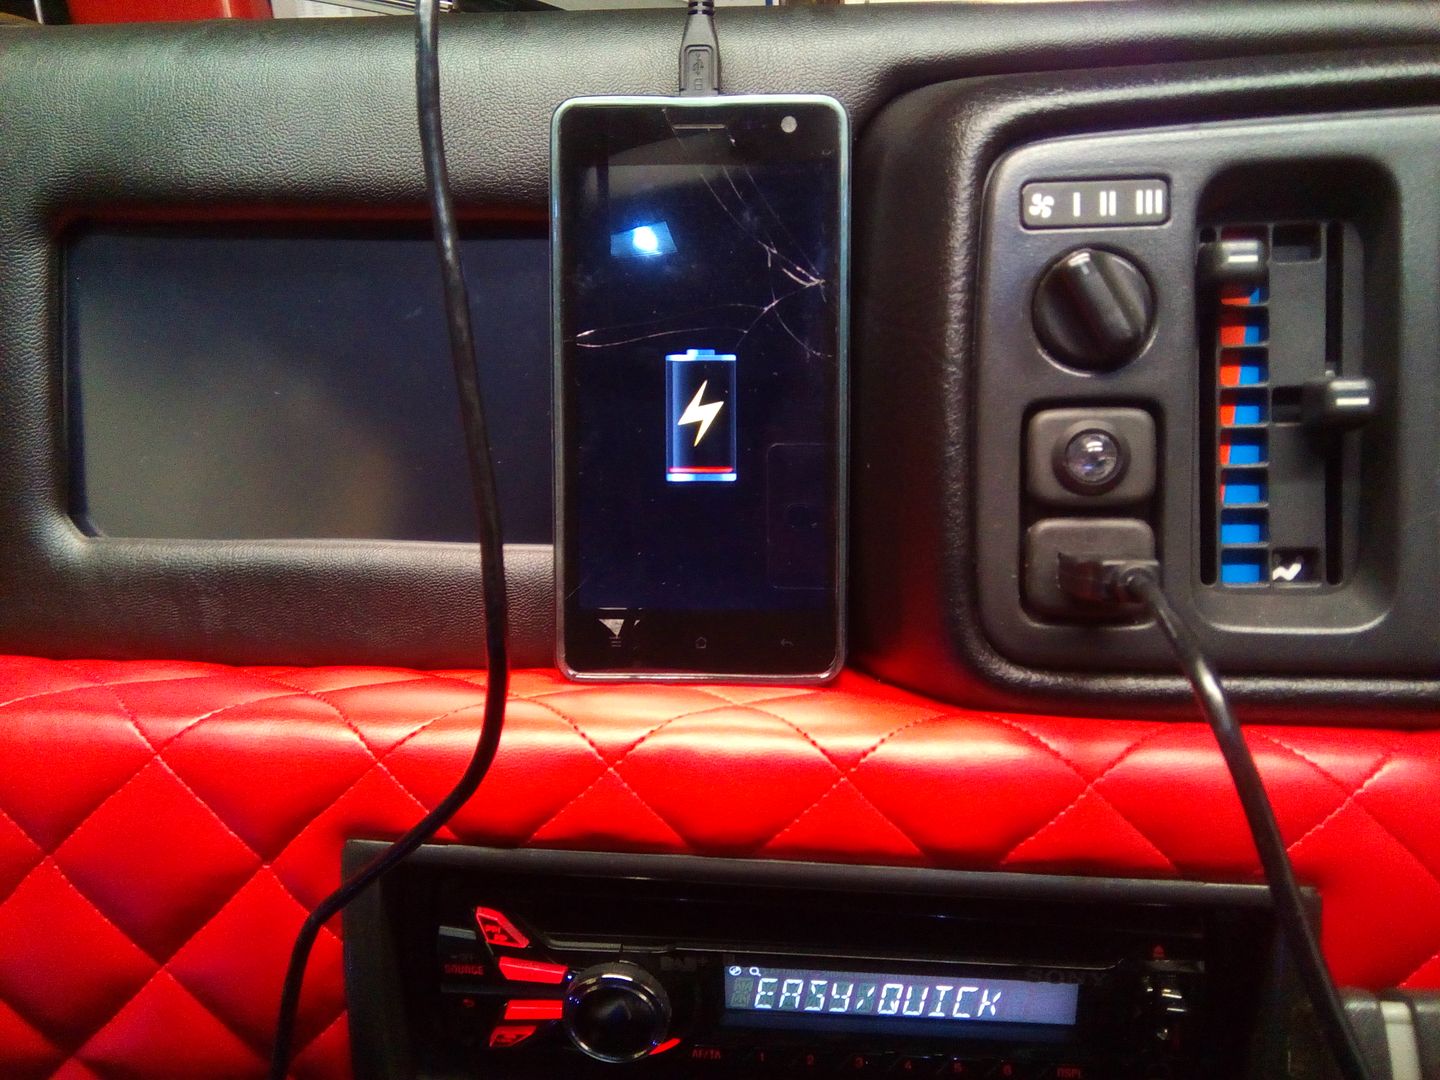
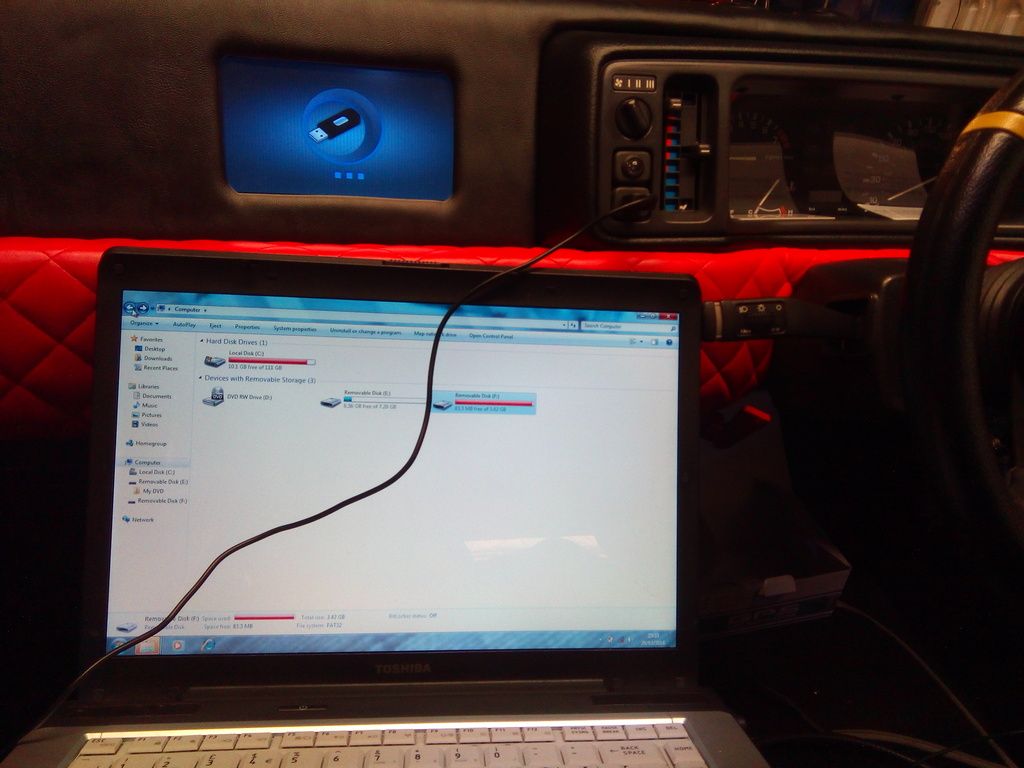
USB interface.

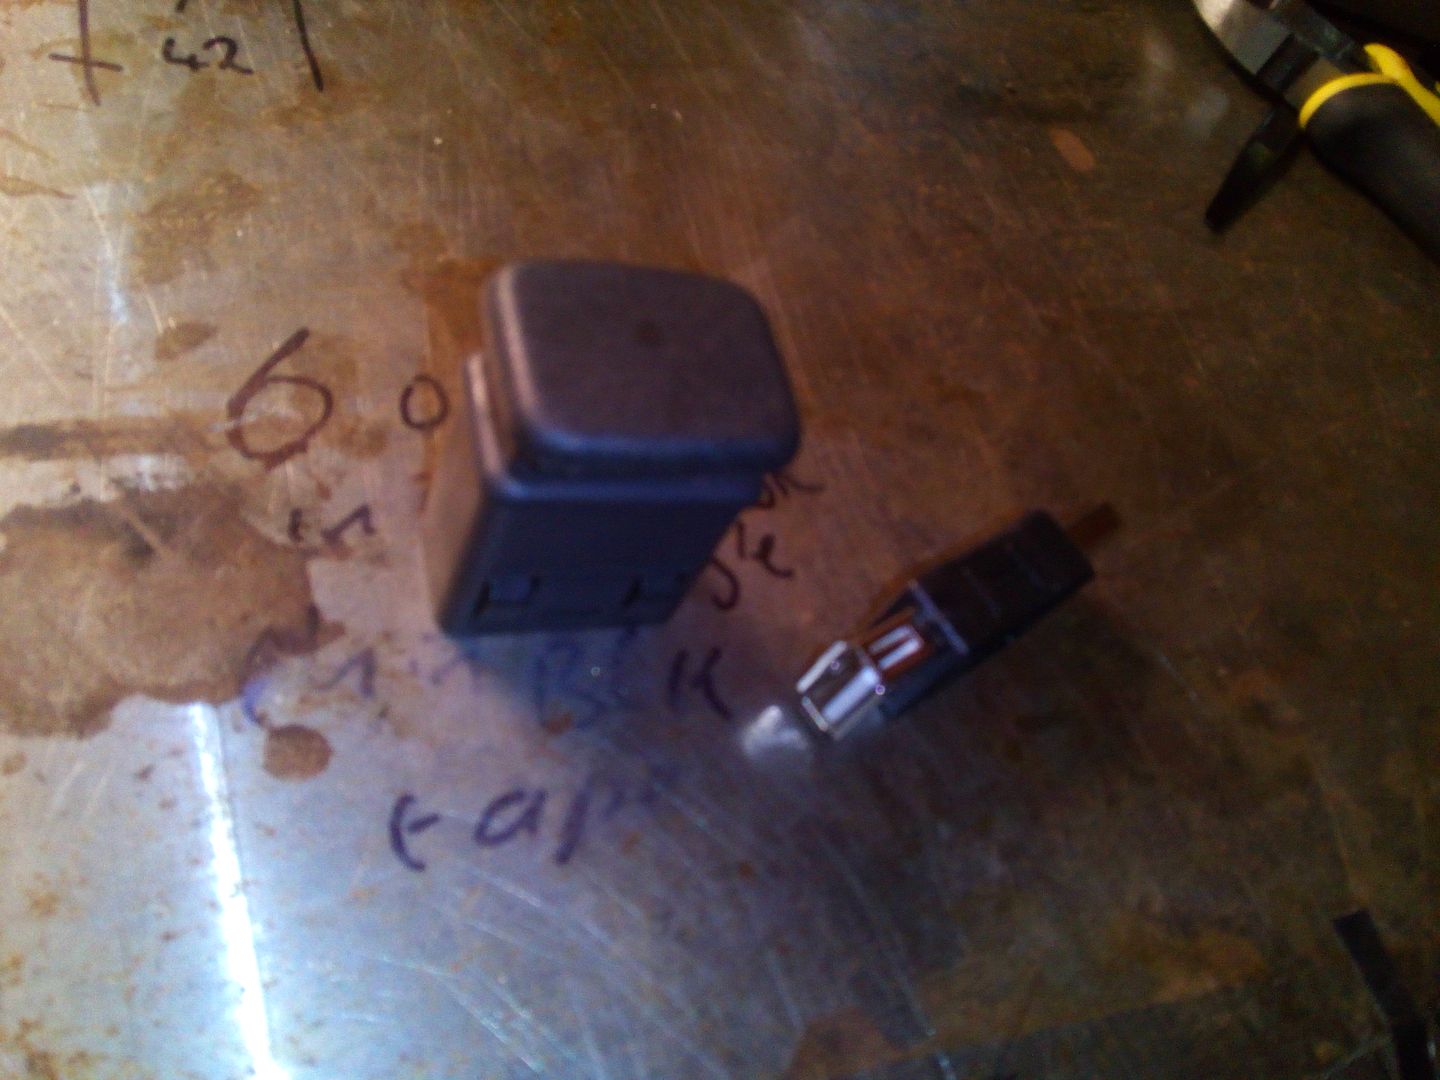
I decided to mount the USB plug into a switch blank, just the right size and in a handy location.

Image
Image

Followed by all manner of complicatedness that to be honest I've totally confused myself with but somehow it works as I planned.

Phone plugged in and its charging

Image

And laptop plugged in its data transferring

Image

Like I said before, not bad for a car that went 19 years without interior lighting..
https://easywider.co.uk/ universal flexible wheel arch extensions
Jin
 
Posts: 454
Joined: Fri Aug 01, 2014 10:33 pm

Re: J171 NJO Cortez / 2+2 rebuild and modifications

Postby Jin » Mon Apr 04, 2016 11:26 pm

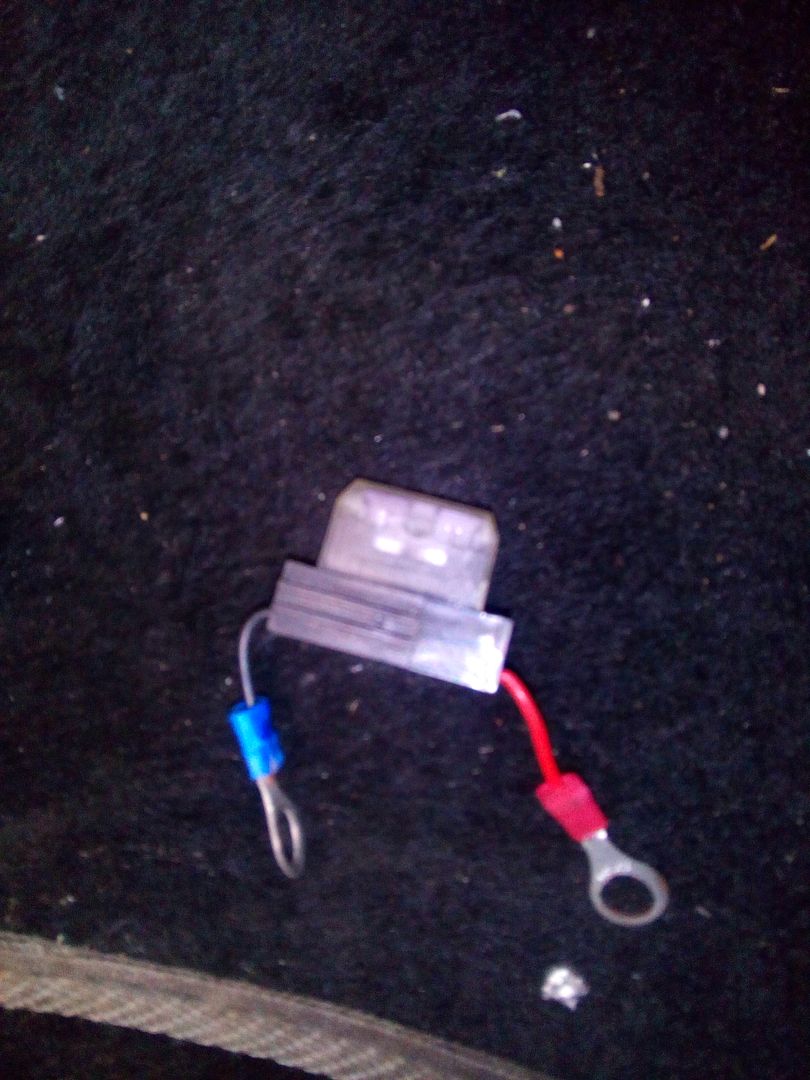
I've now added a 3A fuse direct across the terminals of the isolator switch so that now when I remove the key if I'm parked somewhere dodgy I'll keep the radio presets and have functional interior lighting

Image

Should I run into trouble and have to use the switch, the 3A fuse will pop.
https://easywider.co.uk/ universal flexible wheel arch extensions
Jin
 
Posts: 454
Joined: Fri Aug 01, 2014 10:33 pm

PreviousNext

Return to Complete Midas rebuild

Who is online

Users browsing this forum: No registered users and 30 guests