Loads of progress, but not many jobs finished though so bear with me.
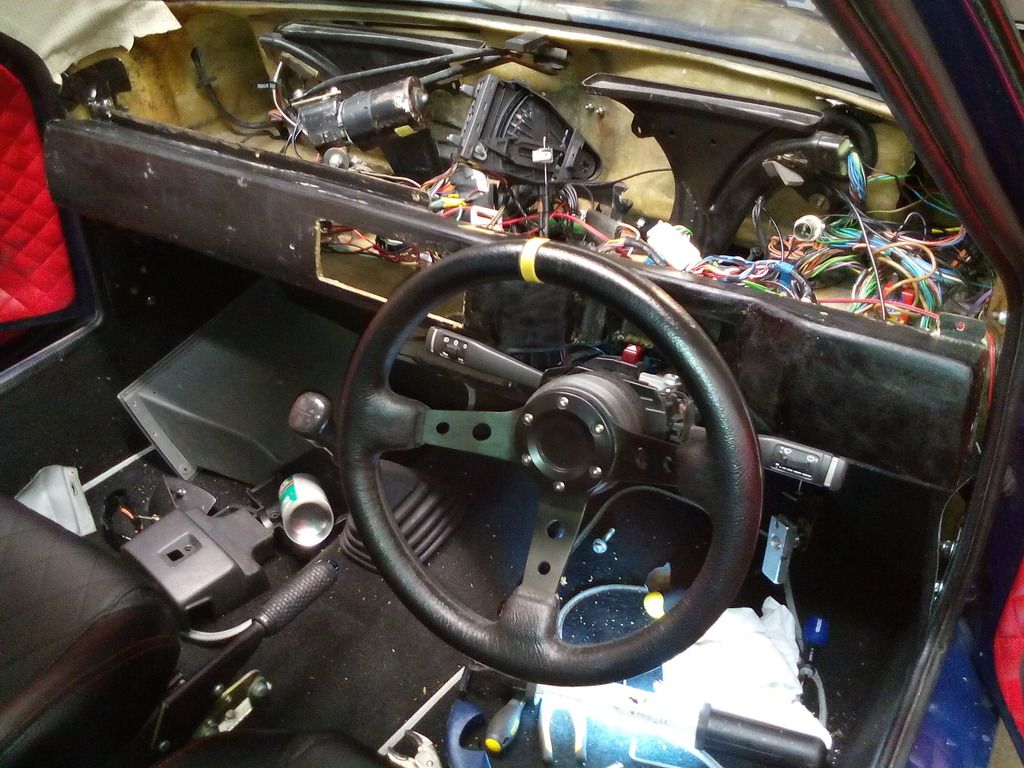
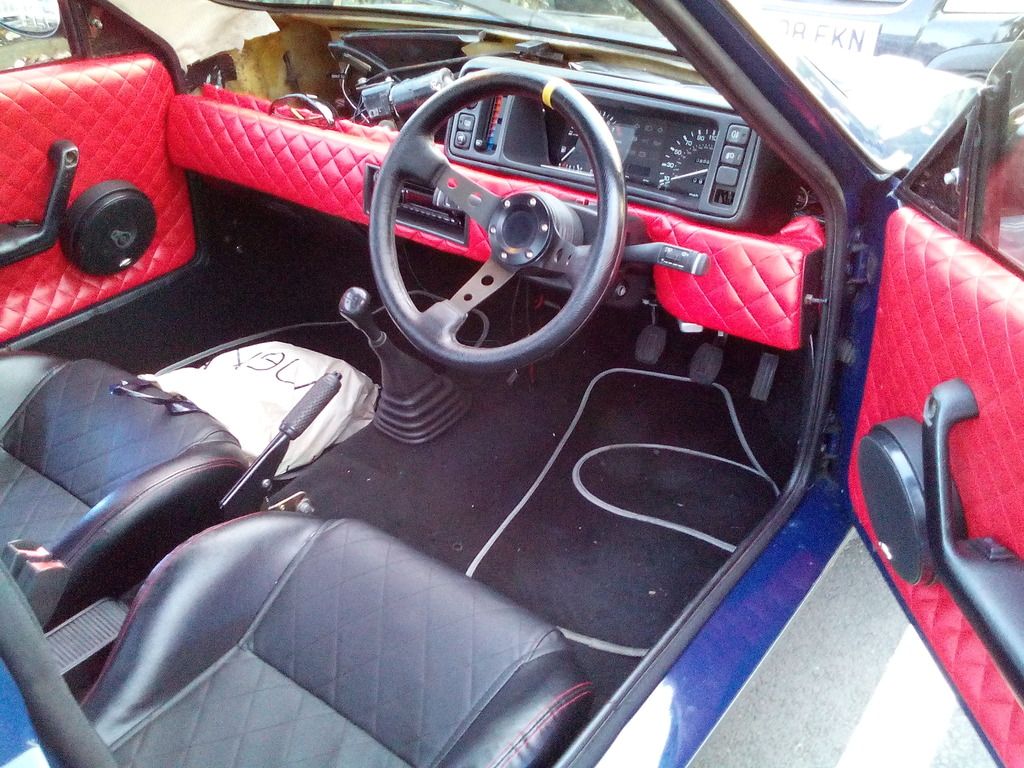
Upon completion of the door cards and rear panels I set about stripping down the dash
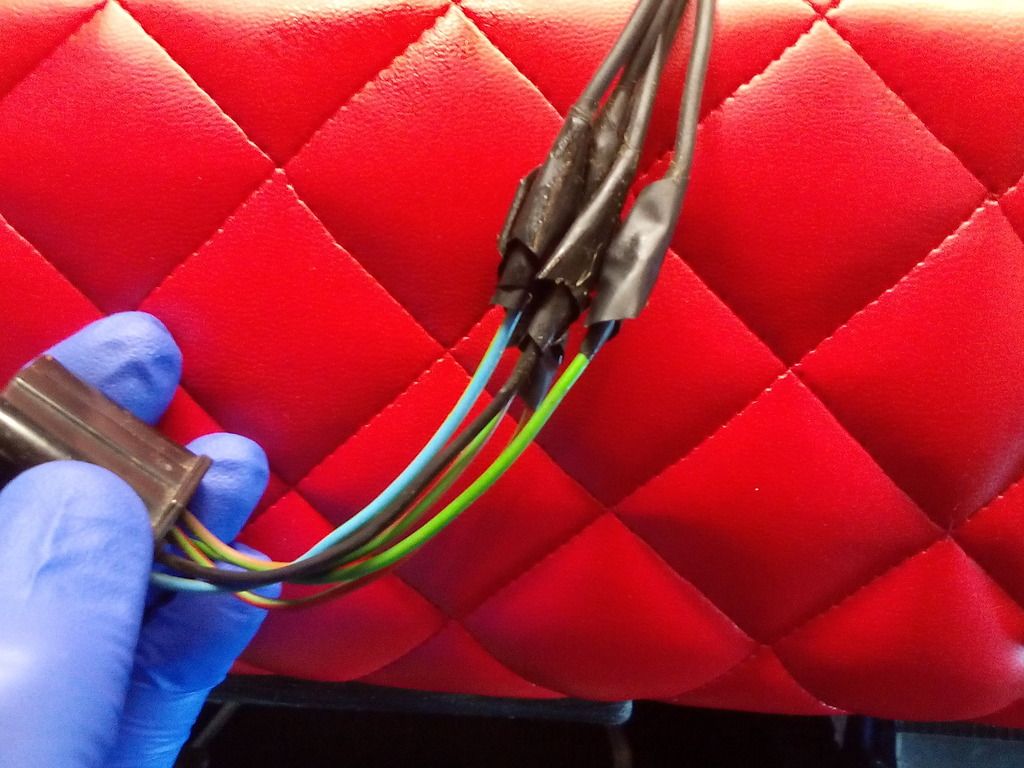
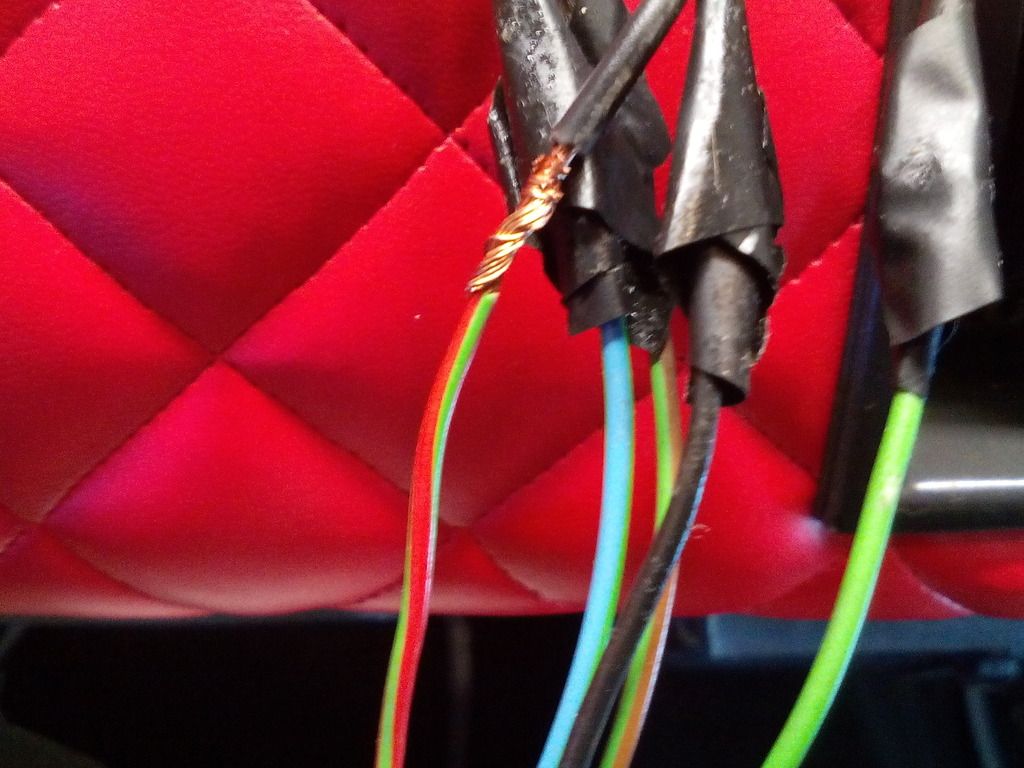
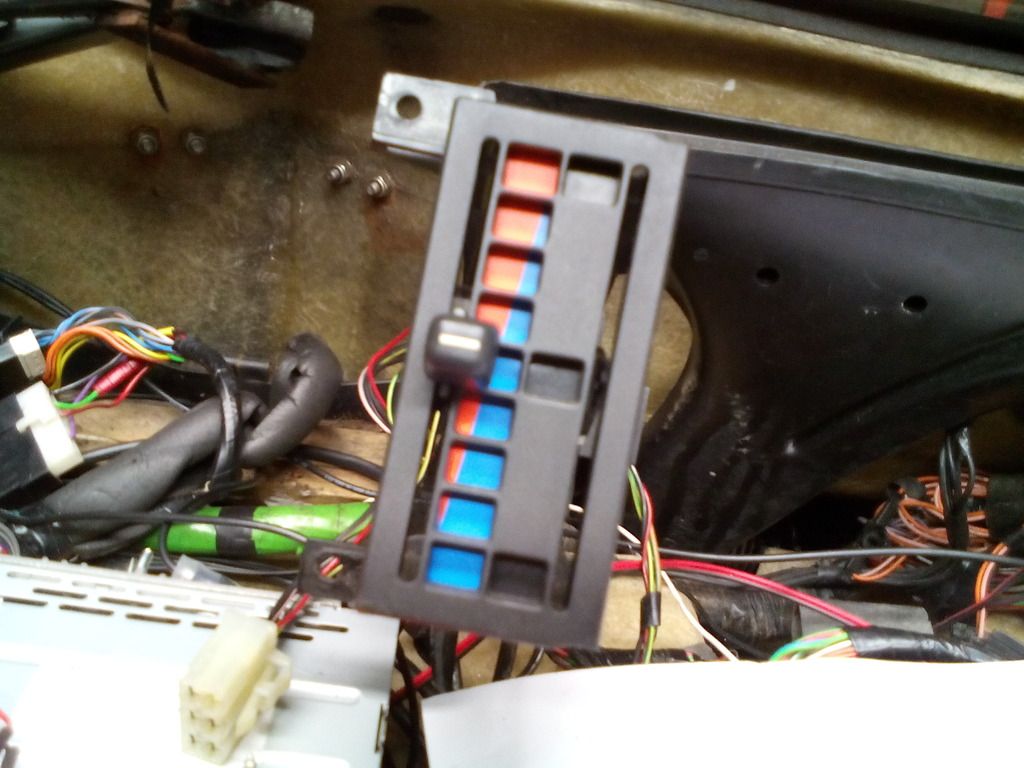
Found yet more dodgy wiring
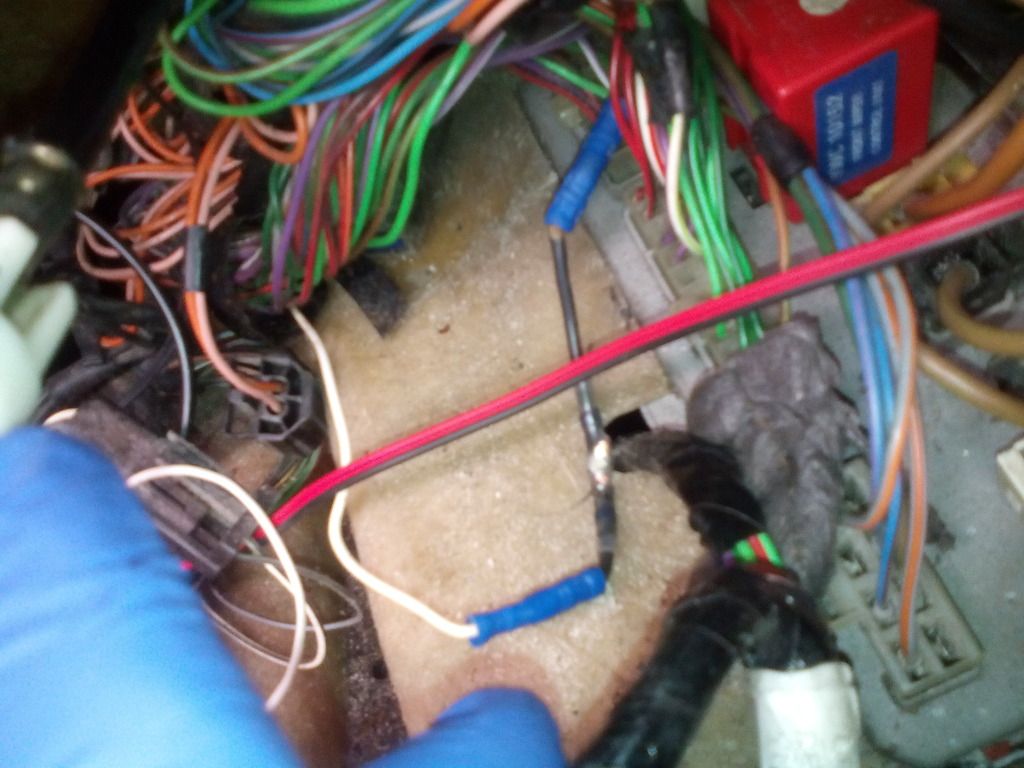

That’s about 3 separate connectors in 2" of cable – surely a record?
And digging about by the fuse box revealed more still, it's a wonder this car manages to function, I believes there's black magic involved...
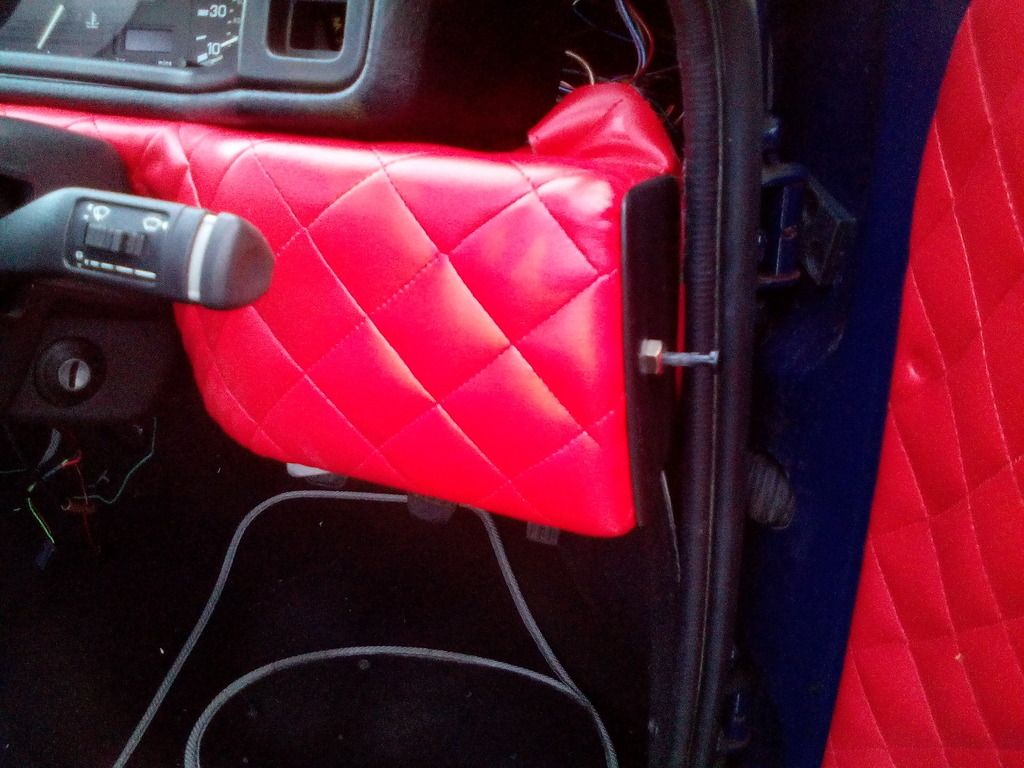
The lower dash got trimmed in matching red vinyl to the doors
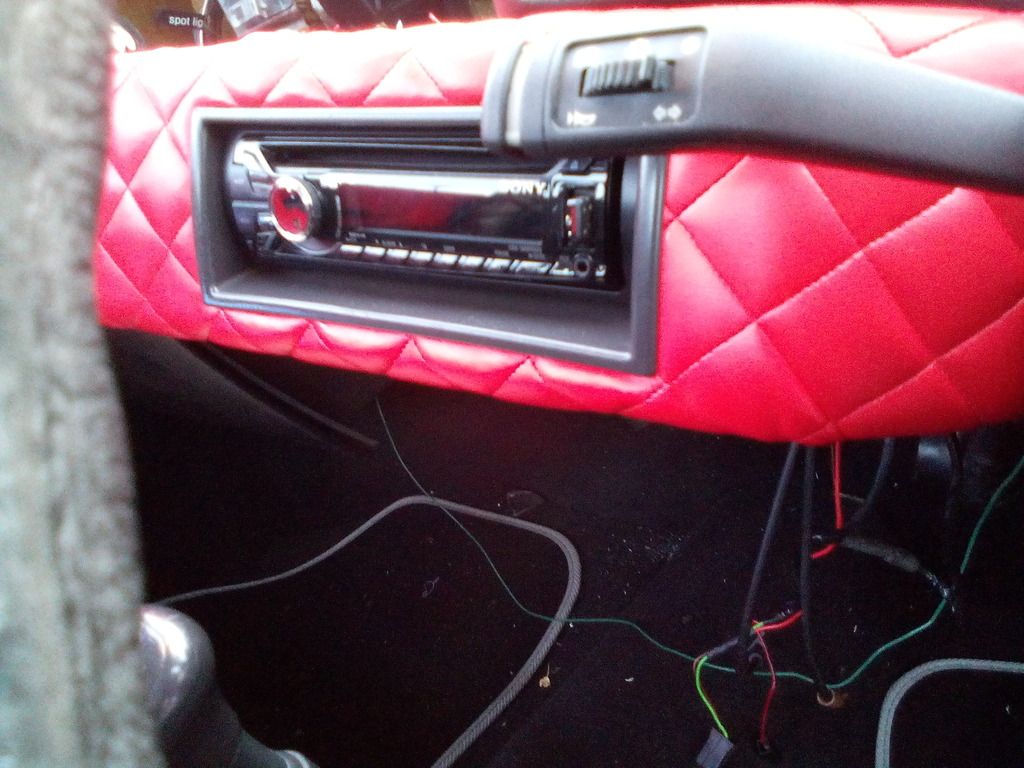
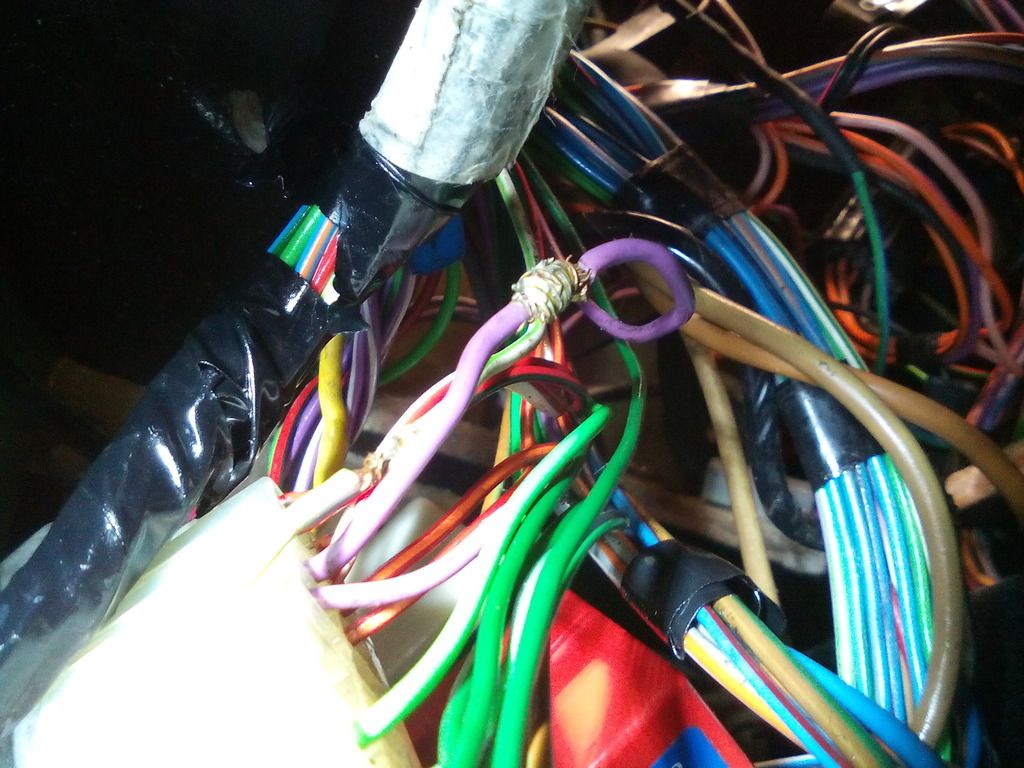
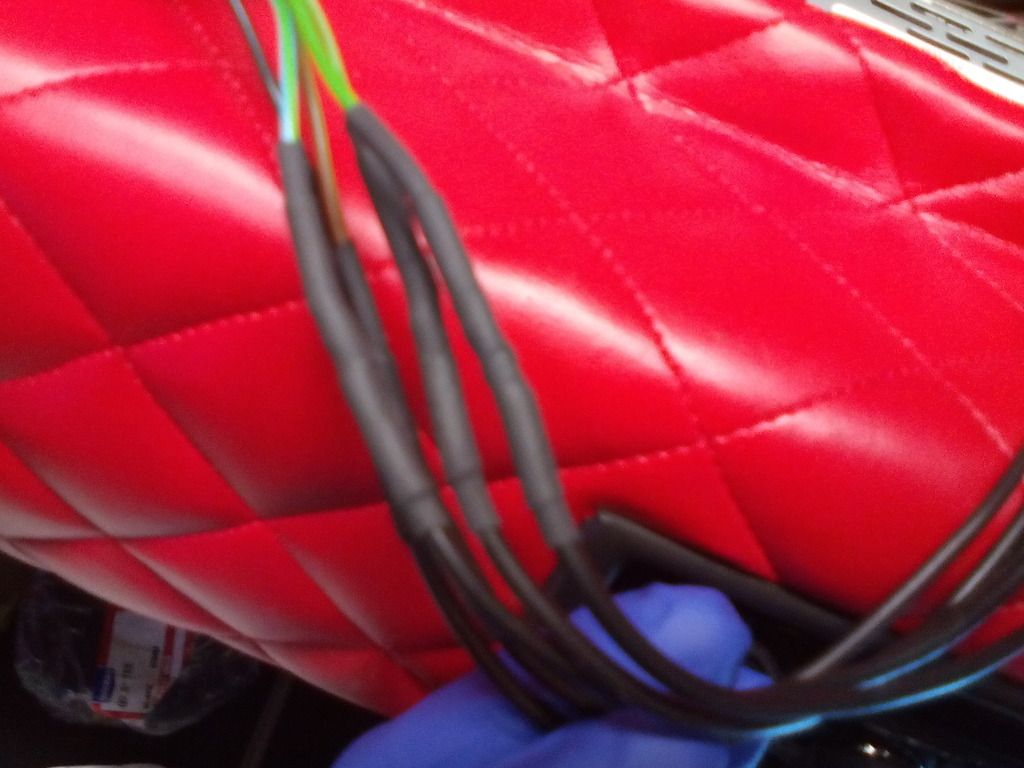
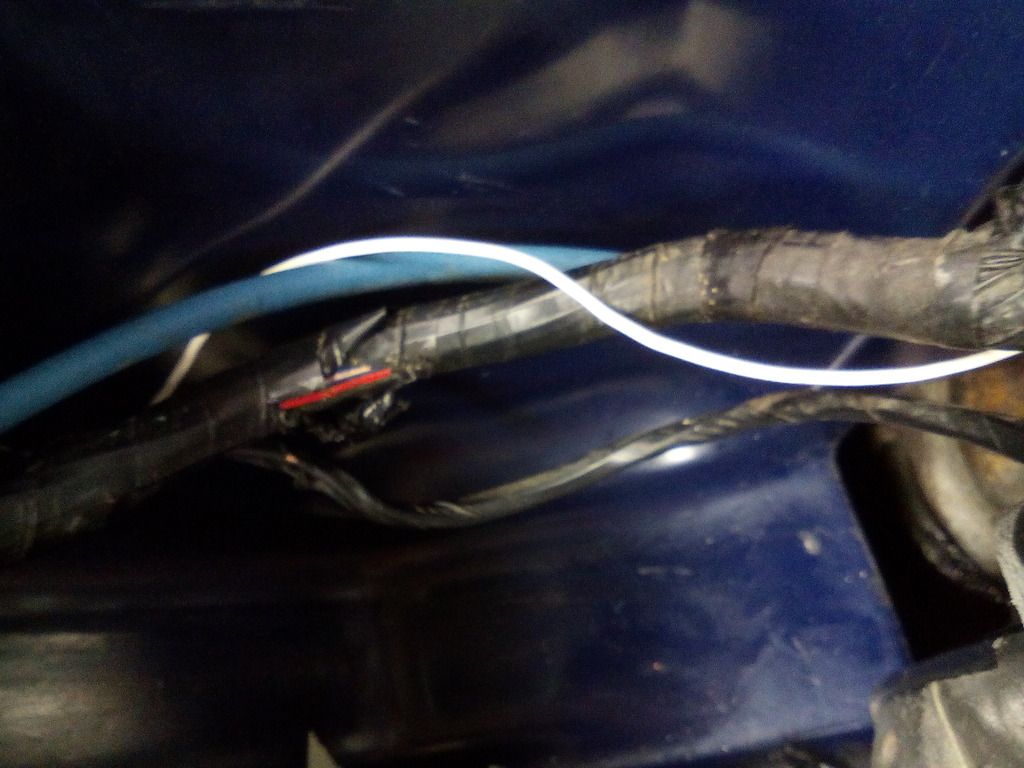
Another Quick fiddle about behind the dash produced this
You know when you find wiring like that you’re in for a fun time
And it didn’t disappoint
All sorted now though
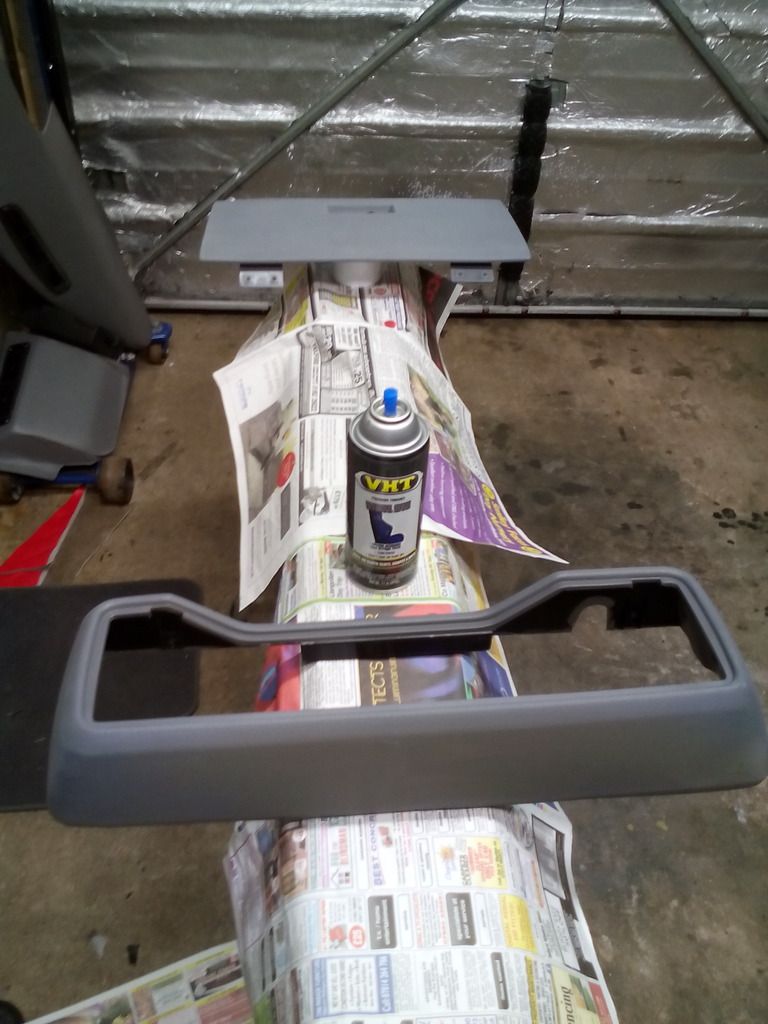
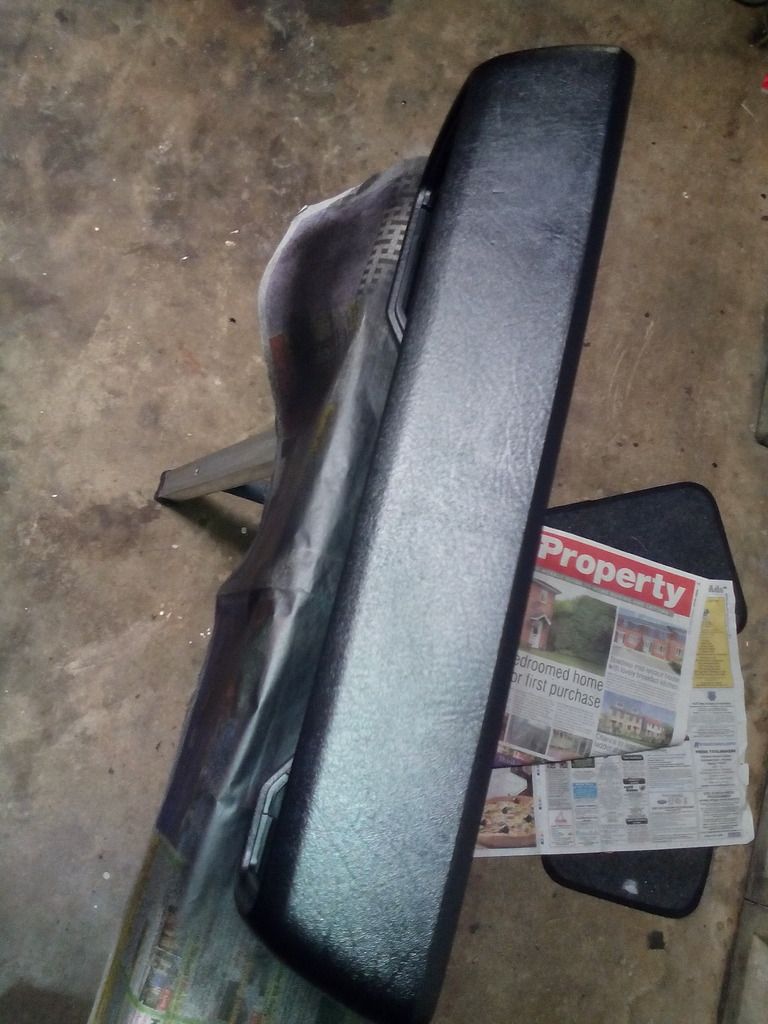
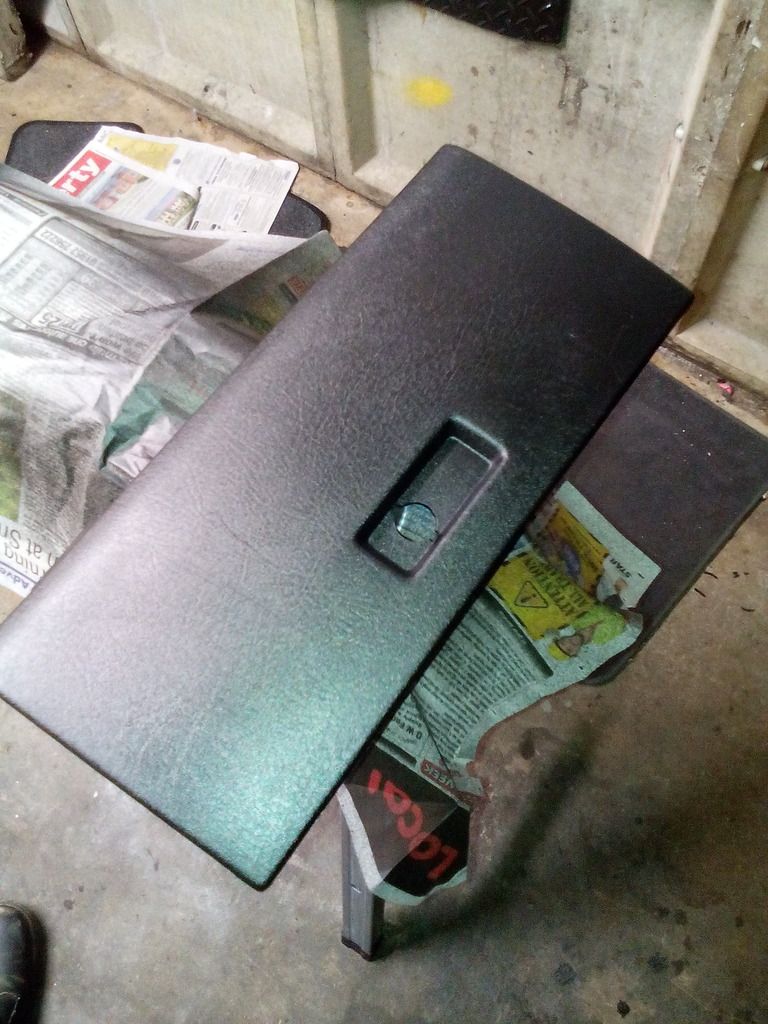
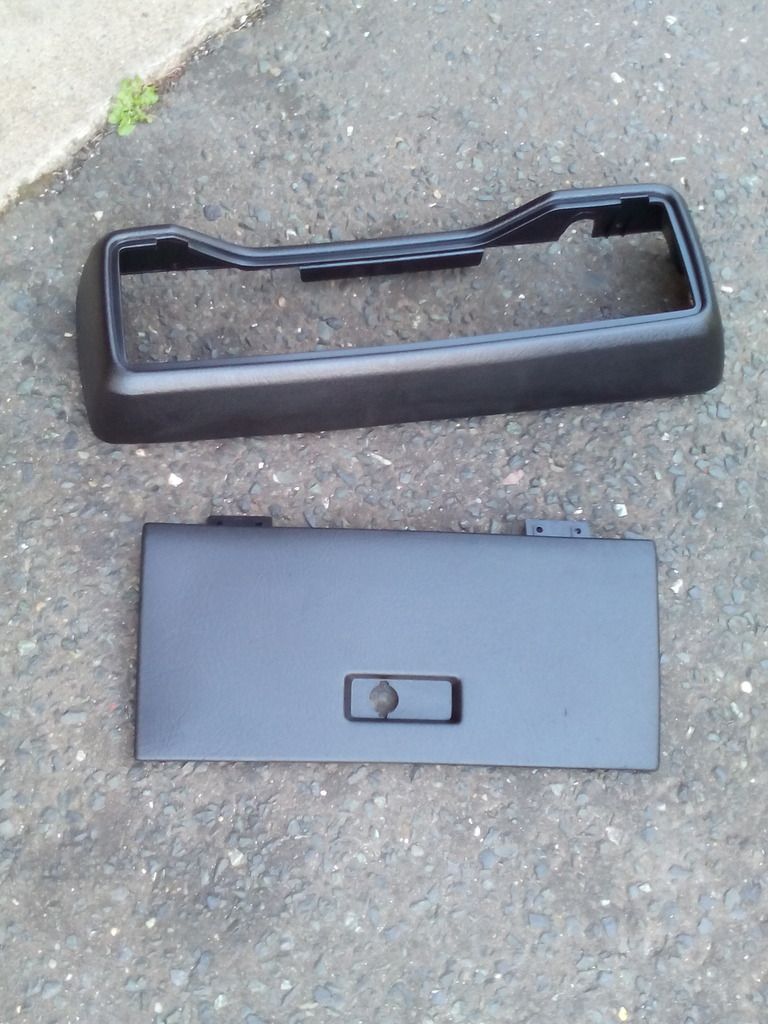
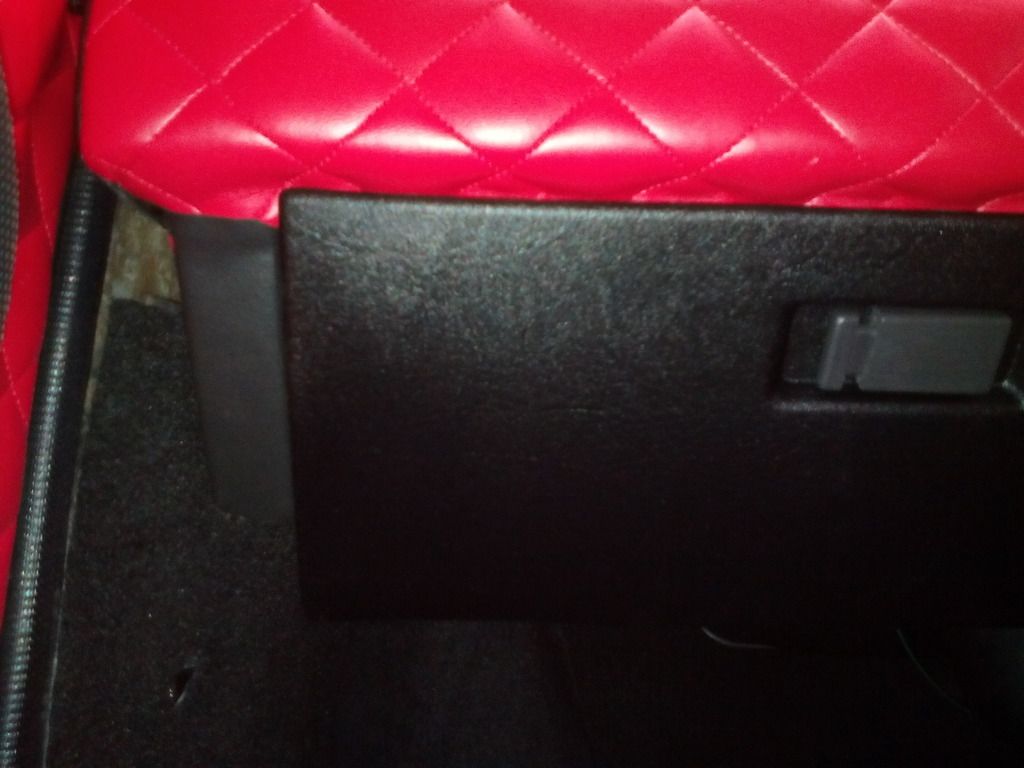
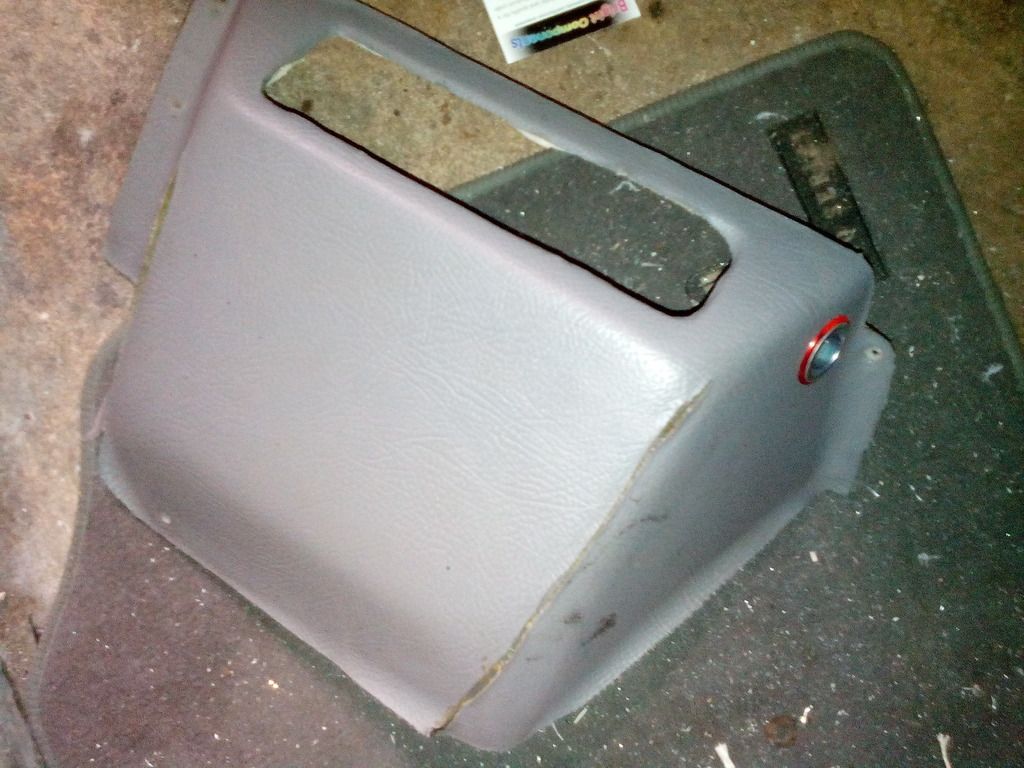
The glove box and cowl surround didn’t match in with the black / red theme, to be honest the cowl wouldn't match with any themes since it was proper manky, these were re-dyed using VHT vinyl dye- first time I’ve used this stuff but it’s great, looked just as I wanted if a touch glossy.
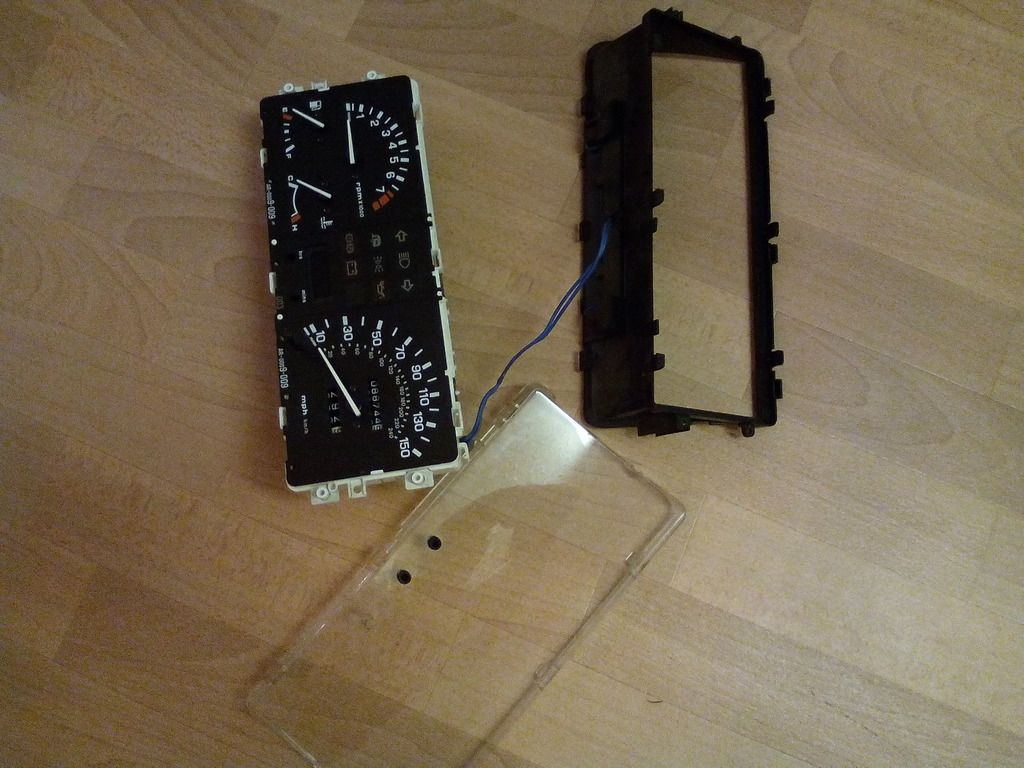
Since I was in the area and one thing leads to another the clocks were stripped down and given a bit of a spruce up, all cleaned and the bulbs swapped for LEDS
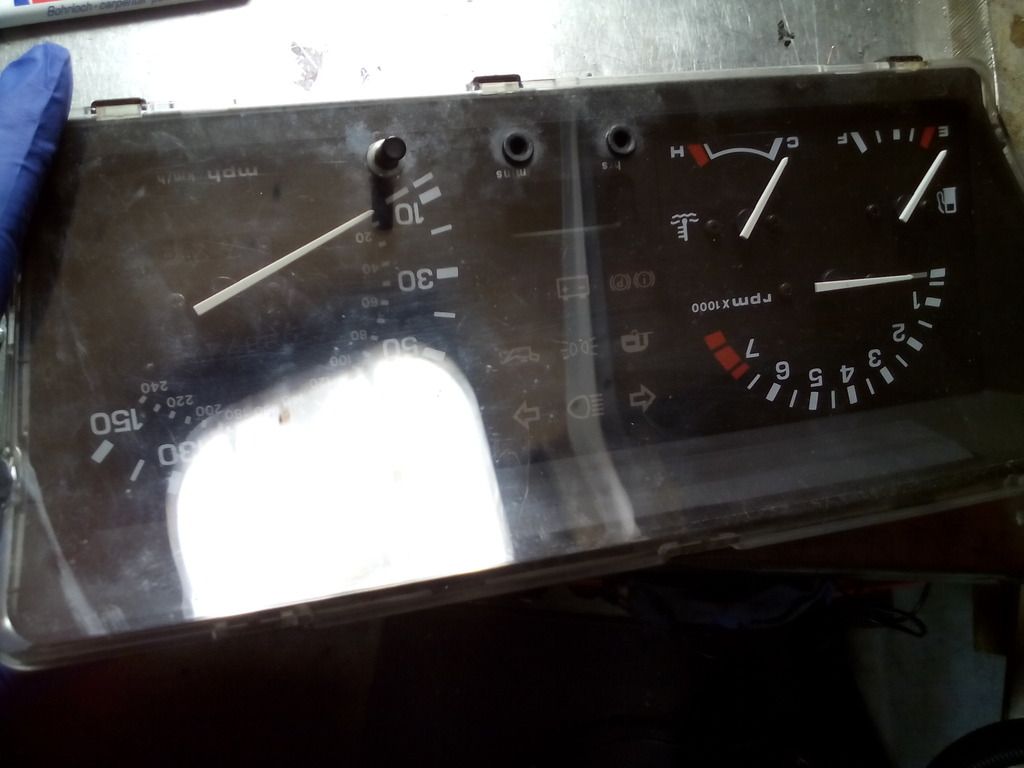

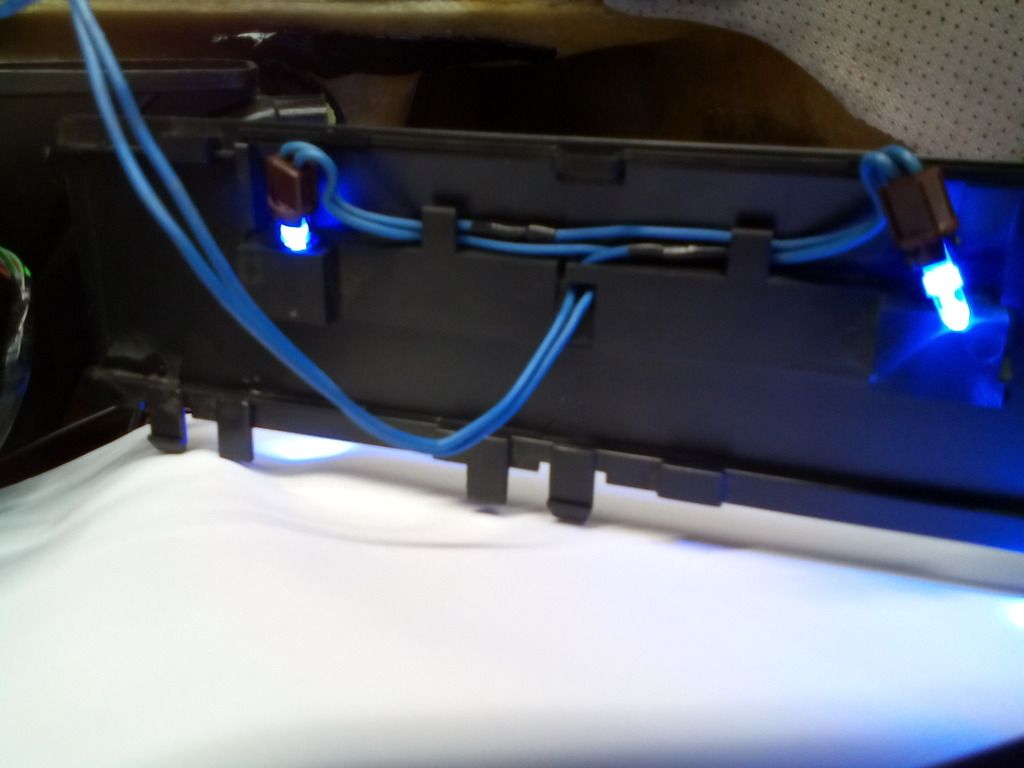
I did try blue and red leds together the theory being the red back illumination would work with the blue front illumination on the needles and produce a nice overall effect, the reality was they both worked against each other and I couldn’t tell what was going on so I opted to go all red - worth it though

I removed the directional control knob for the heating in preparation of utilising just one outlet from the heater box to divert all air as one to each vent and the flow being controlled by each vent individually – simple but effective, the indicia was blanked with a strip of insulation tape until I can find a more permanent solution, I may fit new controls altogether.
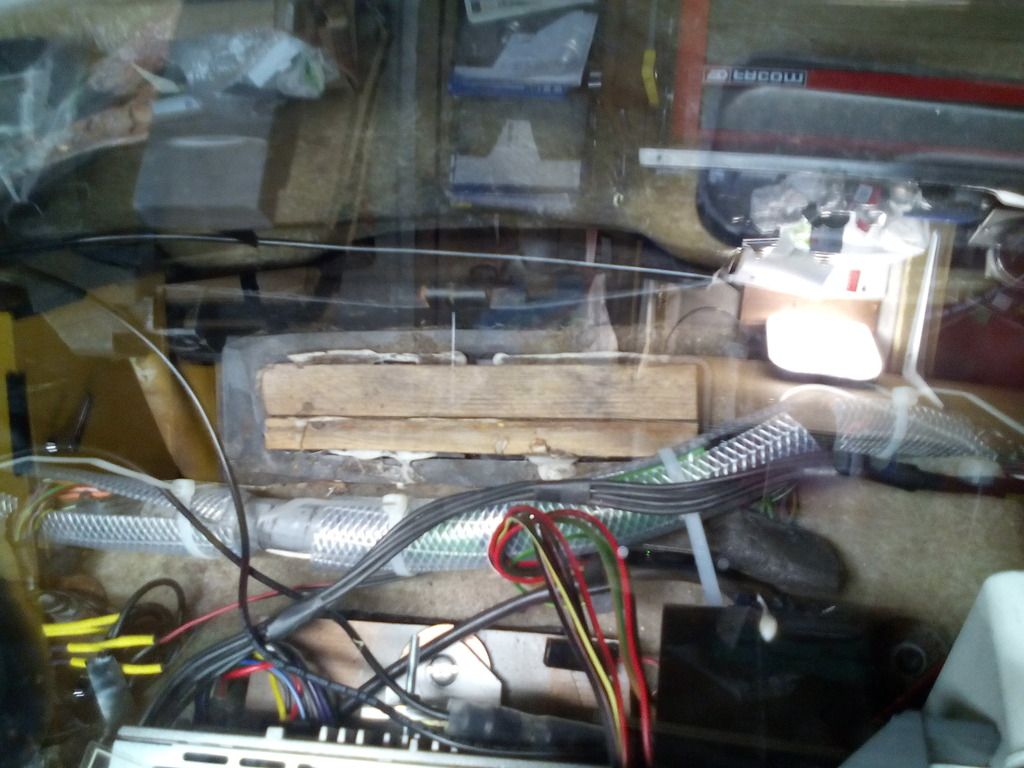
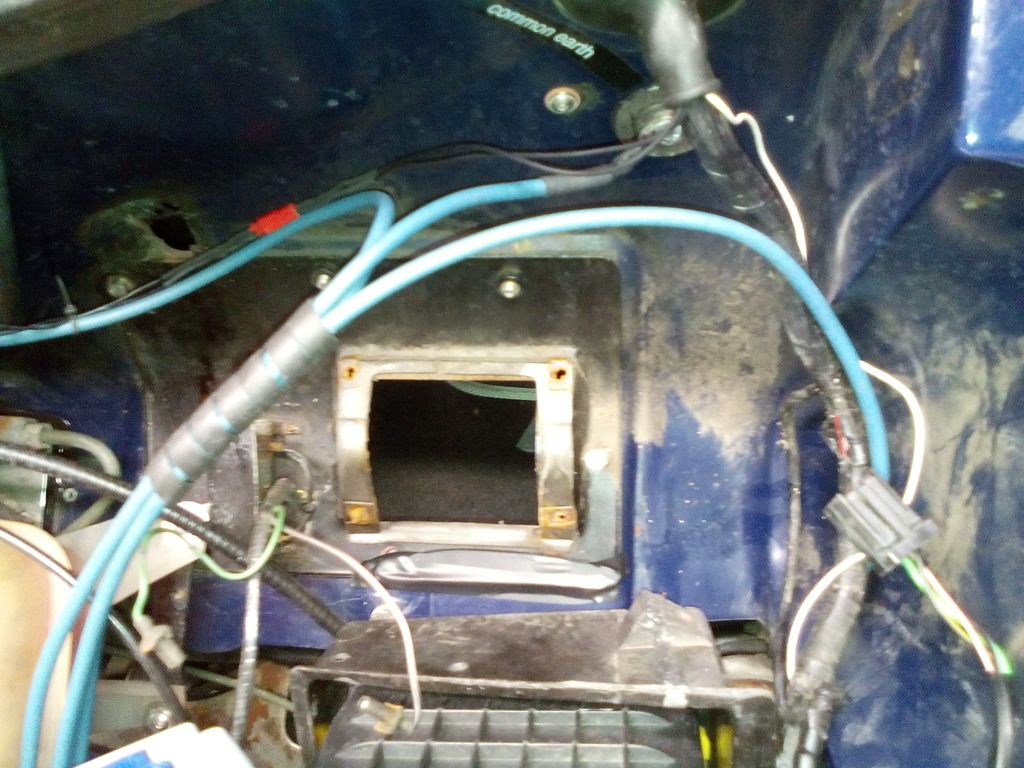
Problems arose when I discovered that the main large outlet from the heater box I intended to use to duct to my new proposed dash and demist vents only blew cold air and this is how they are meant to be? (I would have loved to been a fly on the wall in Rover dealerships back in the day while the salesmen were trying to merit that idea to potential customers) with the only hot and cold air venting to the screen or feet as standard – neither any good to use for all my new dash vents because I needed the extra foot room that was taken up by the ducts for the screen demisters since I caught my foot on them every time I drive the car, you can see the marks on it from me repeatedly catching my foot on it while driving, they had to go..
The centre vent in the lower dash has never worked since I’ve had the car which is not surprising since it was taped over to block the outlet from the heater box and the shonky old fiesta dash vents don’t meet the outlet anyway
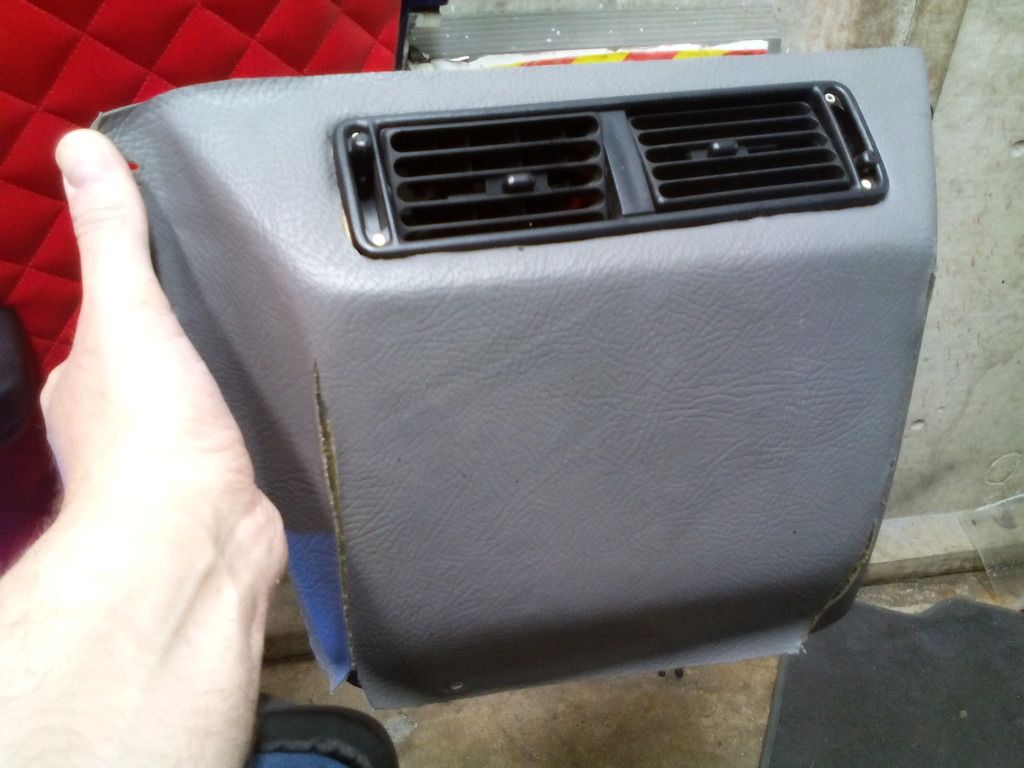
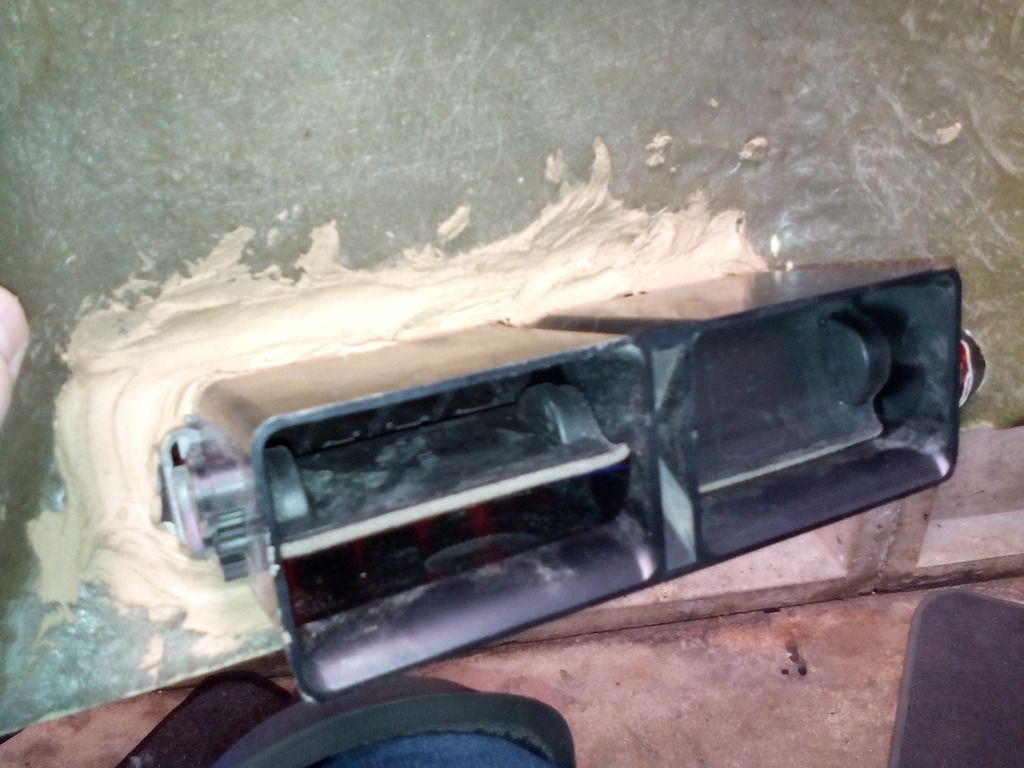
Held in with some sort of pudding
Ripped out ready for re fitment minus shonky fiesta vents
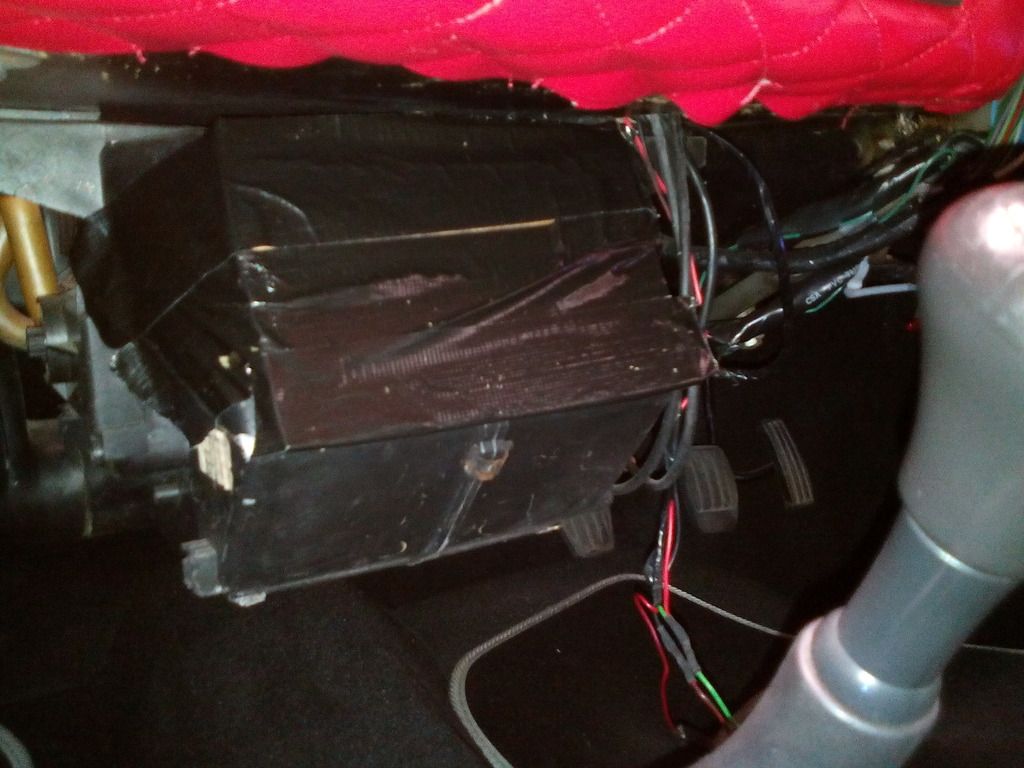
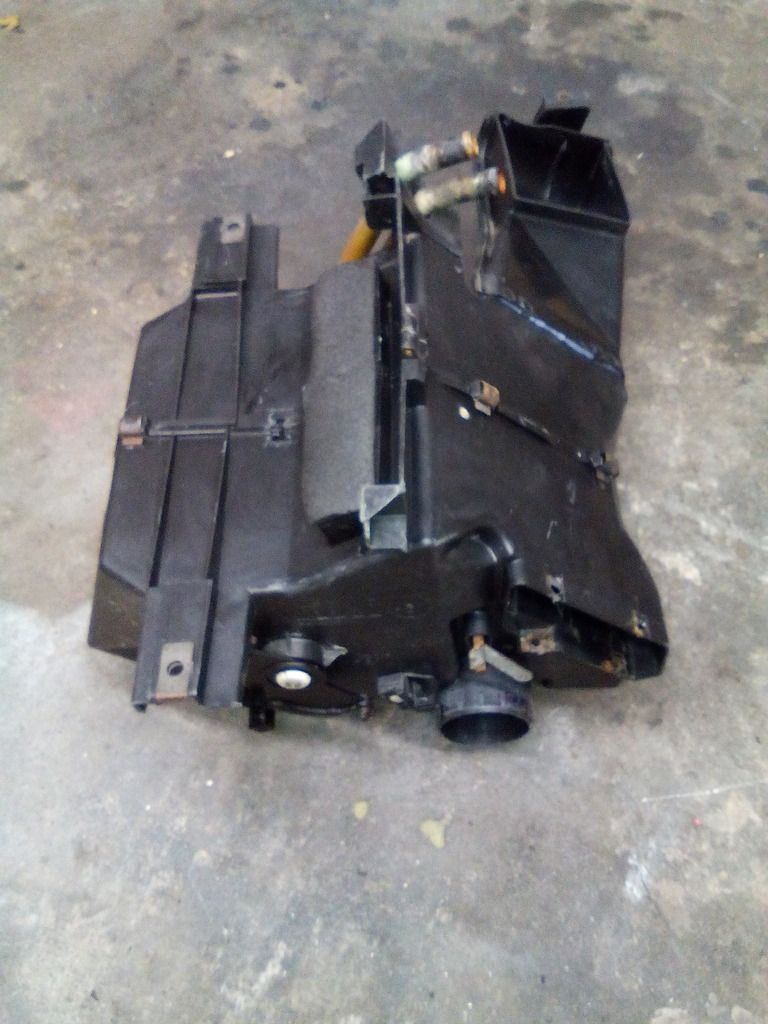
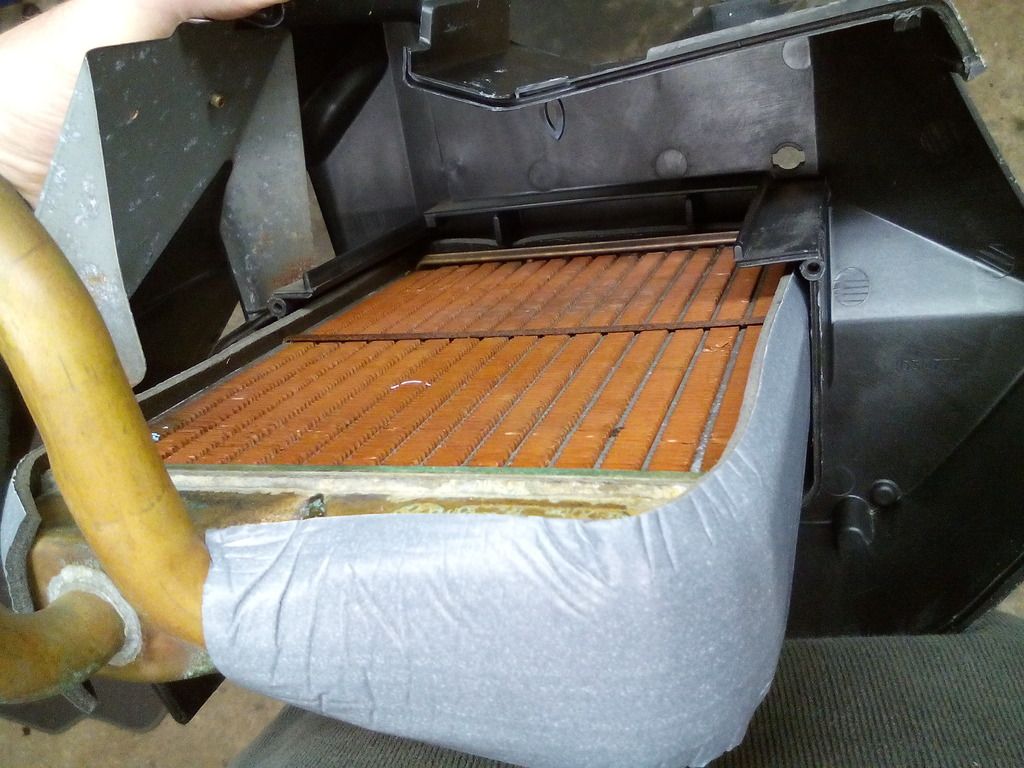
So the only option was to pull the heater box out and rework it to operate as every other car in the world does by blowing hot and cold from all outlets
Pulled out
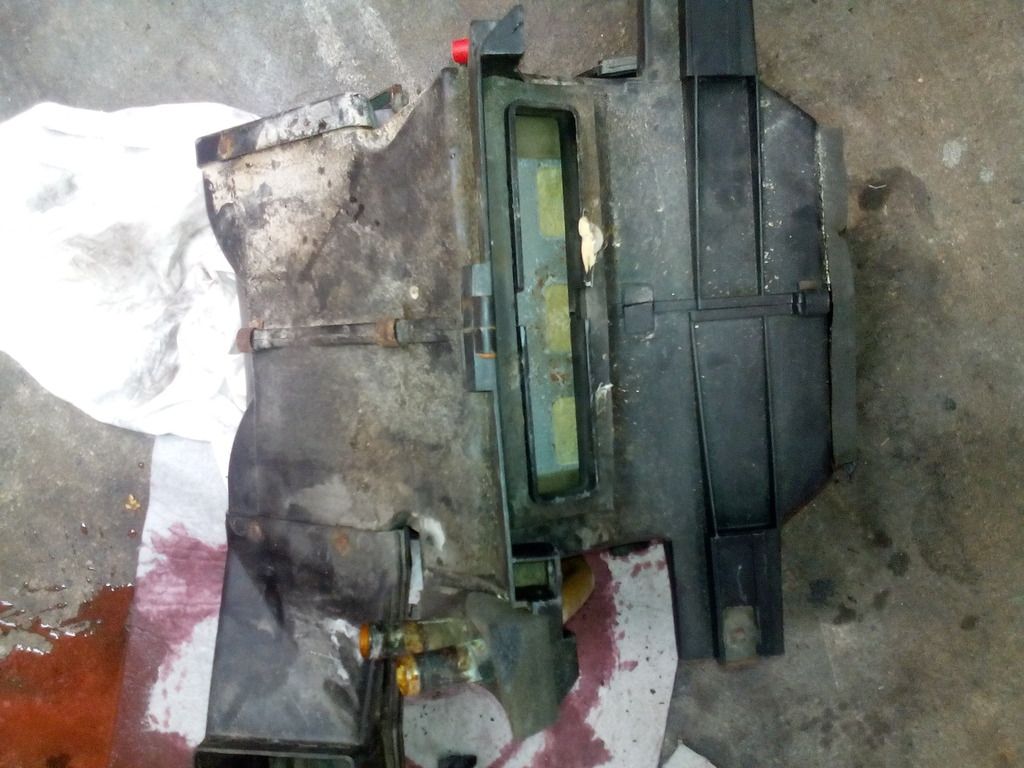
Looked very ropey anyway
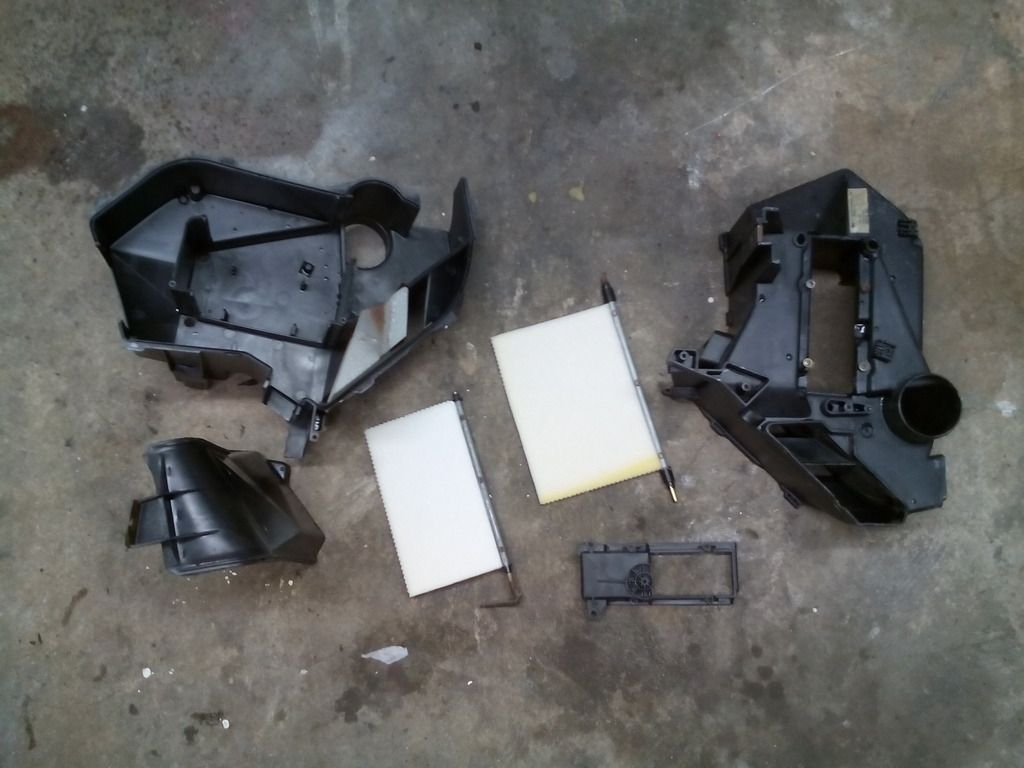
Stripped down
So now for the reworking....
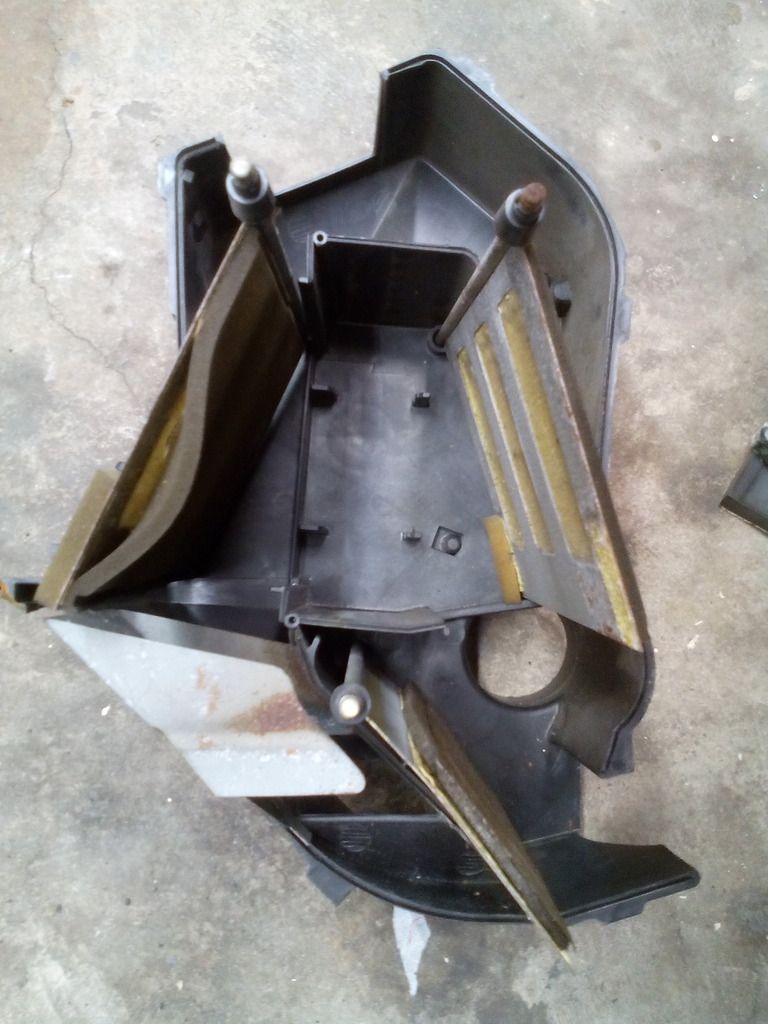
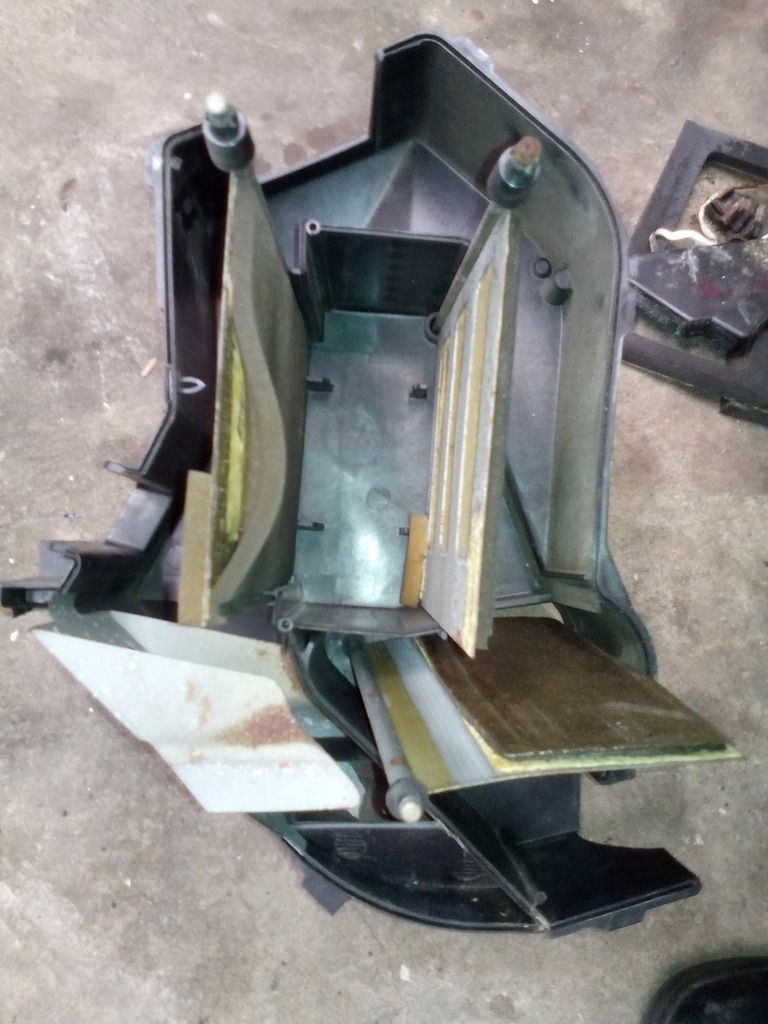
The rover metro heater matrix uses 3 directional flaps to divert the air where required.
2 operate simultaneously opening and closing together from the hot / cold dash lever, the other controls flow to the demister and feet in that order.
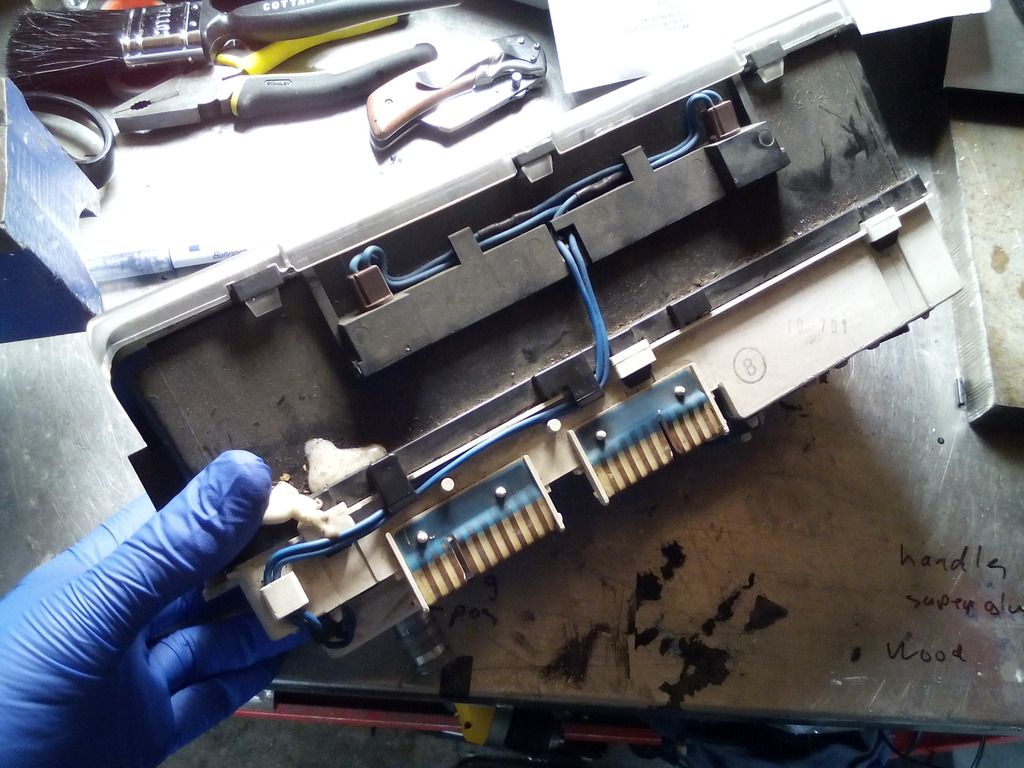
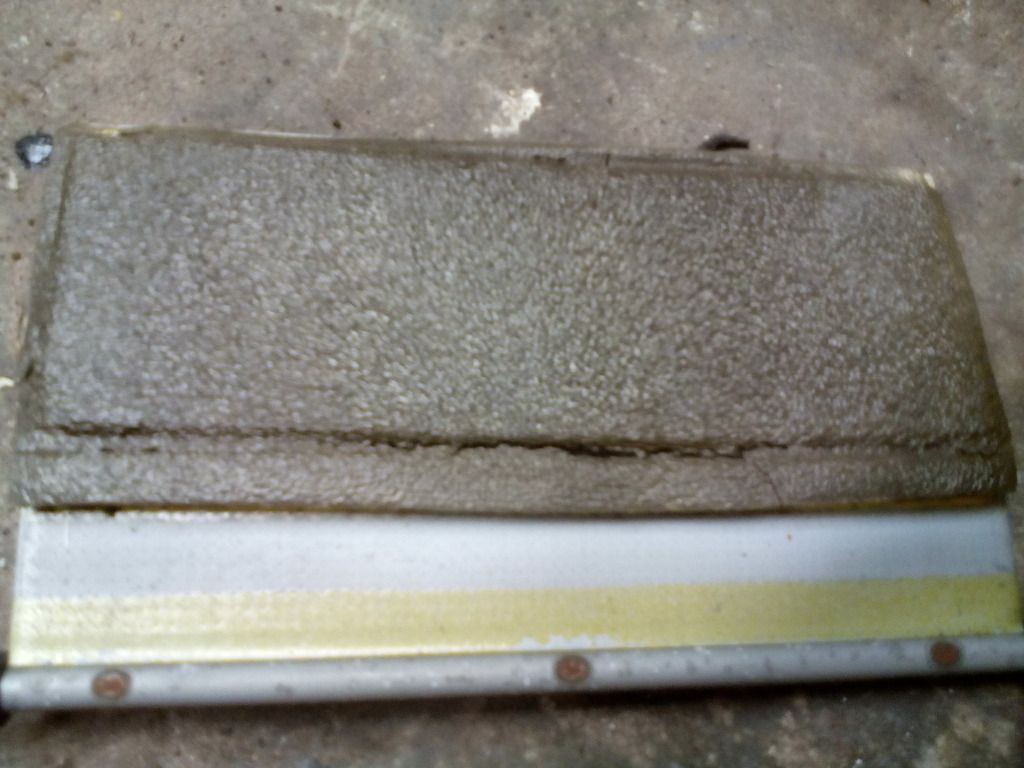
Below is a photo of my heater box showing the interior passages and the 2 directional flaps that operate simultaneously
Excuse crummy drawings
Cold operation
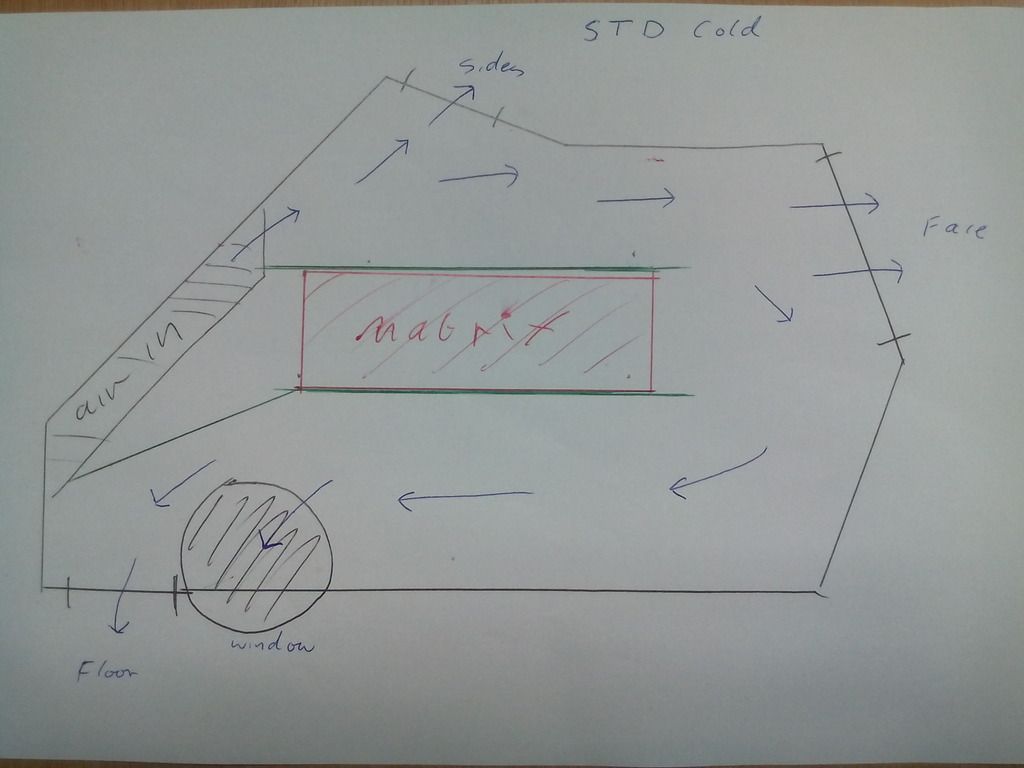
Air passing in from the blower is directed to the open space above the matrix, the closed flaps sandwich the matrix allowing no air to pass through, instead the cold air passed right over the matrix and into the outer section of the heater box where it can pass through the dash vents or with control of the direction lever to the screen and / or feet
Hot operation
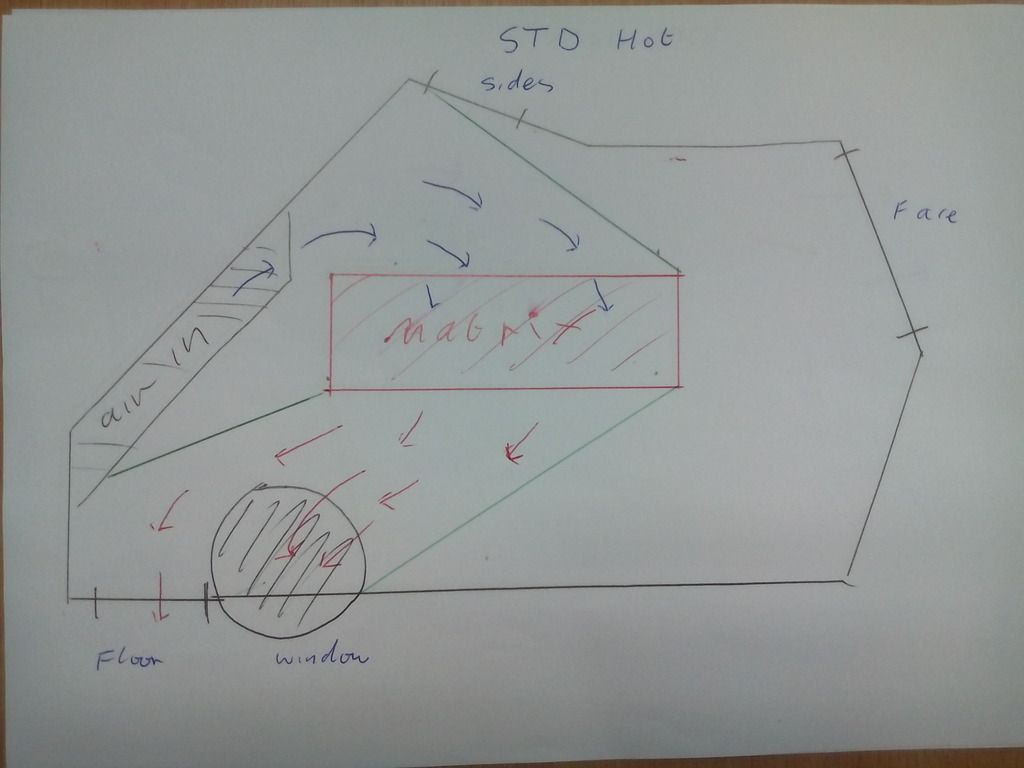
Air passing in from the blower is directed through the matrix via the upper directional flap, the hot air cannot enter the outer section of the heater box due to the lower directional flap closing this area off, instead the hot air is diverted to just the lower section of the heater box where it can pass through to the screen and / or feet
Modification
Cold operation
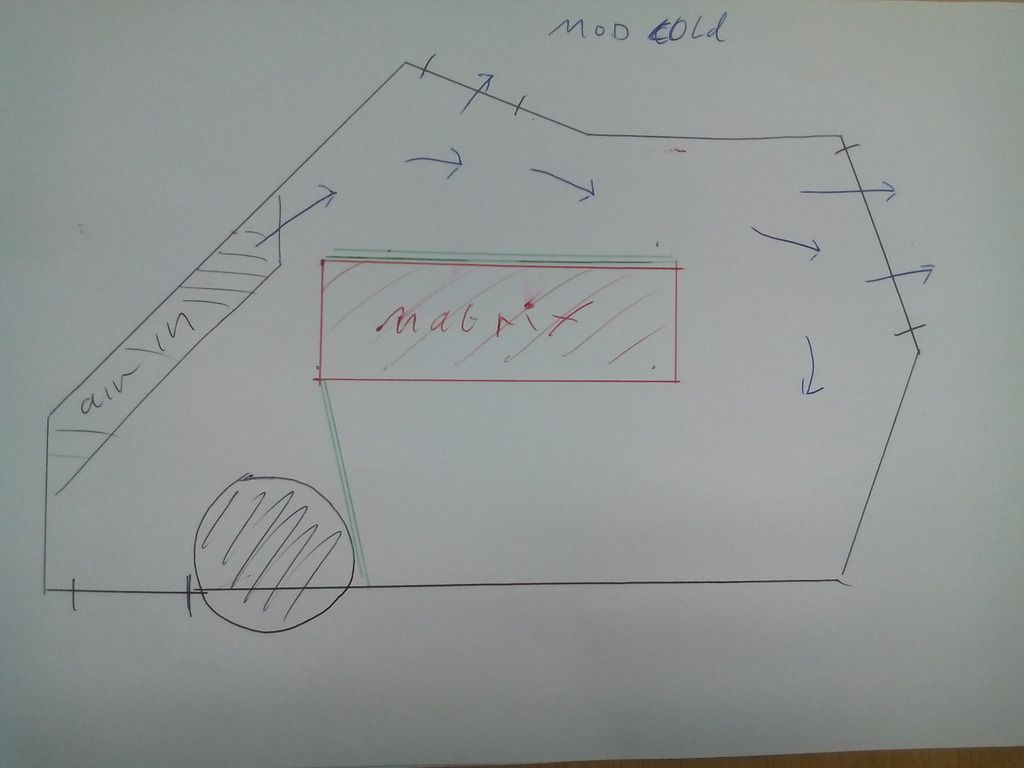
By removing the lower directional flap that covers the lower section of the matrix (the outlet if you like) the cold air can flow in exactly the same manner as before, no air is passing through the matrix so none is heated, the cold air can still be diverted also with control of the direction lever to the screen and / or feet as well as the face exactly as before.
Hot operation
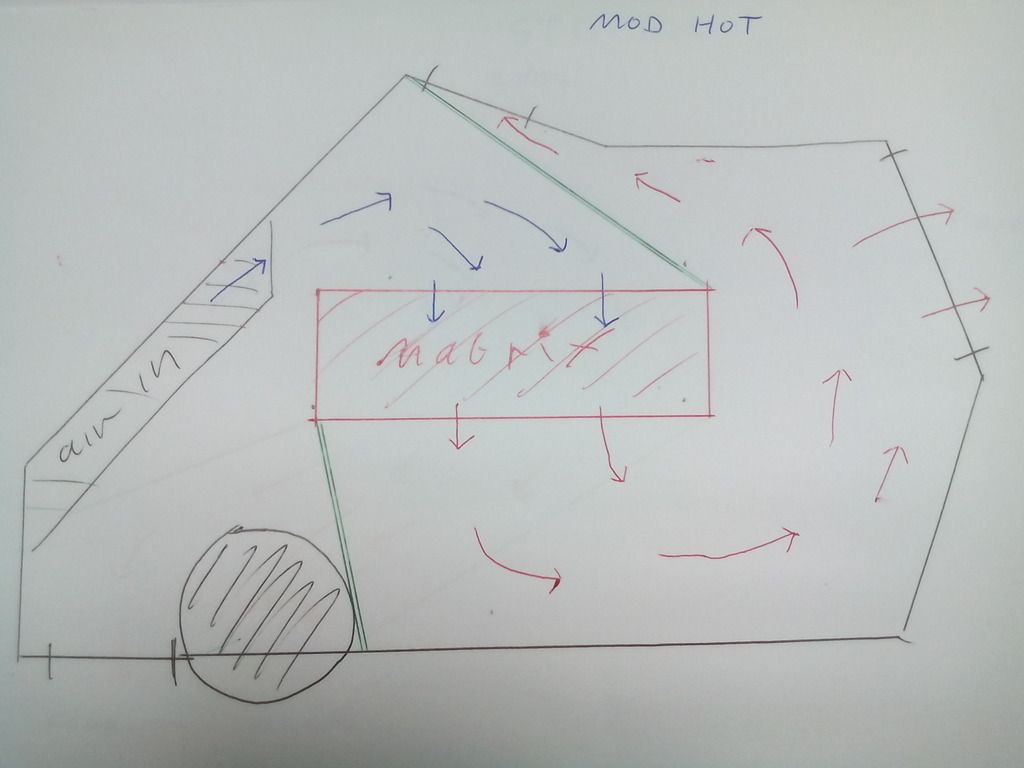
With the lower directional flap that covers the lower section of the matrix removed and the dash control lever turner to HOT the upper directional flap opens allowing the cold air to pass through the matrix to be heated, the hot air now enters the outer section of the heater box where it can now pass through the dash vents or with control of the direction lever to the screen and / or feet, (I have shown the direction control flap closed but this still operates to blow hot air at the screen and/ or feet even with the dash vents open and you can meter how much flow is diverted through each outlet via the dash levers to produce an even flow through each if required.
All of that is irrelevant though since I’m only going to use the large main centre outlet for all my ducting, more on that soon...
I took a bit of time cleaning everything and replacing the foam seal because they were manky and the end result is a fully functioning air box that blows hot and cold to all outlets
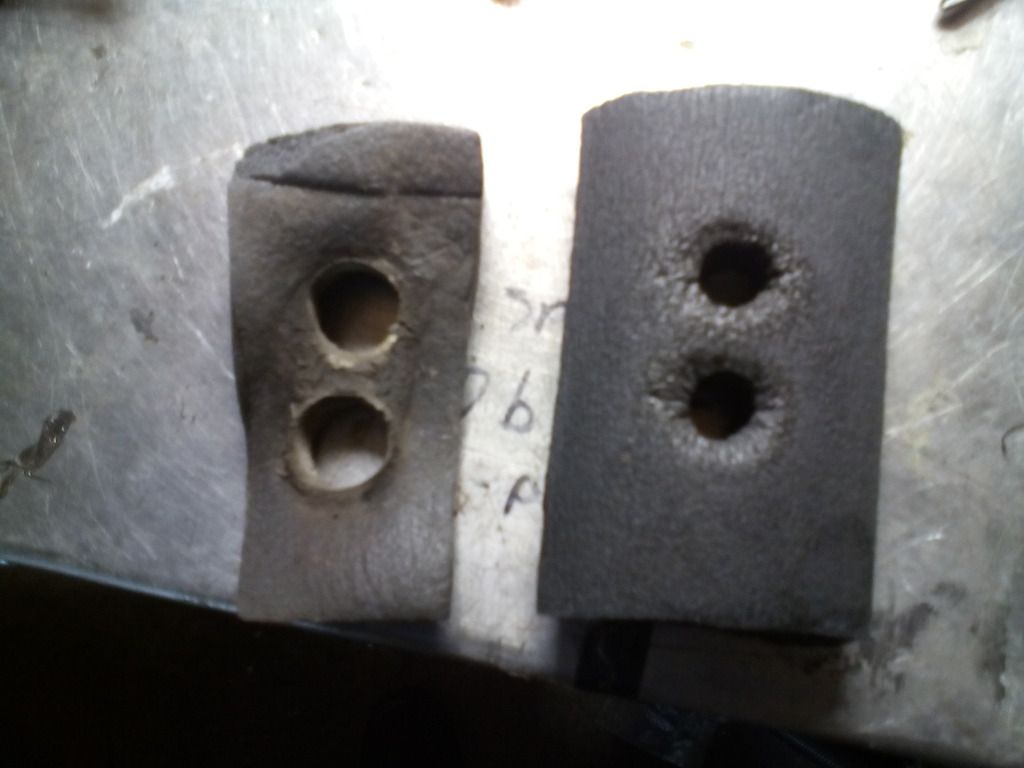
The 2 flaps to be refitted
Some of the old outlets from the heater box were blocked off with bits of wood originally so these that were never going to be used again had tight fitting gaskets made from closed cell foam to block each off
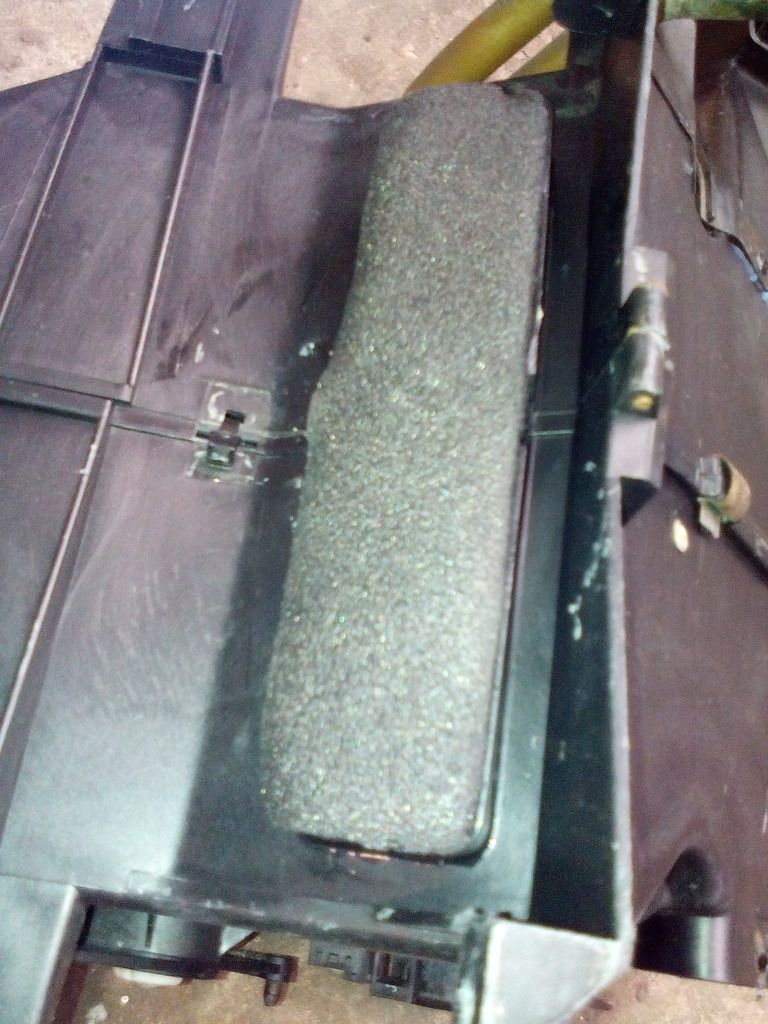
All the controller flaps were re trimmed in foam vinyl off cuts since these give just the right amount of seal.
All built back up I ripped out the blower motor also and pulled that apart and gave it a damn good cleaning
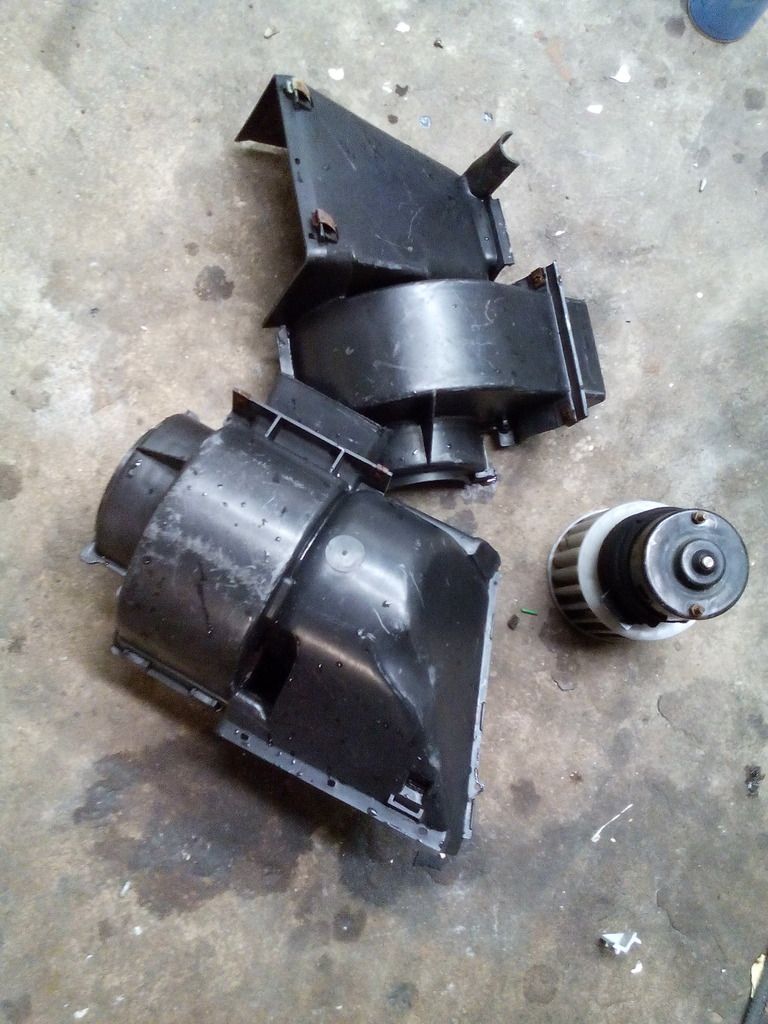
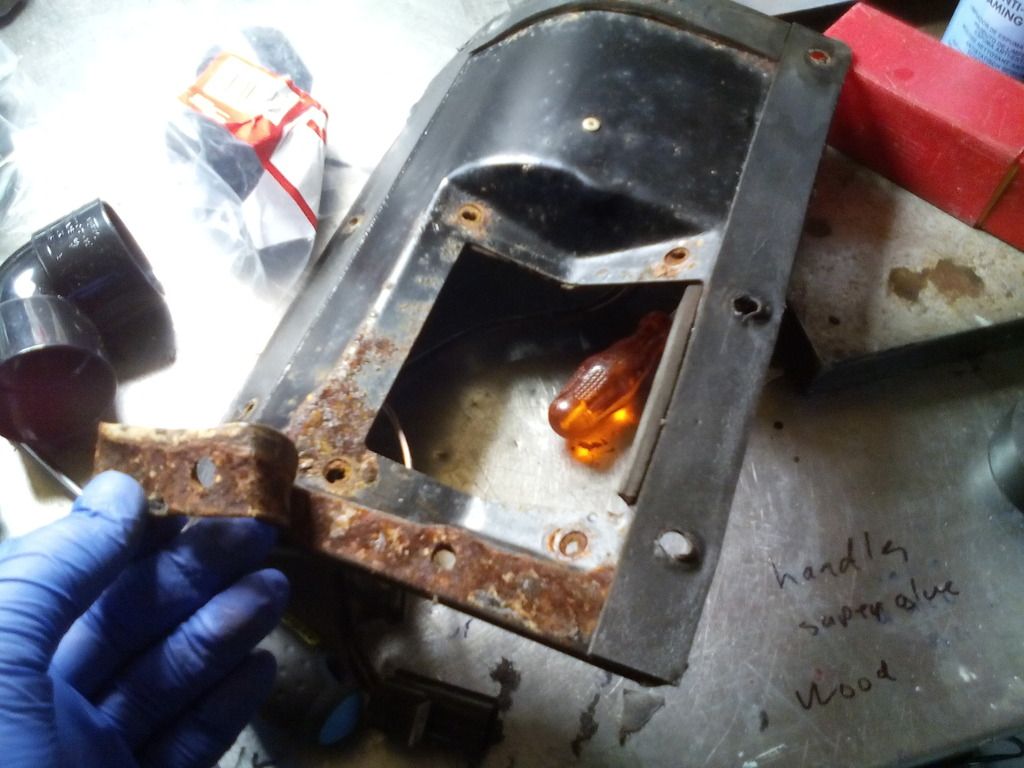
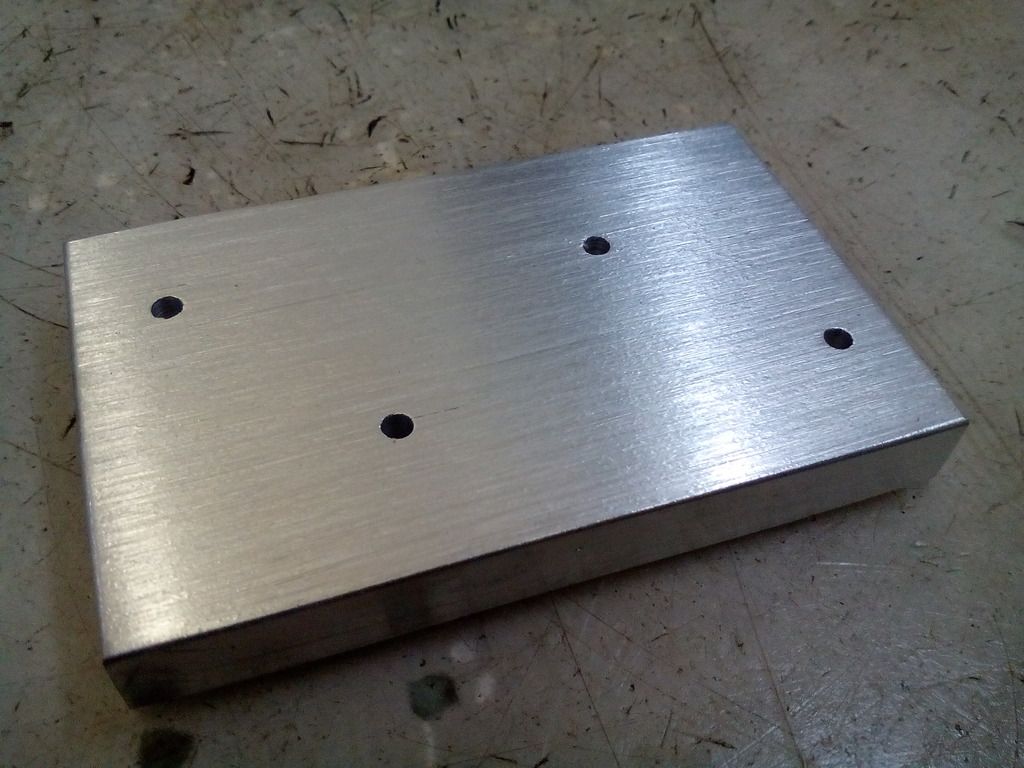
The metal mounting plate for this on the bulkhead leaked like a sieve and looked sorry for itself
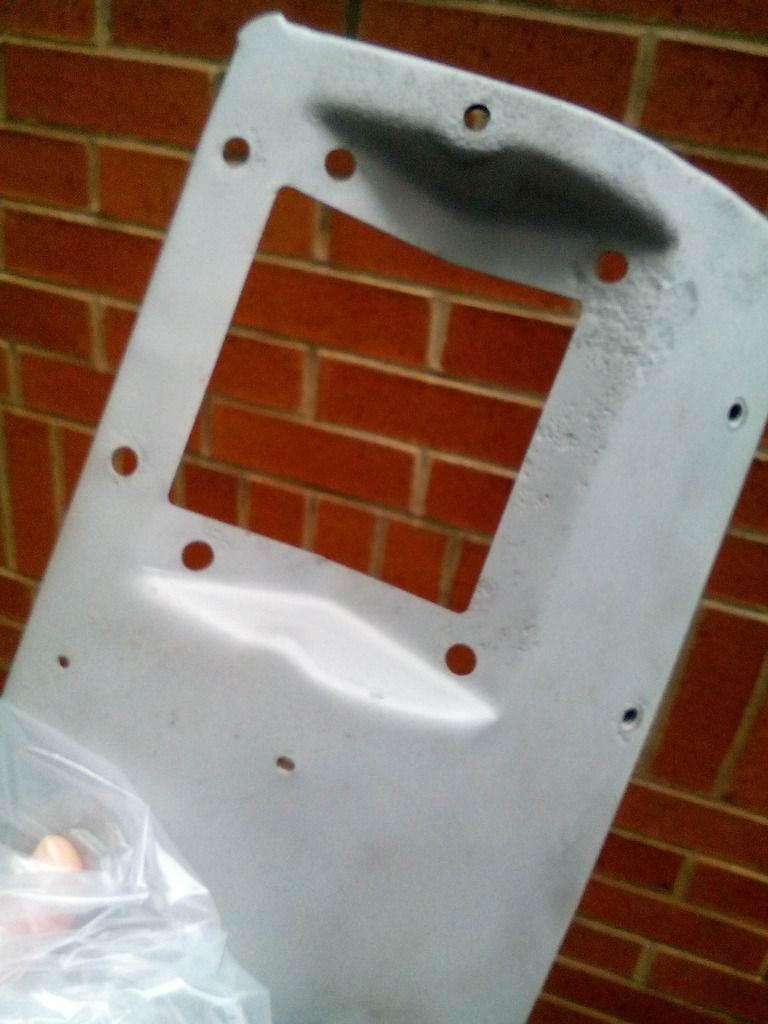
Blasted
Painted
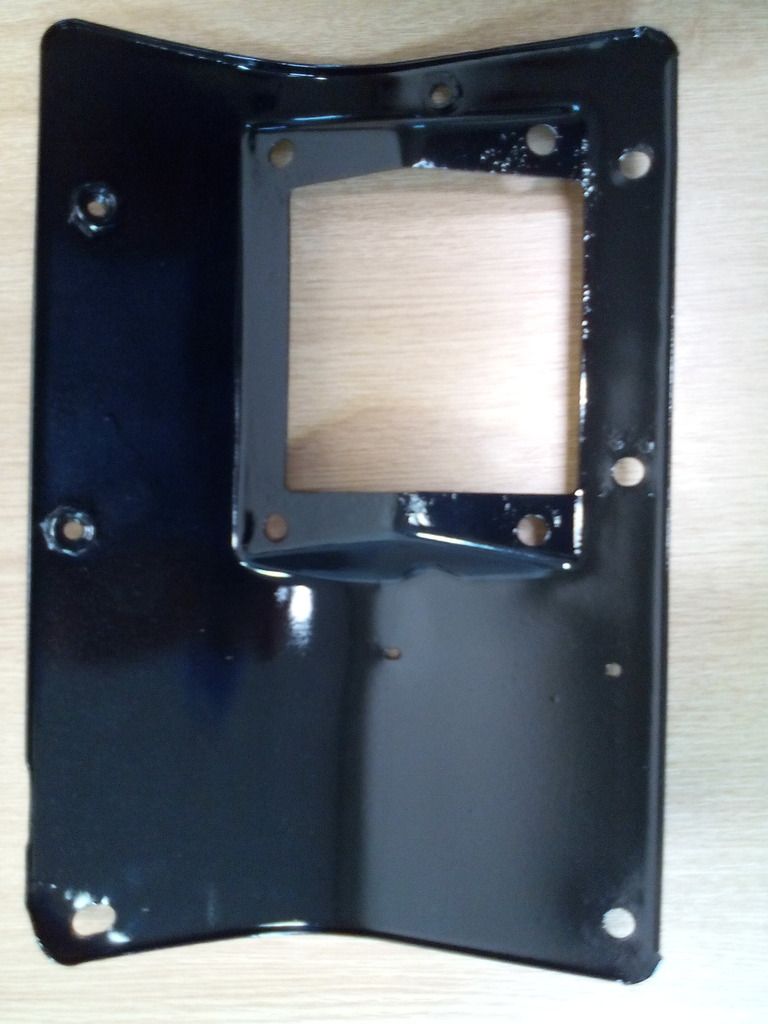
All good but now I’m going to have to do the driver’s side clutch / brake plate to match

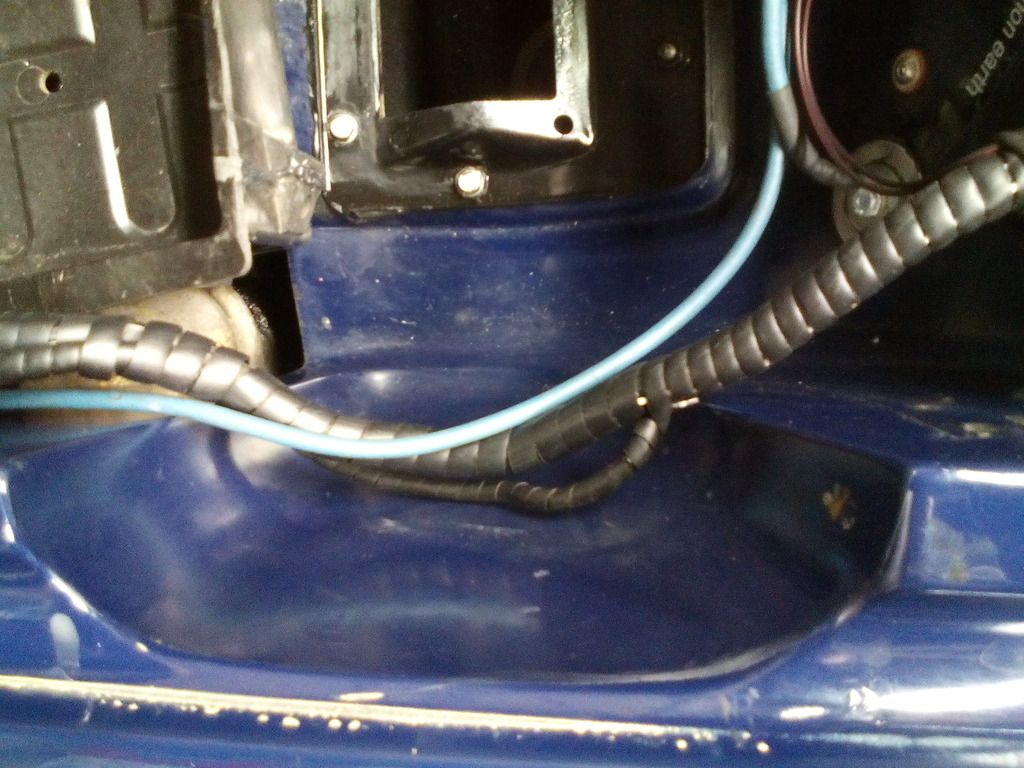
Once Fitted I noticed the wiring that ran behind the blower motor was starting to chafe so that got the spiral wrap treatment
Upon refitting the heater assembly I even made a new foam gasket for the matrix pipes
regarding the sealing of the heater box - bulkhead plate - blower motor, rather than make sponge gaskets for the joins as originally done I set the freshly painted bulkhead plate in with non-setting screen sealant, the benefit is total water tight seal and less chance of rusting again.
Once fitted up I turned my attention to the blower motor resistors, the heater has only ever worked on flat out indicating the load resistors are passed their best, so rather than trying to hunt down some replacements (hens teeth) and have them fail in time, I made some new ones out of ceramic hi power resistors mounted on a custom aluminium heatsink
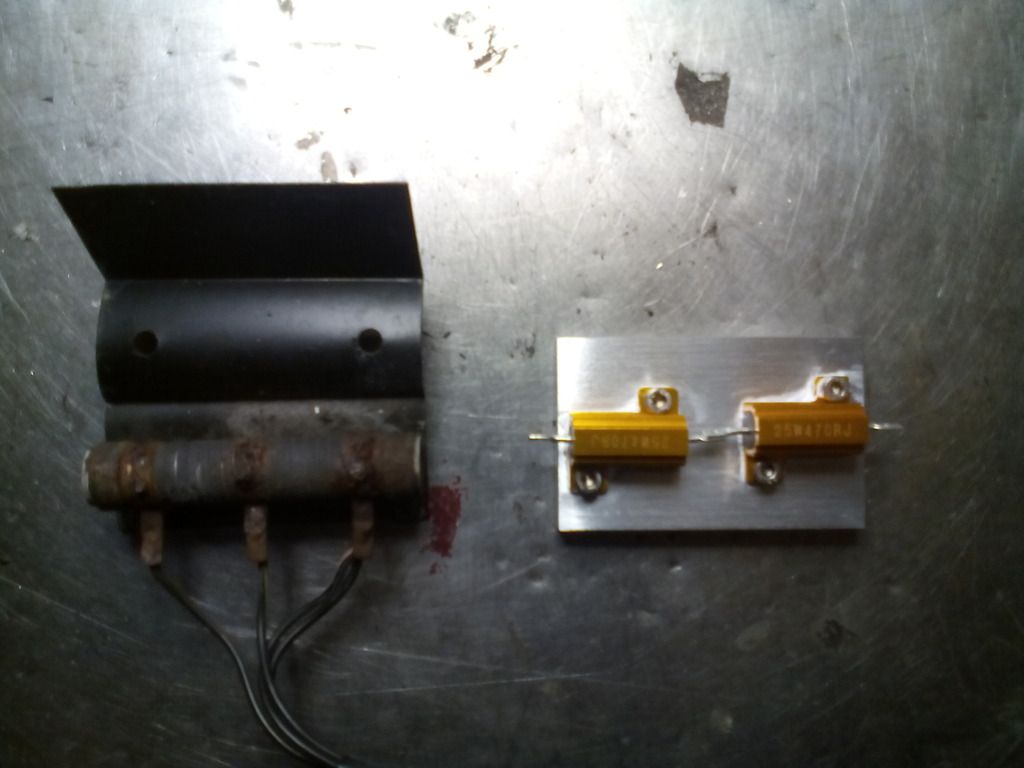
Much better and nice to look at too
So now I’ve overhauled the entire heating system I’m back to where I was a month ago where I needed to start making ducting to the various positions on the dash for my new vents which I’ve still yet to order.....
More on that as it progresses
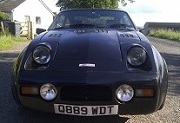
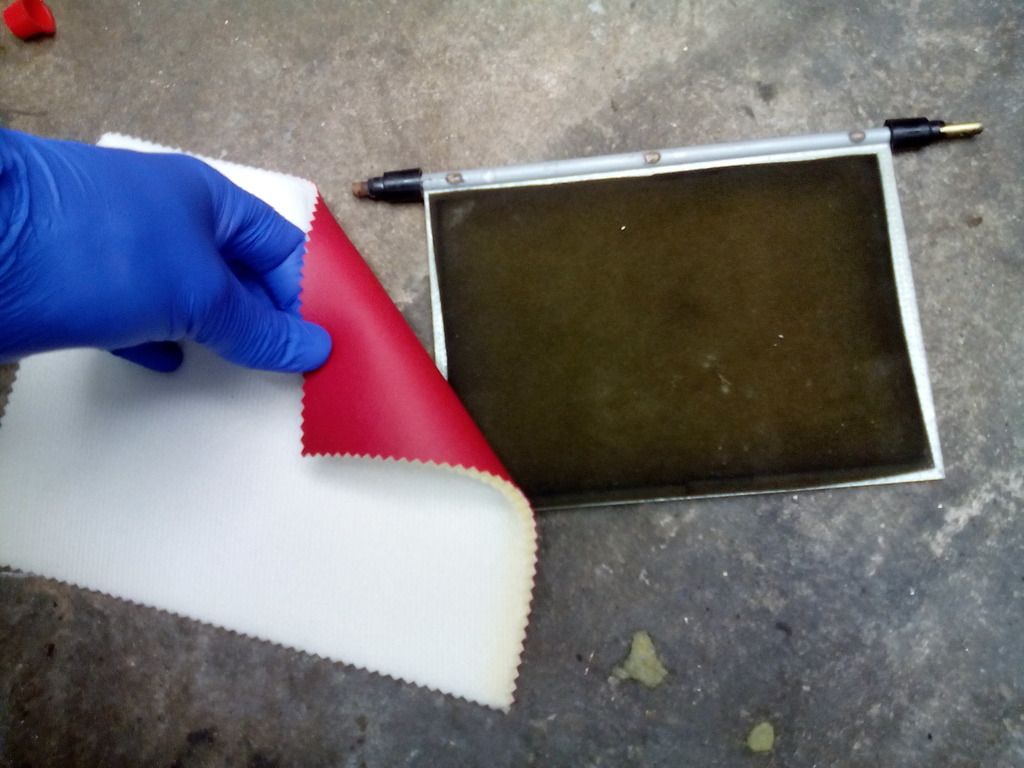
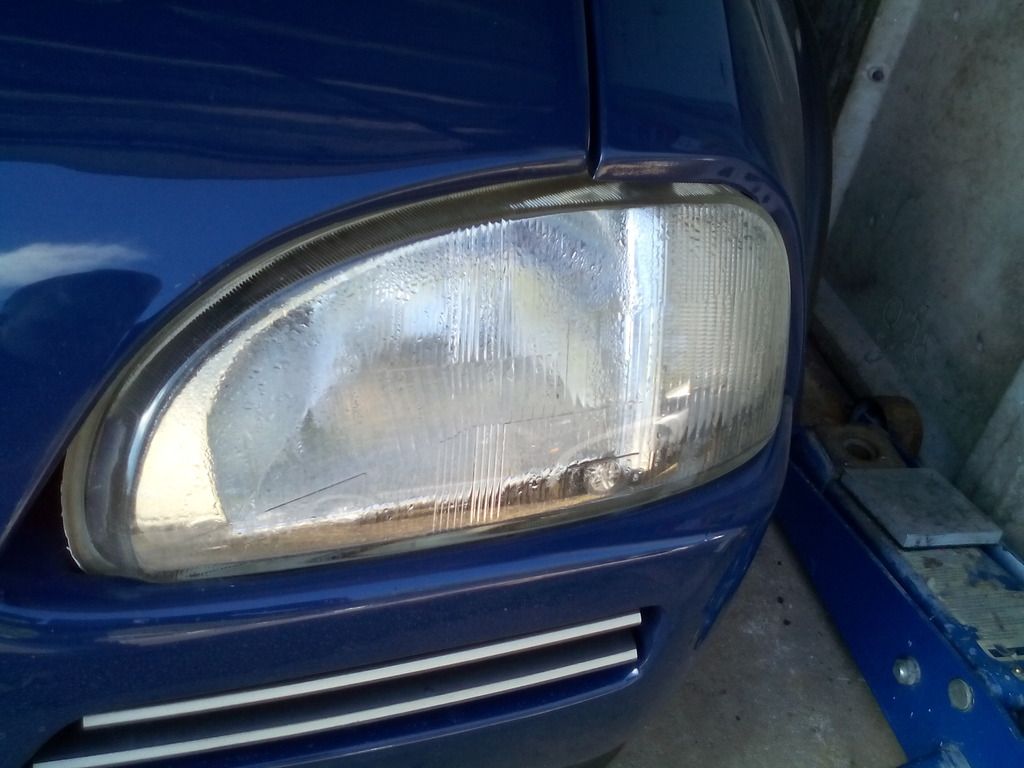
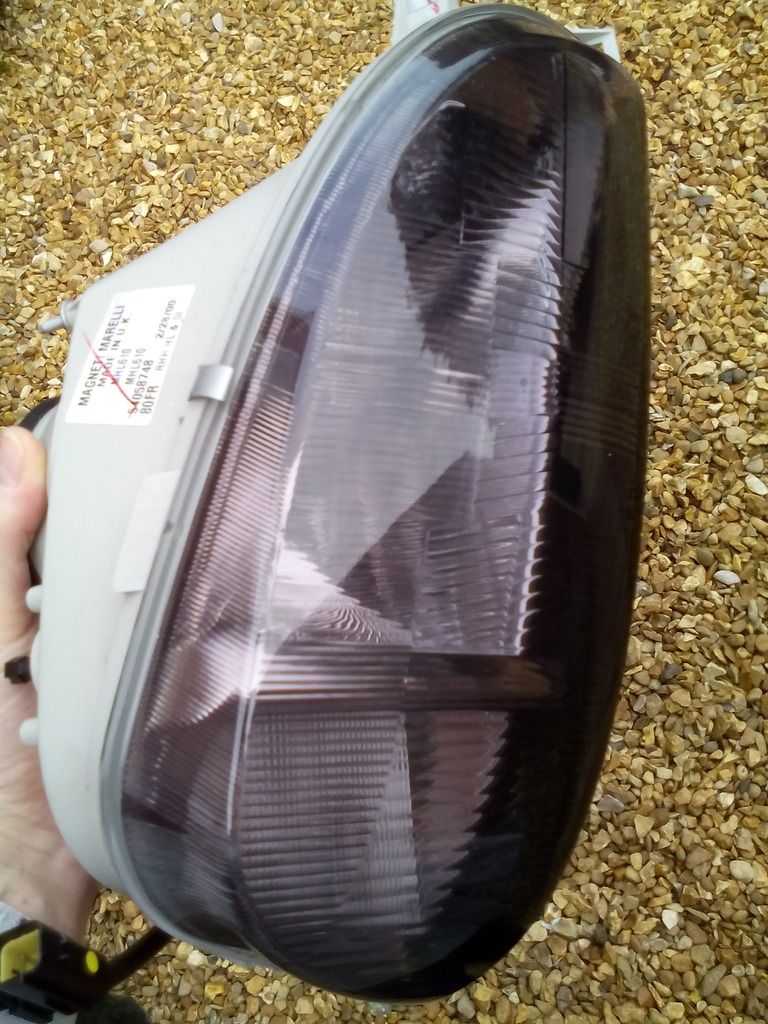
Alongside the dash I acquired some new headlights mentioned previously, the old ones doubled up as fish tanks

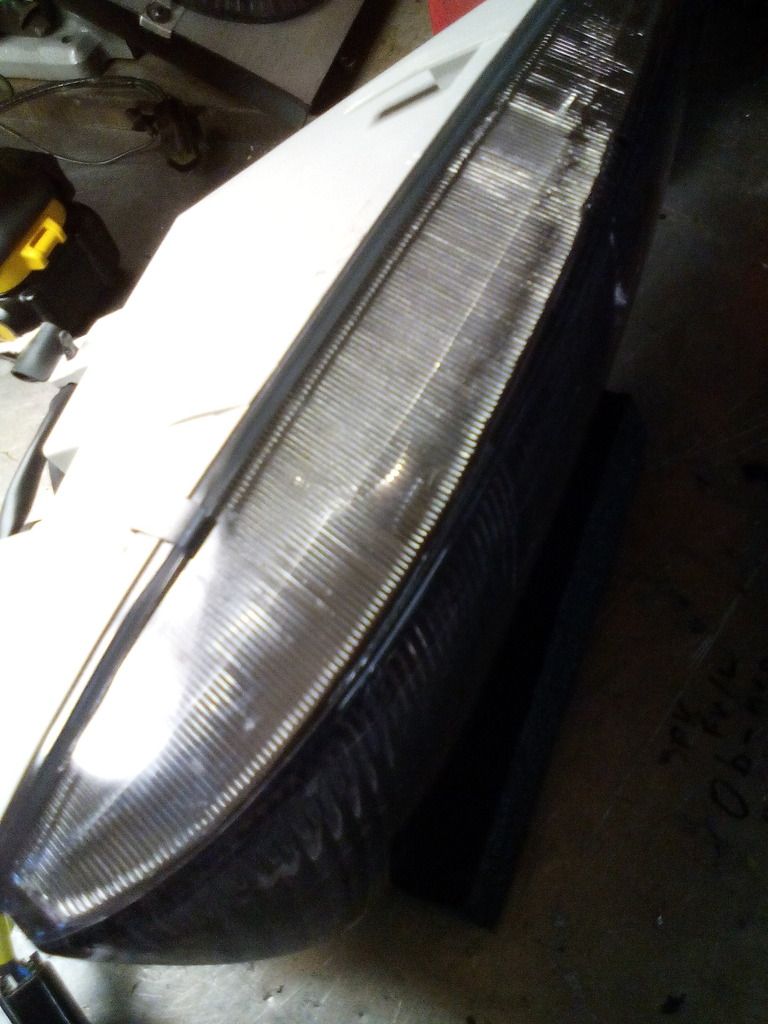
I didn’t just want to fit the new ones and be done with it, the front end has always looked a bit awkward and the rover 100 headlights aren’t the most manly looking so I decided to tint them – trying to find the right tint was harder than I expected, in total I bought 8 different types to try, half were so subtle (despite being called medium) they just made the lenses look grubby and dull – a bit like they did before so not much point, the other half of the tints I bought were so dark they could have passed as blackout blinds, only by chance did I locate a company that put actual pictures of their products on their website could I find the perfect tint – just enough but not too dark
Didn’t trust myself to do the work so I got a local tinting company to do it for me (last thing I needed was for them to look like a badly presented bag of chips)
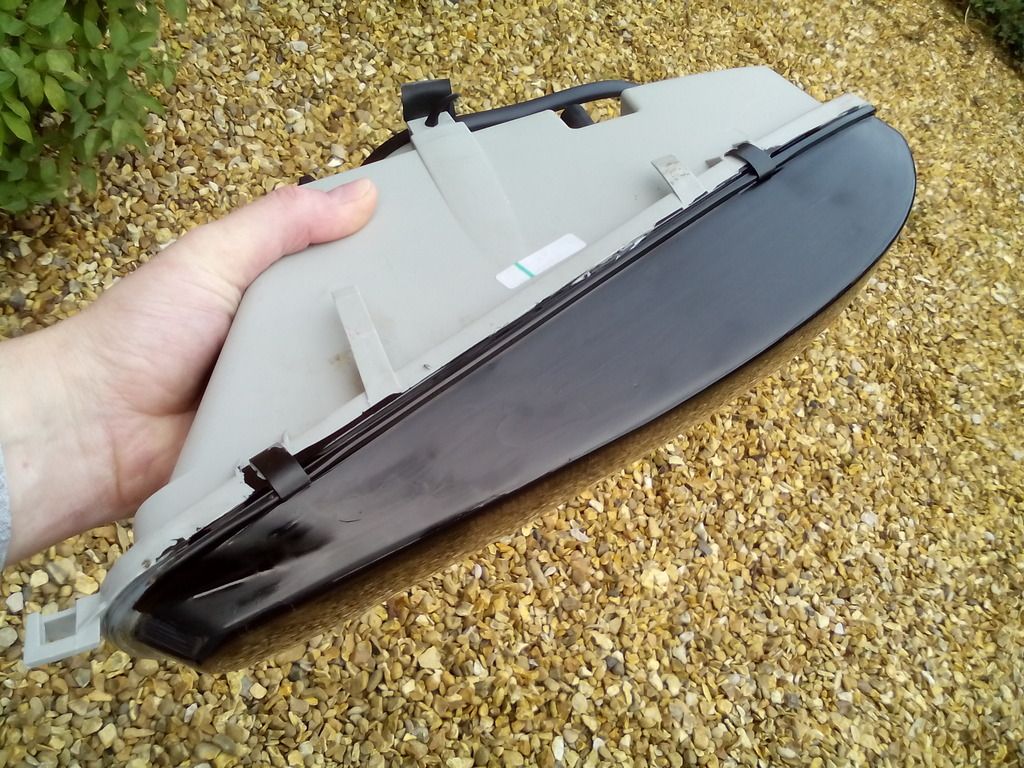
They did a cracking job too, only gripe was they left the bottom bare because of the sharp rebate, this was out of sight anyway but it felt a bit unfinished so I got around this by buying some black glass primer and painting it In, the black served to enhance the darkness of the tint by refracting the black around the inside of the lens yet not effecting light transition performance – sort of like how live edge plastic works but in reverse.
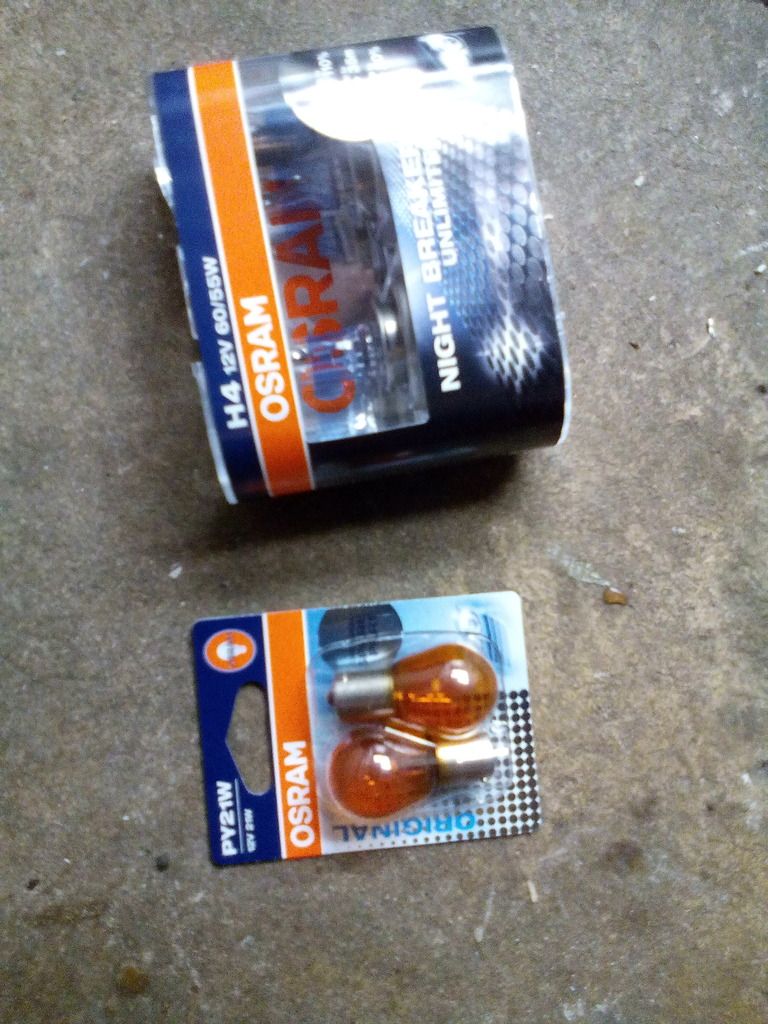
Splashed out some new bulbs too
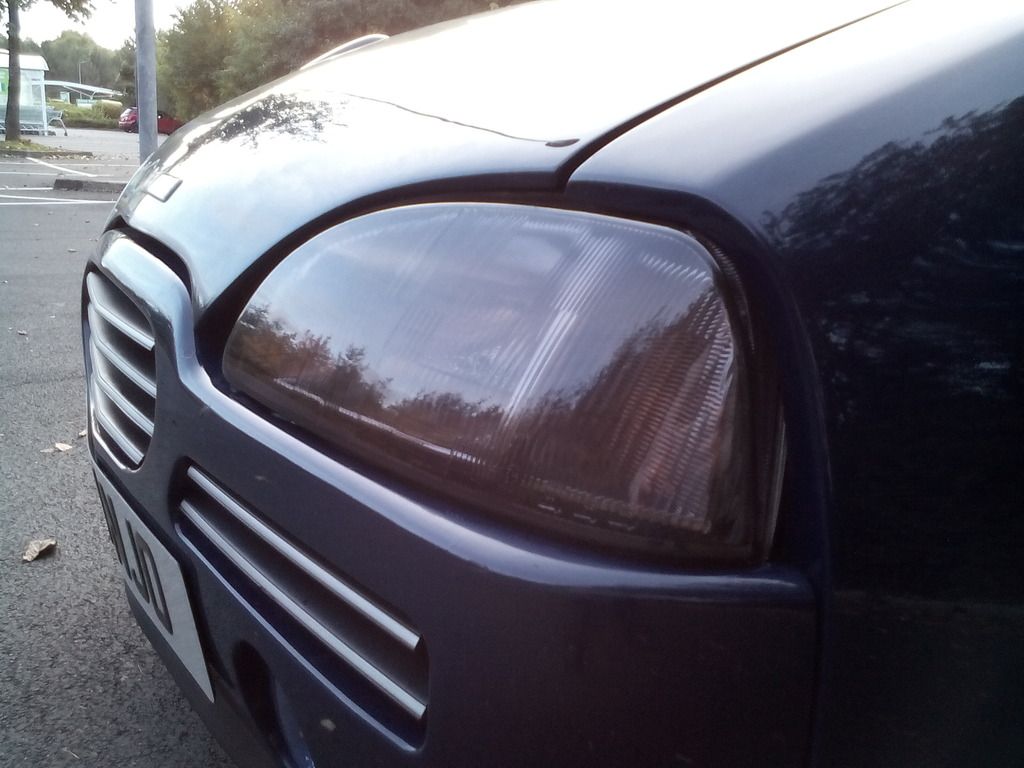
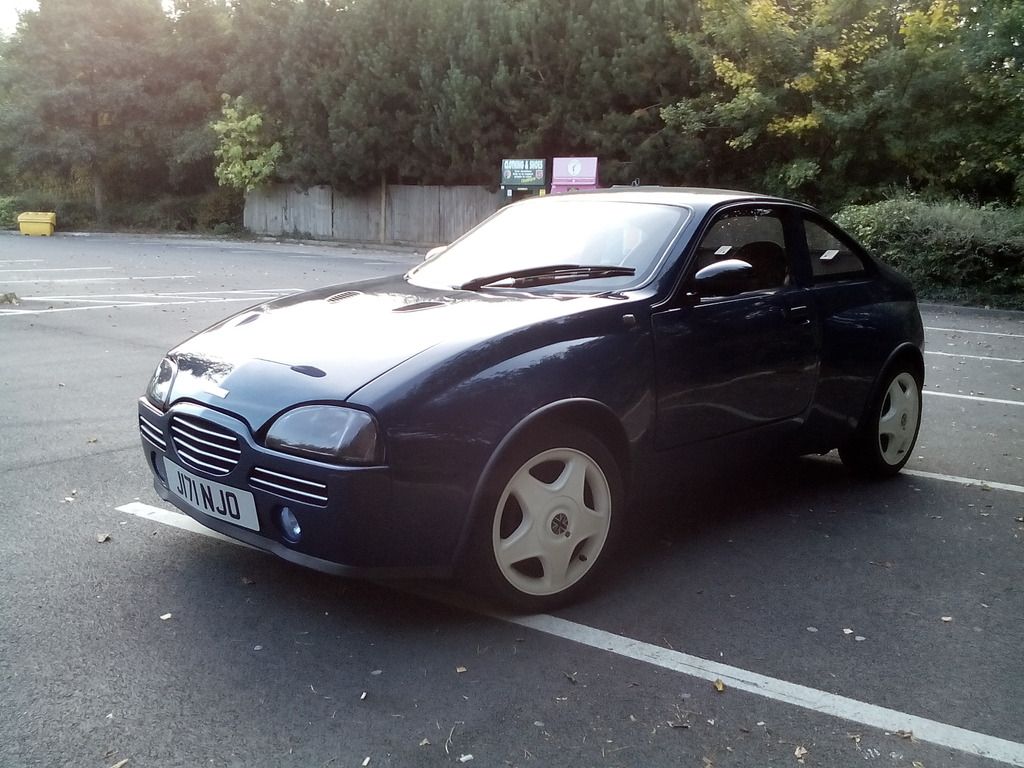
All fitted
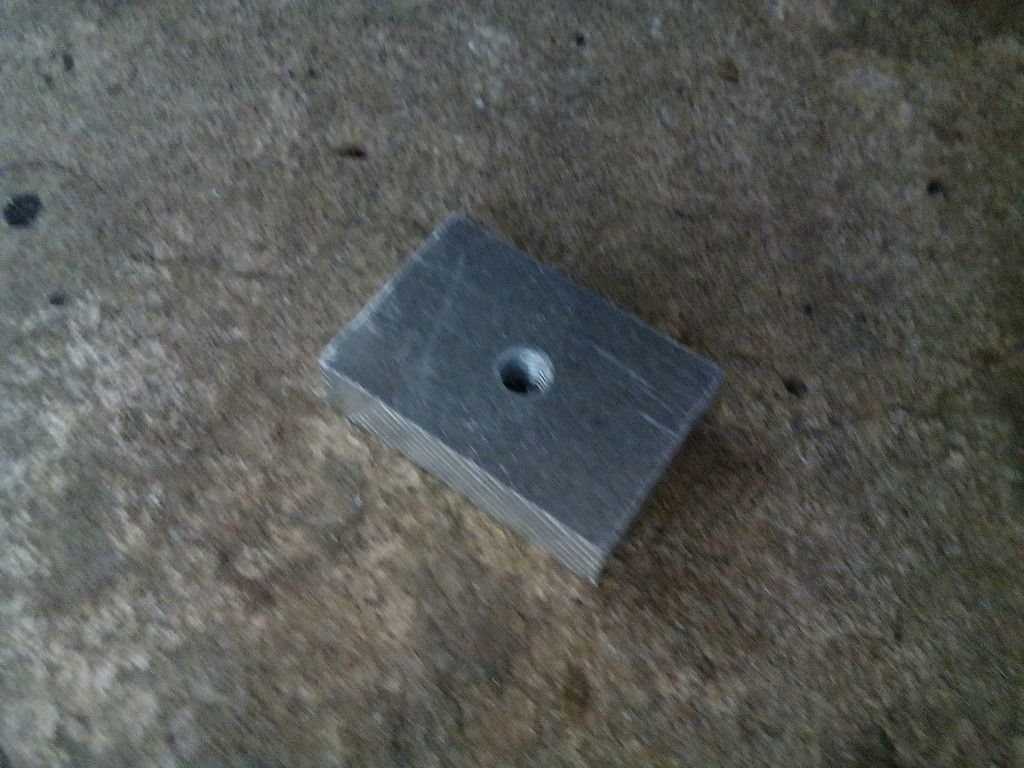
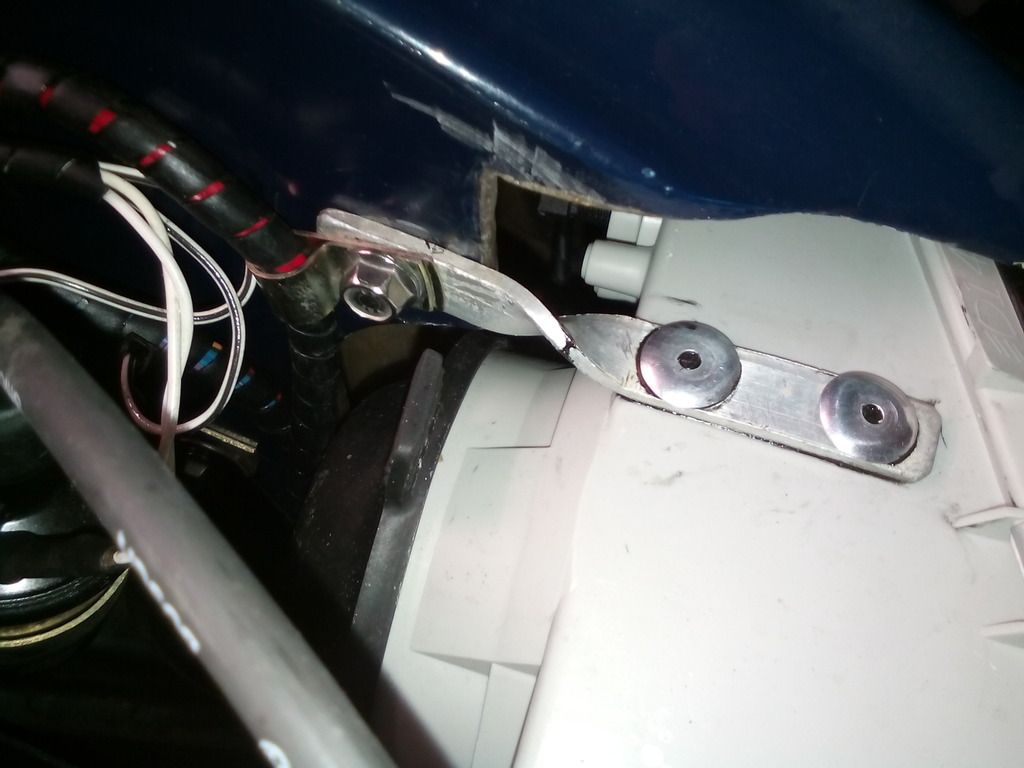
And tired of losing my nuts inside the inner wings (ouch) each time I undo the headlights I swapped the nut and bolt arrangement
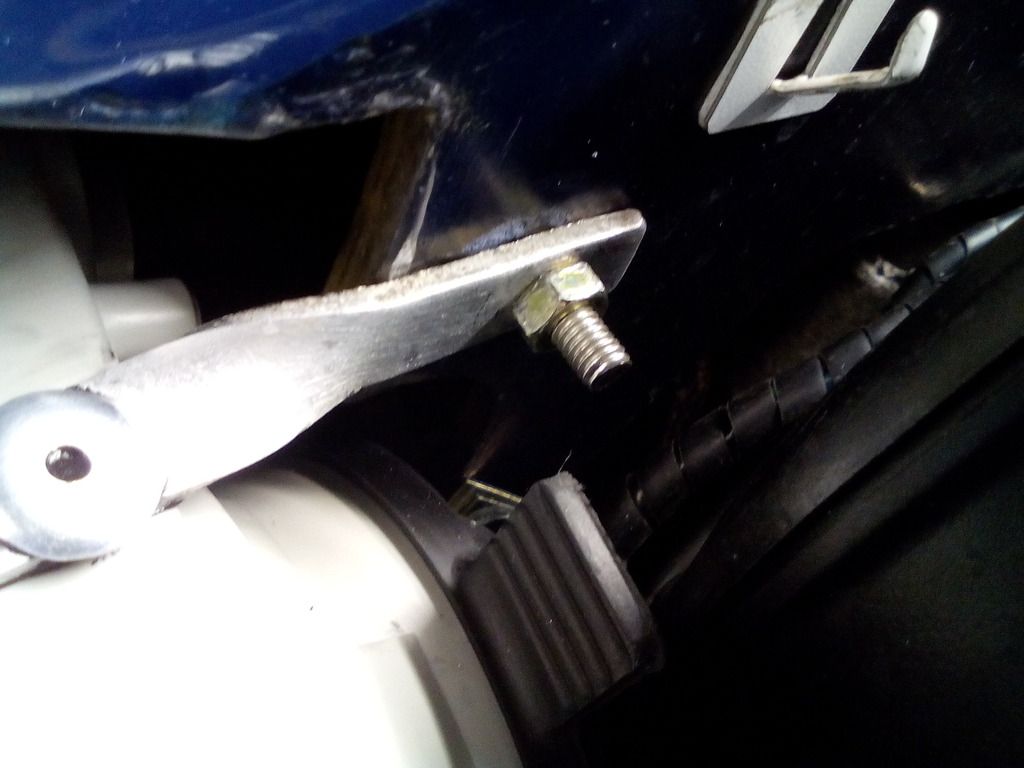
By making up some alloy captive nuts and bonding them to the rear of the fixing so now it's all taken care of from the front
Before anyone questions the darkness, the actual tint is half as dark as you see in the photos and that is what the bulbs have to shine though, the tinted effect to the eyes is twofold since the daylight passed through the lens once then reflects off the reflector and back through the lens before it hits your eyes giving x2 tint whereas the bulbs just pass once, I can say that with the new bulbs, new reflectors that despite the tint the lights are much brighter than before, just got to make a new trim to go round the edge.
Hopefully I'll get more progress before Santa drops down the chimney...