Midas Cars Forum - www.midascarsforum.com
This free forum is for Midas and Midtec Bronze enthusiasts. The Midas is a British car designed as a replacement for the Mini Marcos.
J171 NJO Cortez / 2+2 rebuild and modifications
Moderator: The Midas Forum Staff
Re: J171 NJO Cortez / 2+2 rebuild and modifications
![]() by Hans Efde » Tue Sep 02, 2014 11:01 am
by Hans Efde » Tue Sep 02, 2014 11:01 am
Did you know your J171 is the prototype Cortez? I took the picture of the car at the museum when GTM presented it to the club.
-

Hans Efde - Posts: 1731
- Joined: Sat Dec 06, 2008 10:11 pm
- Location: IJlst, Netherlands
Re: J171 NJO Cortez / 2+2 rebuild and modifications
![]() by Jin » Tue Sep 02, 2014 2:04 pm
by Jin » Tue Sep 02, 2014 2:04 pm
yes its a bit special i suppose (maybe)
ive seen the pics in the brochure / magazines / flyers etc., i wish it looked that good now
only a matter of time
its been fun picking it apart (except last night pulling the front wheel off and seeing the suspension is very very rusty) its a very clever design, i like the way the dash top comes off easily (very easy in my case as it fell off in my hand) to reveal all the gubbiuns inside like the wiper motor and cluster wiring, in the quantum that’s a day long job.
it will be a long process but this will be special when its done
https://easywider.co.uk/ universal flexible wheel arch extensions
- Jin
- Posts: 454
- Joined: Fri Aug 01, 2014 10:33 pm
Re: J171 NJO Cortez / 2+2 rebuild and modifications
![]() by Jin » Wed Sep 03, 2014 9:45 pm
by Jin » Wed Sep 03, 2014 9:45 pm
Done a bit more  ,
,
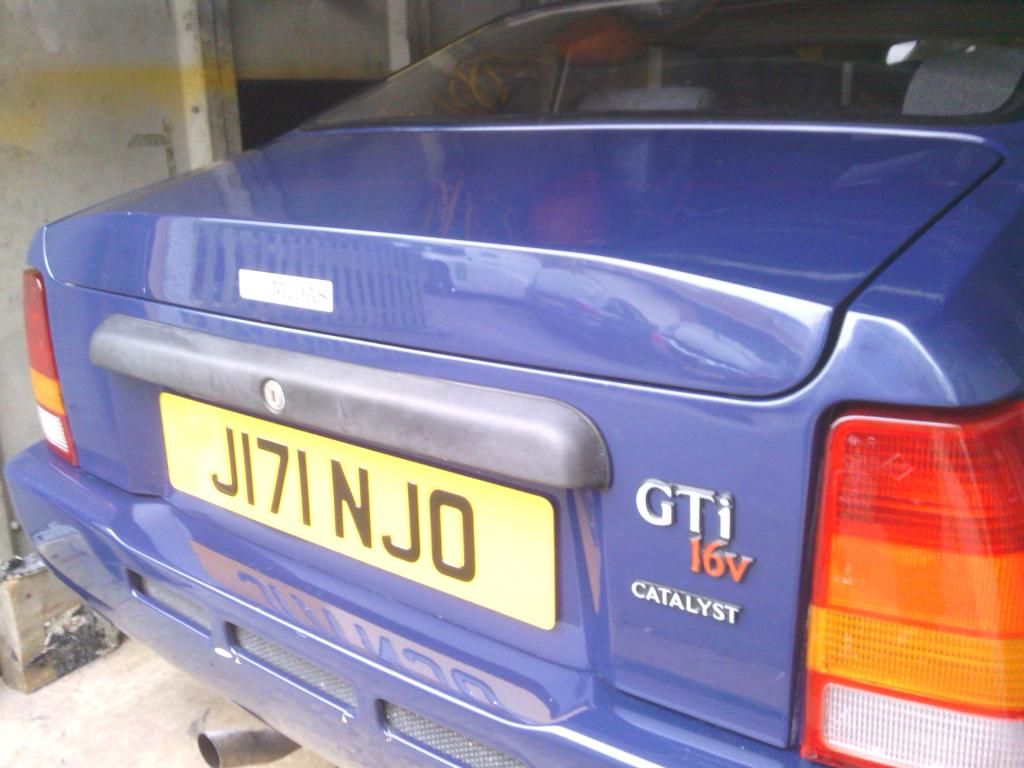
Decided the number plates looked rather tatty so ordered some new fancy ones to refresh the front and rear end
Now here's a tip, don't order stuff off ebay when your down on sleep and had a sneaky beer at the weekend, cos this happens
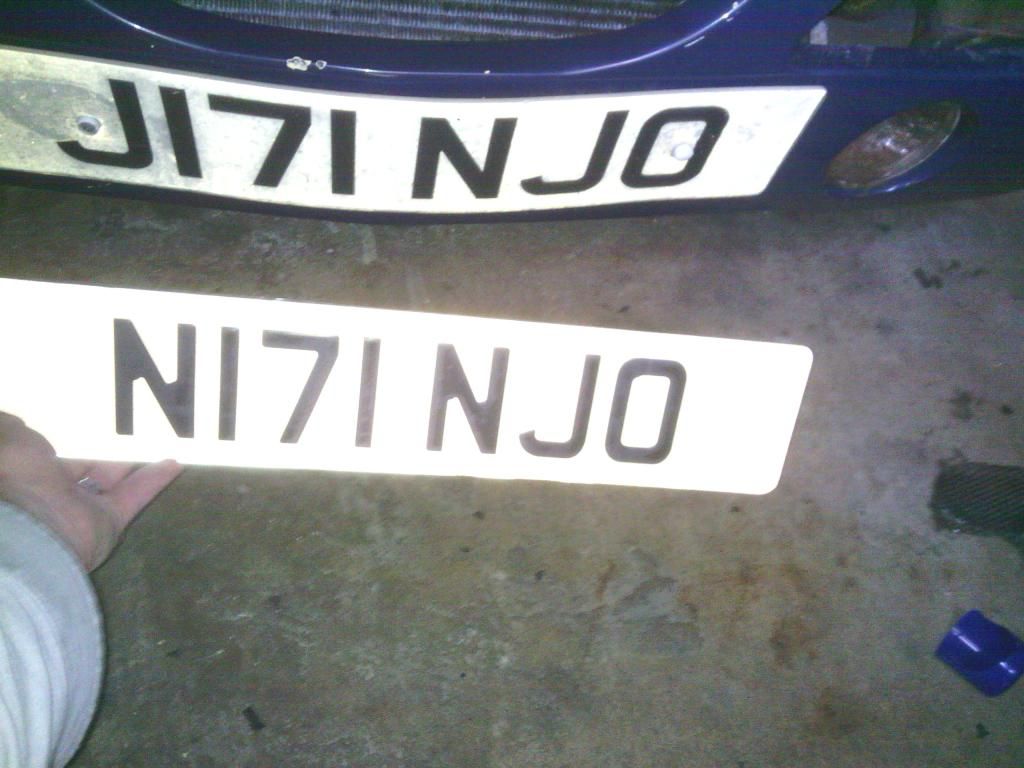
DOH!
Once rectified they look rather nice
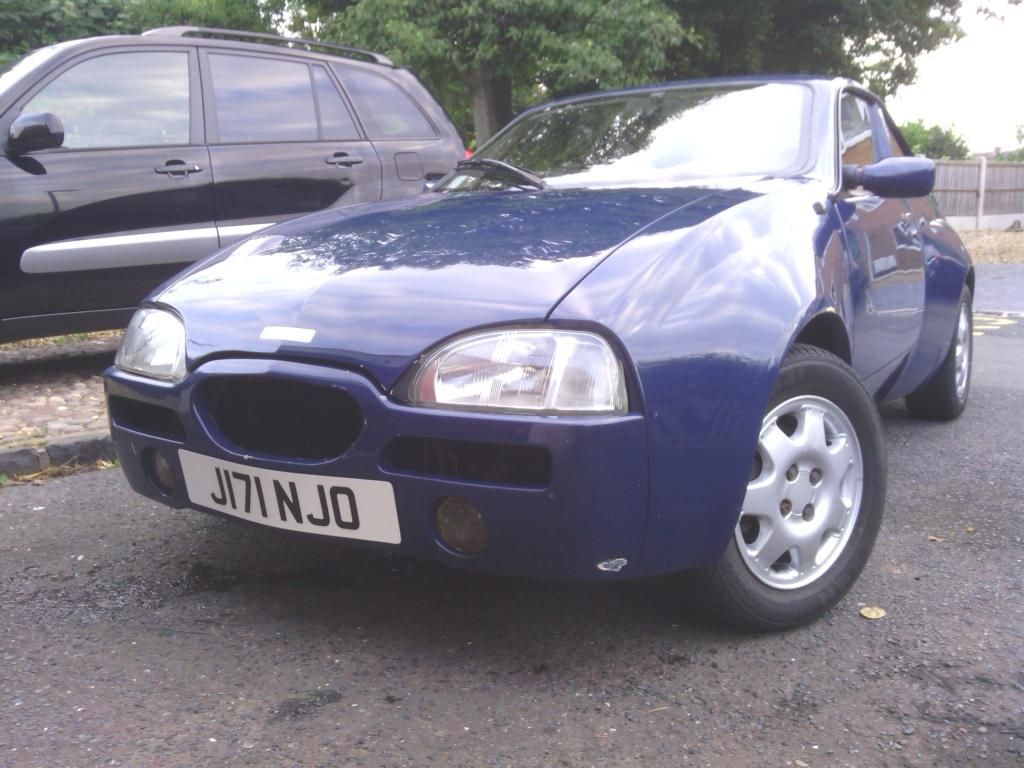
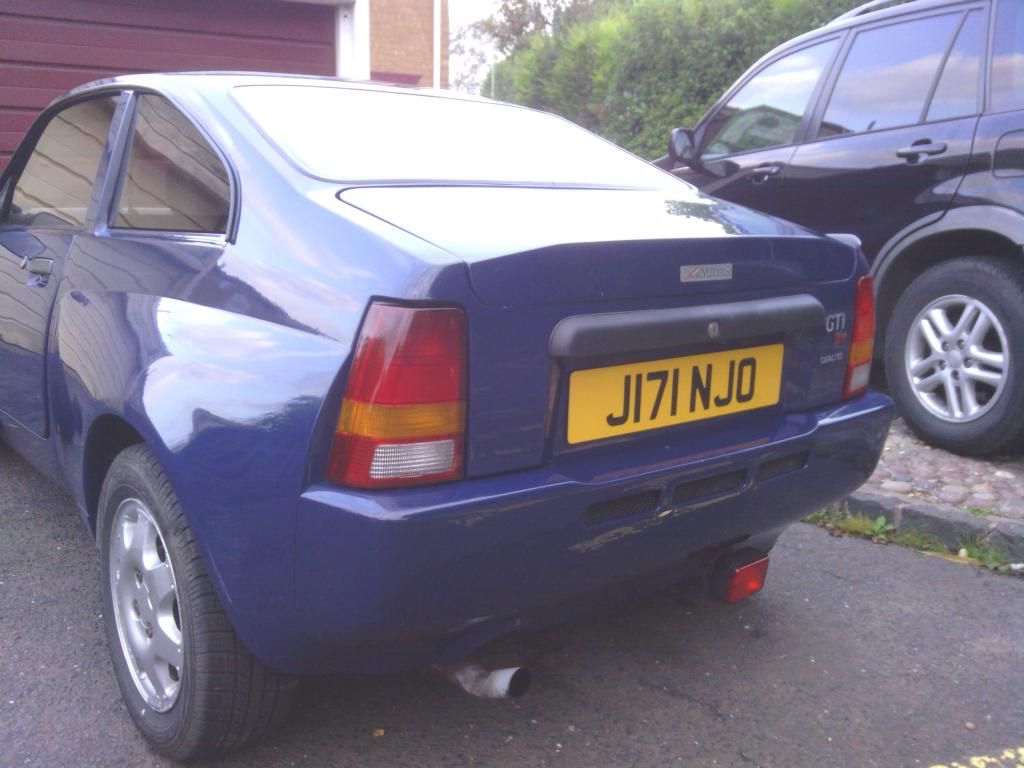

All better now
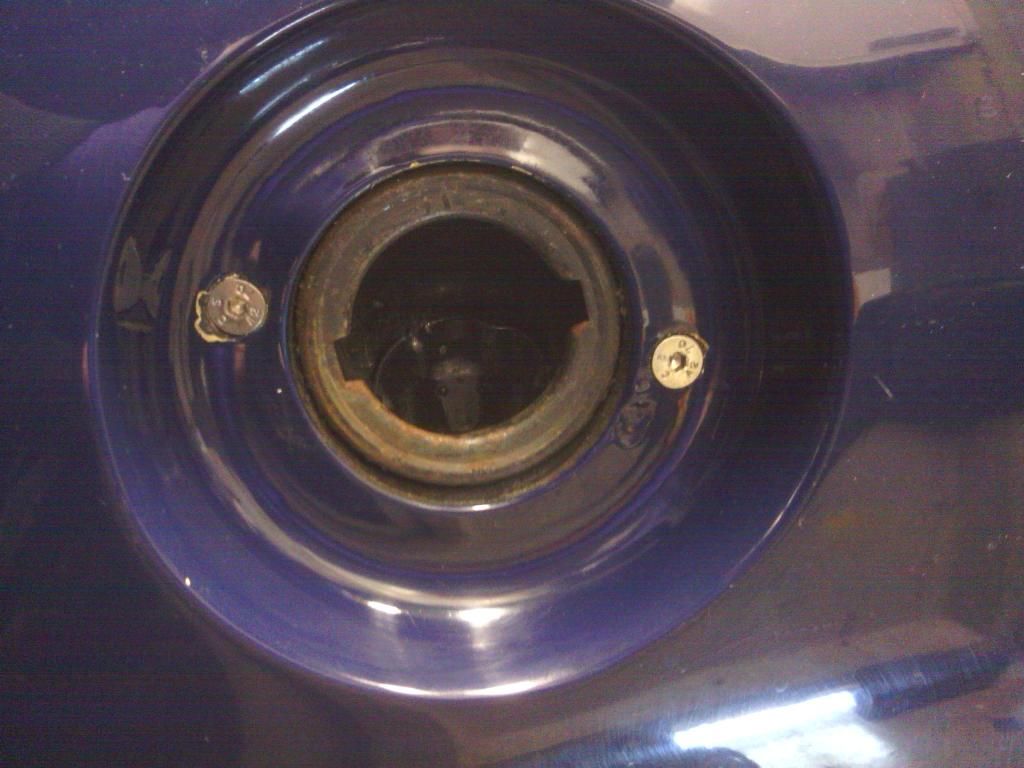
I also filled it up for the first time too (these are quite economical ain't they? Well compared to the Quantum's 18mpg they are) and noticed the filler neck was loose to the body, I had a flash back to the quantum where it is imperative the filler neck is sealed to the body or the sills fill with water, after a quick poke on the midas I can see there is a separate moulding inside keeping the filler pipe outside the car, nice touch and clever design,
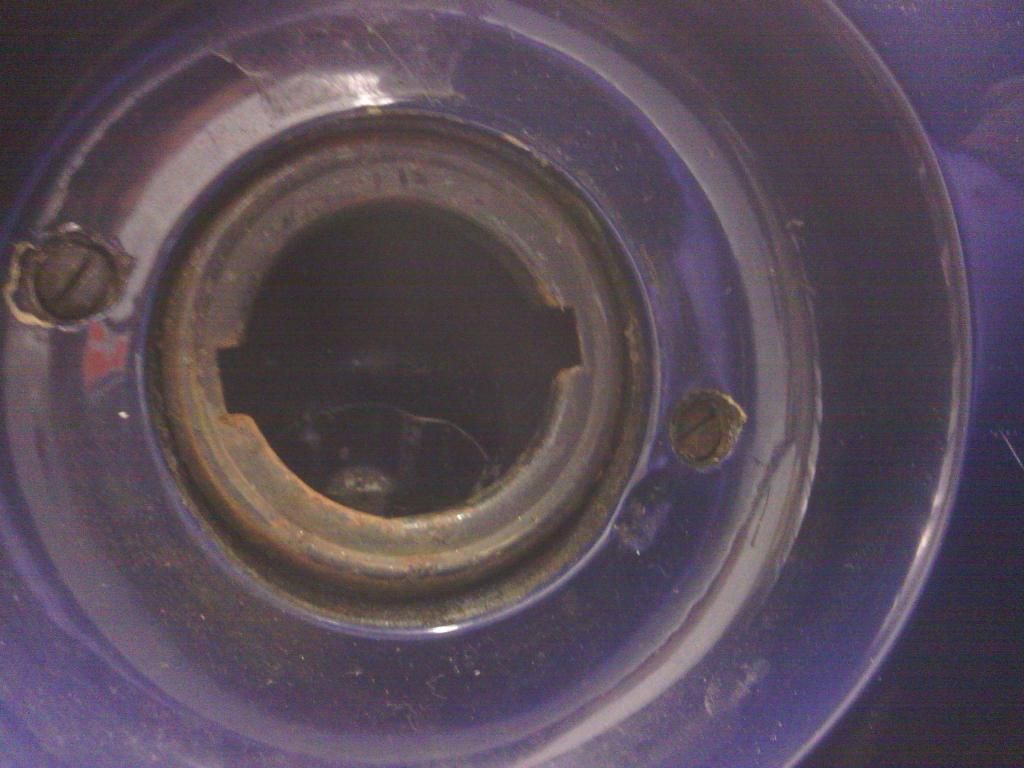
2 new stainless screws later and all is well
Progress slow but steady
Decided the number plates looked rather tatty so ordered some new fancy ones to refresh the front and rear end
Now here's a tip, don't order stuff off ebay when your down on sleep and had a sneaky beer at the weekend, cos this happens

DOH!
Once rectified they look rather nice


All better now
I also filled it up for the first time too (these are quite economical ain't they? Well compared to the Quantum's 18mpg they are) and noticed the filler neck was loose to the body, I had a flash back to the quantum where it is imperative the filler neck is sealed to the body or the sills fill with water, after a quick poke on the midas I can see there is a separate moulding inside keeping the filler pipe outside the car, nice touch and clever design,

2 new stainless screws later and all is well

Progress slow but steady
https://easywider.co.uk/ universal flexible wheel arch extensions
- Jin
- Posts: 454
- Joined: Fri Aug 01, 2014 10:33 pm
Re: J171 NJO Cortez / 2+2 rebuild and modifications
![]() by kelvink » Thu Sep 04, 2014 9:30 am
by kelvink » Thu Sep 04, 2014 9:30 am
Jin wrote:it will be a long process but this will be special when its done
They are all special when they are done, they are such fun cars to drive I love every minute driving mine. Great to see someone else has caught the bug for these unassuming little cars too. It looks like you're going to doing a thorough job, perhaps stay away from the tinnies though
-

kelvink - Posts: 636
- Joined: Wed Jun 20, 2012 8:12 am
- Location: Dorset
Re: J171 NJO Cortez / 2+2 rebuild and modifications
![]() by Jin » Fri Sep 05, 2014 12:29 am
by Jin » Fri Sep 05, 2014 12:29 am
Wise words mate
Today's jobs
Despite not finishing the bonnet yet I did a bit round back
The boot lid just flopped and vibrated around and was starting to drive me nuts, the fit was terrible
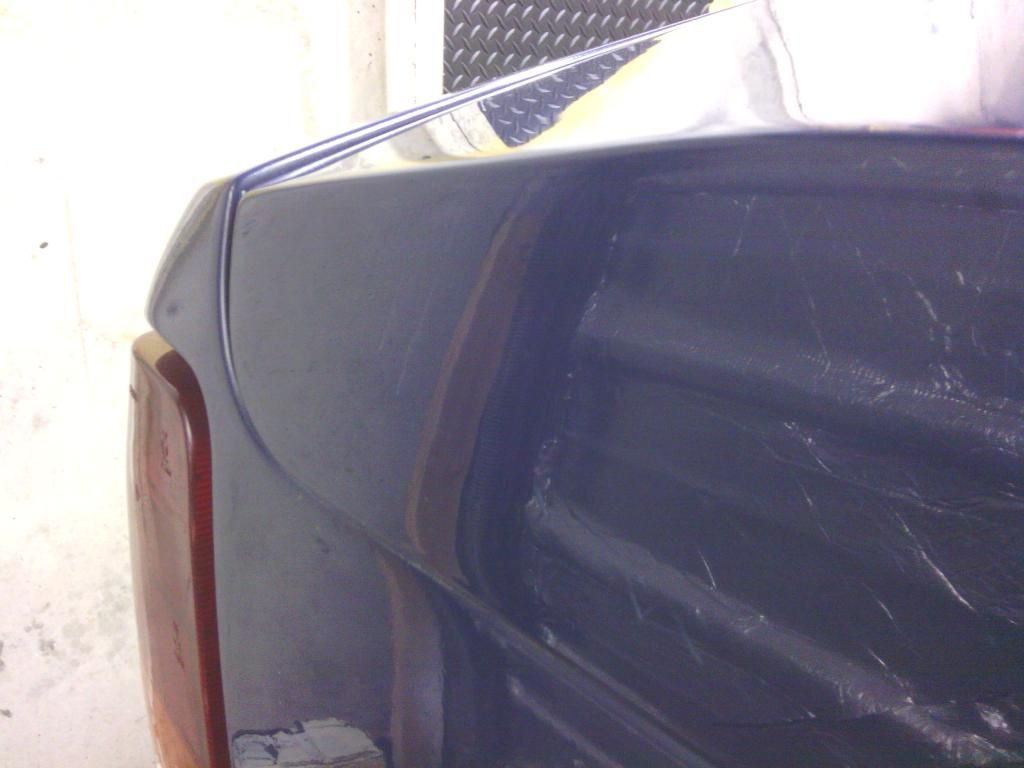
So I bought some clear 3.4mm polyurethane buffers to sort the rear gap

And after an hour or so adjusting the hinges I got the desired result
Panel gaps that even mr Audi would be proud of
( well maybe mr Volkswagen after a poke in the eye)
Today's jobs
Despite not finishing the bonnet yet I did a bit round back
The boot lid just flopped and vibrated around and was starting to drive me nuts, the fit was terrible

So I bought some clear 3.4mm polyurethane buffers to sort the rear gap

And after an hour or so adjusting the hinges I got the desired result

Panel gaps that even mr Audi would be proud of
( well maybe mr Volkswagen after a poke in the eye)
https://easywider.co.uk/ universal flexible wheel arch extensions
- Jin
- Posts: 454
- Joined: Fri Aug 01, 2014 10:33 pm
Re: J171 NJO Cortez / 2+2 rebuild and modifications
![]() by Jin » Fri Sep 12, 2014 12:43 am
by Jin » Fri Sep 12, 2014 12:43 am
Latest jobs
The bonnet realigning moved into its last phase (can’t believe how long its took) which focused on the rear edge,
For a start the bonnet was jacked up on 2 cut down rubber mount bobbins to make crude bumpers, these were part to blame for the ½” gap round the rear edge.
With those removed and the latch pulled down as far as it would go the fit was better but nowhere near right
All that was left to do was tweak the catch pin mounted on the bonnet, with that removed and a base measurement took And then re-bent to suit
Refitting saw it not latch properly due to being pushed further out, so remounting it on the bonnet 10mm further down towards the front of the car did the trick, now with the latch adjusted to suit the rear gap is almost mm perfect, a few cycles of hot / cold hot /cold from the engine should see it follow the curve of the wing tops more readily
The end result looks pretty good I think
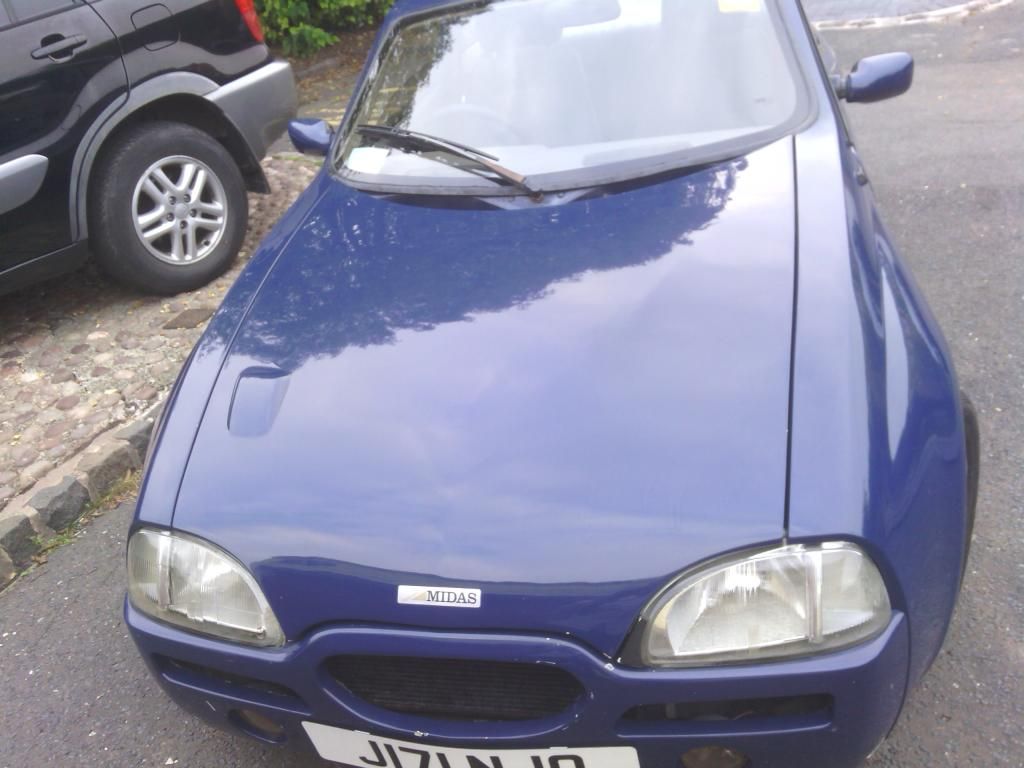
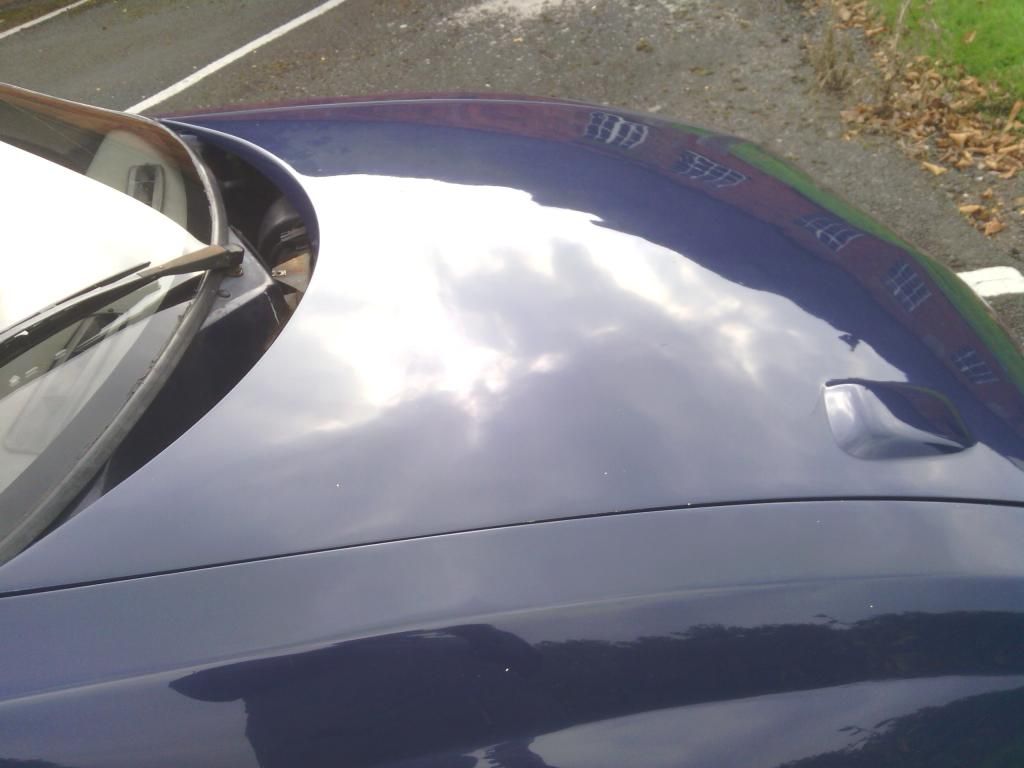
Compared to how it used to look

Since I had to remove the scuttle panel to get better access to the catch and since it looked proper ropey I thought it a good idea to make a new one while I was at it
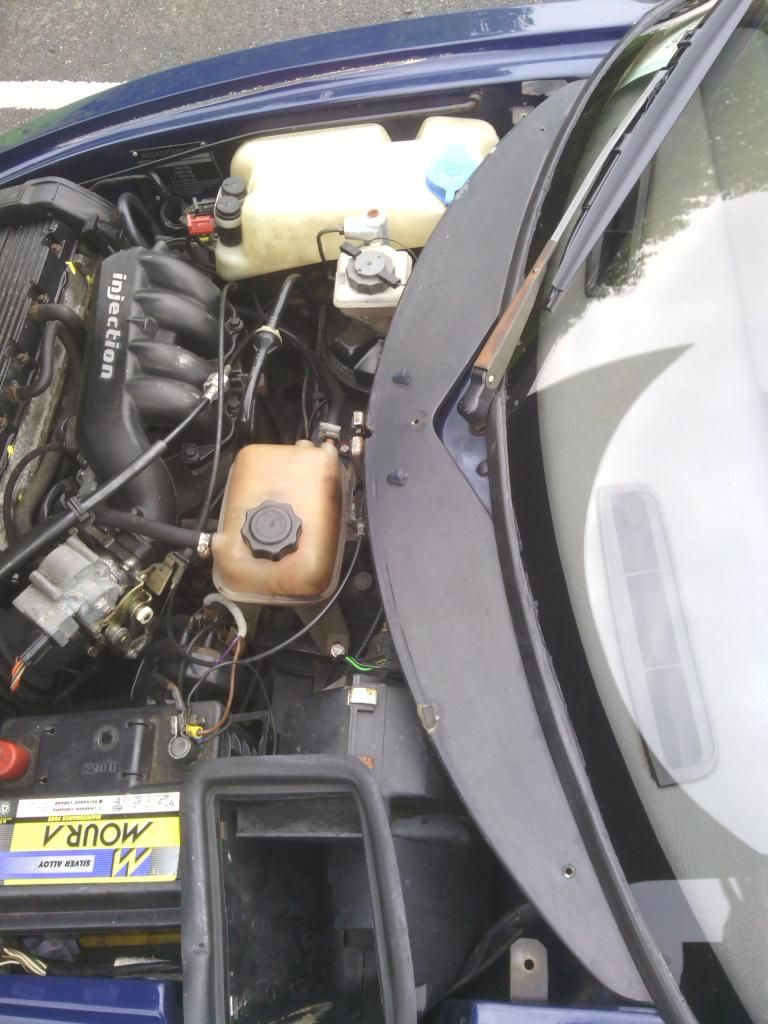
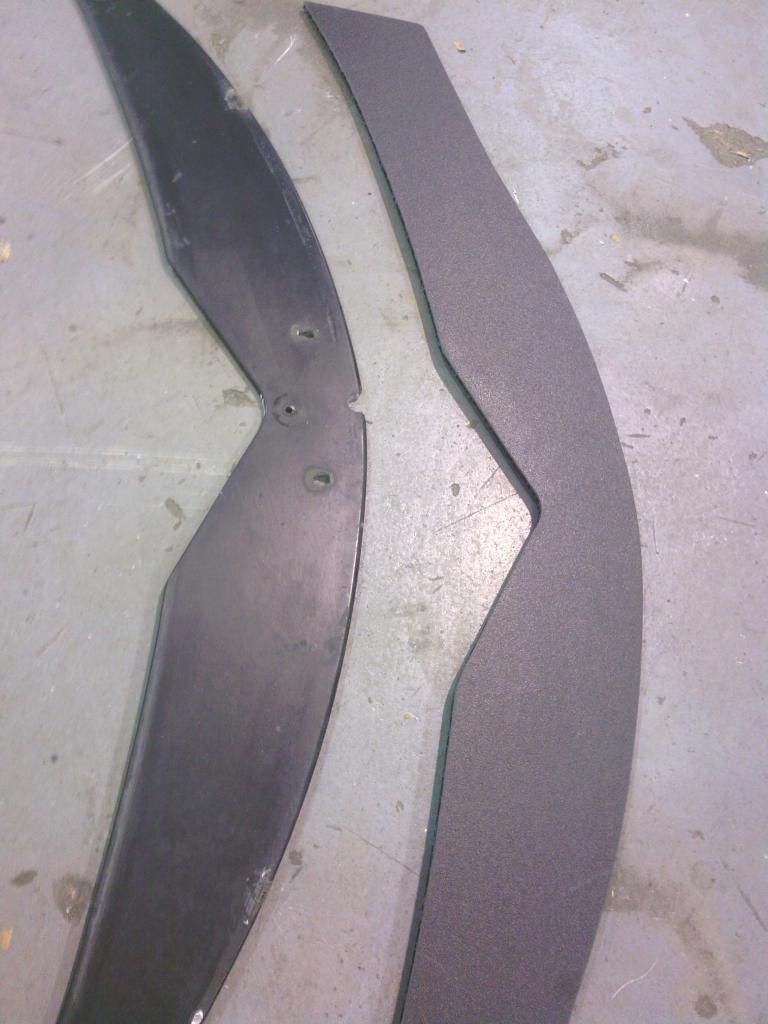
The old one was cracked and had shabby looking self-tappers holding it into place, so I bought some textured plastic core board since its very strong and lightweight, cut it slightly oversize to fill the gaps a bt better and divert rain further away from the bulkhead,
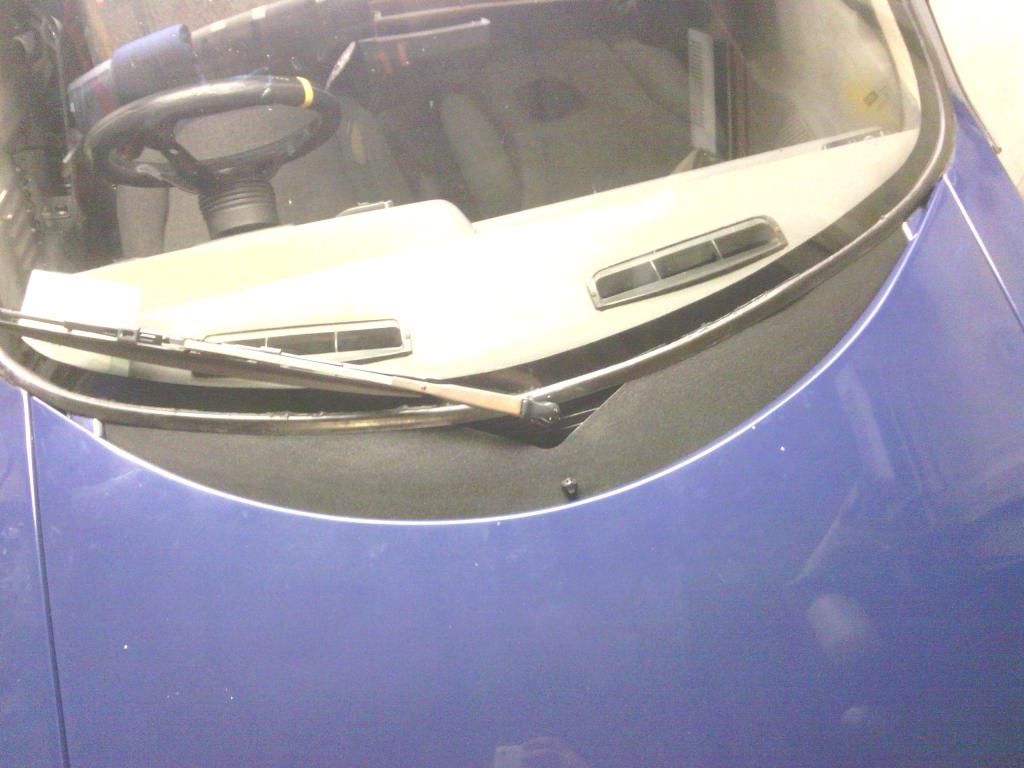
Made a new ally bracket to mount it and held in place with a single hidden self-tapper (bonnet closed)
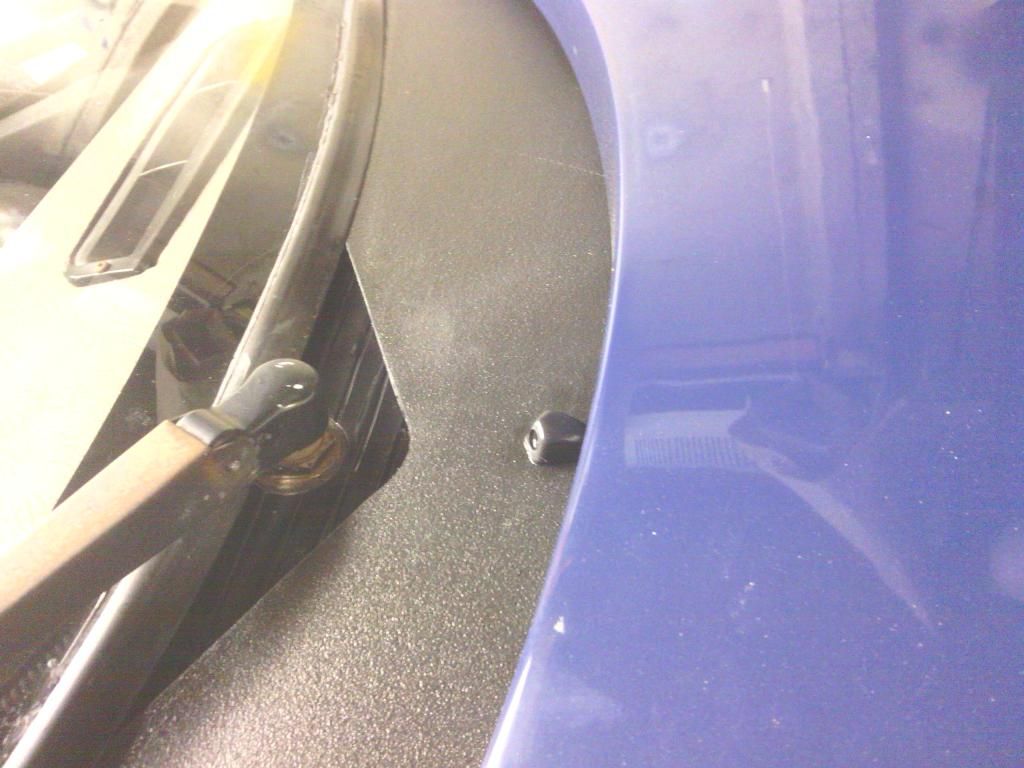
Then for neatness I’ve just fitted a single washer jet tucked into the V of the bonnet, all in I’m happy with the outcome and will now focus on the doors……
The bonnet realigning moved into its last phase (can’t believe how long its took) which focused on the rear edge,
For a start the bonnet was jacked up on 2 cut down rubber mount bobbins to make crude bumpers, these were part to blame for the ½” gap round the rear edge.
With those removed and the latch pulled down as far as it would go the fit was better but nowhere near right
All that was left to do was tweak the catch pin mounted on the bonnet, with that removed and a base measurement took And then re-bent to suit
Refitting saw it not latch properly due to being pushed further out, so remounting it on the bonnet 10mm further down towards the front of the car did the trick, now with the latch adjusted to suit the rear gap is almost mm perfect, a few cycles of hot / cold hot /cold from the engine should see it follow the curve of the wing tops more readily
The end result looks pretty good I think


Compared to how it used to look

Since I had to remove the scuttle panel to get better access to the catch and since it looked proper ropey I thought it a good idea to make a new one while I was at it


The old one was cracked and had shabby looking self-tappers holding it into place, so I bought some textured plastic core board since its very strong and lightweight, cut it slightly oversize to fill the gaps a bt better and divert rain further away from the bulkhead,


Made a new ally bracket to mount it and held in place with a single hidden self-tapper (bonnet closed)
Then for neatness I’ve just fitted a single washer jet tucked into the V of the bonnet, all in I’m happy with the outcome and will now focus on the doors……
https://easywider.co.uk/ universal flexible wheel arch extensions
- Jin
- Posts: 454
- Joined: Fri Aug 01, 2014 10:33 pm
Re: J171 NJO Cortez / 2+2 rebuild and modifications
![]() by Hans Efde » Fri Sep 12, 2014 7:43 am
by Hans Efde » Fri Sep 12, 2014 7:43 am
I thought that closed section needed to be open for engine bay cooling? Also I don't see how the heater gets cold air from the outside. Should there be a vent on the bonnet? I think Michael has it on his white Cortez.
-
Hans Efde - Posts: 1731
- Joined: Sat Dec 06, 2008 10:11 pm
- Location: IJlst, Netherlands
Re: J171 NJO Cortez / 2+2 rebuild and modifications
![]() by ACourtney » Fri Sep 12, 2014 8:36 am
by ACourtney » Fri Sep 12, 2014 8:36 am
It doesn't seem to make much difference to the cooling whether that section is closed or not. I guess that its proximity to the base of the screen means it is in high pressure and therefore a poor area to exhaust the underbonnet area. A lot of production cars have their ventilation inlets placed there. I suspect that most of the airflow through the radiator goes out under the car. The radiator is placed right in front of a forward leaning engine, so the front of the engine block is going to guide the air downwards. That might be why certain 1.8 engined versions have reported the front end going light at high speed.
The ducting for the heater air is supposed to be provided by the underbonnet stiffener moulding. However, on Michael Horsley's car, which has the CVT gearbox, he added the Metro inlet after taking delivery. When the Redditch factory built his car they had to place the battery higher than normal and to facilitate that they cut a chunk out of the underbonnet stiffener. Consequently, when Michael's car was delivered it had very little ventilation air flow and most of that was from underbonnet fumes. Cutting a hole in the bonnet right above the heater fan inlet was the best way to ensure good air intake and the Metro moulding tidies up the hole well.
The ducting for the heater air is supposed to be provided by the underbonnet stiffener moulding. However, on Michael Horsley's car, which has the CVT gearbox, he added the Metro inlet after taking delivery. When the Redditch factory built his car they had to place the battery higher than normal and to facilitate that they cut a chunk out of the underbonnet stiffener. Consequently, when Michael's car was delivered it had very little ventilation air flow and most of that was from underbonnet fumes. Cutting a hole in the bonnet right above the heater fan inlet was the best way to ensure good air intake and the Metro moulding tidies up the hole well.
-

ACourtney - Posts: 488
- Joined: Thu Dec 04, 2008 12:22 pm
- Location: Oxford
Re: J171 NJO Cortez / 2+2 rebuild and modifications
![]() by Jin » Fri Sep 12, 2014 10:21 am
by Jin » Fri Sep 12, 2014 10:21 am
Yeah, that under bonnet ducting is very sophisticated, the quantum used a great long Hoover hose from the bulkhead to the front wheel arch and did a very good job of drawing in engine bay fumes, it was only when I put vents in the bonnet sides that I could drive with the windows up,
No such issues with the midas except there's no exit ventilation, turning the interior fan on just pressurises the cabin
No such issues with the midas except there's no exit ventilation, turning the interior fan on just pressurises the cabin
https://easywider.co.uk/ universal flexible wheel arch extensions
- Jin
- Posts: 454
- Joined: Fri Aug 01, 2014 10:33 pm
Re: J171 NJO Cortez / 2+2 rebuild and modifications
![]() by Hans Efde » Fri Sep 12, 2014 3:06 pm
by Hans Efde » Fri Sep 12, 2014 3:06 pm
Jin wrote:Yeah, that under bonnet ducting is very sophisticated, the quantum used a great long Hoover hose from the bulkhead to the front wheel arch and did a very good job of drawing in engine bay fumes, it was only when I put vents in the bonnet sides that I could drive with the windows up,
No such issues with the midas except there's no exit ventilation, turning the interior fan on just pressurises the cabin
On the Gold coupe that was a smart job with vents just besides the tail lights. It only needed opening the aft sidewalls what many people didn't know. But also a sunroof will do the job quite well of sucking out the cabin air.
-
Hans Efde - Posts: 1731
- Joined: Sat Dec 06, 2008 10:11 pm
- Location: IJlst, Netherlands
Return to Complete Midas rebuild
Who is online
Users browsing this forum: No registered users and 34 guests