fuel tank overhaul

Moderator: The Midas Forum Staff

fuel tank overhaul

Postby Hans Efde » Mon Oct 15, 2012 5:53 pm

At last we had a dry day so I could spray a few layers black paint on my fuel tank. This is how it looked like when I removed it.
Image
Lots of tar on it. I hate that stuff. First scraped most of it off, then spent a liter of white spirit to get it clean. Sanded down the corrosion and junk:
Image
Then put 2 layers of primer on (drying in the garage)
Image
And finally 3 layers of black paint (outside paint booth):
Image

Inside is remarkbly clean for a 20+ year old tank. Just some corrosion where stuff has been welded inside (tubes, plates etc.) I bought tank cleaner and 2 component rust cure to seal it. But first I'll let the paint dry for a week.
I ordered a Mocal TRL7 valve for venting. It's the more expensive one, but I hate the idea of sucking the tank vacuum after having spent so much elbow grease. Than there is the question of hoses. I have to connect f.e. diameters of 7mm to 16mm. The previous owner did a few dangerous things with garden hoses, never noticed by the MOT inspections. It's a wonder there has never been a fuel leak.
User avatar
Hans Efde
 
Posts: 1731
Joined: Sat Dec 06, 2008 10:11 pm
Location: IJlst, Netherlands

Re: fuel tank overhaul

Postby lankyjames » Wed Oct 17, 2012 6:42 am

Tank looks new again Hans excellent work! Was this a rattle can or air compressor job?
Image
User avatar
lankyjames
 
Posts: 455
Joined: Mon Jan 18, 2010 8:47 pm
Location: Nottingham

Re: fuel tank overhaul

Postby Hans Efde » Wed Oct 17, 2012 7:02 am

Rattle can. I wanted to use my spray gun, but the black metalpaint I am using has a too long sticky time by the present temperatures. With all the stuff falling from the trees not a good idea at the moment.
User avatar
Hans Efde
 
Posts: 1731
Joined: Sat Dec 06, 2008 10:11 pm
Location: IJlst, Netherlands

Re: fuel tank overhaul

Postby Hans Efde » Sun Oct 21, 2012 4:58 pm

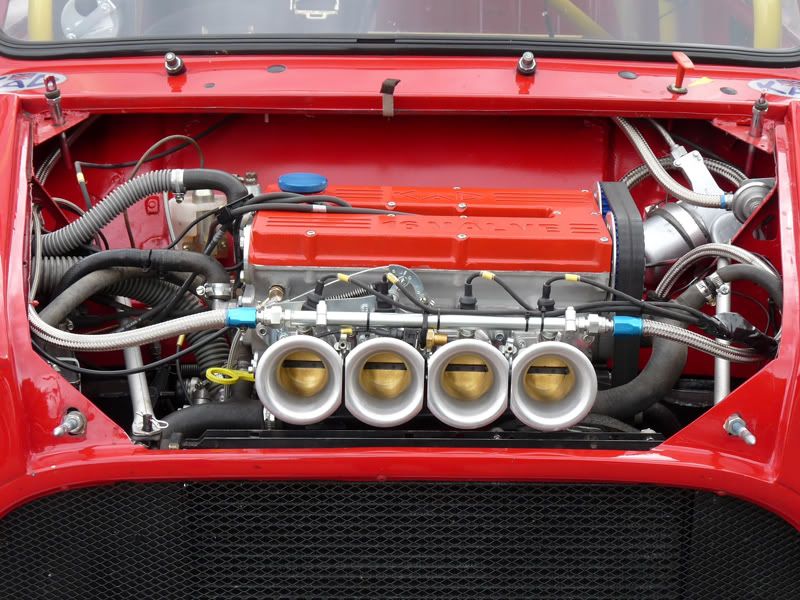
Finally I had time to do some work on the Midas.
I let the paint on the tank dry for a week, unfortunately temperatures are getting lower so the paint still felt soft and tacky. It had been better if I only had primered it and should have painted it after the sealing process. Anyway to seal the inside of the tank I had bought this:
Image

First I used the cleaner to degrease the tank. This is nasty stuff and I had trouble keeping it in the tank. It just dissolved the tape I had used to close all gaps. After a few hours I removed it, flushed the tank with water and let it dry. This time in the house near the heater.
Today I mixed the epoxy and poured it in the tank. Closed all holes:
Image

And after 20 minutes of continuous rotating I poured the remains out, but nothing came out.
Now the tank has to dry for 5 days at room temperature. So I converted the keyboard stand into a fuel tank stand:
Image
(I can't play anyway, bought the keyboard a year ago but I lack all talent. My son is the only one playing on it)

With the tank aside I paid attention to a few small items. I painted the tank bracket that's on the body and removed the fuel pump, because I noticed cracks in the bobbins:
Image

This was caused by the asymmetric design of the pump bracket:
Image
I just ordered new bobbins and have started on a symmetric bracket.

The fuel transmitter looked like this on the tank when I removed it:
Image

Now cleaned, stripped and painted it's waiting to get in again:
Image

Also this week I received my fuel tank vent valve:
Image
Very tiny, but expensive. Around 60 euros including shipment. It comes without any installation instructions so I had to find out by blowing on it what the correct position should be. If installed upside down it blocks everything because it is also a safety valve when you flip the car. So I'd better install it the right way up.
Also I am busy ordering stuff to connect the hoses the proper way. There are quite a few steps, f.e the tank transmitter has a connection of 6mm, while the fuel pump needs a 12mm hose. I found this company that can supply the proper hose joiners:
http://www.advancedfluidsolutions.co.uk ... 1337-p.asp
But they have not responded to my email so I will give them a call this week.
TBC.
User avatar
Hans Efde
 
Posts: 1731
Joined: Sat Dec 06, 2008 10:11 pm
Location: IJlst, Netherlands

Re: fuel tank overhaul

Postby Hans Efde » Tue Oct 30, 2012 10:30 pm

This week I continued work on the fuel tank. The epoxy coating has dried, so I installed the transmitter again and glued the foam rubber padding on it. I fabricated a Jesus bracket for the fuel pump and mounted it with new bobbins under the car, nicely shielded by the subframe:
Image
Cannabilized the coil bracket for this (won't be needing the coil anymore)

Image
In place

This week I am planning to install the vent valve in the boot. I just received the silicone hose for it. Also I received the hose joiners:
Image

Together with new hoses and clamps they will be replacing these:
Image
Image


Hopefully I'll get the tank the coming weekend in place and then a few other jobs to do before the engine arrives. It feels a bit like a pregnancy.
User avatar
Hans Efde
 
Posts: 1731
Joined: Sat Dec 06, 2008 10:11 pm
Location: IJlst, Netherlands

Re: fuel tank overhaul

Postby manifold » Tue Oct 30, 2012 11:14 pm

Hans, will you be using a swirl tank with your setup or are you going straight for a direct feed?
Midas Cars Forum & Facebook Page Founder

Midas Gold Convertible: 1380 steel 16v KAD & 5 sp dog box, Titanium mania, KAD fr/rear callipers, CF Steering

Midas Gold Coupe: 1380 7 port xflow, SC/CR gearbox, Titanium mania, CF Steering & seats.
User avatar
manifold
 
Posts: 1724
Joined: Tue Dec 02, 2008 7:34 pm
Location: Lancaster, Lancashire

Re: fuel tank overhaul

Postby Hans Efde » Wed Oct 31, 2012 7:39 am

manifold wrote:Hans, will you be using a swirl tank with your setup or are you going straight for a direct feed?


First try is a direct feed. If that gives too much trouble/engine cutting out I'll install an auxiliary fuel tank in the engine bay.
User avatar
Hans Efde
 
Posts: 1731
Joined: Sat Dec 06, 2008 10:11 pm
Location: IJlst, Netherlands

Re: fuel tank overhaul

Postby manifold » Wed Oct 31, 2012 12:17 pm

I think I will be using existing pump as a lift pump, then installing a swirl pot in the back somewhere, then having the high pressure pump up front.

Have you set up a return pipe for your tank?
Midas Cars Forum & Facebook Page Founder

Midas Gold Convertible: 1380 steel 16v KAD & 5 sp dog box, Titanium mania, KAD fr/rear callipers, CF Steering

Midas Gold Coupe: 1380 7 port xflow, SC/CR gearbox, Titanium mania, CF Steering & seats.
User avatar
manifold
 
Posts: 1724
Joined: Tue Dec 02, 2008 7:34 pm
Location: Lancaster, Lancashire

Re: fuel tank overhaul

Postby Hans Efde » Wed Oct 31, 2012 1:21 pm

I am looking at this project as a guideline:
http://www.emeraldm3d.com/articles/cat/ ... t_Project/

My pump is a 3 bar Bosch pump that should be enough. I have a return running from the engine bay, through the doorsill to the tank. This is all stuff left over from the turbo set up. Also I still have the pressure regulator, but not installed since there is also one on the Honda fuel rail. At the moment I plan a direct return from the fuel rail to the tank. 2 of the hose joiners pictured above are for the fuel system. Very easy, just connect the lines to my existing fuel hoses and that's done. If I get starvation problems, putting a pressurized swirl tank between the hoses, doesn't seem to be very difficult.
Your setup is interesting because it doesn't need a pressurized swirl tank, but more lines running from and to.
User avatar
Hans Efde
 
Posts: 1731
Joined: Sat Dec 06, 2008 10:11 pm
Location: IJlst, Netherlands

Re: fuel tank overhaul

Postby Hans Efde » Tue Nov 06, 2012 6:27 pm

Today I finished the fuel tank overhaul.

I installed new hoses, diameter changes were solved with the hose joiners. Here's the return:
Image

I drilled holes for the tank vent. It's going into the boot:
Image

After hanging the tank, I installed the fuel vent valve and the hoses:
Image
This is the highest possible spot for the loop. The vent valve is mounted with a tool clamp and locked with a tiewrap

The return goes out again:
Image
Nicely hidden by the tank, so no problems with debris from the wheels that possibly could clog the hose.

Fuel pump connected to the tank, again with a hose joiner, going from 12 to 6mm:
Image

And the last bit hanging the exhaust again:
Image
One bobbin replaced because of cracks

Next step are the rear upstop bumps I still have on the shelf. I am still waiting for Powerflex and they promised me to send the AR bushes next week. So next week I hope to continue with the front again.
User avatar
Hans Efde
 
Posts: 1731
Joined: Sat Dec 06, 2008 10:11 pm
Location: IJlst, Netherlands

Next

Return to Mk 3 Convertible

Who is online

Users browsing this forum: No registered users and 3 guests