Done a bit
I left off last time having finished the lower dash and needing to sort the upper dash and screen ducting,
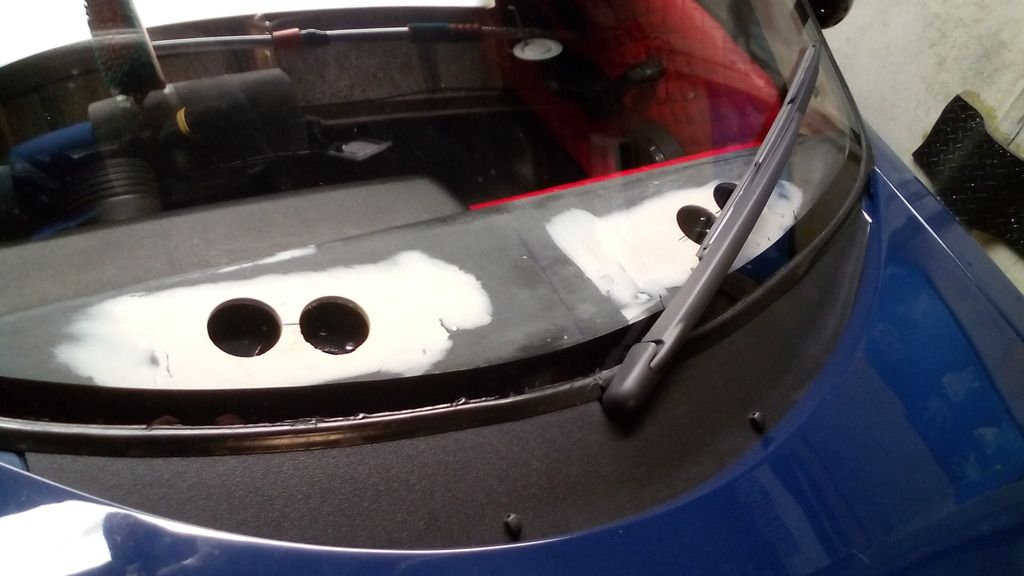
first up was the screen ducting, originally the standard metro ducts bolted to the bulkhead had very little say on where the air blowed out of the dash top, but owing to the duct and demist vents being misaligned and an inch gap between the 2 they more just pressurised the inside of the dash structure than actually blow air at the screen, so a solution was sought.
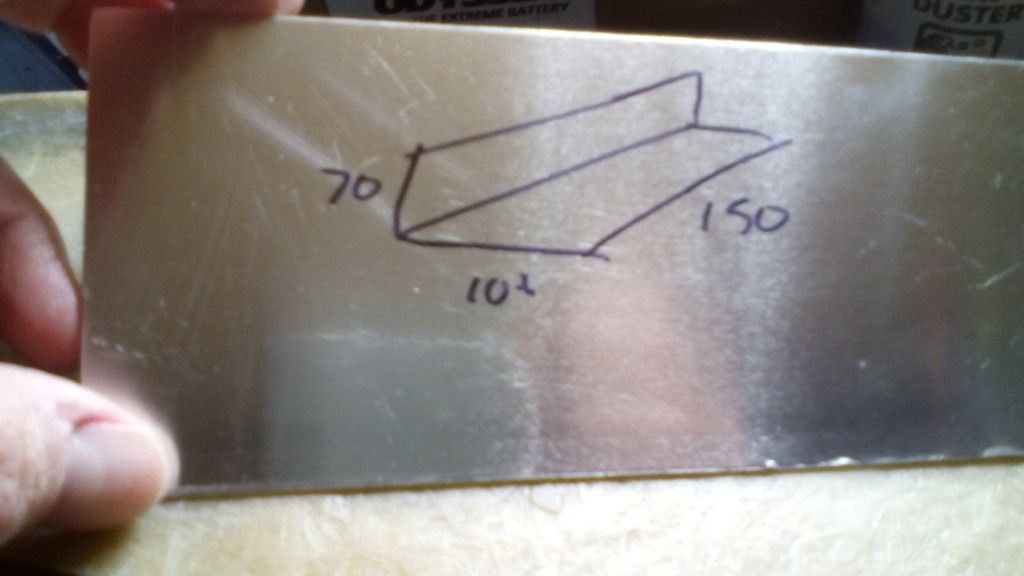
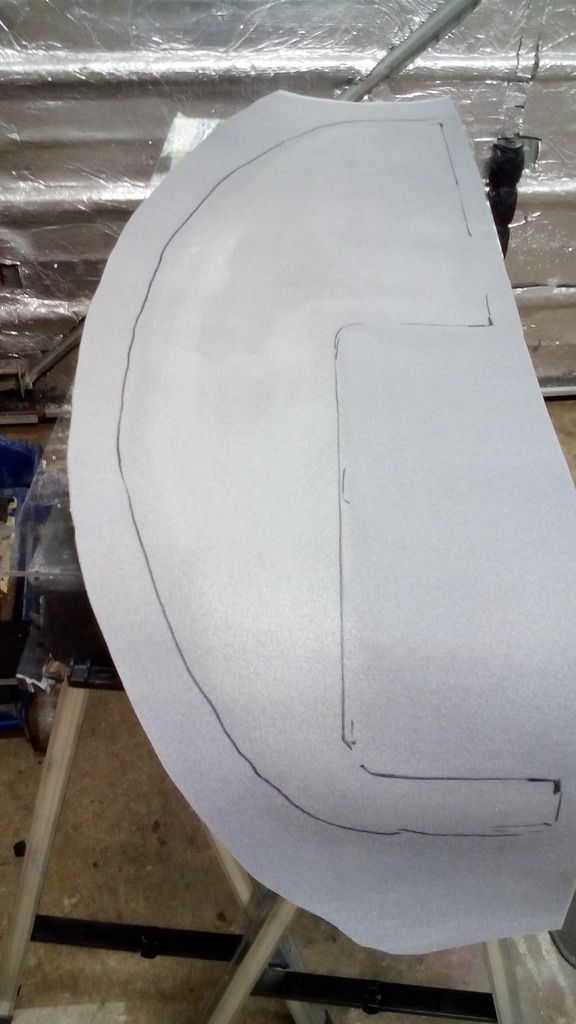
I had already routed 2 ducting hoses to the upper dash area, now I just needed a way to collect that air and focus it to where it was required, I decided to start from scratch, I had to make something that enabled the dash top to be removed on a semi regular basis (for one reason or another I’ve always got my head wedged in there) so I set to it, after producing a highly technical engineering drawing
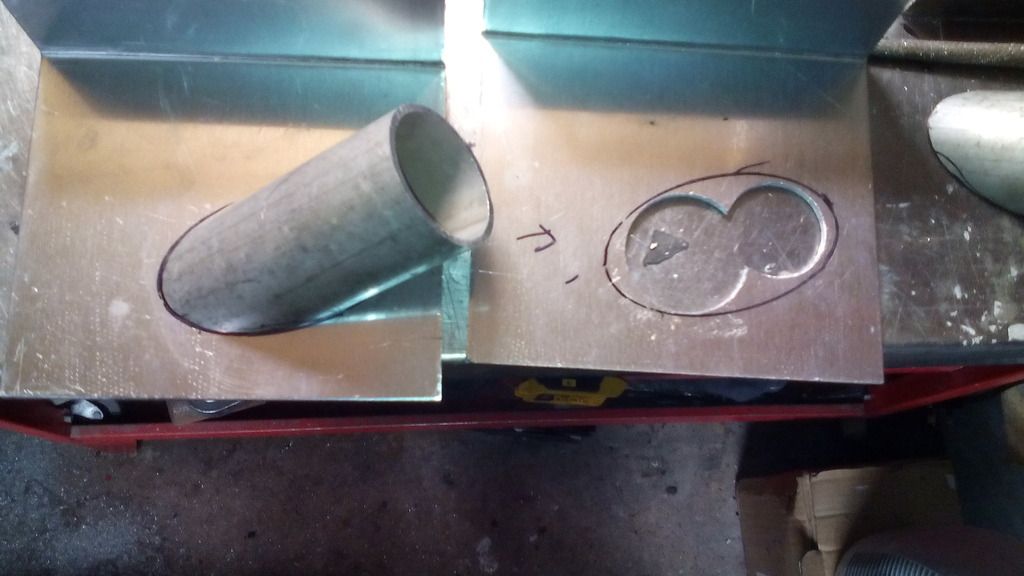
Got myself 2 bits of 3mm thick ally
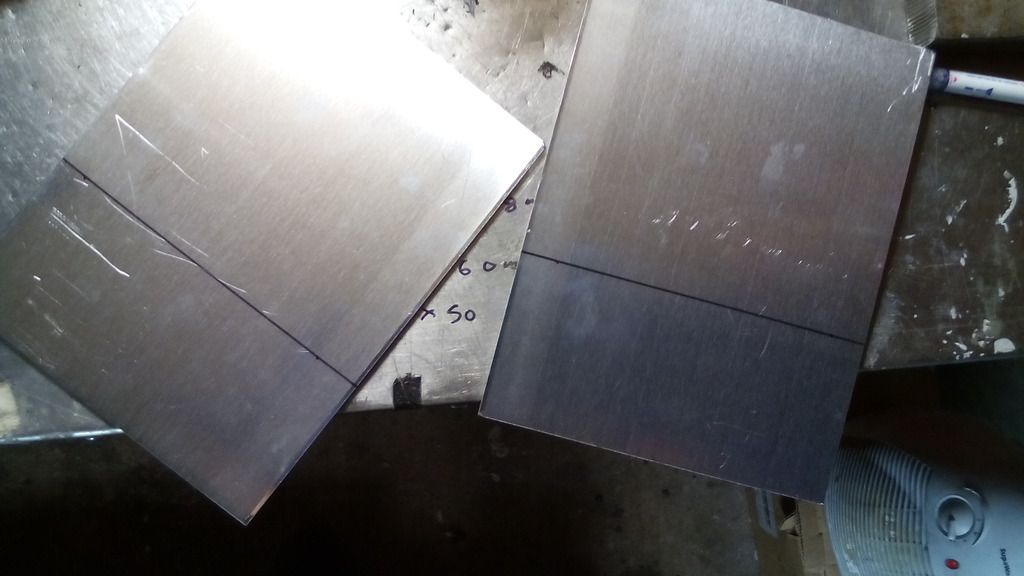
bent
cut and 50mm tube welded on
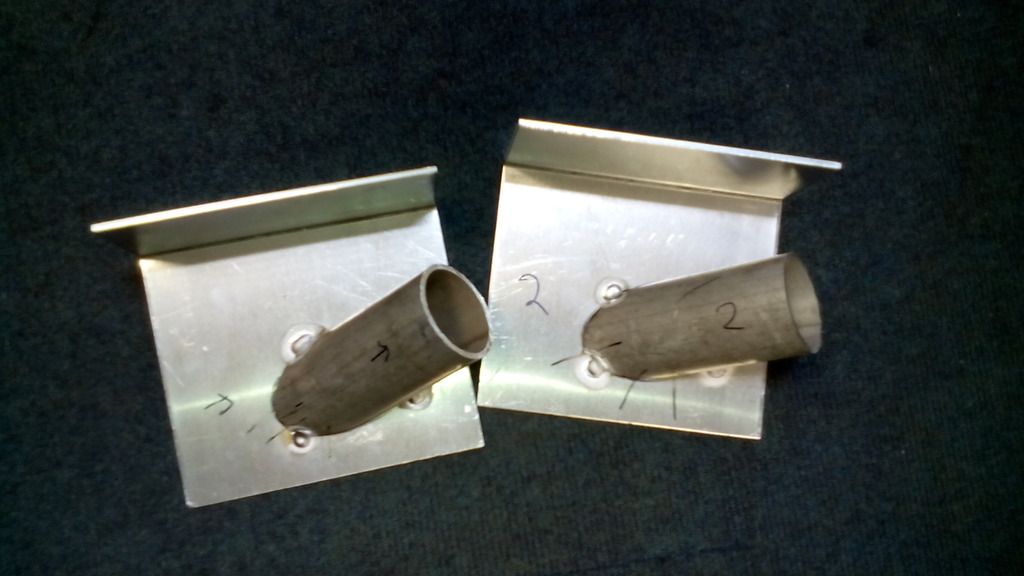
trued up on the bulkhead
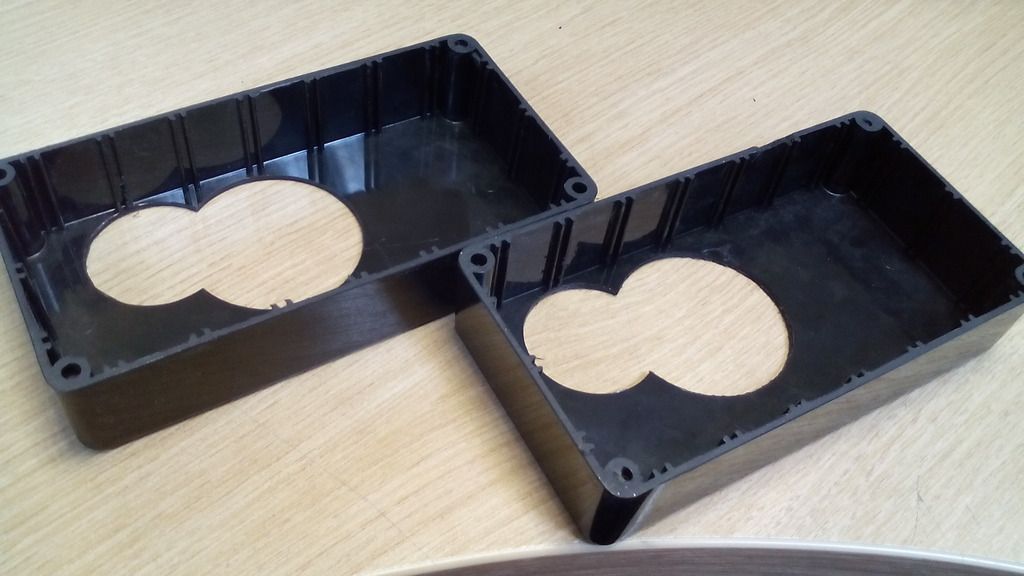
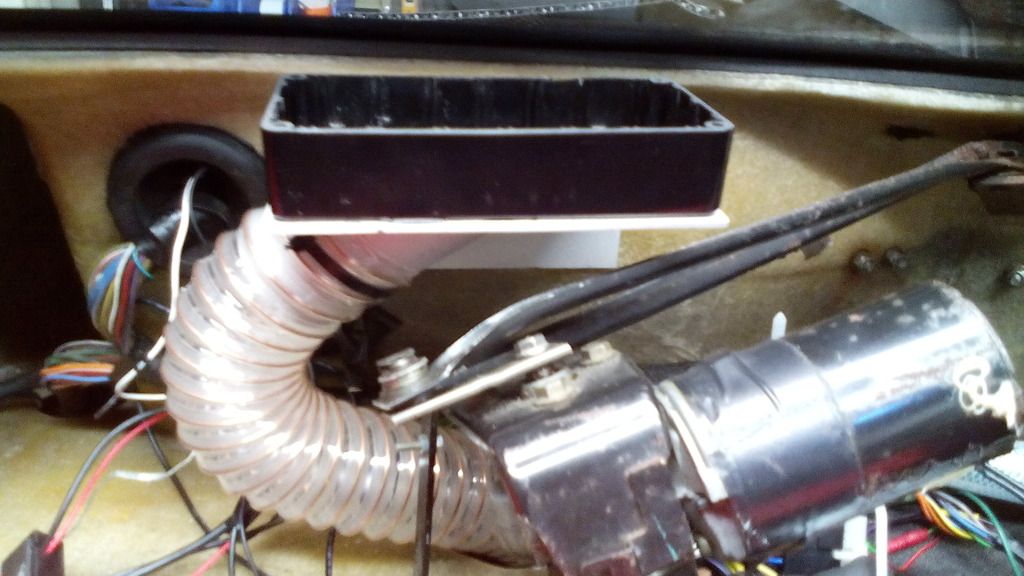
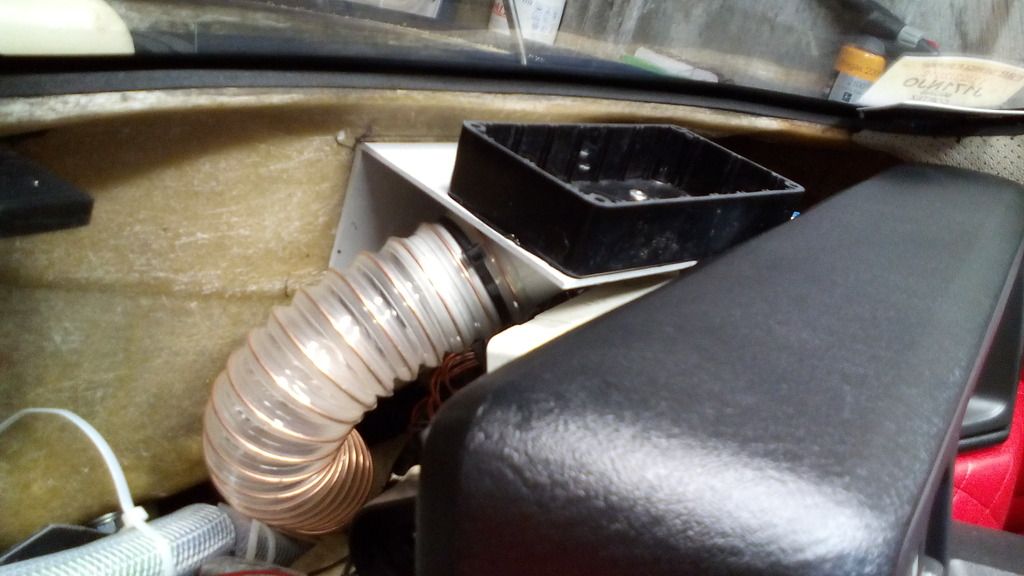
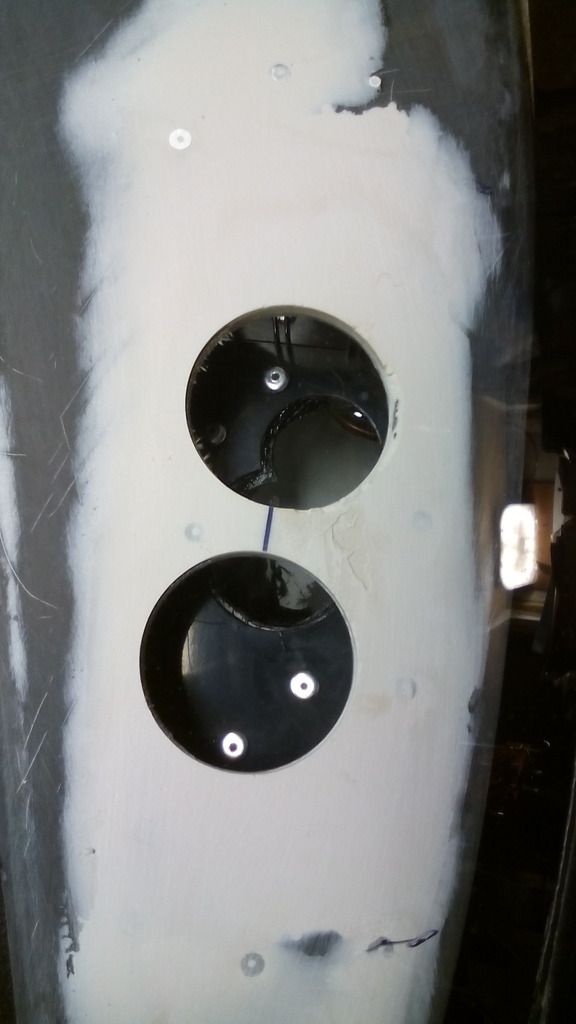
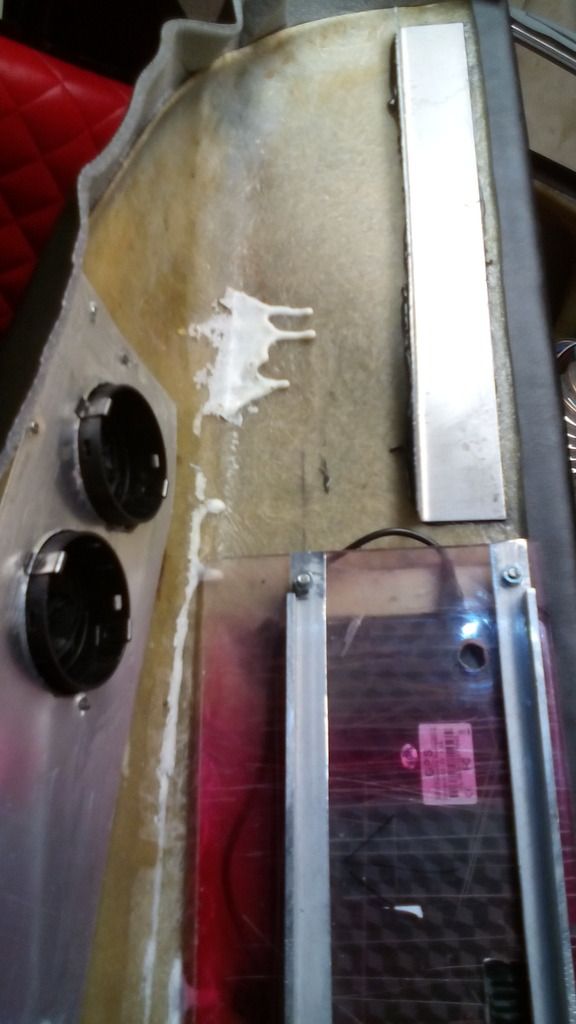
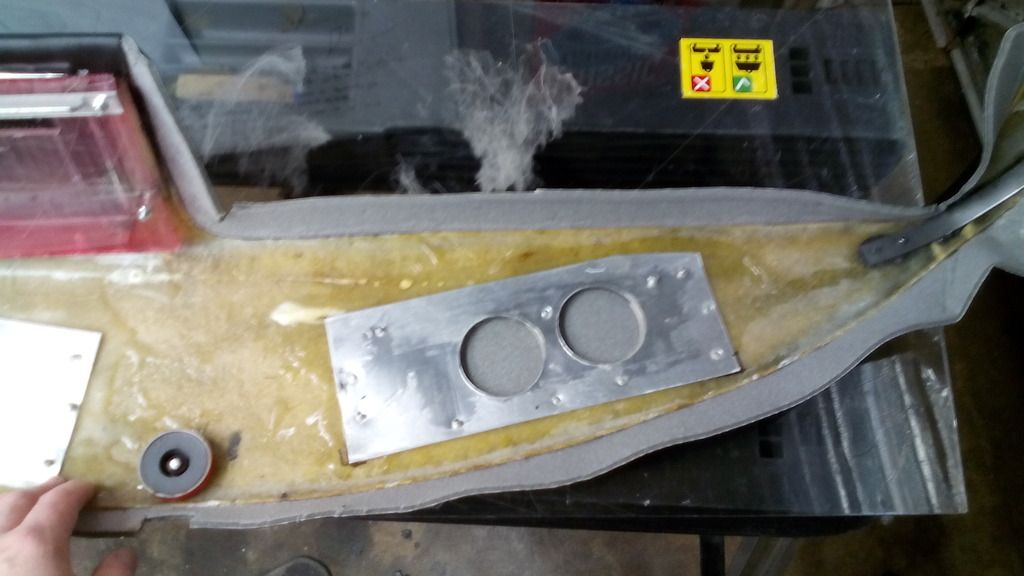
2 project boxes butchered up to form plenums
riveted and bonded into place

Connected up both sides, space was tight but do-able, both units are held with stainless bolts to the bulkhead so can be removed if required.
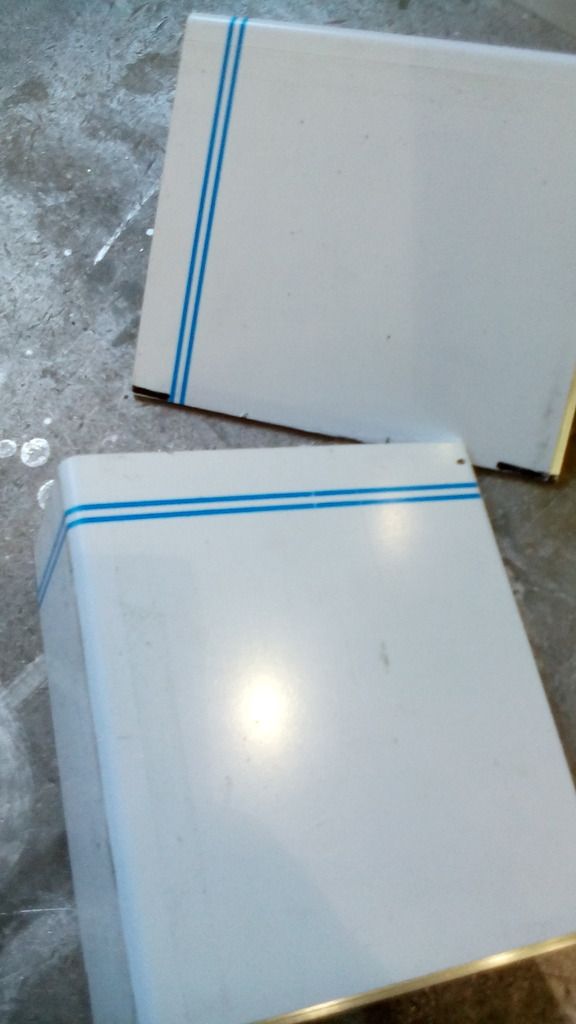
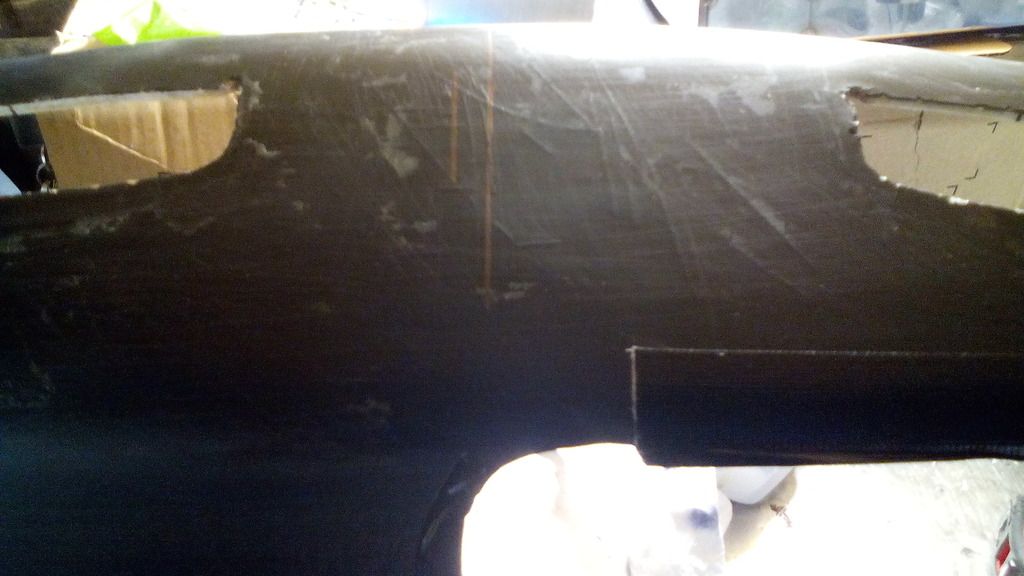
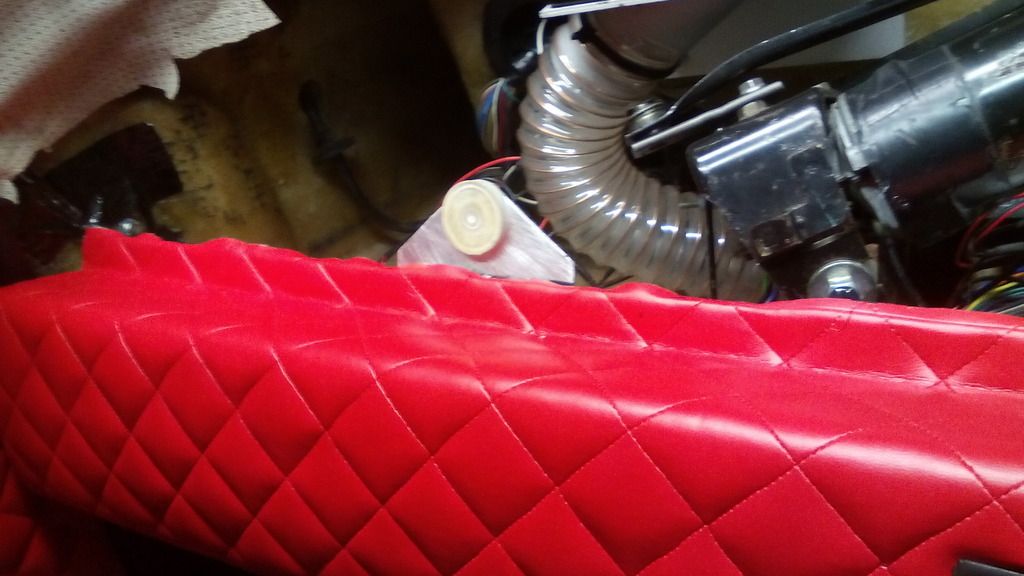
Onto the dash top itself, manky was the only word for it; it had to be changed,
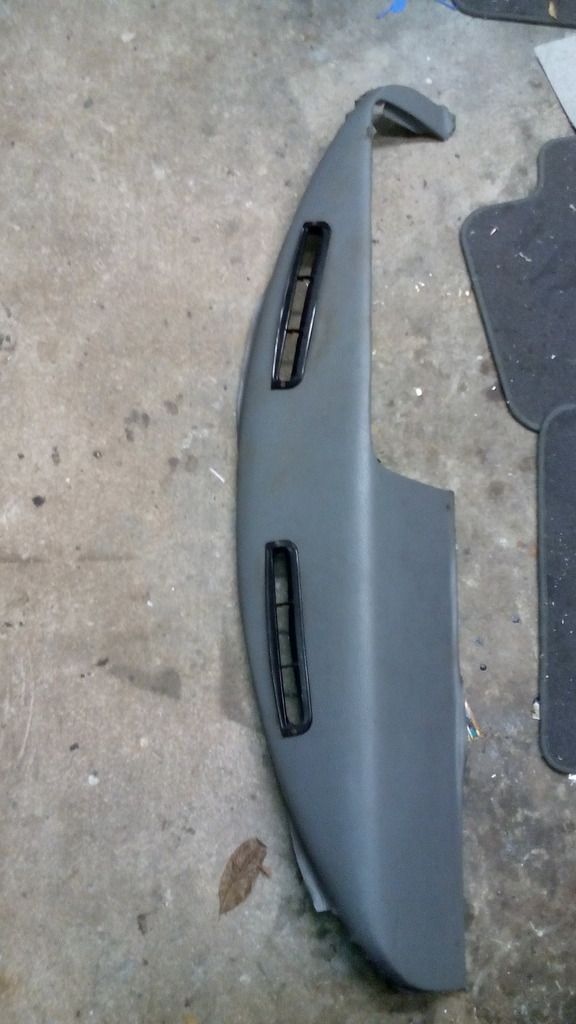
there was nothing classic looking about the classic mini demist vents either, and the vinyl was peeling all over and looked like it was bonded on with dried ox blood or something equally as weird...
The gaps around the cowl and sides were so big you could read through them so this was to be addressed too,
Once the vinyl was removed I identified the centreline of the dash
Which almost unsurprisingly was nowhere near equidistant between the 2 vent cut-outs already there.
This too was to be addressed, is symmetry too much to ask for?
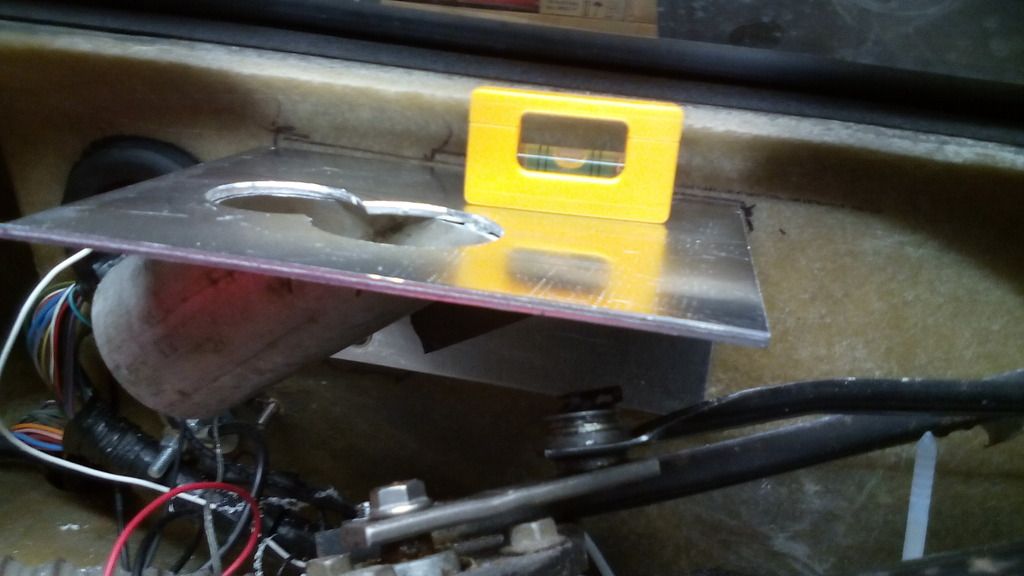
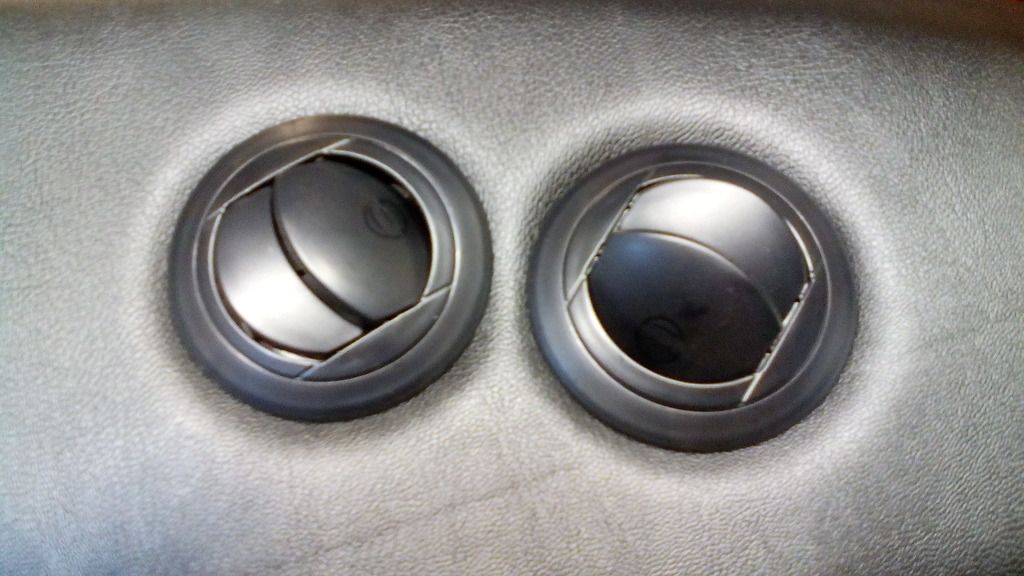
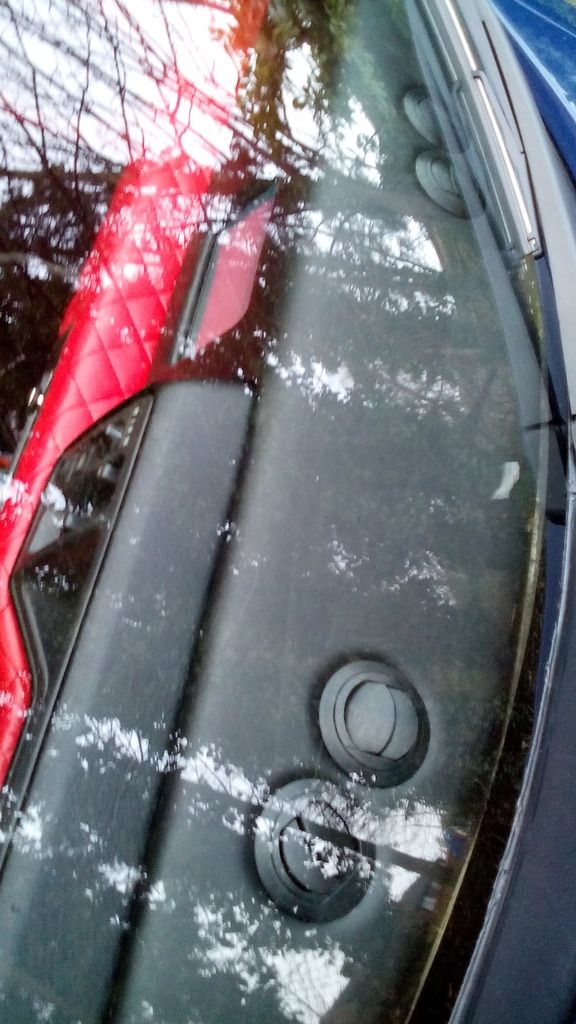
I wanted the same small round directional vents on the dash top that I used on the lower cowl, so with a template in hand and the true centre line of the dash located it was just a case of taping the template in place and flipping it over to mirror side to side, simple but effective.
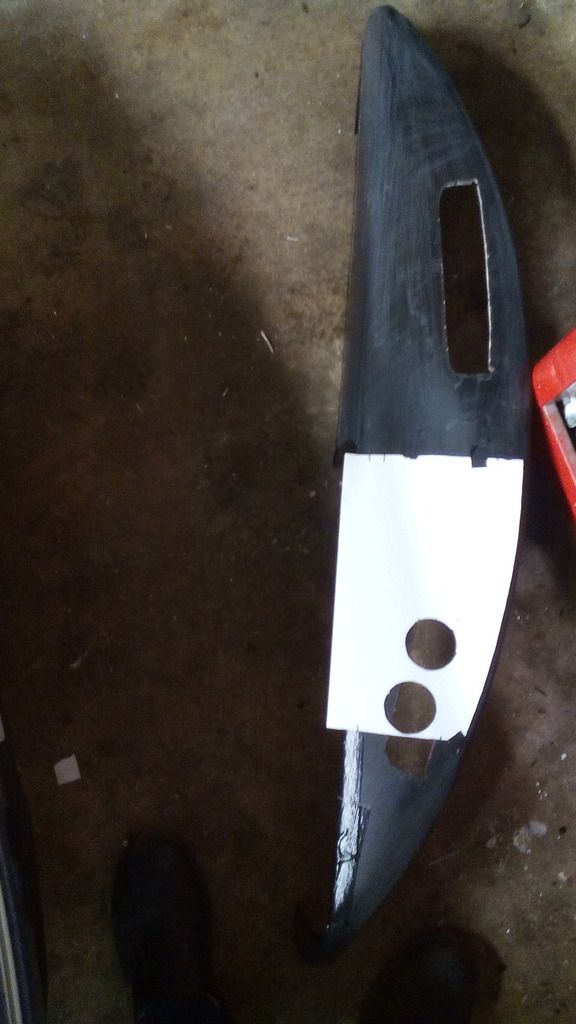
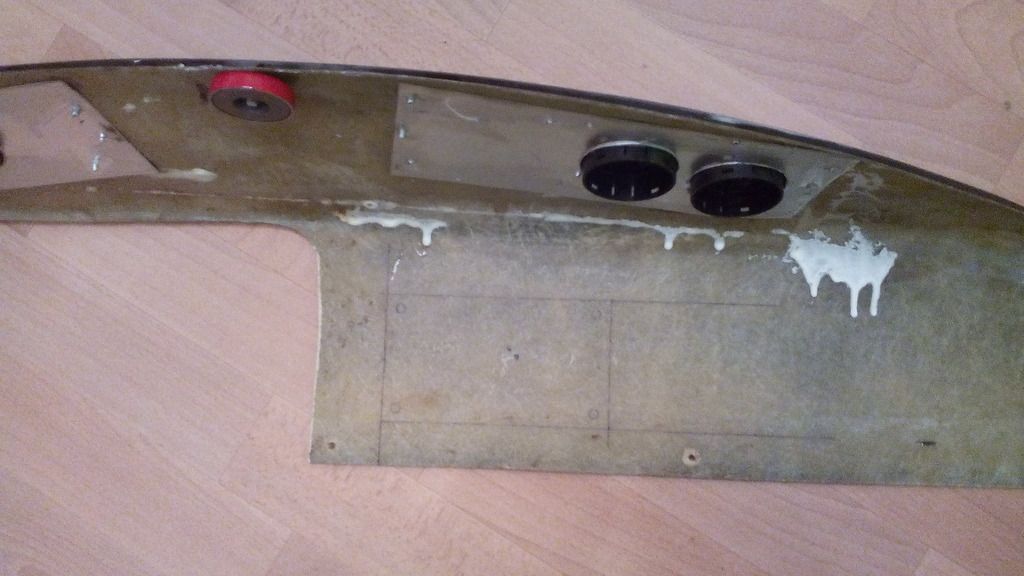
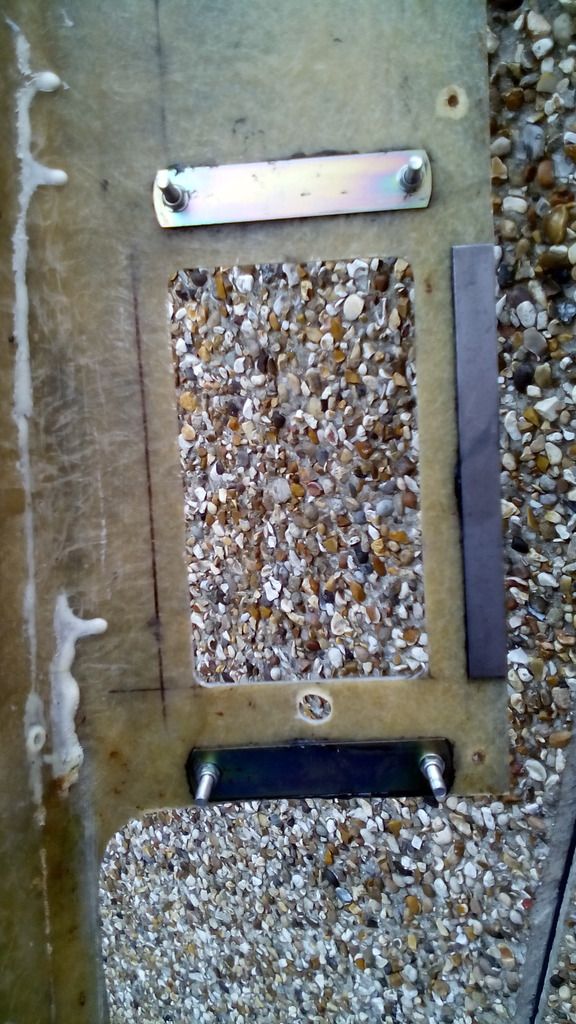
The old cut outs were plated over with some very thin ally sheet
And filled in with lots of pudding, then sanded down with the new locations marked out after
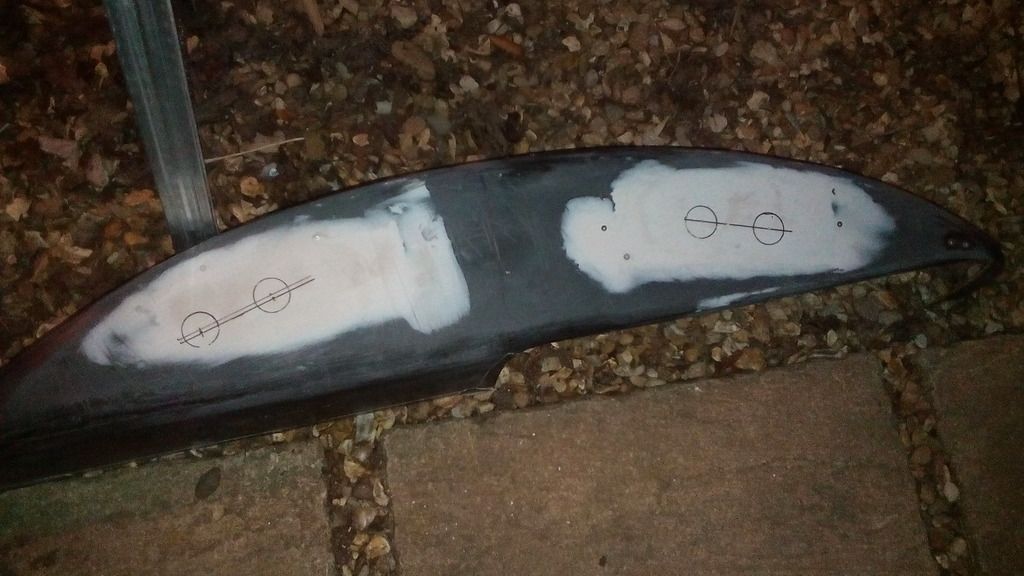
Cut and trial fitted
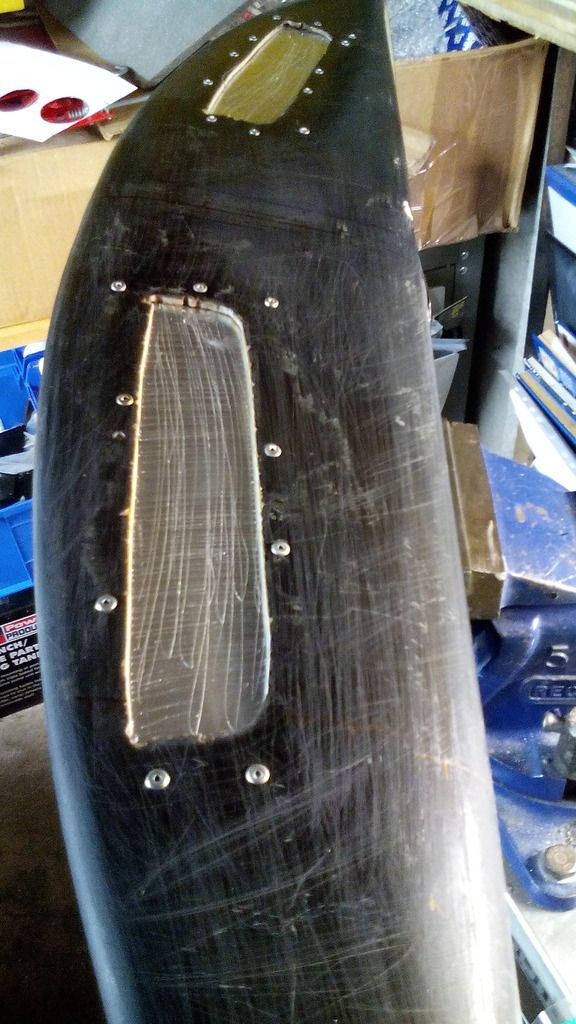
….and you can see they they line up perfectly with the project box plenums I made underneath – almost like I know what I’m doing.
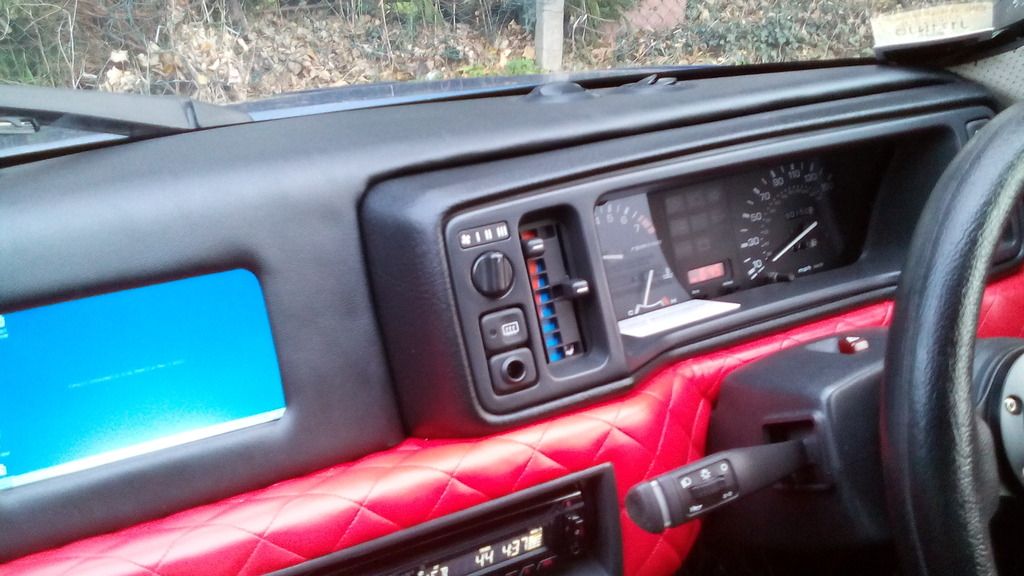
since I wanted no visible fixings I decided some time ago I would use high power magnets to hold the dash in place, easy to remove if needed, here is the upper centre one that latches onto a steel tab that was there originally from build to support the dash top – except now it holds the dash tight in place with no movement –
handy because there is a 5mm gap between the dash top underside and the top edge of the project box plenums, so with some 12mm thick closed cell foam in place this makes the gasket for the demist vents and creates an air tight seal.

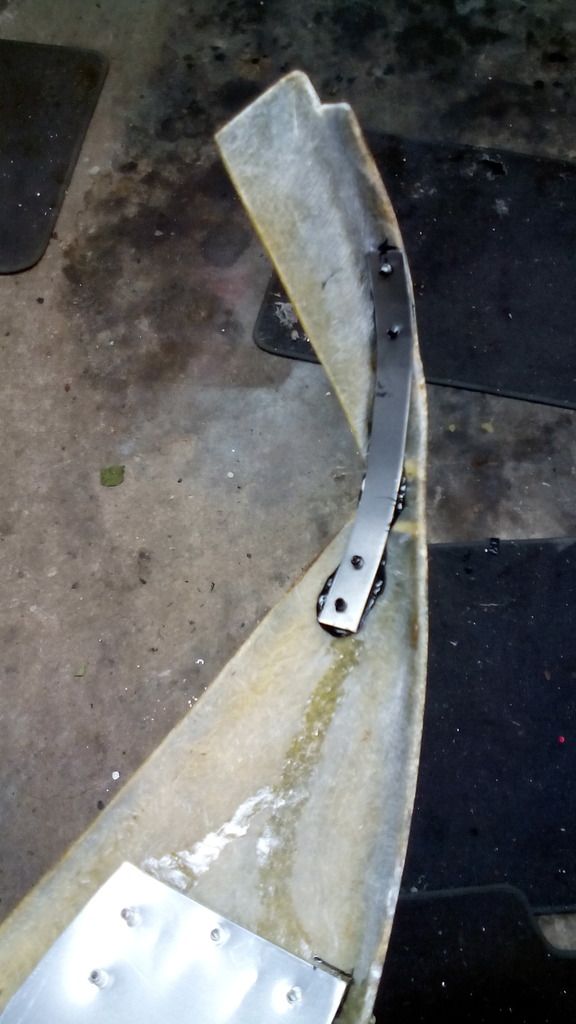
The driver side edge of the dash top had suffered a few knocks (not helped by my juggling antics) so a reinforcing strip was bonded and riveted into place here to keep shape.
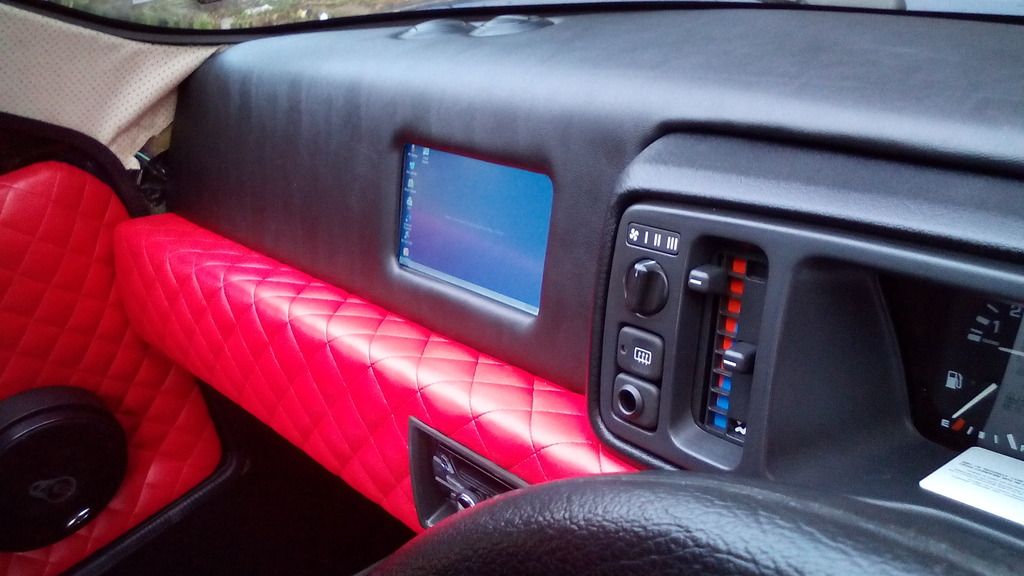
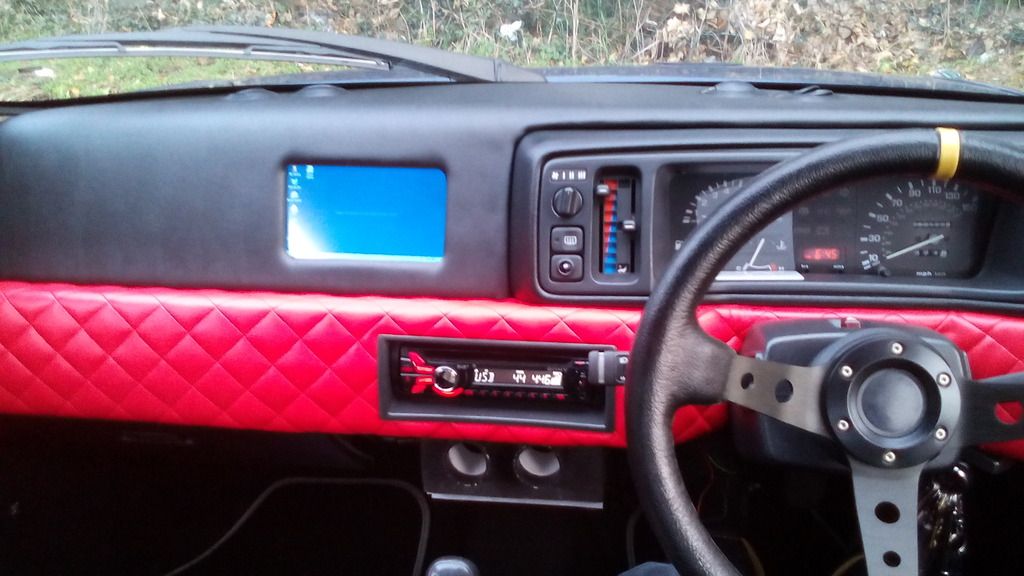
it was roughly now, with new vinyl in hand and a tin of evo stik in my grubby (and sticky) mits that I decided that a simple re-trim wouldn’t suffice, that the flat slab like facia in front of the passenger looked a bit – well flat and slab like, so I thought what could be done to break it up a bit and came to the only logical conclusion – fit a sat nav in it.
this whimsical flight of fancy turned into a full on master plan and technical search when I found after a cursory peep on ebay that they were cheap as chips if buying a non-branded version and more features than I could ever imagine.
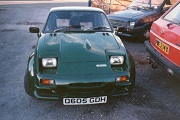
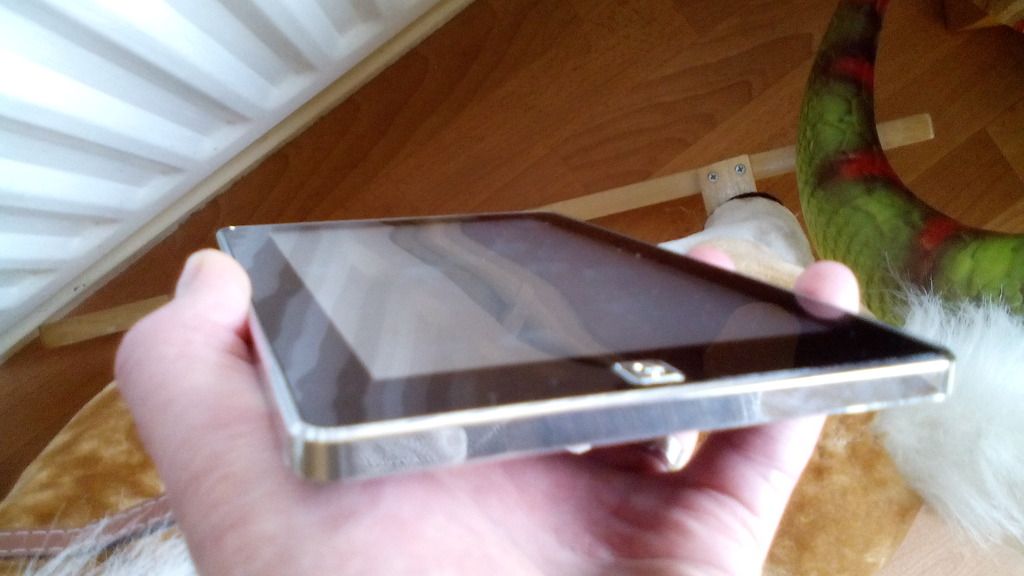
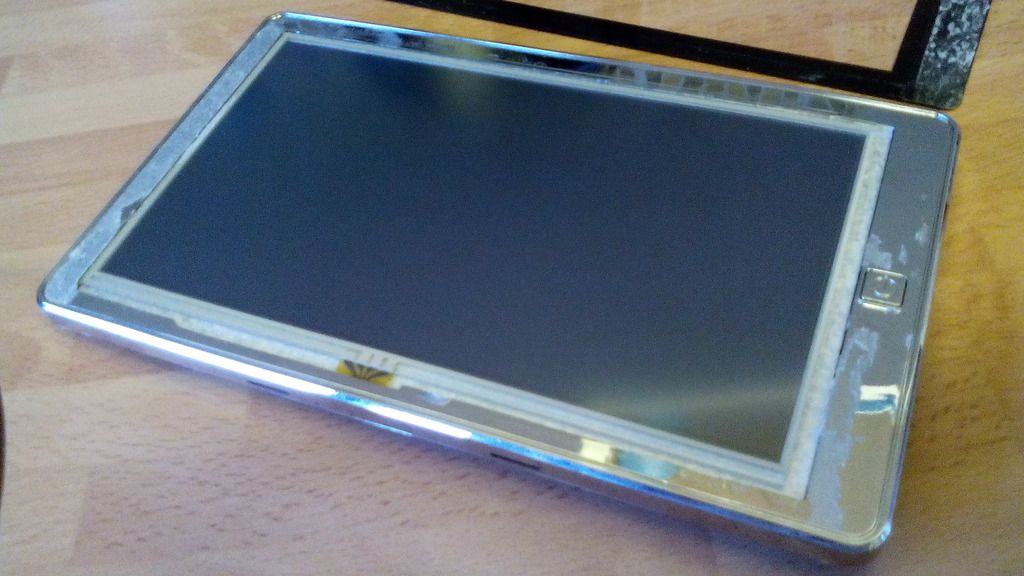
The one I settled on was this one

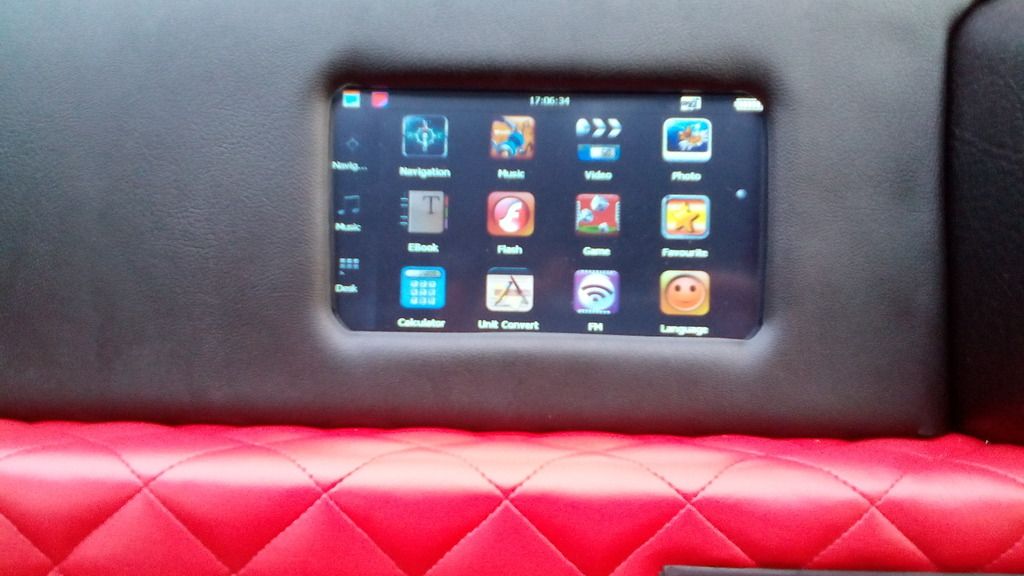
7” touch screen but more importantly the power / function button was on the front face bit like an iPad, most have it around the periphery which would pose issues if the device was mounted flush to or behind the dash surface.
the plan was to cut out a shape in the dash top that would enable the unit to sit flush and use it as is, unfortunately upon opening the package it became apparent just what the grand sum of £30 got you, the outer most front screen wasn’t glass but a bit of plastic film stuck on – and not very straight either, the black surround edges weren’t flat and smooth (like an iPad) but all wobbly as if it was the result of an object nder 2s arts and crafts session (trust me I know), if you look at the photo at the reflection you can see the wavy nature of the outer surface.
feeling somewhat dismayed I considered my options, I didn’t see the point in spending hours and hours making the dash top perfect in every detail – accurate and symmetrical down to the last 1mm only to mess it up sticking a shoddy looking screen slap bang in the middle of it,
so as you do when confronted with the concept of having to return an item in perfect unused condition for a refund, just like the "wet paint" sign where you need to poke it just to see I started to peel off the plastiky outer film - just to see, and much to my pleasant surprise what I found underneath was the main guts of a generic sat nav within the casing of another generic a sat nav (stick with me on this, its not as complicated as I'm making it sound)
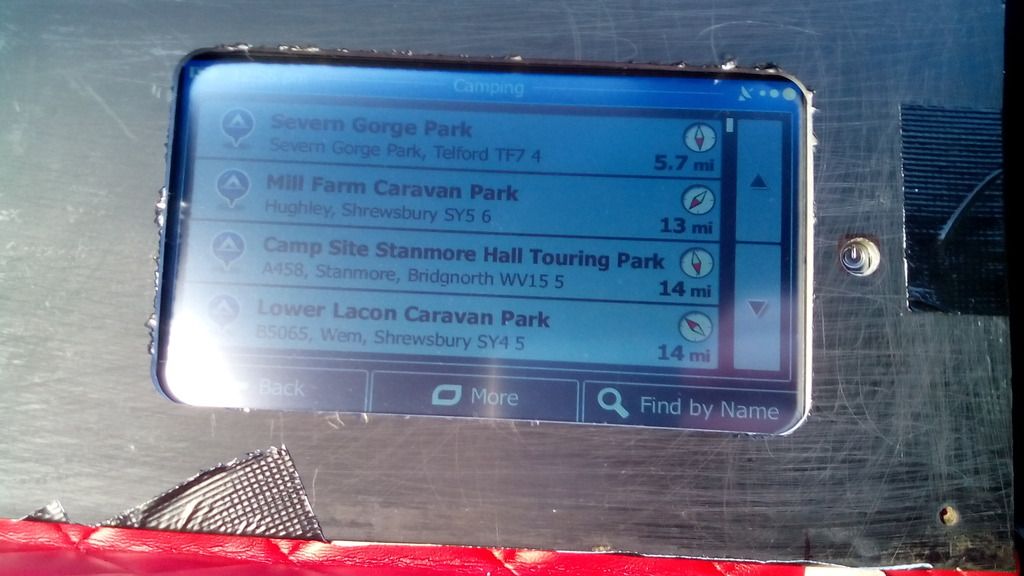
the screen revealed on this inner version was as you would expect – satin glass every bit as good as my Tom Tom, this does explain why the picture on the user manual looks nothing like that of the device in the box and putting that part number into google brings up several different designs in different cases but all exactly the same inside, what’s more is the operating hardware is media tek who are one of the biggest suppliers of chips for mobile devices inc Sony and Samsung along with TVs DVDs and pretty much anything, the navigation system is igo primo which is standard fit in some production cars and again mobile devices including branded sat navs, and in use it performs fantastically outperforming my tom tom by miles, the search function brings up details such as selecting a store by name as well as accommodation – campsites, garages, hospitals etc etc., it also works as a video player / reverse camera and even has windows installed operating as a PC, it has AV function for reverse camera (on order) and can search the internet with Google installed plus radio, radio transmitter, WiFi and loads more I’ve yet to discover – its truly remarkable.
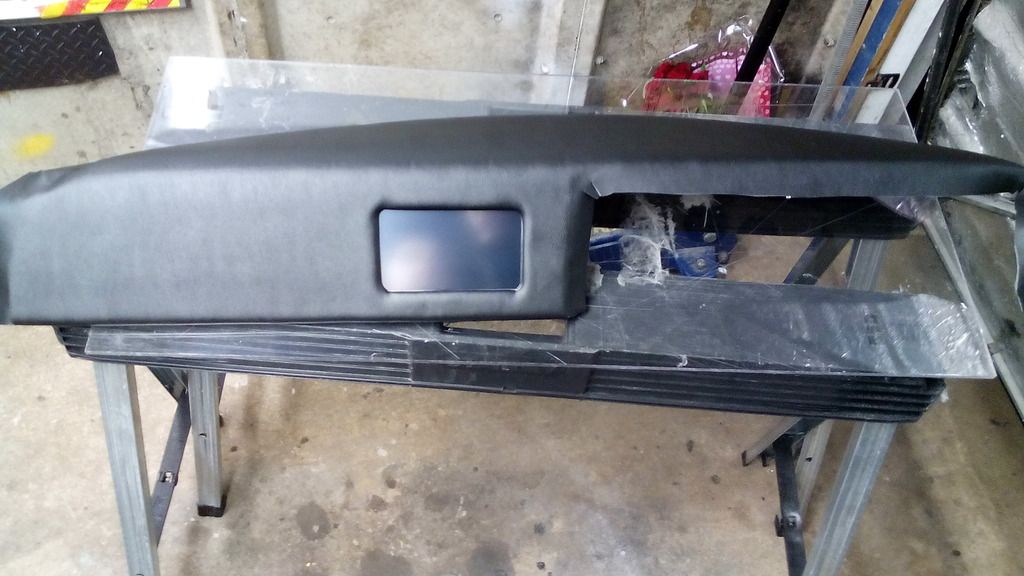
Back to the project, since id ripped off the outer cover I now settled on making a cut-out just big enough for the visible screen and mount this behind the dash top fascia.
I trial fitted it to check it wouldn’t foul the wiper mech
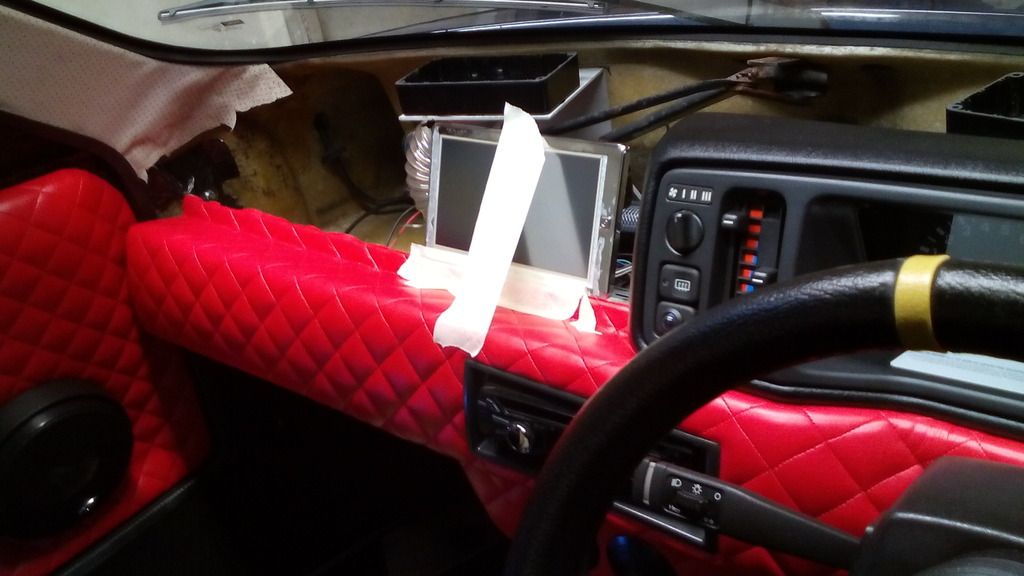
Then marked out the position
Choppy choppy
Gaffer taped it in a drove for a week like this to check functionality and reliability
Once happy I set about making permanent bracketery
I had to reinforce the lower section of the dash top with a strip of sell to keep it flat, also whilst on the steel I made a right angle section to straighten out the left hand side since it had become slightly warped through age or something, this would also give me my second location point for a magnet to secure it with.
the whole dash was then covered in 4mm foam backed black vinyl – twice since I made a total monkeys breakfast of the first attempt.
I purposely left an inch overhang all-round the edges, not to fold under and glue flat but to fold under loose and let curl back against the adjoining panels to seal all the big gaps mentioned previously – a bit like a lip seal, as It happens this was very effective since there are no gaps at all and the dash top looks like it was factory made to production car tolerances as a result.
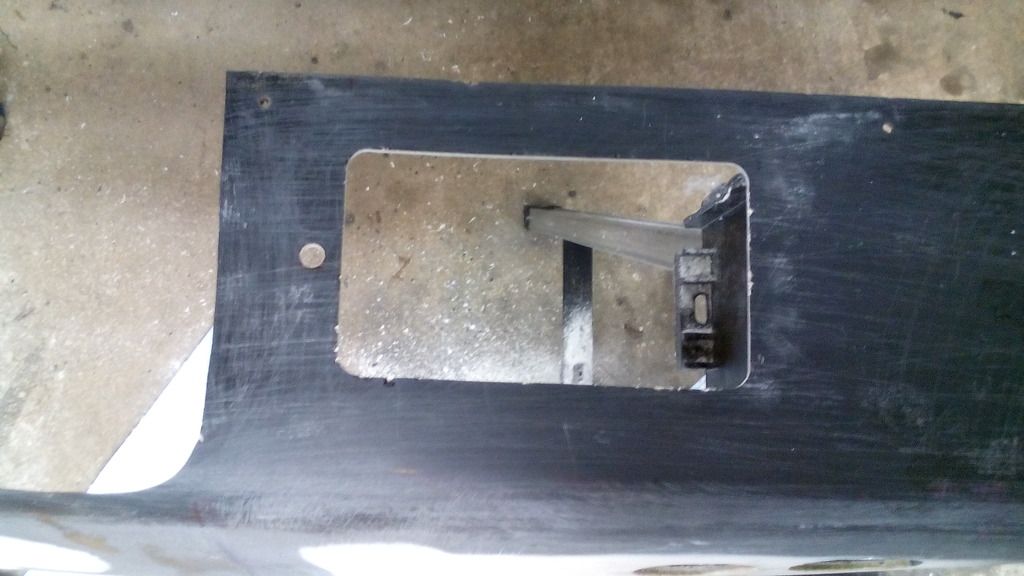
to enable operation of the main function button of the screen I made a cut out in the dash top for it then made an extension of the button by filing up a brass bush the same thickness as the fiberglass of the dash top thus enabling it to rest just behind the foam vinyl
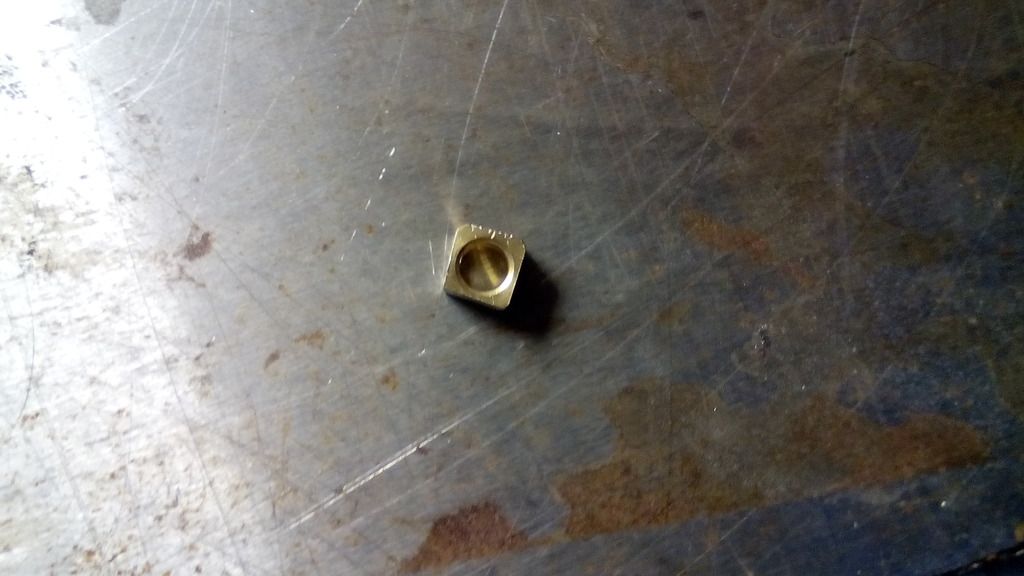
One touch of the vinyl in that area allows full function of all the features as required but no unsightly buttons
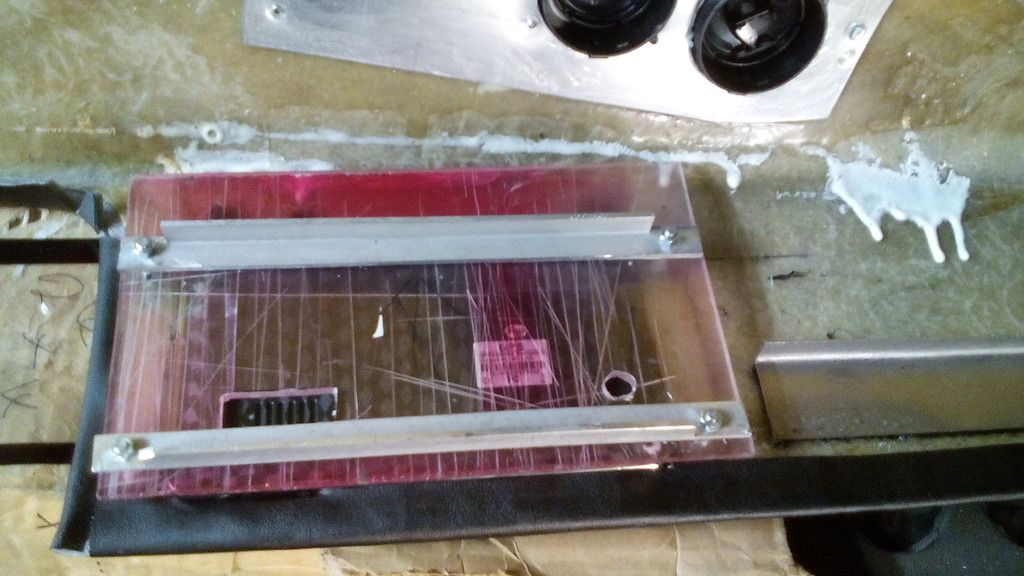
Quick trial fit of the screen, the rear bracket for the unit was made from an off cut of polycarbonate and 2 strips of ally angle to keep the shape
Second high power magnet on the lower dash in line with the steel angle strip on the upper dash, snaps tight and flush
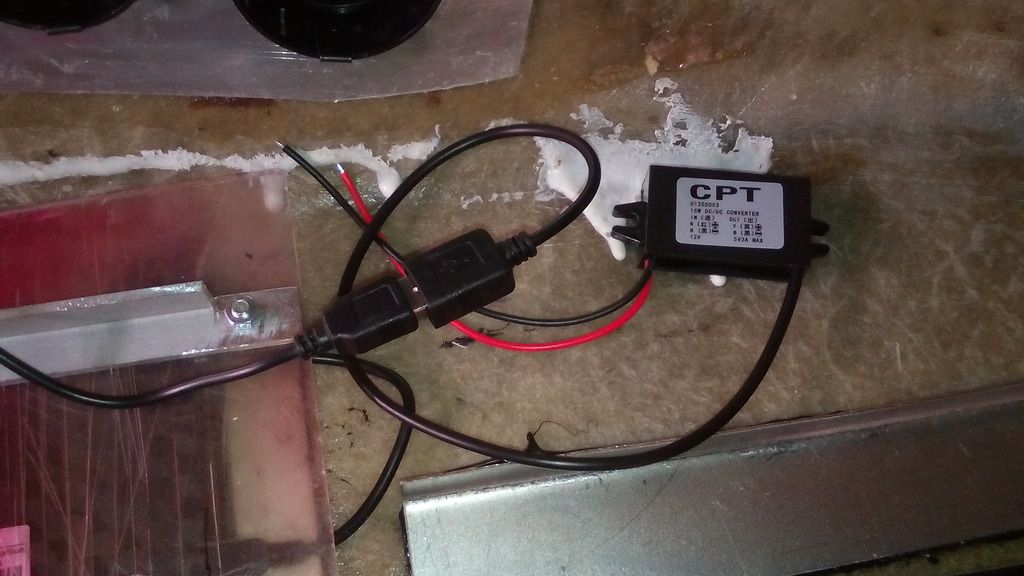
I also purchased a module to hardwire the sat nav in place to become a permanent fixture
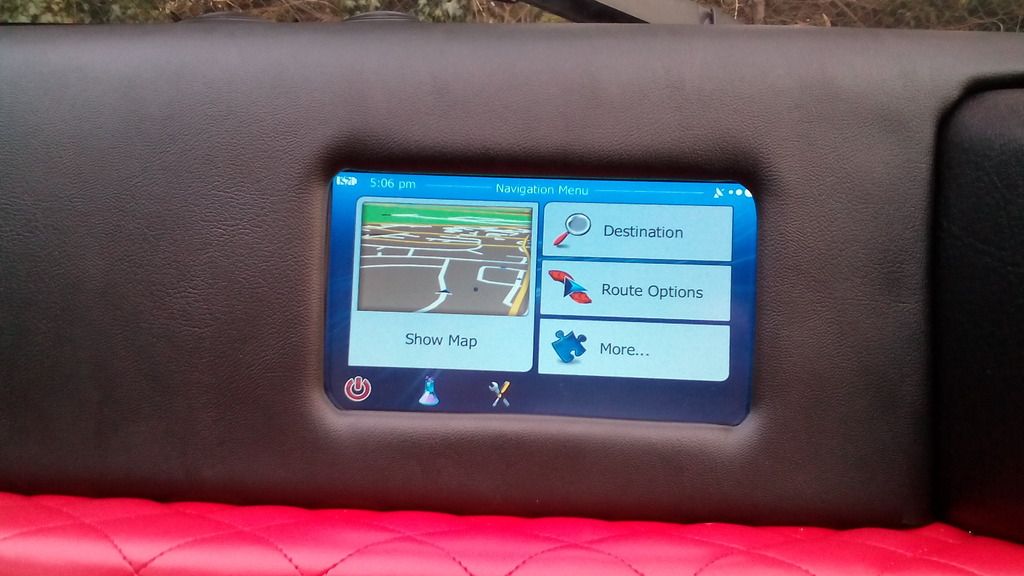
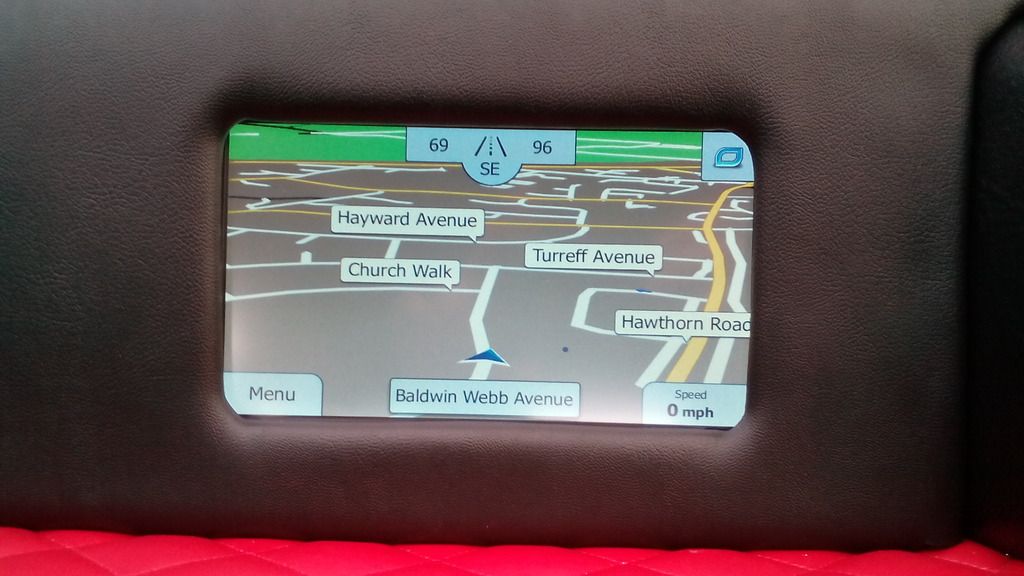
all done and working a treat, its set up so it springs into life as soon as you turn the key and switches straight to navigation mode, simply showing your location on a map as you drive which I quite like as you get to see upcoming bends – speed – traffic alerts etc. (I clearly watched far too much knight rider as a kid) and downloading videos into the memory card it keeps the little uns quiet at shows if they are a bit bored.
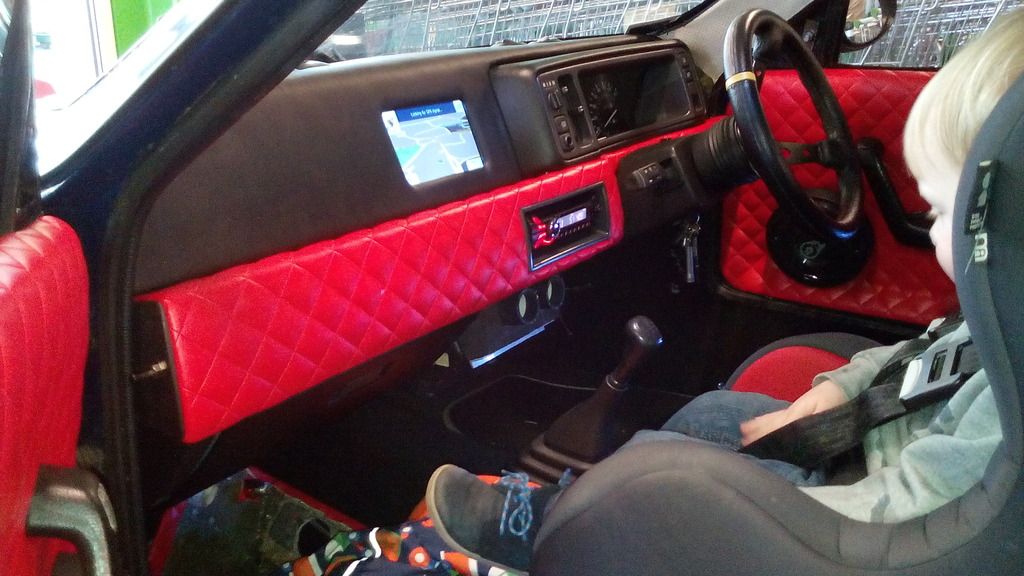


Excuse the lack of lower dash cowl in these photos but I’m currently wiring in a kill switch to this area.
I also have, on a slow boat from china an SD card extender which is a ribbon with attached socket you use to extend the card reader slot so I can mount that (flush of course) into the dash facia somewhere along with a similar USB device splitter to enable a socket to be mounted on the dash to data transfer the sat nav via a laptop or phone but will also charge your phone when the ignition is on so not relying on a seperate charger, as soon as they arrive ill update you.
Not bad for a car that didn’t even have interior lights fitted when I bought it.
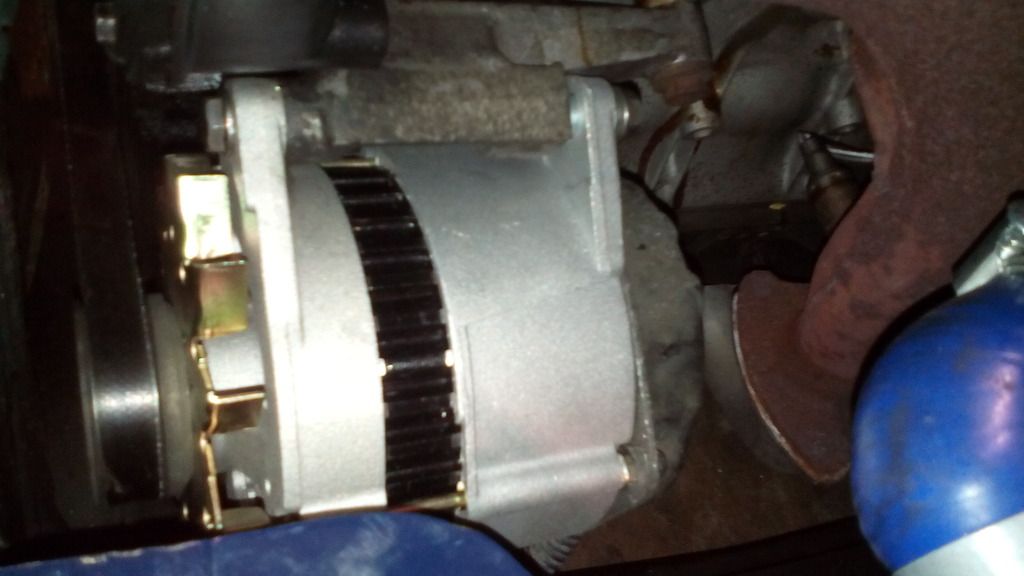
In other news I've had a brand spanking new alternator due to the old one shorting out and lunching the battery with it, all good now though