Hi all after a long wait, this is the start of my long await rebuild of Q115 OCR. I’m new to Midas but have been working with the help of Alistair over the last two years to dismantle the car and start preparing it for it’s rebuild. As I have been living in France until recently it’s taken time as I was waiting to move house and get a garage for the project. My intention is to catalogue the process here as I start to rebuild the car.
As you are all probably well versed in the process of restoring Midas Gold coupes I won’t bore you with the dismantling which has taken place, so here goes!
Once the car was dismantled Alistair and I identified the work that needed to be done before repainting the car could start.
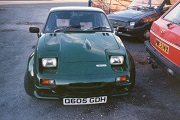
This is the car at the start.
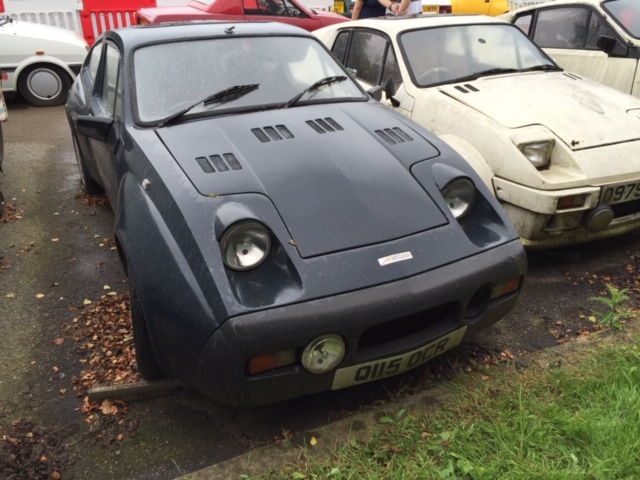
- IMG_0230.JPG (123.76 KiB) Viewed 31772 times
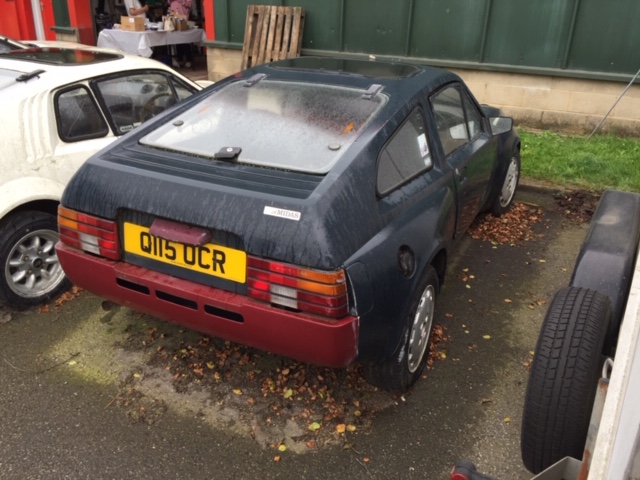
- IMG_0229.JPG (126.25 KiB) Viewed 31772 times
Identifying bodywork problems.
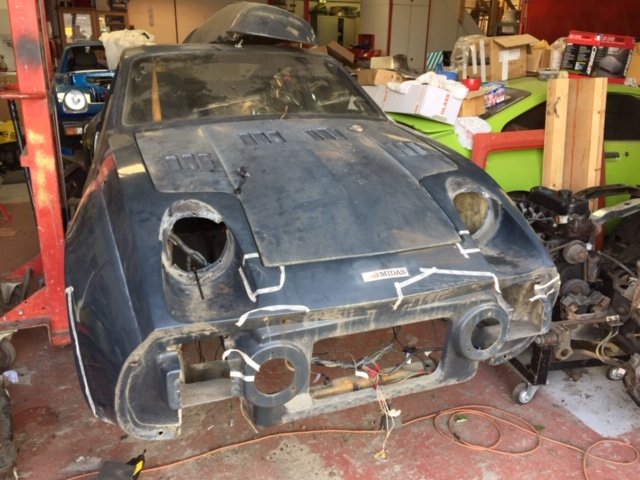
- IMG_0314.JPG (133.43 KiB) Viewed 31772 times