Re: J171 NJO Cortez / 2+2 rebuild and modifications
Posted: Wed Jan 06, 2016 10:26 pm
First post of 2016, happy new ear to you all.
there have been many jobs started but not so many finished as is always the case
over the festive period I purchased some MGF hydragas units to measure up to make coil spring adapters to fit in their place, not long after finishing that a complete subframe assembly (rear) came up on ebay and since my presents from Santa weren’t up to much I thought I’d treat myself to that, he wouldn’t want all the grease and hydralastic fluid dripping on his sleigh anyway so things are progressing nicely there.
the other job tackled was the dashboard centre vents, since the old shonky fiesta vents were blanked anyway and my modified air box now provided hot and cold air to all outlets, the time had come to rework the centre outlet to provide heat around the car.
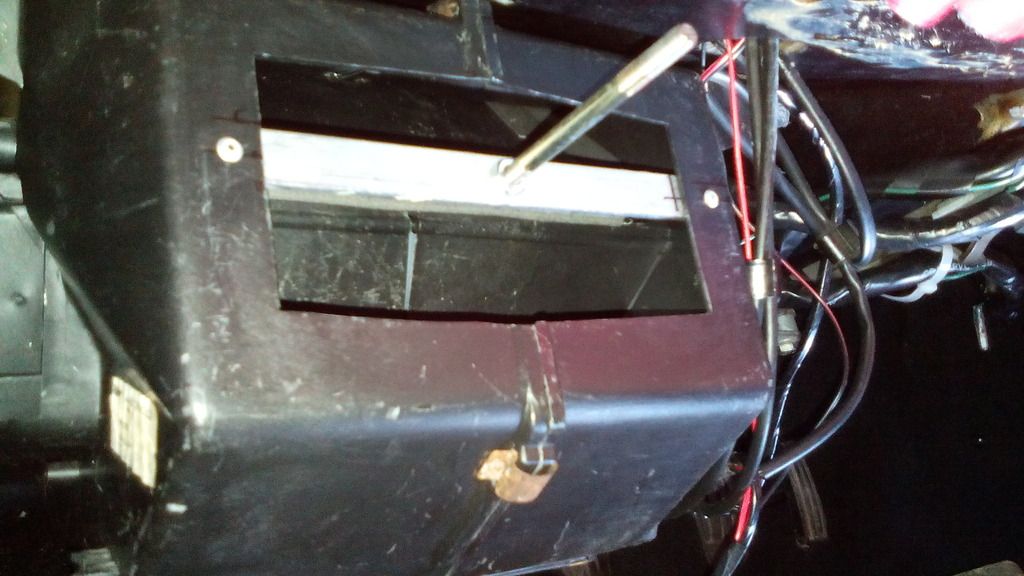
step 1 was to remove the original demist outlets from the heater box, you can see the marks on it where my foot keeps catching it,
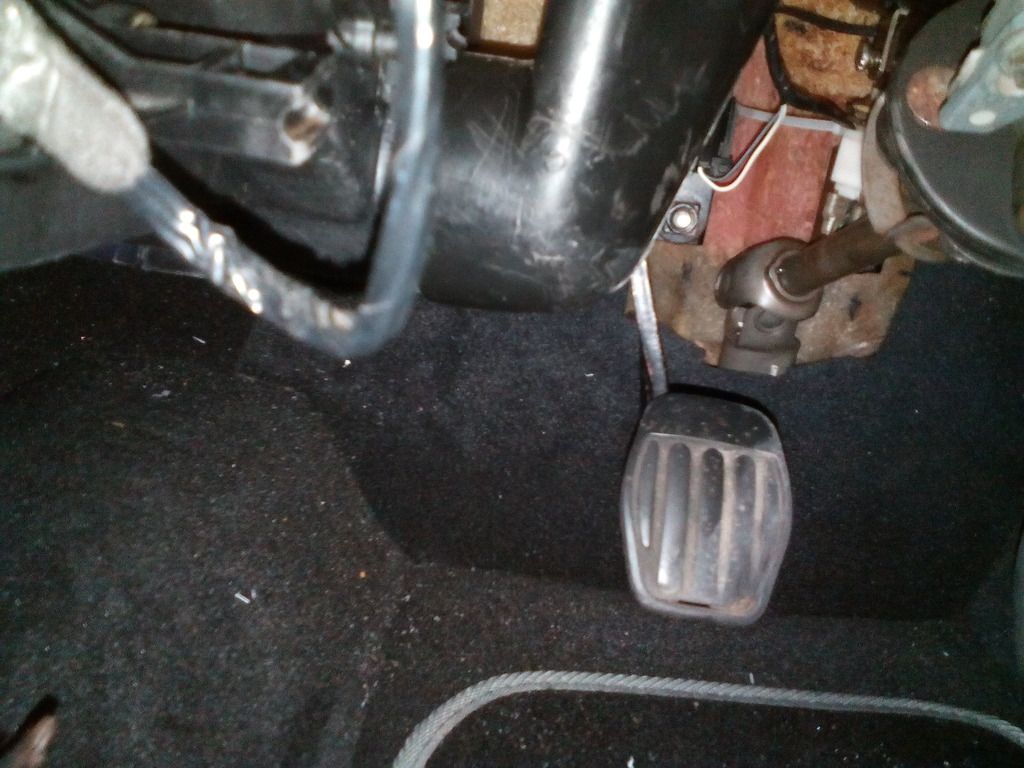
I had to hold my foot in such a way to precisely locate it between the steering column and duct and quite often I would get it tangled up in one or the other, so both demist ducts were removed both sides, the plan being to make a plenum bolted to the main centre outlet from the heater box and duct all air from there, its big enough and I just wanted demist and face vents anyway, floor air flow is taken care on by a flap on the dash.
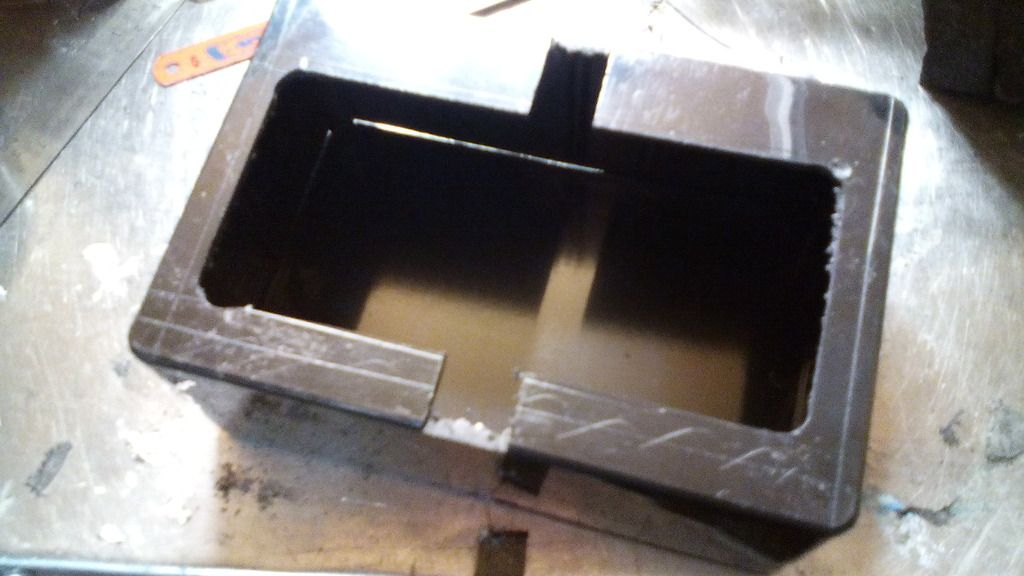
my first attempt was to make the plenum from a plastic project box but it was proving tricky and cumbersome due to the restricted size availability,
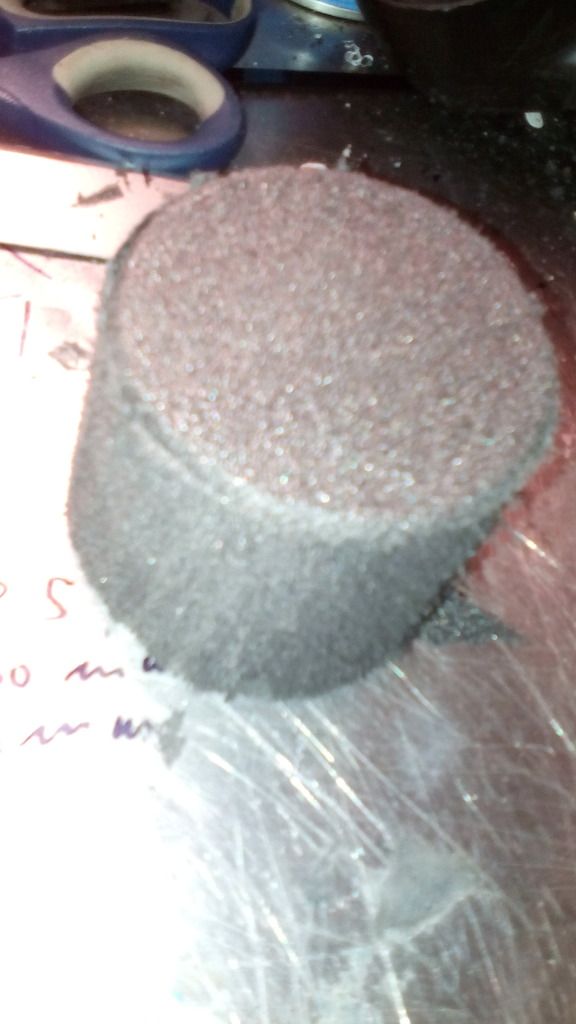
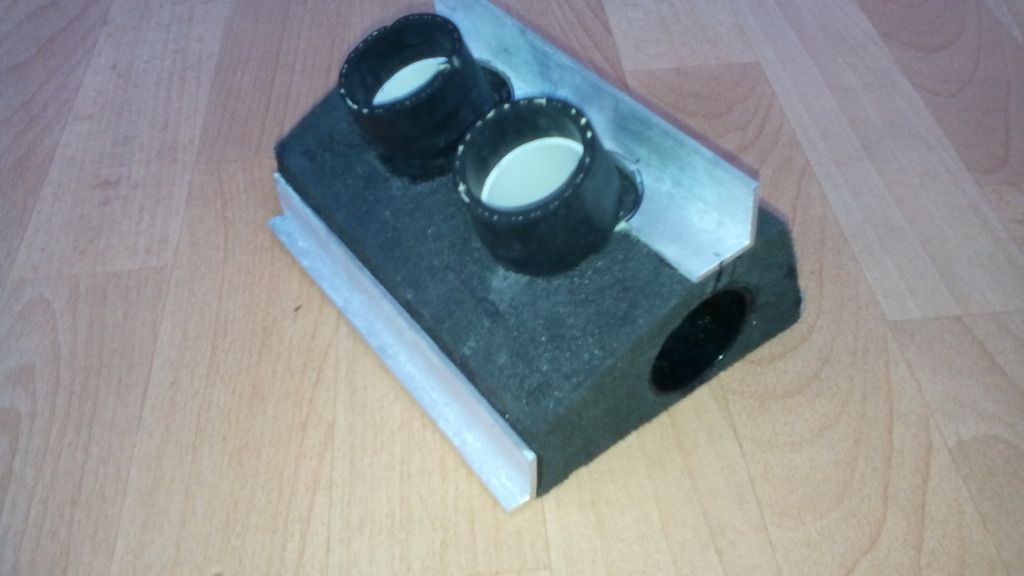
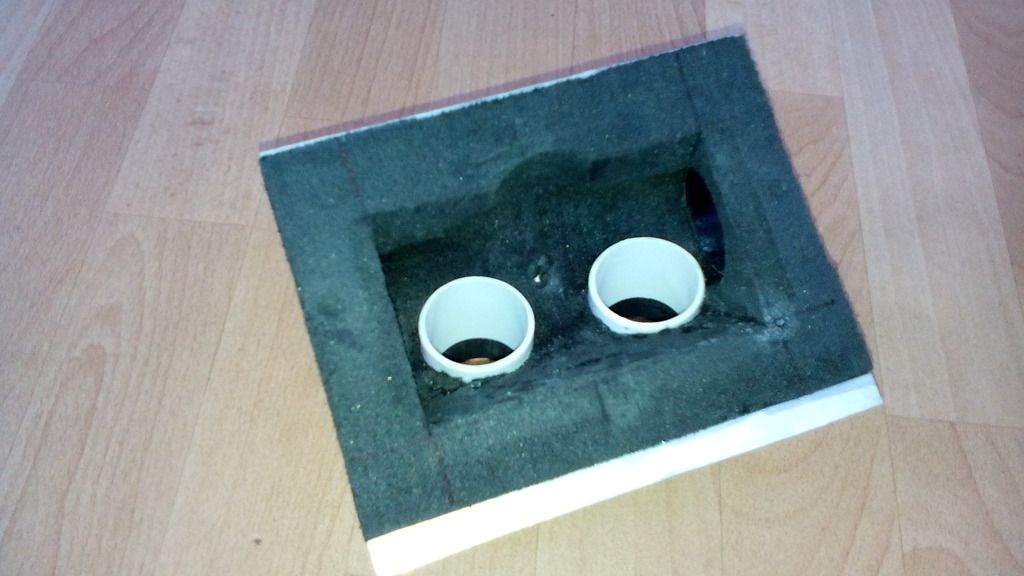
I needed something custom, so I got my hands on some very rigid closed cell foam blocks and began sculpting one from that,
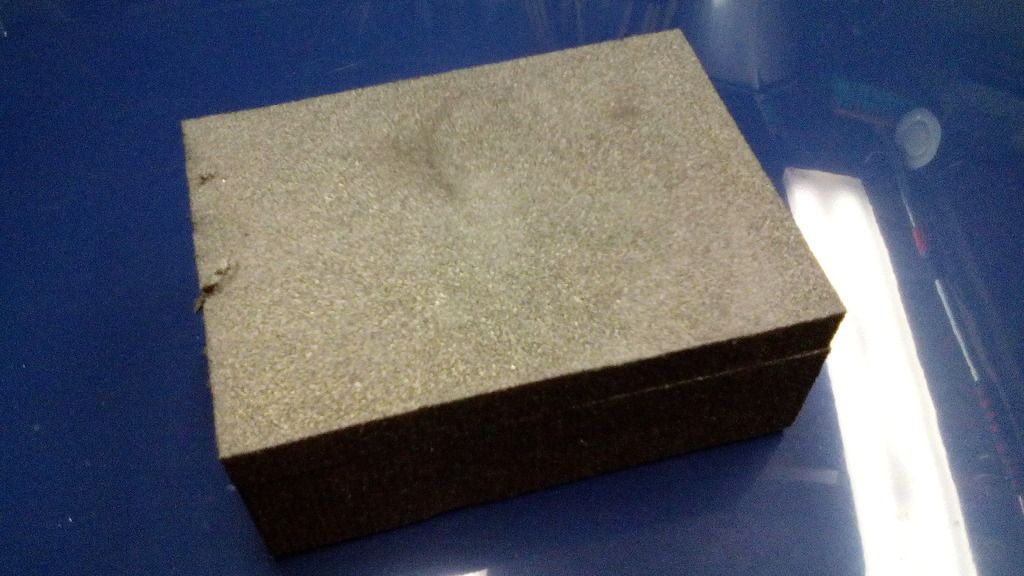
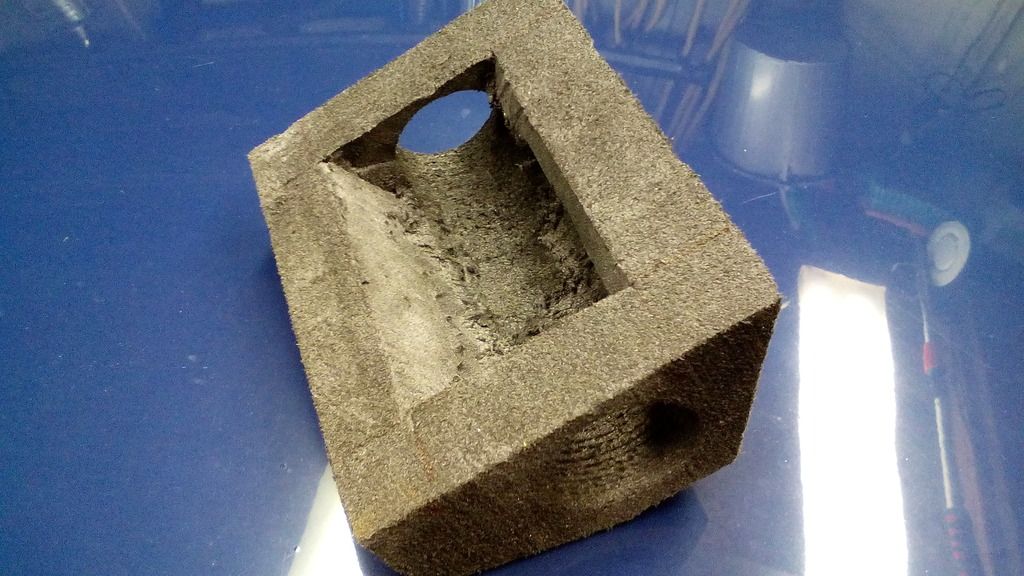
it took a few attempts but the result works very well. I made the blanks for the old demist duct from the same high density foam I made the plenum from
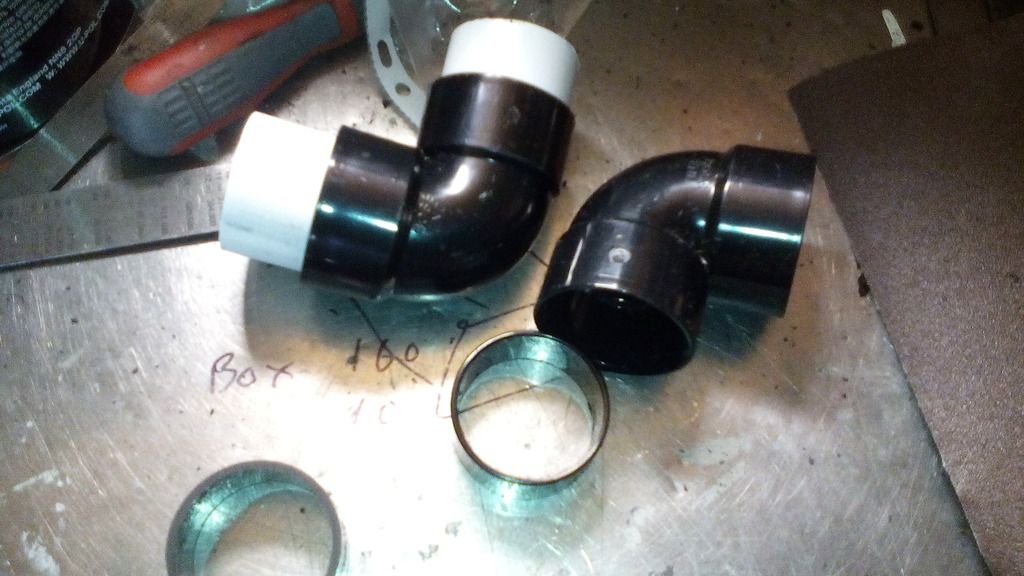
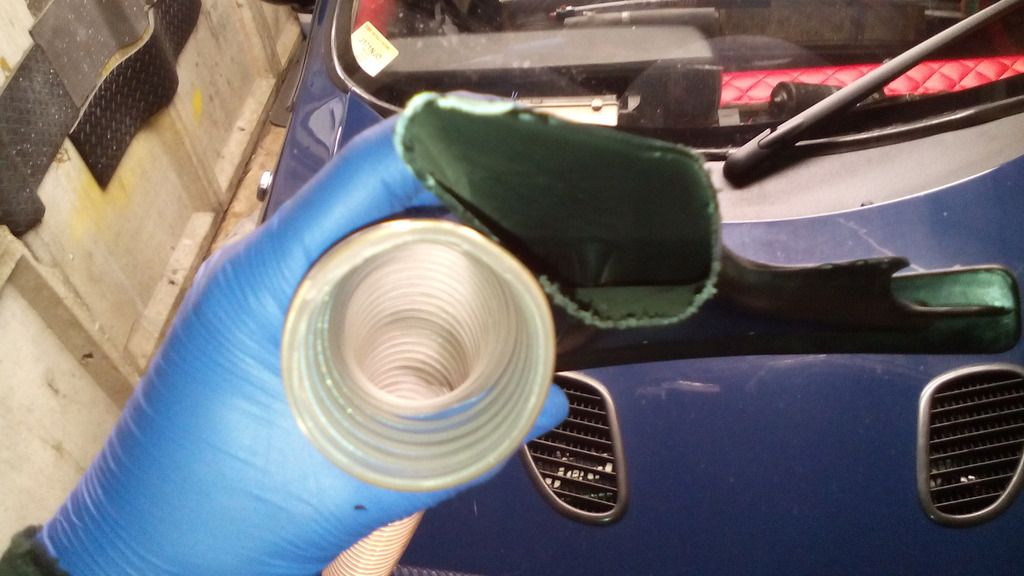
the side outlets were cut out and made from 40mm PVC plumbing pipe, these would duct to the demist vents through some flexible spiral ducting up under the dash, the plan being to put vents in the outer lower dash cowl and duct air straight to them.
there is no reduction in duct cross section either
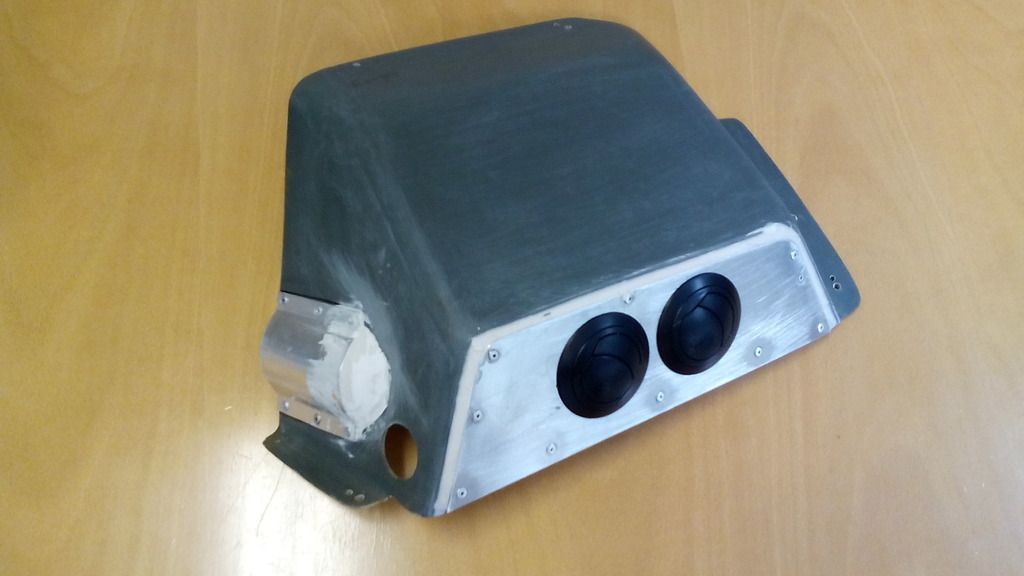
with a bracket made to pull the foam plenum up tight to the heater box and an angle bracket bonded to the foam to spread the load it pulls up air tight

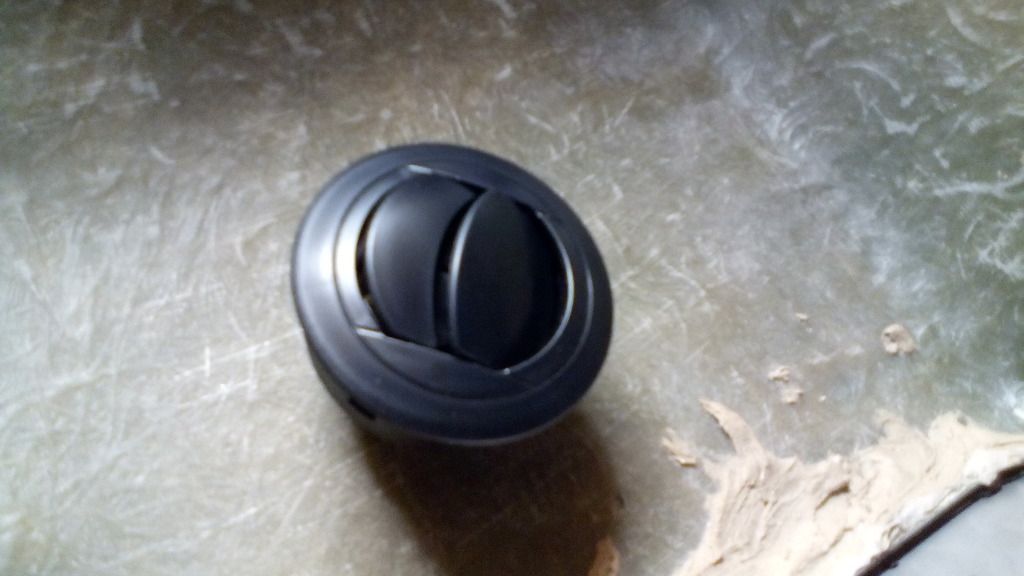
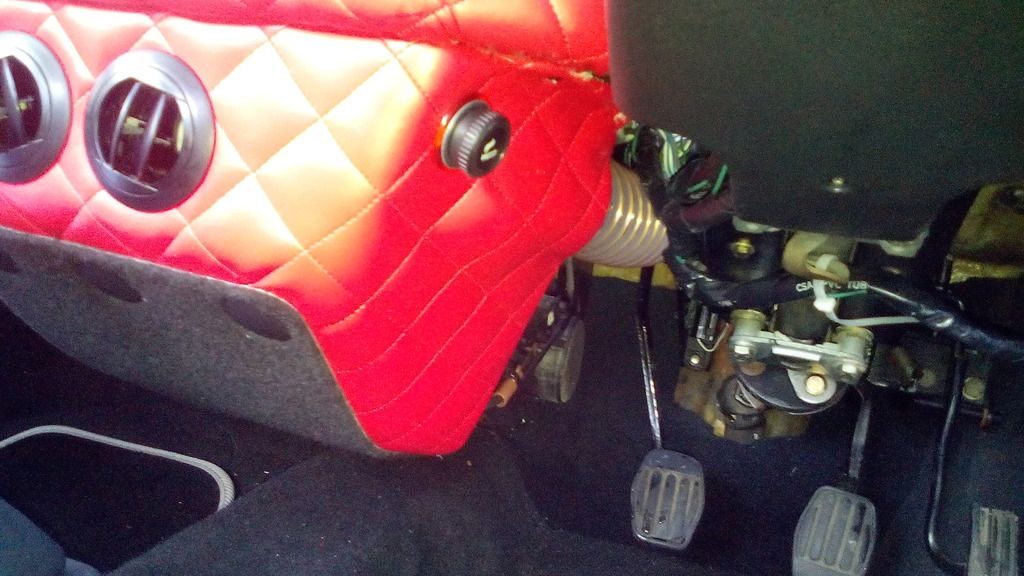
then with the nifty round vents I bought from CBs I set about adapting the front of the lower dash cowl
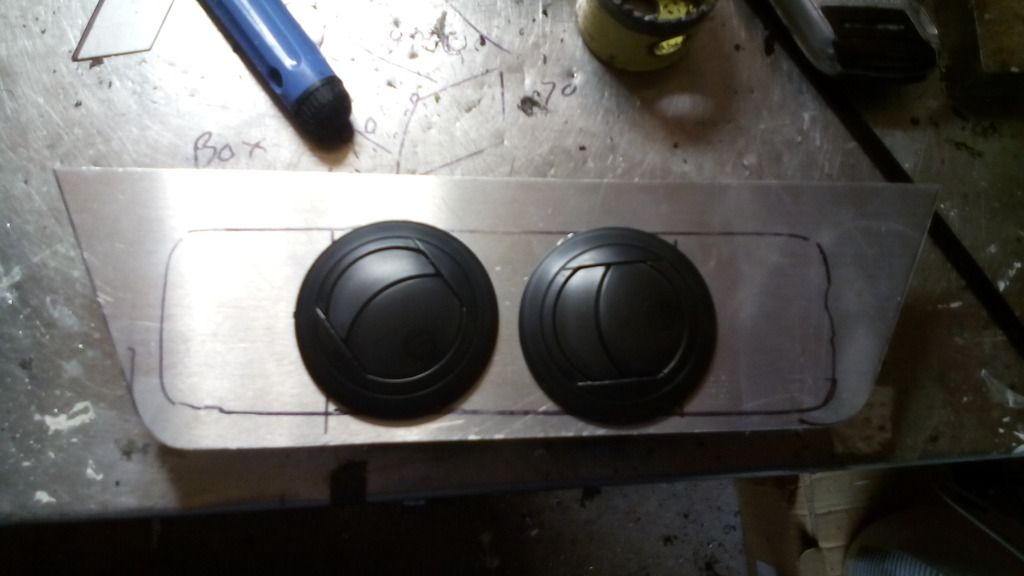
then marked out and cut the foam plenum to take the outlets for the new round vents, the 40mm PVC pipe was bonded in as with the side outlets to prevent crushing and some more strategically placed aluminium strips to prevent ant deformation and the whole thing works a treat
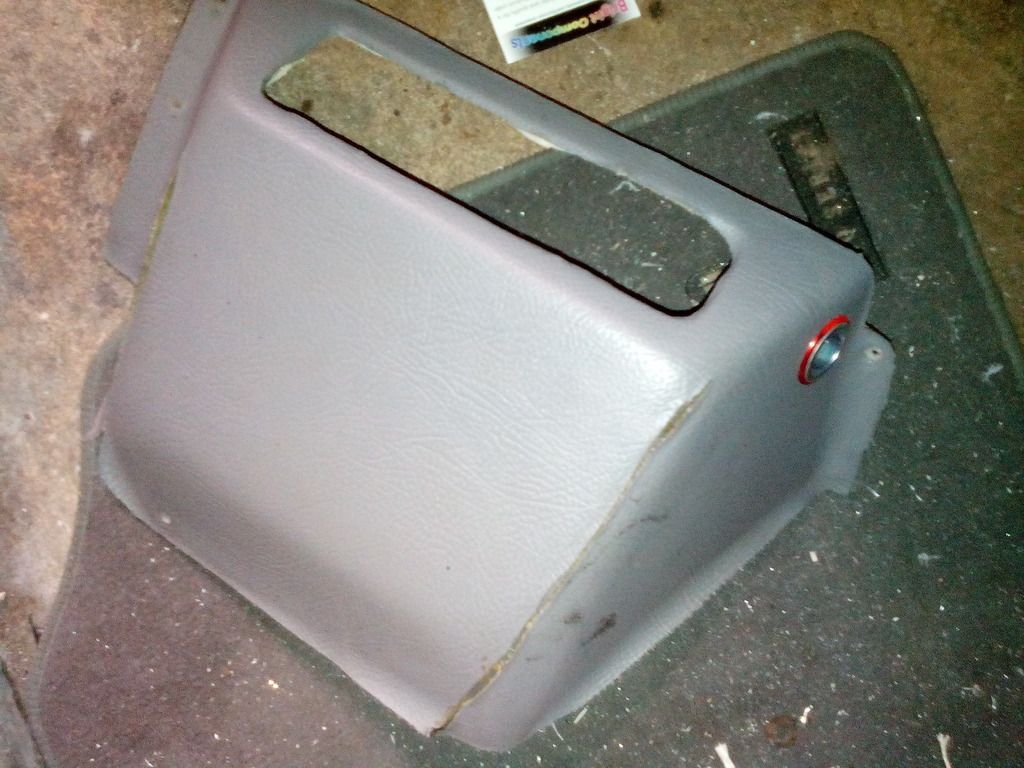
I had to modify the lower dash cowl to clear the new demist duct but that was taken care of neatly with some thin ally and filler
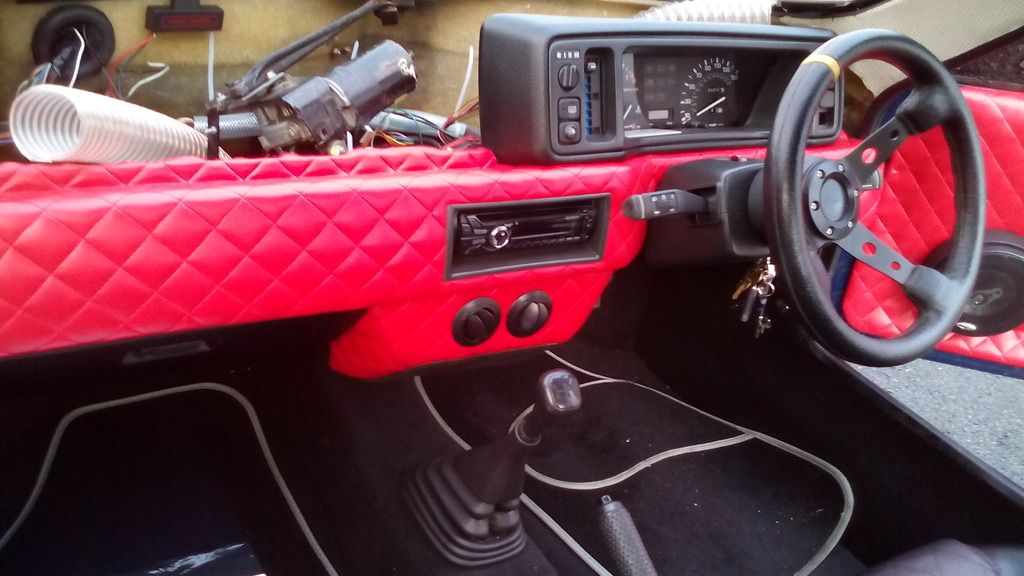
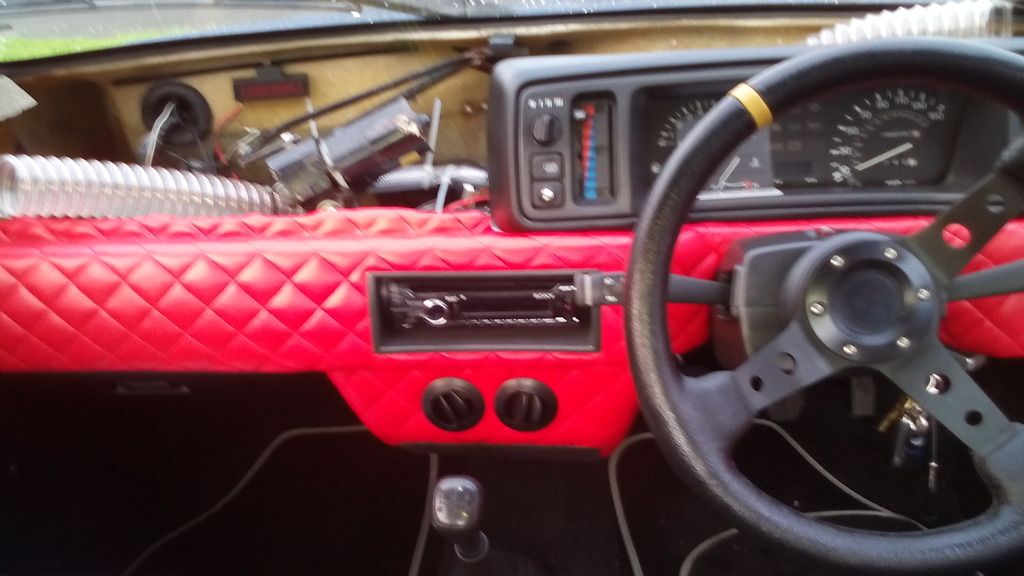
all trimmed in matching red vinyl, I chose to carpet the base to account for the compound curves since this bit isn’t seen anyway,
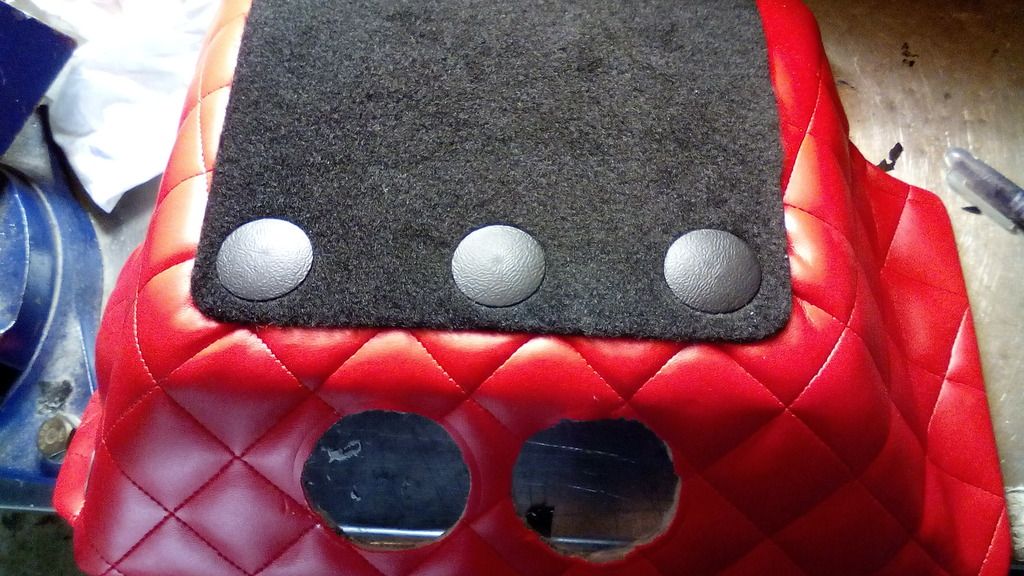
all screwed back in place and it works fantastically, despite their small size the vents belt out heat very well and the whole thing looks very neat and tidy if I do say so myself.
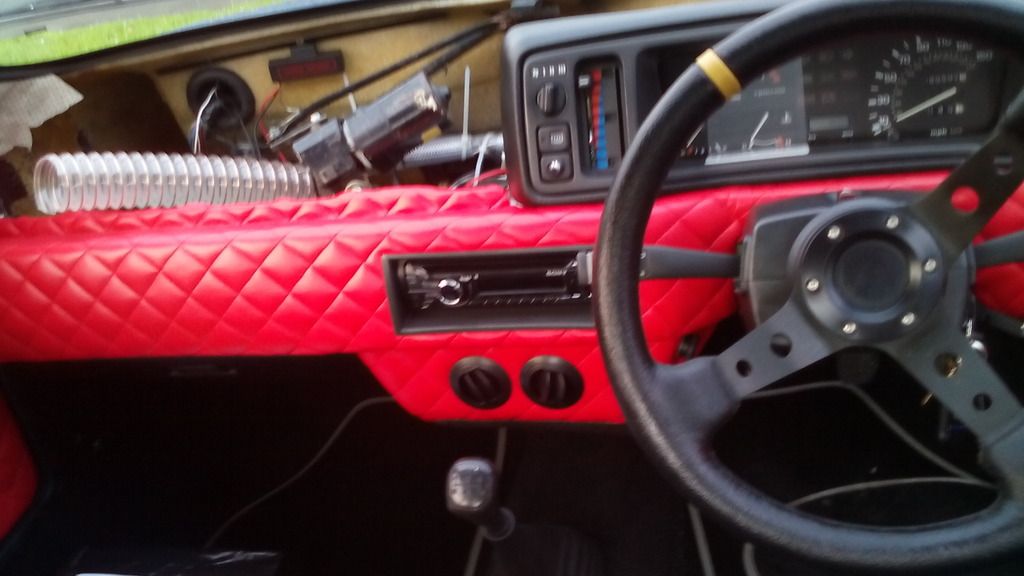
I’ll be using the same vents on the dash top just as soon as I’ve made a pair of plenums to duct the air to them and re-trimed the dash to in padded black.
much more to come soon.
there have been many jobs started but not so many finished as is always the case
over the festive period I purchased some MGF hydragas units to measure up to make coil spring adapters to fit in their place, not long after finishing that a complete subframe assembly (rear) came up on ebay and since my presents from Santa weren’t up to much I thought I’d treat myself to that, he wouldn’t want all the grease and hydralastic fluid dripping on his sleigh anyway so things are progressing nicely there.
the other job tackled was the dashboard centre vents, since the old shonky fiesta vents were blanked anyway and my modified air box now provided hot and cold air to all outlets, the time had come to rework the centre outlet to provide heat around the car.
step 1 was to remove the original demist outlets from the heater box, you can see the marks on it where my foot keeps catching it,

I had to hold my foot in such a way to precisely locate it between the steering column and duct and quite often I would get it tangled up in one or the other, so both demist ducts were removed both sides, the plan being to make a plenum bolted to the main centre outlet from the heater box and duct all air from there, its big enough and I just wanted demist and face vents anyway, floor air flow is taken care on by a flap on the dash.
my first attempt was to make the plenum from a plastic project box but it was proving tricky and cumbersome due to the restricted size availability,

I needed something custom, so I got my hands on some very rigid closed cell foam blocks and began sculpting one from that,


it took a few attempts but the result works very well. I made the blanks for the old demist duct from the same high density foam I made the plenum from

the side outlets were cut out and made from 40mm PVC plumbing pipe, these would duct to the demist vents through some flexible spiral ducting up under the dash, the plan being to put vents in the outer lower dash cowl and duct air straight to them.
there is no reduction in duct cross section either


with a bracket made to pull the foam plenum up tight to the heater box and an angle bracket bonded to the foam to spread the load it pulls up air tight


then with the nifty round vents I bought from CBs I set about adapting the front of the lower dash cowl


then marked out and cut the foam plenum to take the outlets for the new round vents, the 40mm PVC pipe was bonded in as with the side outlets to prevent crushing and some more strategically placed aluminium strips to prevent ant deformation and the whole thing works a treat


I had to modify the lower dash cowl to clear the new demist duct but that was taken care of neatly with some thin ally and filler

all trimmed in matching red vinyl, I chose to carpet the base to account for the compound curves since this bit isn’t seen anyway,

all screwed back in place and it works fantastically, despite their small size the vents belt out heat very well and the whole thing looks very neat and tidy if I do say so myself.


I’ll be using the same vents on the dash top just as soon as I’ve made a pair of plenums to duct the air to them and re-trimed the dash to in padded black.
much more to come soon.


