Bonnet vents
I decided some time ago that I wanted to fit bonnet vents, and at Stoneleigh it looked like everyone else but me had them, so feeling a little under dressed I set about searching for the type I wanted.
After a fair while it looked like the vent of my dreams didn’t exist , not helped by me not being a fan of swapping car parts between makes, I really don’t like seeing obvious ford vents on a fiat etc. I even bought a chance universal pair off ebay that were cheap and shonky and they turned out to be cheap and shonky ,

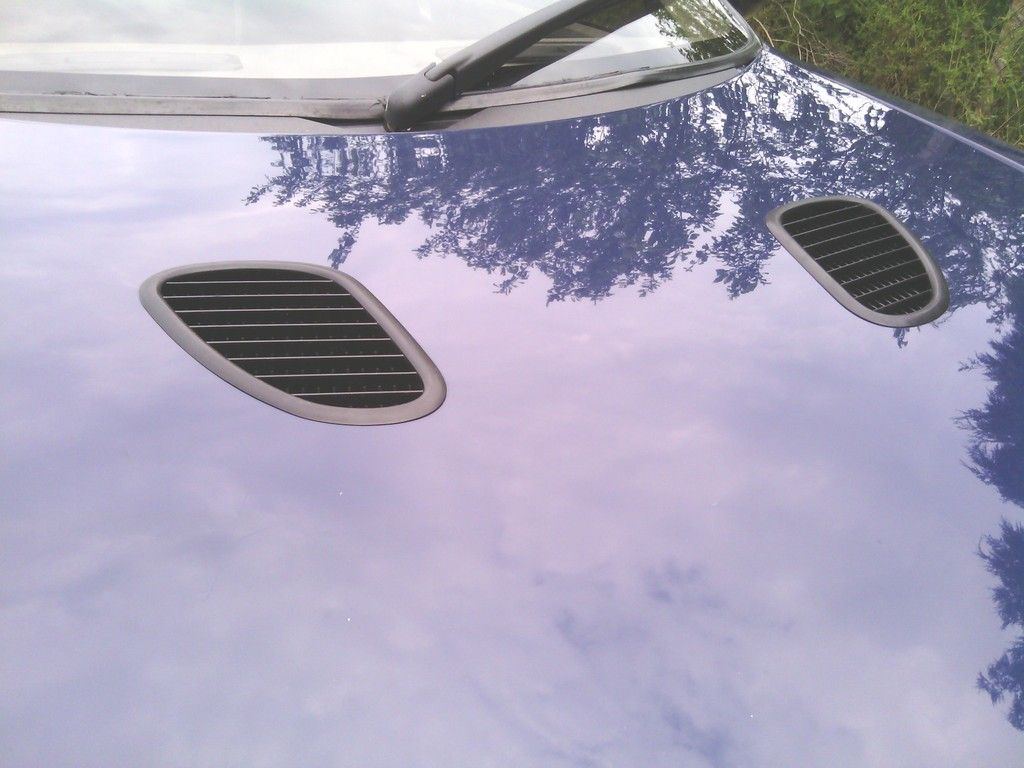
Then I started looking into the less obvious places and came across the rover 100 interior fan vents while looking for something else (always the way). These also satisfied my desire to keep the external styling within the same manufacturer - bonus
Quick look on ebay for some cars being broken (no longer available new) I got a few pairs,
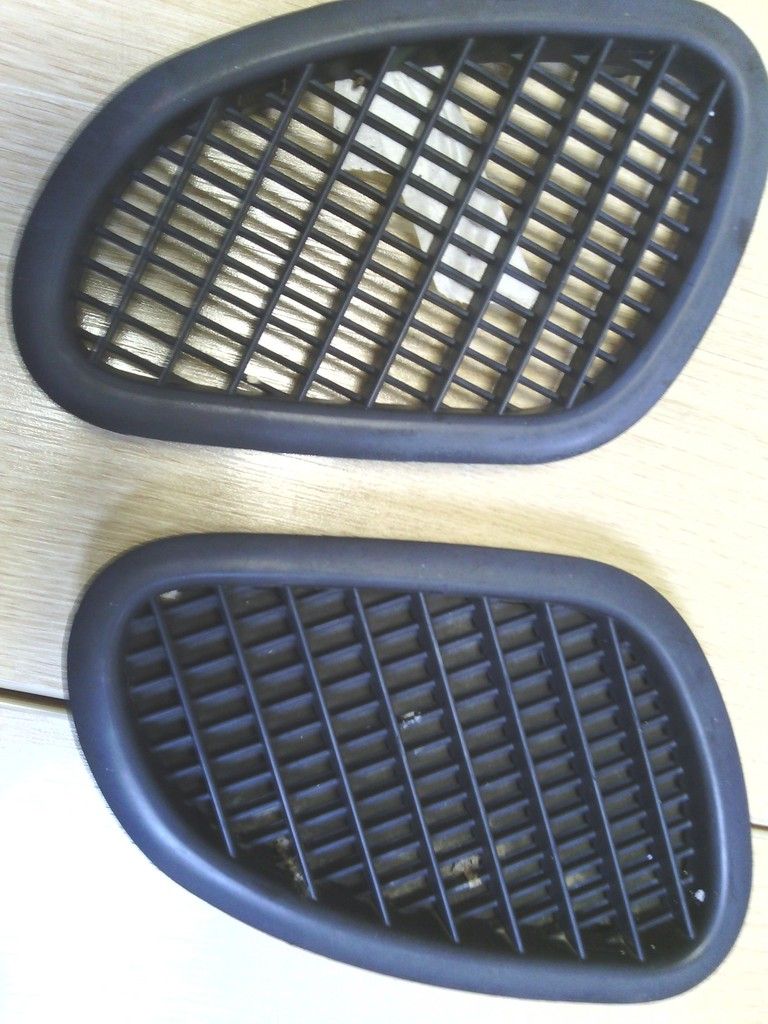
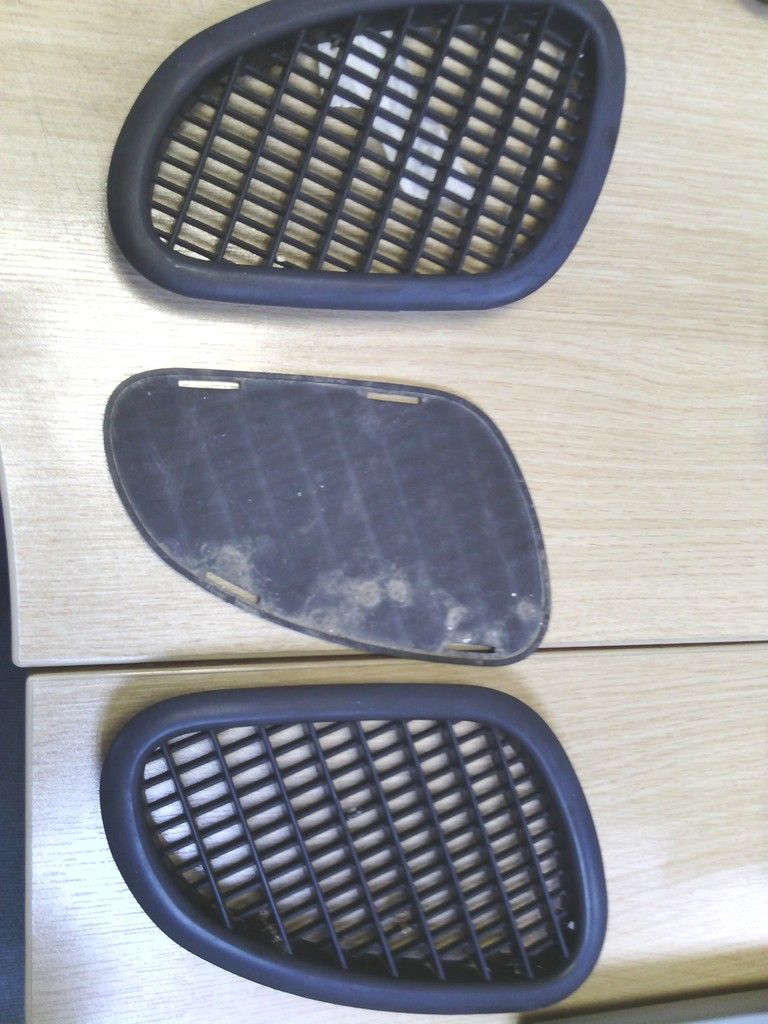
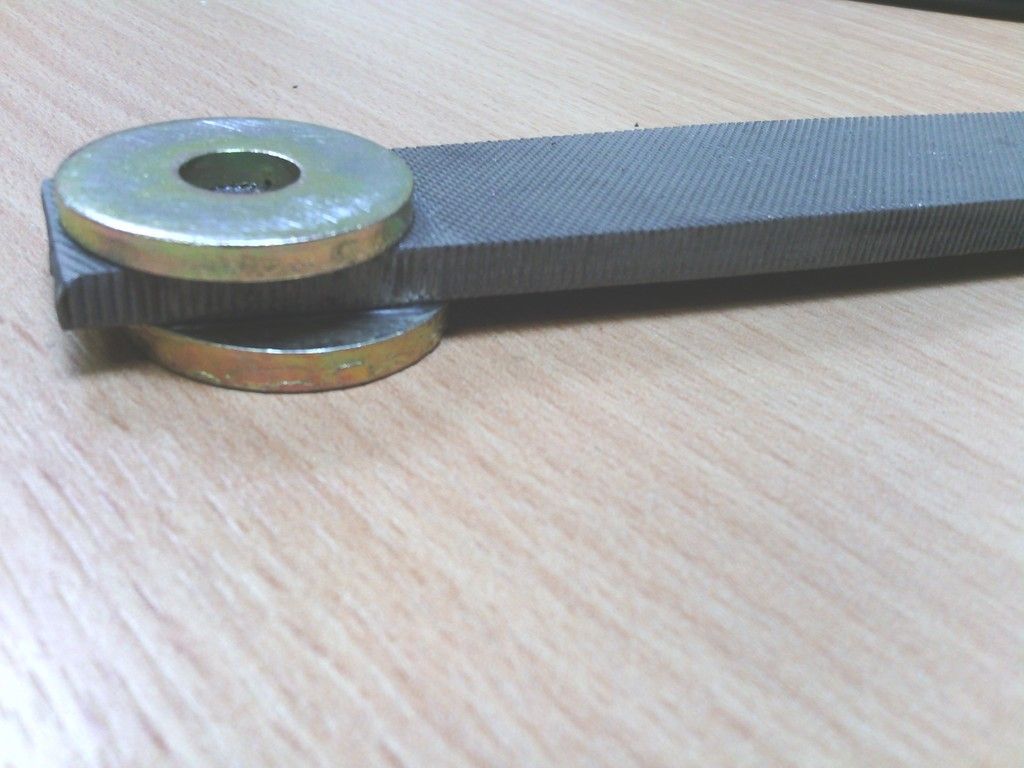
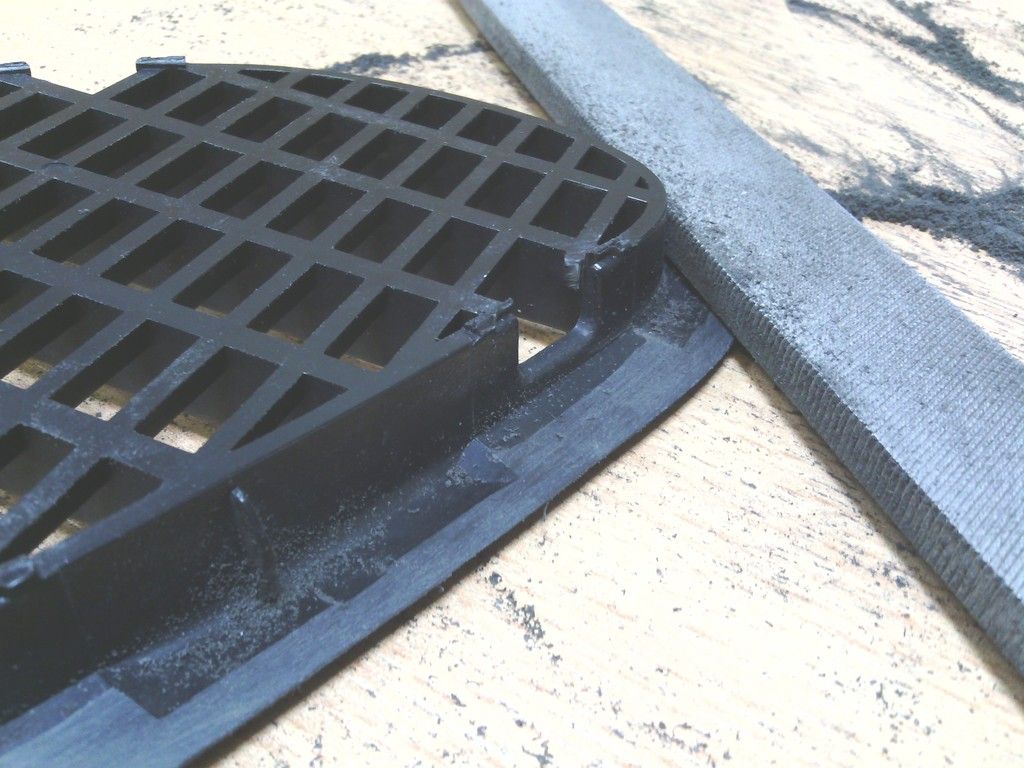
However after a quick clean up I realised that the outer flange isn’t flat and flush to the body like I initially thought
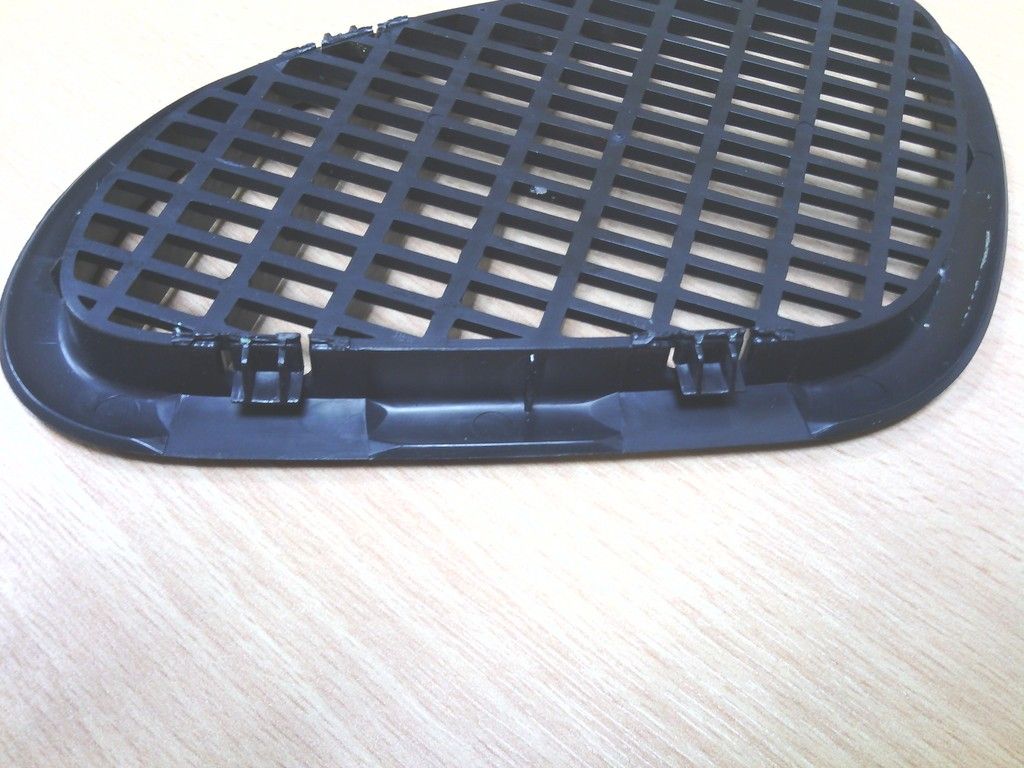
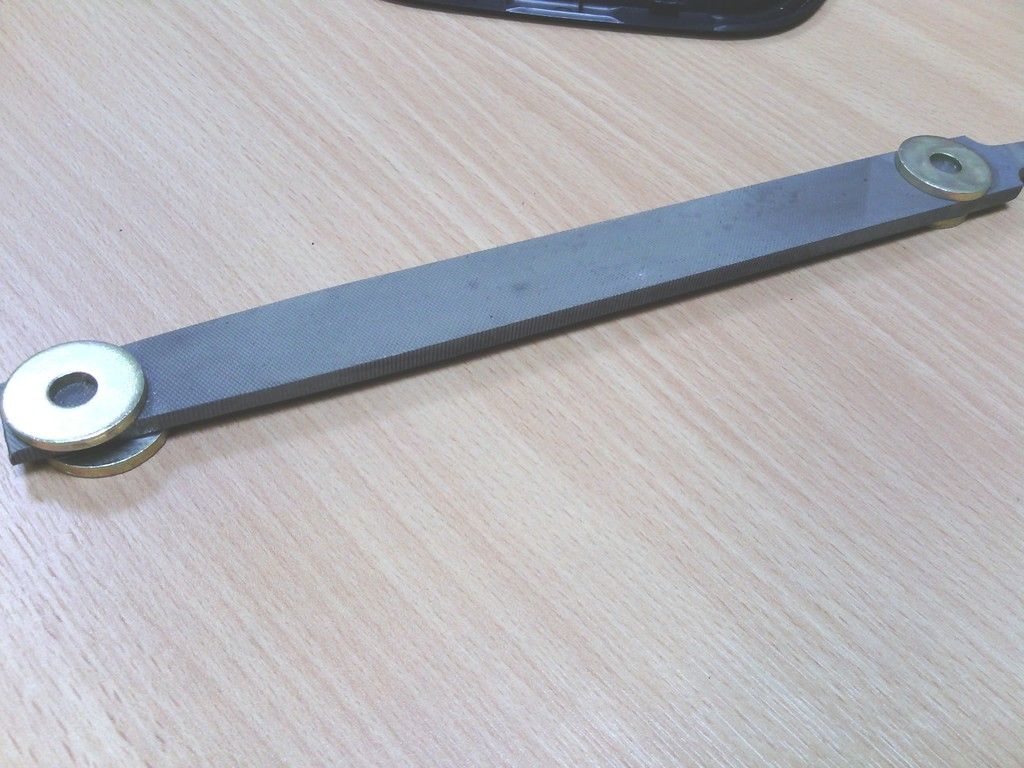
- bummer, however I had decided to go with these and I liked the initial look loads so I pondered it for a while before bonding on some predetermined thickness washers to a file that were the same thickness as the lower part of the flange with the vent upturned, then with it all sat on a flat plate I filed the outer edge flat and smooth level with its lower recess, now once installed the vents would sit nice and flush to the bonnet, that may sound easy but in reality filing all that plastic while holding the file with just your fingertips is a bit like torture.
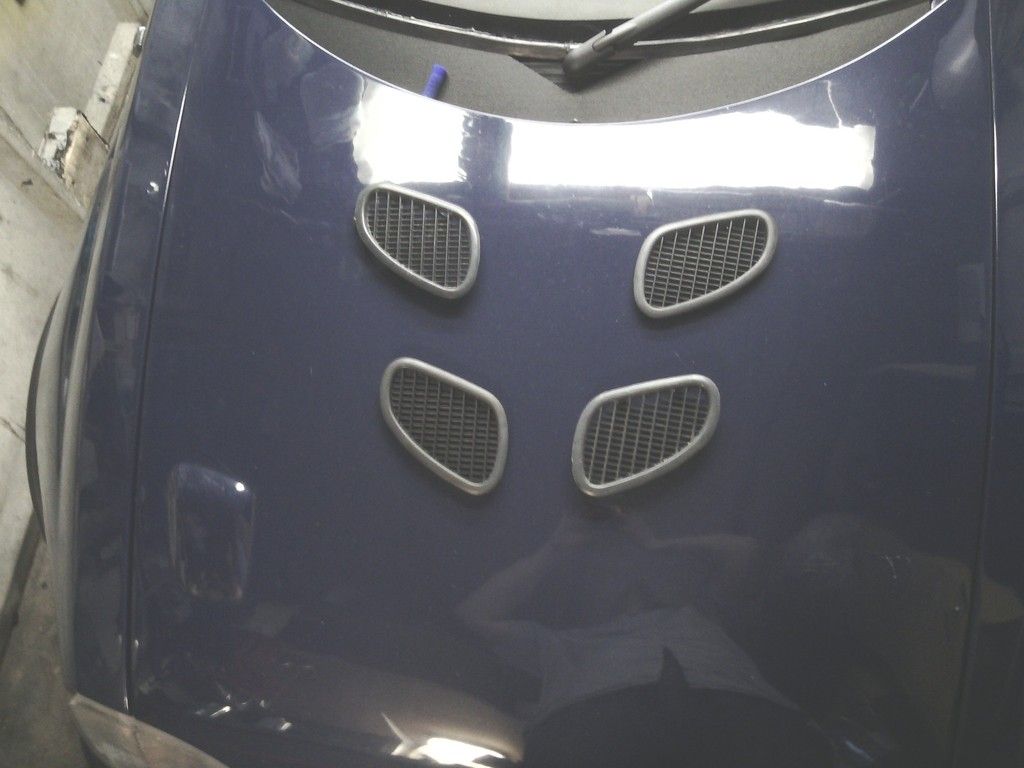
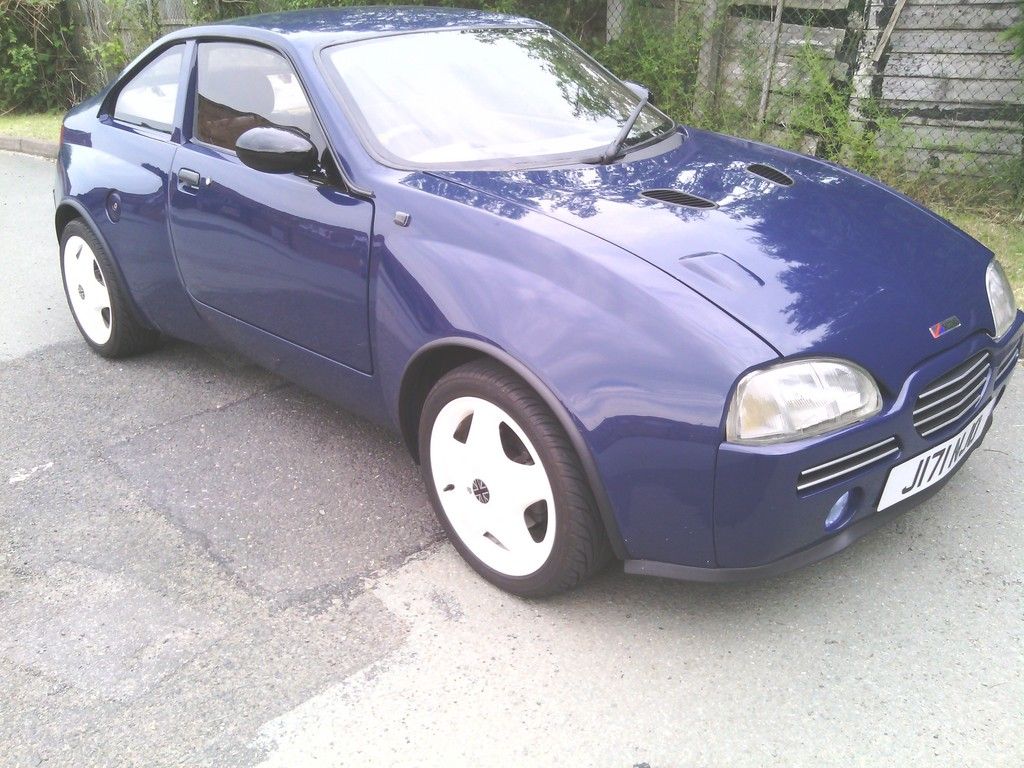
Those done I set about finding the locations right, it wasn’t so much a case of finding where they would have to go to avoid various fixings on the bonnet or the engine below, but more a way to find out where they looked their best and how much of a pain in the arse it would be to make it work, after trying many many orientations on the bonnet I eventually dropped into the winning location (in my opinion) this was nothing to do with heat or aerodynamics – purely cosmetic and what made me smile.
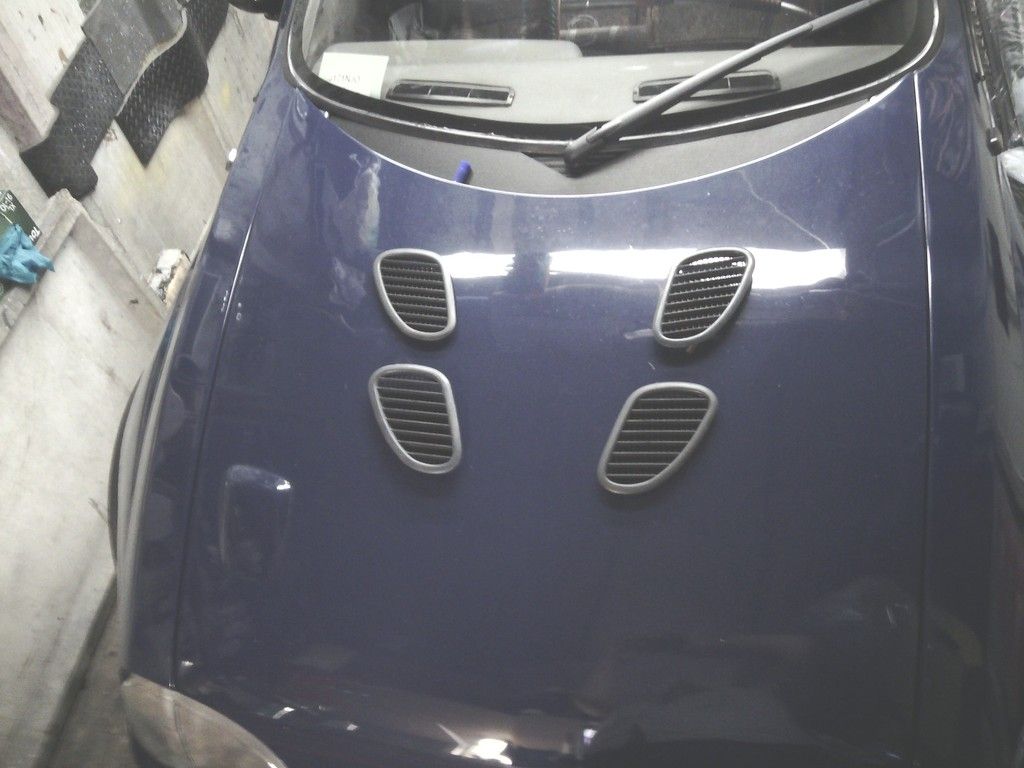
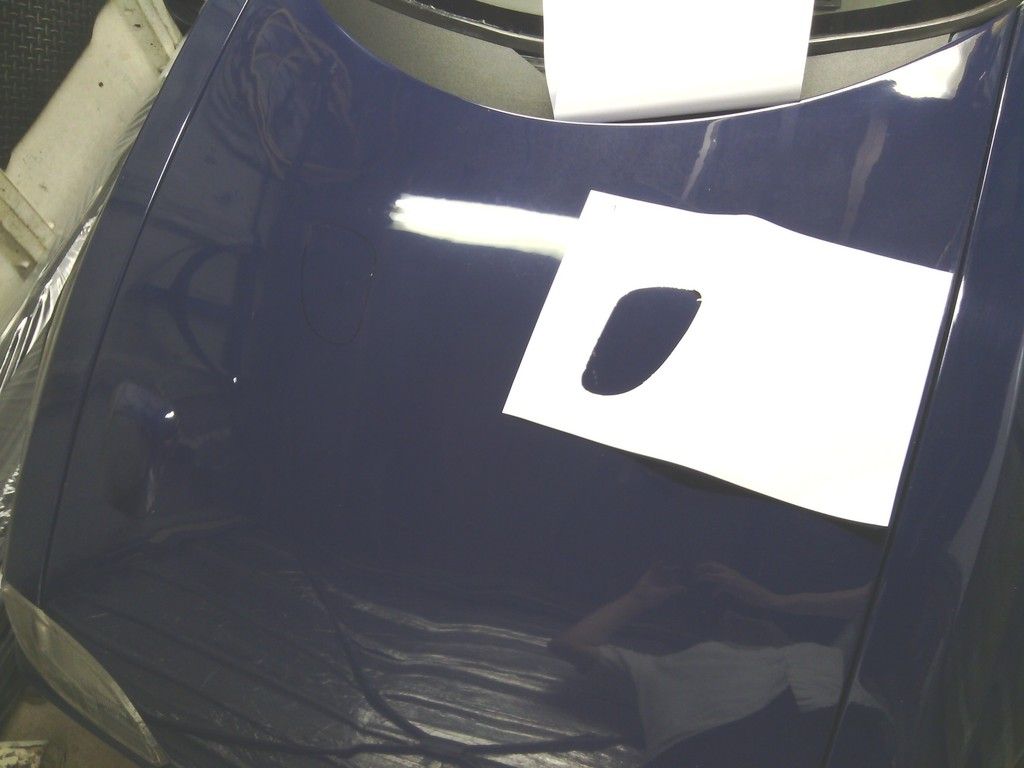
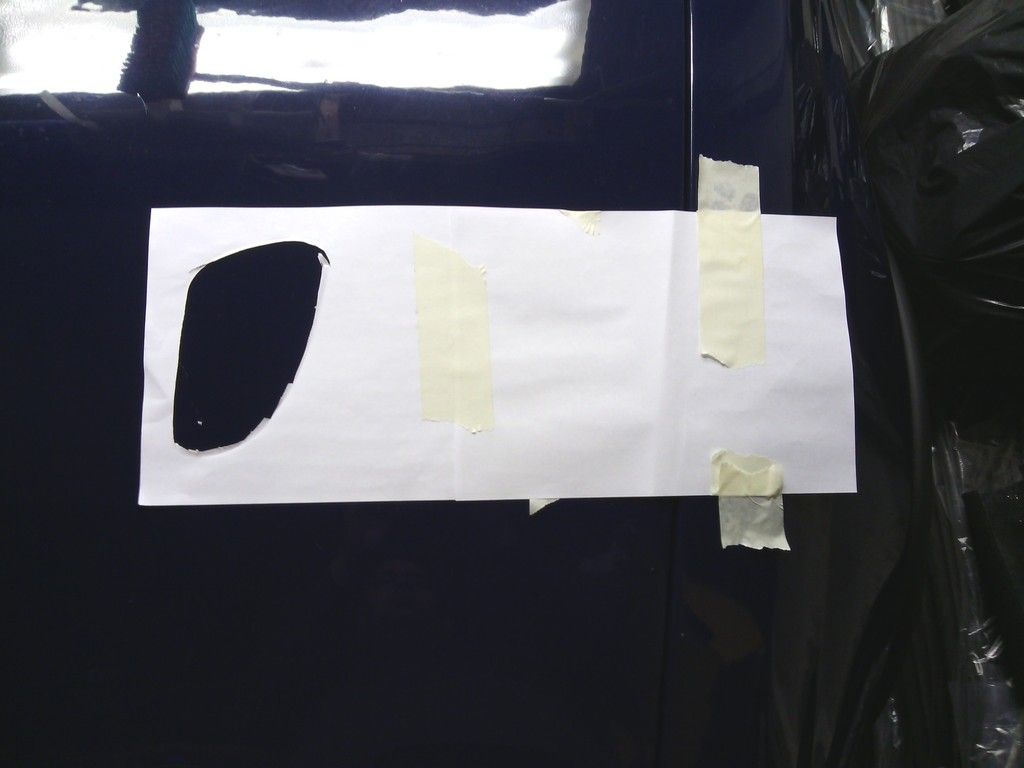
A quick draw around to get the location was done then this was transferred to a piece of A3 paper and cut out, then using the flat side of the paper as a datum against the flat edge of the bonnet sides and a single set distance from the scuttle for example – the whole piece could be flipped over to the other side to mirror the exact location there so to keep them in the same location and orientation – nothing worse than wonky bonnet vents.
I then used a similar method to find out what was going to cause me a headache on the underside by taping the template back on to the wing this time and opening the bonnet.
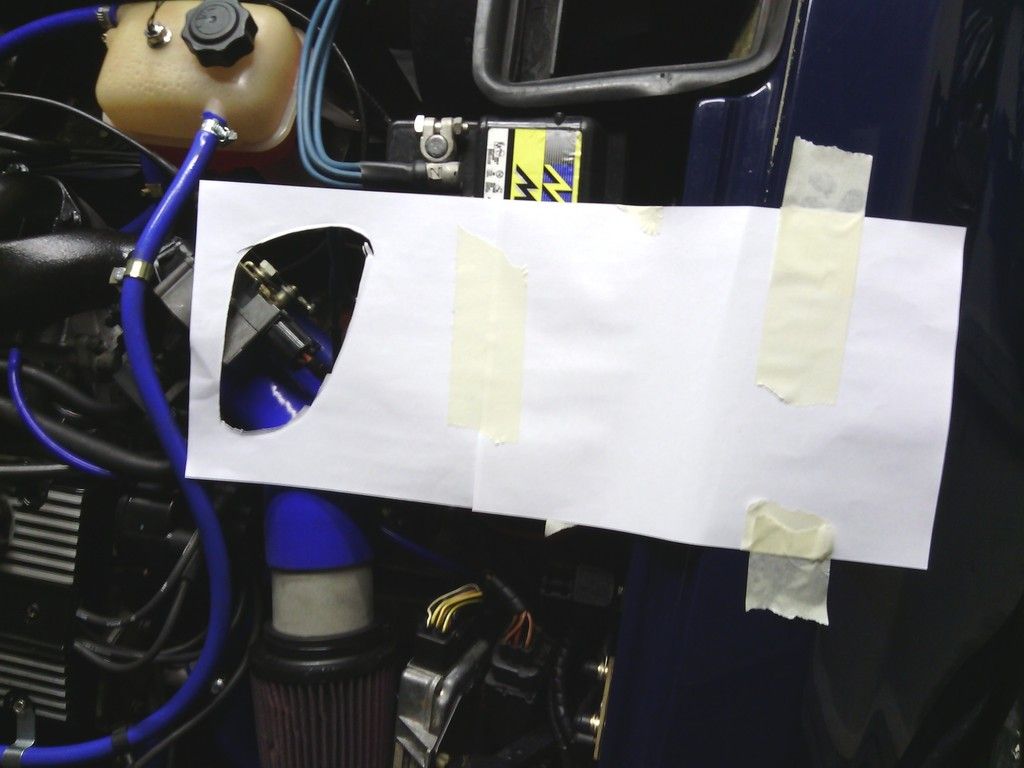
It didn’t look too bad, there was nothing immovable in my way such as the top of the engine rubbing on the bonnet underside, but it was hardly ideal since it was right over the injector wiring and throttle body, ill sort that later.
Once the final position was marked out I carefully drilled the 4 pilot holes to allow saw access,
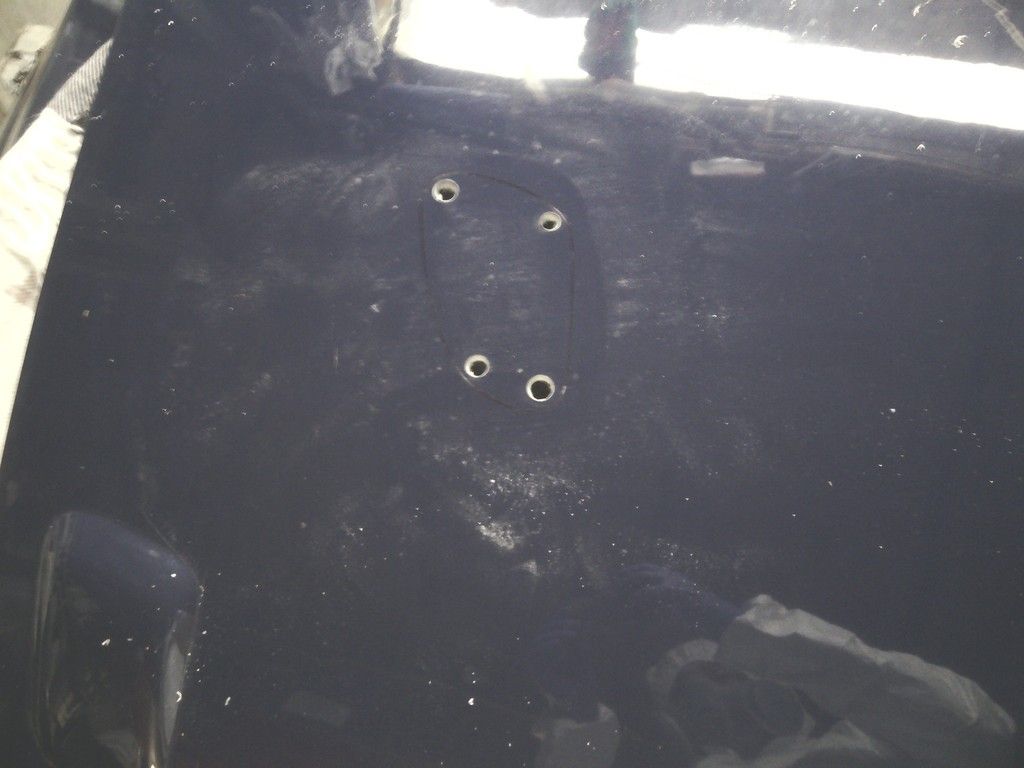
No going back then
Then I carefully and gently cut into the bonnet with a 18tpi hacksaw blade by hand.
It soon became apparent I was going to do more damage this was by slipping with the blade twice and scuffing the bonnet with the first inch of cut so I taped over the foot of my jigsaw to protect the paint and very quickly hacked it to pieces, thankfully in roughly the right shape.

A quick tidy up with a flap wheel and the holes were perfect for my needs, thankfully the bonnet is relatively flat here so minimal bending of the vents is needed.
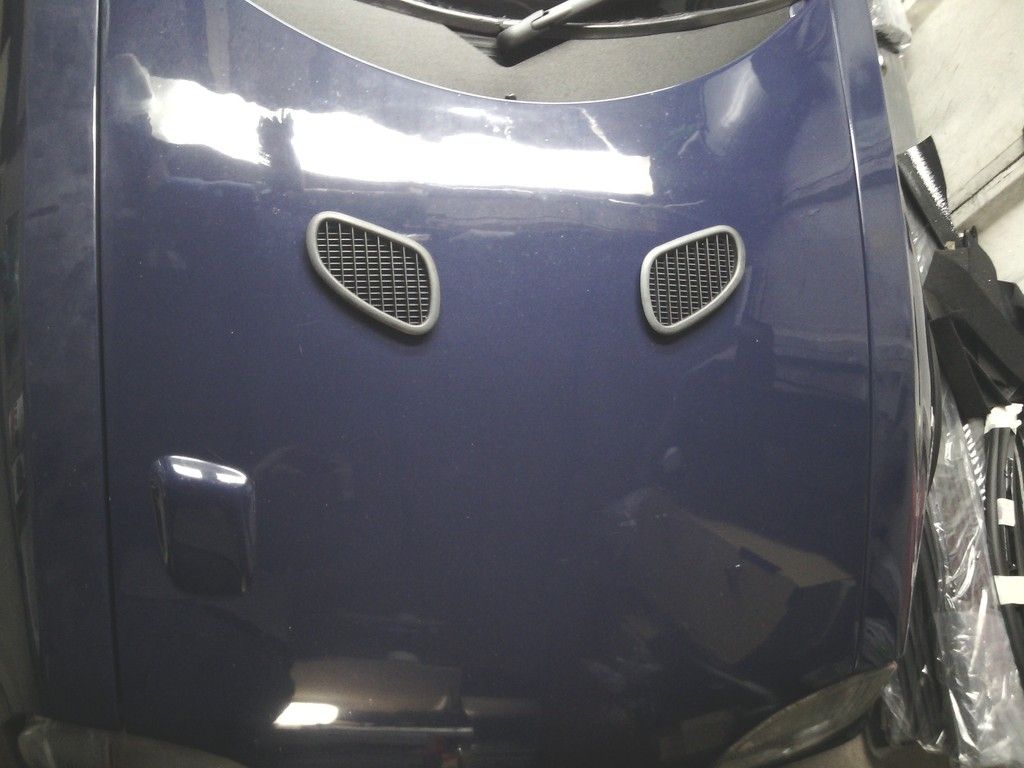
With both vents tapped into place with a couple of miles of gaffa tape and wooden blocks to keep them pressed flat to the bonnet, I spot glued them into place from behind with lotite 409 superglue gel, and left over night.
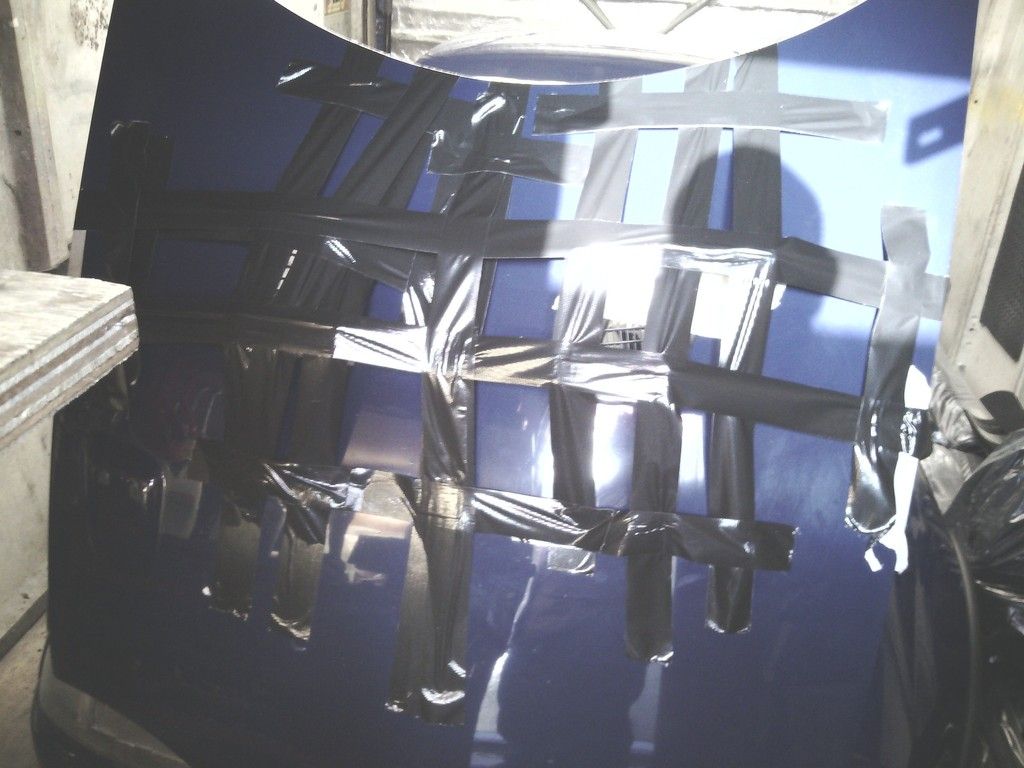
upon removal of the tape in the morning I was rather happy with the results
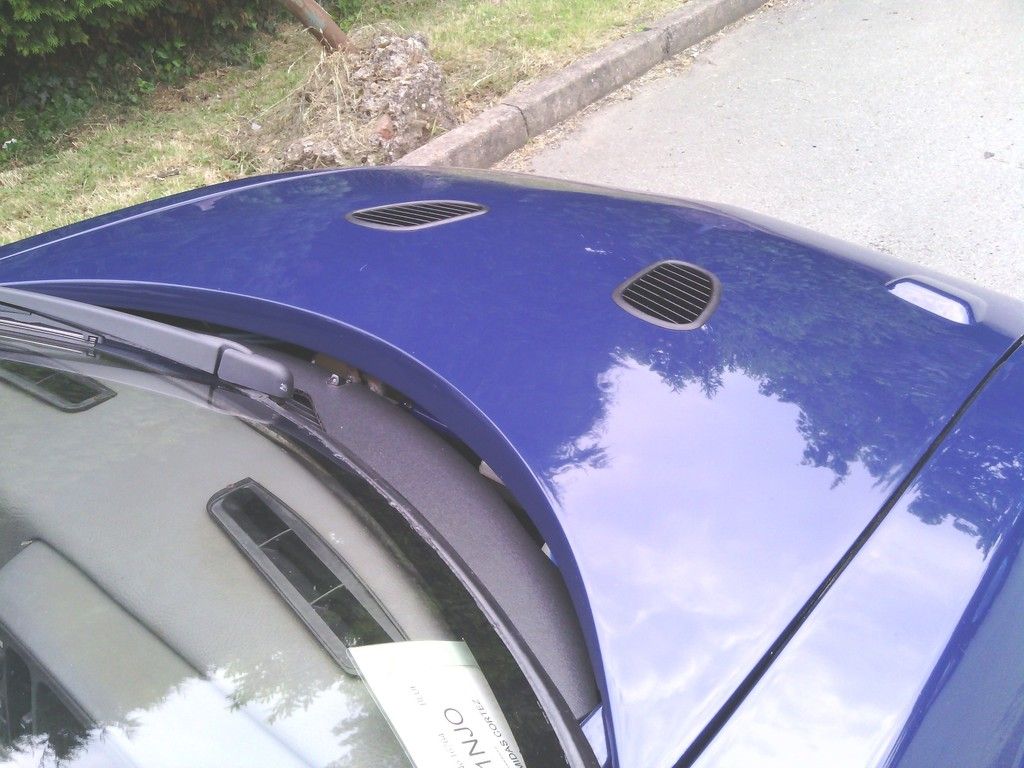
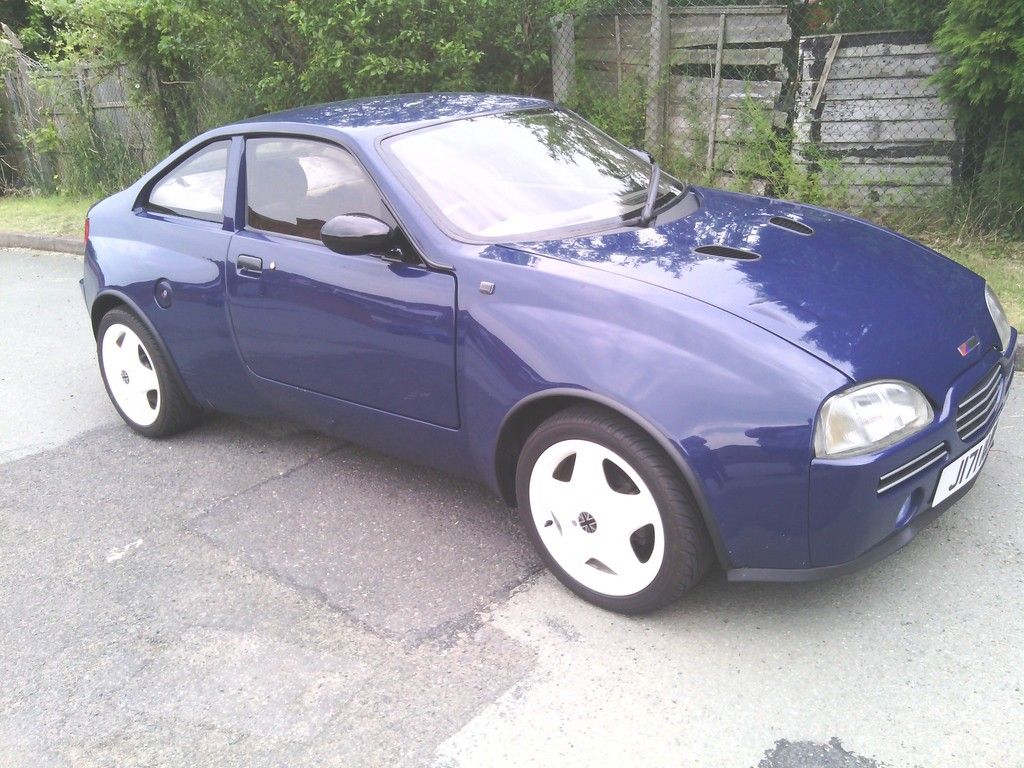
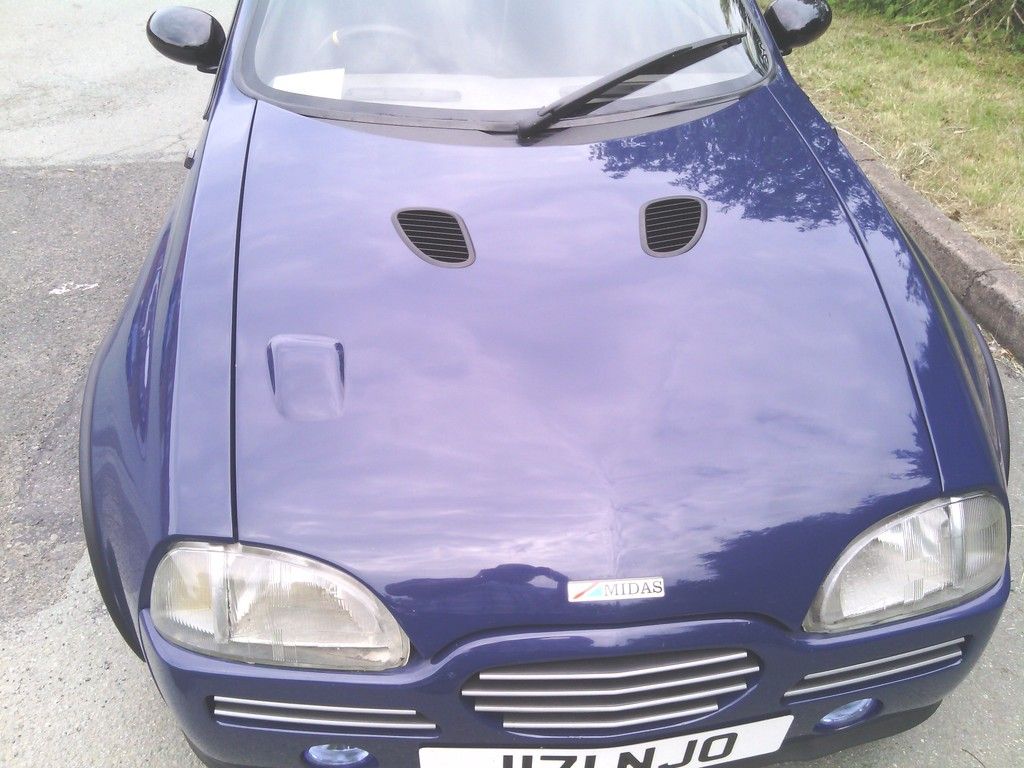


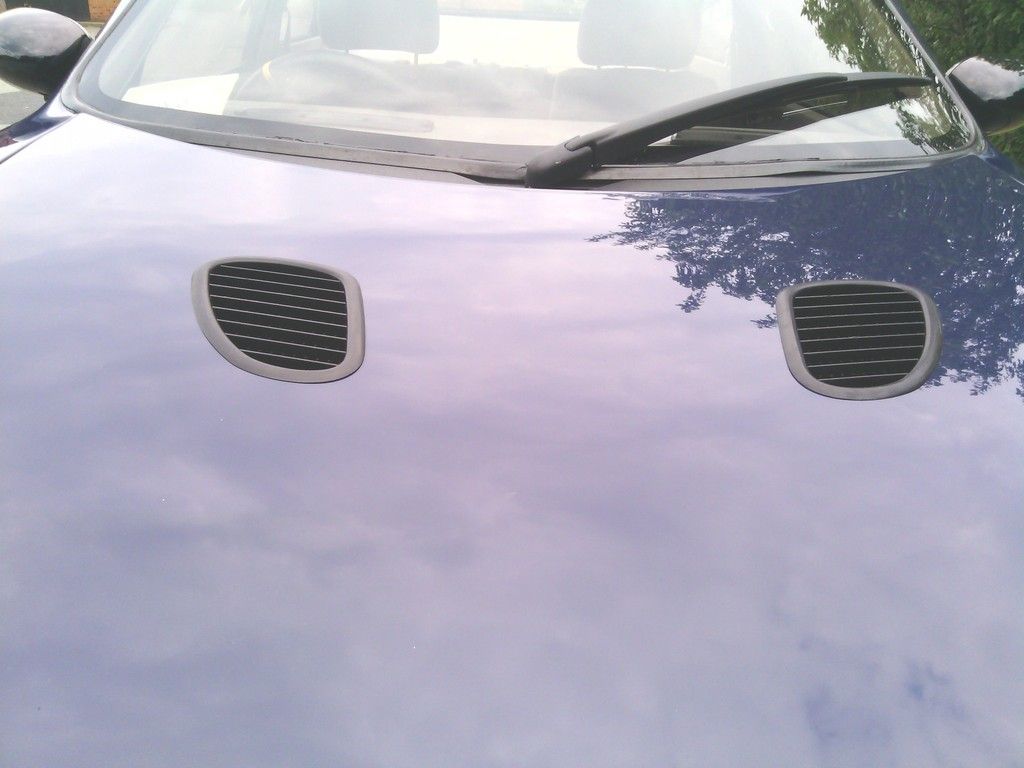
Last job to do is make 2 water trays to channel water away from the various components you don’t want getting wet, but to liven up an otherwise plain bonnet it’s not come out too bad and gives the car a more aggressive touch to the front.
Next up – custom boot spoiler…


