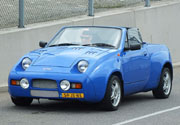
a few images of the finished product
Moderator: The Midas Forum Staff
a few images of the finished product
thanks for all your help and advice in sourcing parts and technical problems
Re: a few images of the finished product
<div style="width:480px;text-align:right;"><embed width="480" height="360" src="http://static.pbsrc.com/flash/rss_slideshow.swf" flashvars="rssFeed=http%3A%2F%2Ffeed1205.photobucket.com%2Falbums%2Fbb432%2Fb1zbaz%2Ffinished%2520product%2Ffeed.rss" type="application/x-shockwave-flash" wmode="transparent" /><a href="http://photobucket.com/redirect/album?showShareLB=1" target="_blank"><img src="http://pic.pbsrc.com/share/icons/embed/btn_geturs.gif" style="border:none;" /></a><a href="http://s1205.photobucket.com/albums/bb432/b1zbaz/finished%20product/" target="_blank"><img src="http://pic.pbsrc.com/share/icons/embed/btn_viewall.gif" style="border:none;" /></a></div>
Re: a few images of the finished product
the first picture is of my little boy born saturday 3rd march at 16:55 8lb 3oz
Re: a few images of the finished product
Congrats Barry, nice job on both.
Re: a few images of the finished product
cheers hans i love them both to bits need rolling road tuning on the midas now to finish things off
Re: a few images of the finished product
Very nice Baz
Re: a few images of the finished product
a111 how the hell did you do that i spent 2 hours before trying to get the pictures to show on the page but failed miserably got far too wound up and gave up with my dummy well and truly spat across the room
Re: a few images of the finished product
Click the share button,
right click on the img code for sharing on forums
right click and copy when the code is blue
then just paste it in your message as below
right click on the img code for sharing on forums
right click and copy when the code is blue
then just paste it in your message as below
-
lankyjames
- Posts: 455
- Joined: Mon Jan 18, 2010 8:47 pm
- Location: Nottingham
Re: a few images of the finished product
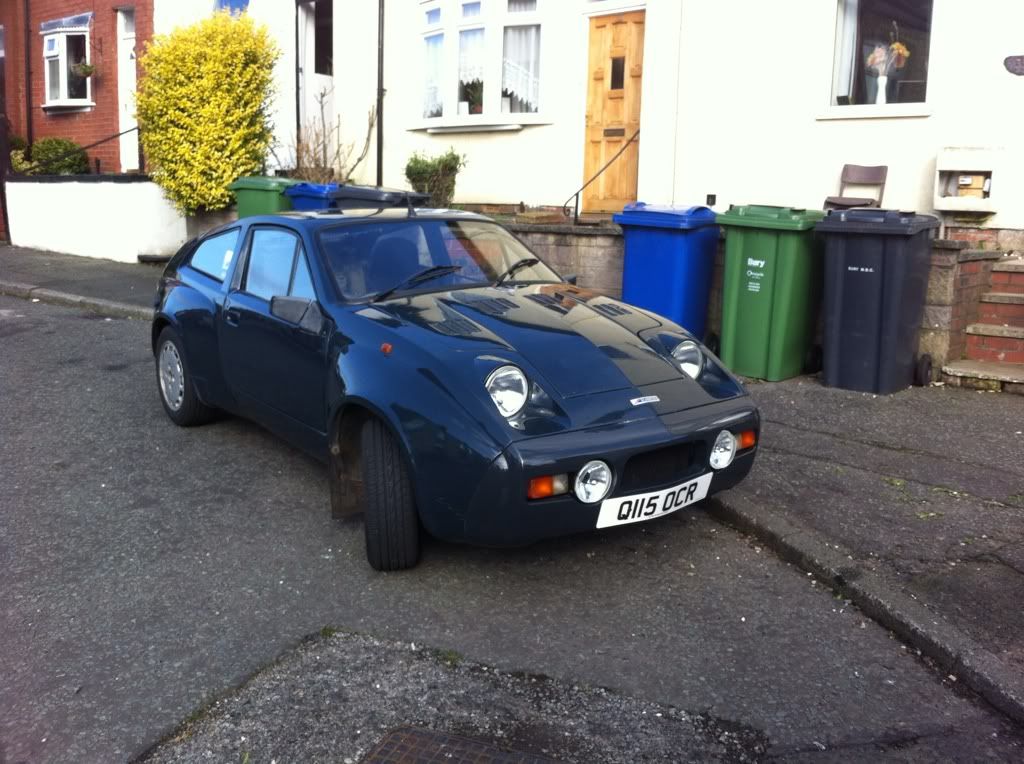
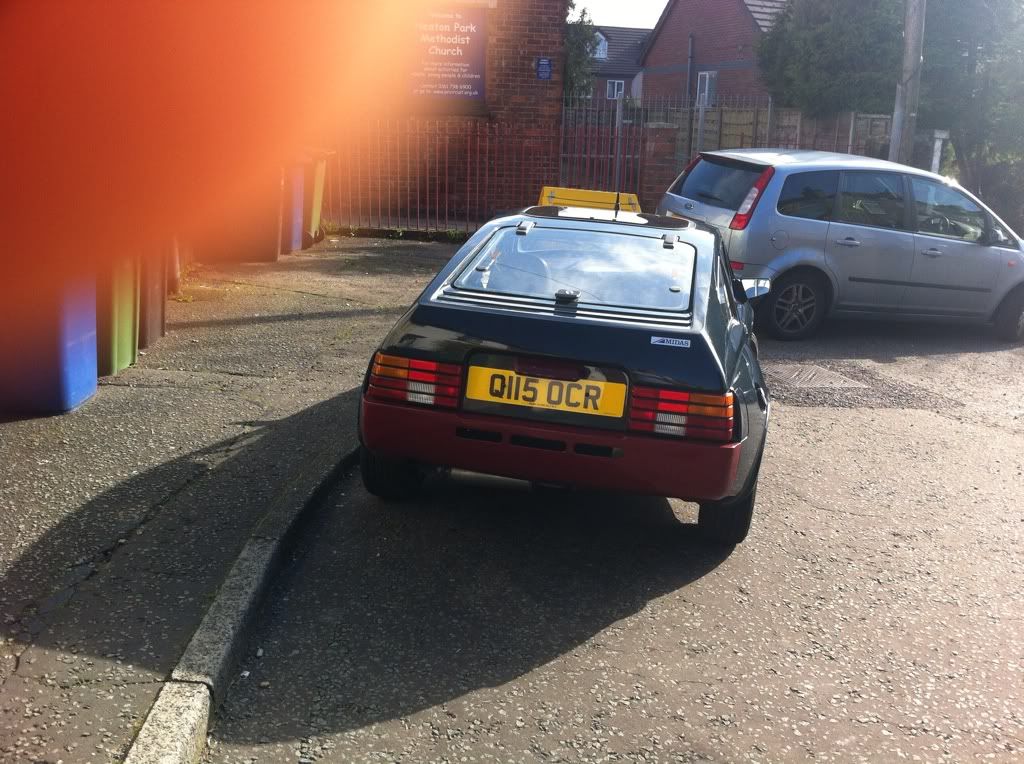
Looks really good baz, so glad to see it's on the road! What're you going to do with the mis-coloured bumpers? respray?
